Best Out of Waste : Jewellery Organizer Box DIY From Plastic Balls
Ladies are attached to jewellery and have sufficient of gems pieces. From easygoing to event wear, there are uncountable and unmanageable jewellery items womens have!
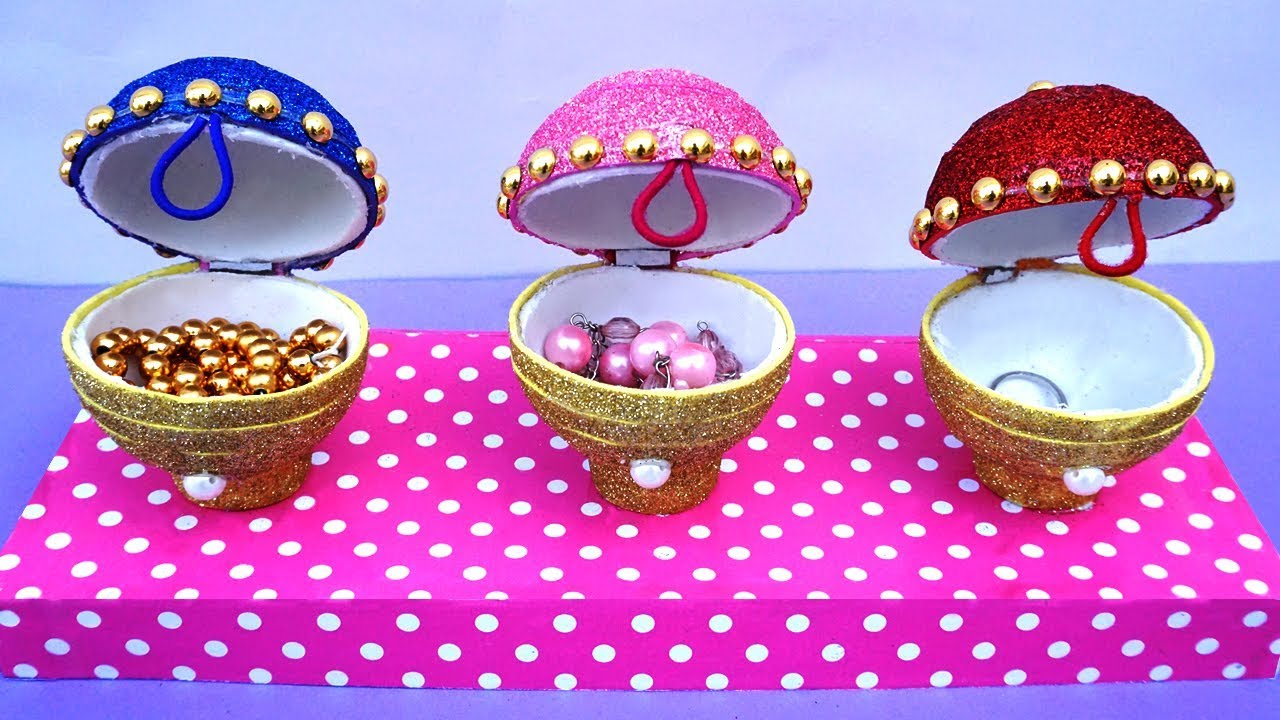
We store all our valuable adornments things in our cabinets yet there are some easygoing and standard gems pieces which we regularly use. You can mastermind and store these gems pieces serenely in a DIY adornments coordinator produced using plastic balls! How about we figure out how to make a Jewellery Organizer Box DIY From Plastic Balls!
This is a wonderful life hack made using Plastic Balls. Keep your jewellery and other small items in this cute Jewellery Organizer Box DIY.
Things You Need To Make Jewellery Organizer DIY

- Plastic balls
- Cardboard box
- Glitter sheets
- Printed sheets
- Plastic bottle caps
- Adhesive
- Decorative beads
- Pearls
- Rubber bands
- Scissors
- Pencil
- Cutter
- Glue gun
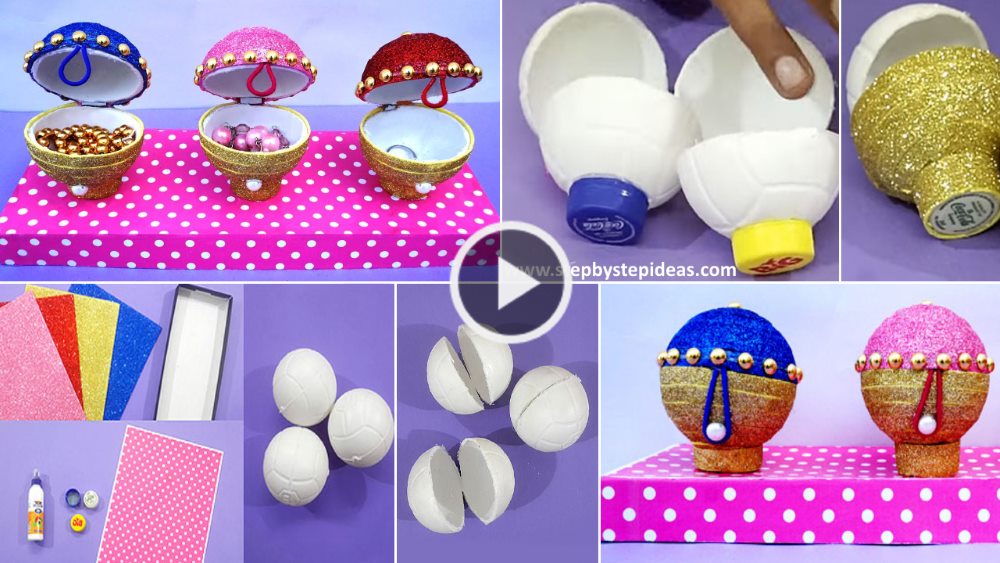
Step by Step Tutorial For Easy Jewellery Organiser DIY
Step 1
Take a plastic ball and cut it into half using a cutter.

Step 2
Now paste the glitter paper on the ball to connect the two halves of the balls.

Stick the cap on the ball as shown as a base. Take the glitter paper and make the measurement as shown. Now take the strip and paste it on the surface of the balls as shown.
Step 3

Take the red glitter strips and paste it on the upper surface of the balls. Take the rubber band, cut it and paste it on the inner portion of the balls as shown. Now paste a pearl on the lower end of the ball to close the ball. Now take the pearl strands and paste it on the surface of the ball. Also, paste a pearl bead at the top of the box.
Step 4

Now take the upper lid of the box. Cut and paste the printed paper on the box.
Now paste the ball arrangement on the surface of the box as shown.
That’s it. Your beautiful Jewellery Organizer Box DIY is now ready.
Hope you have enjoyed watching this article.
Happy Crafting!!
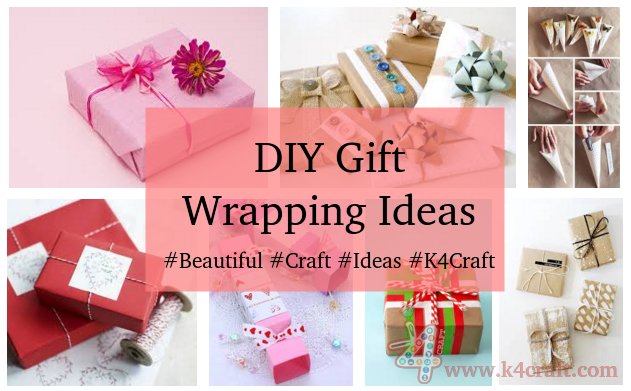
20+ Unique & Adorable Gift Wrapping Ideas
Read More
- How to make wall hanging paper flower
- Japanese cherry blossom tree from embroidery
- Latest Indian Bridal Short and Designer Long Necklace Set
- Easy to Make Mini Hats – Hair Clips Tutorial
- Simple and effective decor for shelves and racks


