
In our master classes we examined crafts from paper for beginners in quilling technique, studied the basics of this kind of creativity, considering it on simple examples of some insects and animals. Today we will continue the theme and make a quilling elephant composition from twisted ribbons.
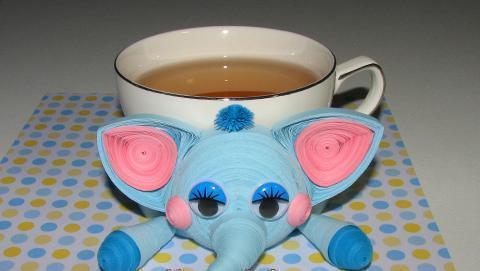
It will not be just a figurine of an animal, but a pretty stand under a cup. Craftwork will do, applying the technique of volumetric quilling, which is similar to the usual, but the product is more interesting and original. Let’s go directly to the master class and step-by-step instructions, which will help make a touching amusing elephant calf – a stand under the cup.
The manufacturing process of the “Elephant” podstavochki
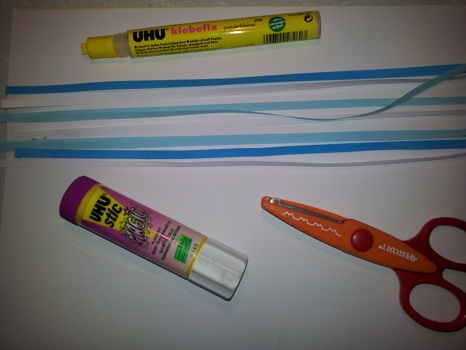
Necessary set of materials:
- ribbons of colored paper: 0.7 cm, length 29.5 cm, color light and dark blue
0.3 cm, the length is the same, the color is light blue, 1.5 cm, the length is the same – pink; - scissors;
- a tube of glue;
- a gun with hot glue;
- device for winding paper strips;
- officer’s line;
- eyes (sold in stores for needlework);
- a tube of colorless acrylic lacquer.
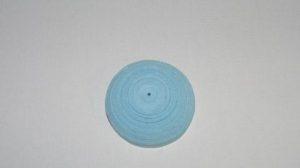
The process of making crafts is a quilling elephant. Let’s start making the surface on which the cup will stand. The elephant in the quilling technique: twist it from the quilling of the “tight spiral” element, applying light blue stripes of paper, the width of which is 0.7 cm (# 9 cm). Roll the roll, the diameter of which is 1 cm from the light blue stripes (width 0.3 cm). Elephant in quilling technique: form a workpiece in the form of a cone (height 1.5 cm) and glue inside.
Cut the fringe from the halves of the dark blue strip (wide 0.7 cm), twist it with a “tight roll” (# 9 cm). Connect the two parts together using a glue gun. So we got the tail of an elephant in the quilling technique. Glue the tail to the large part.
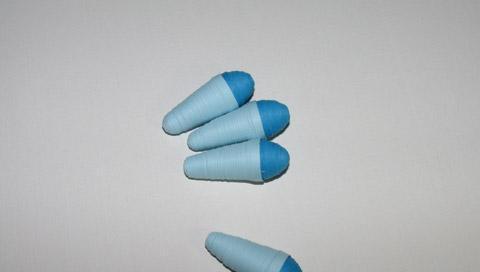
Next, twist the elephant’s paws. To make them, twist four tight parts of light blue color, the width of the strips is 0.7 cm (# 1.8 cm detail) and four of the same elements in dark blue (width 0.7 cm, # – 1.7). Form light elements in the form of a cone at a height of 3.3 cm, glue inside. Dark form like a figure “half ball” and also glue.
Figures-legs are made, glue them together with an adhesive device. The elephant in the quilling technique: attach the limb components to the base with the same device.
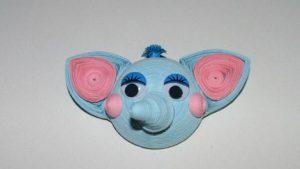
Let’s go to the head of an elephant in quilling technique. To do this, twist the paper stripes of light-blue color into tight rolls (wide 7 mm, # 50 mm).
Form them into a floor ball and glue inside the PVA. Ears make the figure a “drop” of light blue hue, their width is 3 mm (# in loose form 40 mm).
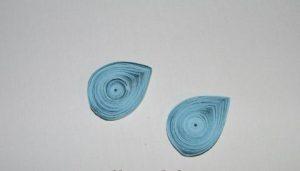
Glue the resulting components on the head of the elephant with a glue gun. Give each ear volume, glue from the back of the work piece. Twist a pair of pink rolls, width 1.5 mm, # 28 mm. Form a spiral figure “drop” and paste into your ears. See photos:
Make a “tight drop” of light blue hue, width 3 mm, # 21 mm. Make a “curved cone” element no higher than 3 cm high, glue it inside. Thus, the proboscis has turned out, attach it to the head with an adhesive gun.

To make cheeks, take a pair of spirals of pink hue, (wide 1.5 mm, diameter 13 mm). Form a half sphere, glue in the middle.
Secure a pair of purchase peephole in the right places.
Slice one dark blue ribbon with fringe, fold a tight spiral (# 6 mm). Glue to the head quilling the elephant, and then all attach to the body.
The next step is to cover the stand with a protective layer of colorless acrylic lacquer. This will prevent our work from becoming dehydrated if it hits its waters. A large roll is better to open with a varnish a couple of times for reliability.
With the help of this master class, instructions, diagrams, templates and sketches, we learned how to make an original elephant in the quilling technique. A magnificent souvenir can be presented to any holiday mummy, granny, sister. In the picture below, see the finished stand:
Master class “Blue Cheerful Elephant”

Let’s get acquainted with one more micron, in which we will consider a hand-made paper ribbon in a romantic style – a blue elephant in the quilling technique and draw out of it a lovely congratulatory card. Necessary set of materials:
- a set of dense two-sided colored paper or strips for quilling;
- a tool for winding, a line;
- manicure scissors;
- glue in a pencil;
- set of basic elements.
The process of making crafts is a blue quilling elephant. Let us consider a step-by-step detailed microscope. Cut slices of 5 mm width or take the finished set.
Glue 3 pieces together, starting with a strip of white color. Hold the joints for about one minute, allow the glue to dry.
Using a special stick, twist the “free spiral number 2” figure. It turned out the elephant’s body, the head of the craft from the blue-blue element “free spiral No. 2”. White-blue “free spiral No. 2” from the element “glazik No. 6” – thus make the eye. Next, you will need four blue spirals to make the elements “droplet number 4”, from them make a trunk.
We will train the legs of the elephant, prepare two fragments of blue “squares No. 12” and two blue figures “semicircle No. 8”. Collect all the ingredients together, make a tail of a loose strip on the tip round. An elephant in the quilling technique is ready, glue it to the background of the postcard, adding ready-made eyes. Make an article in a frame appropriate for the color scheme.

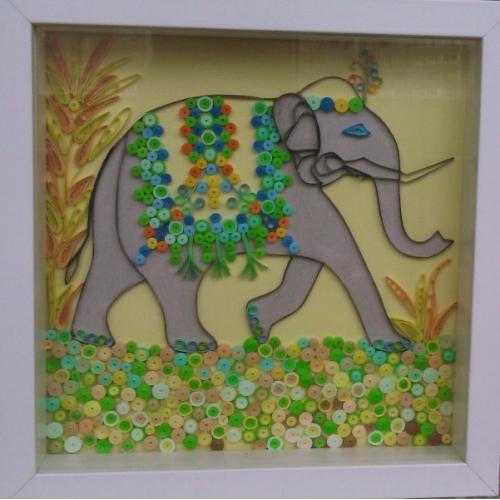
Ideas for inspiration
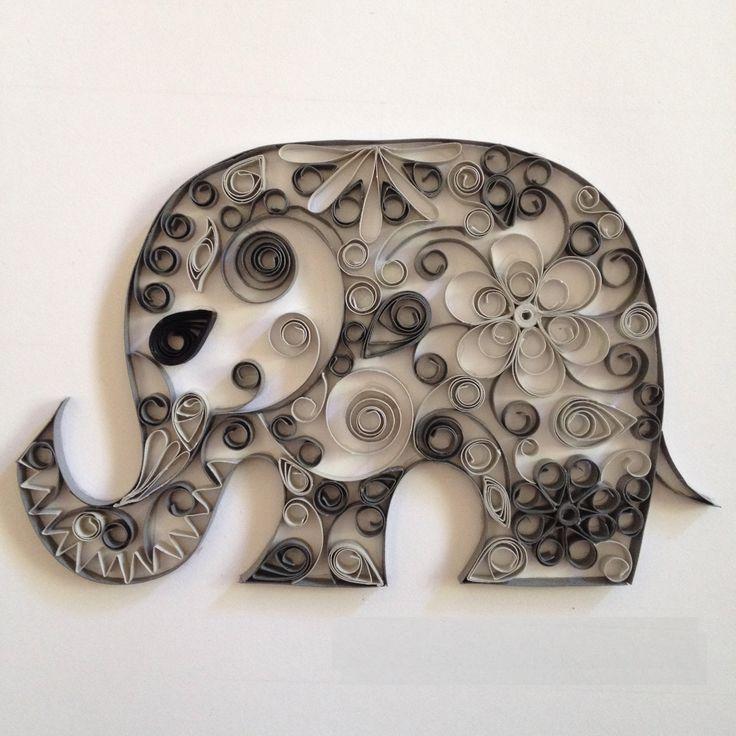
You can see the ideas of such crafts with your own hands below:

Video master class elephant in quilling technique
The video below for beginners will help you to figure out how to make an elephant in the quilling technique.
https://youtu.be/QoJGQEGZCSs
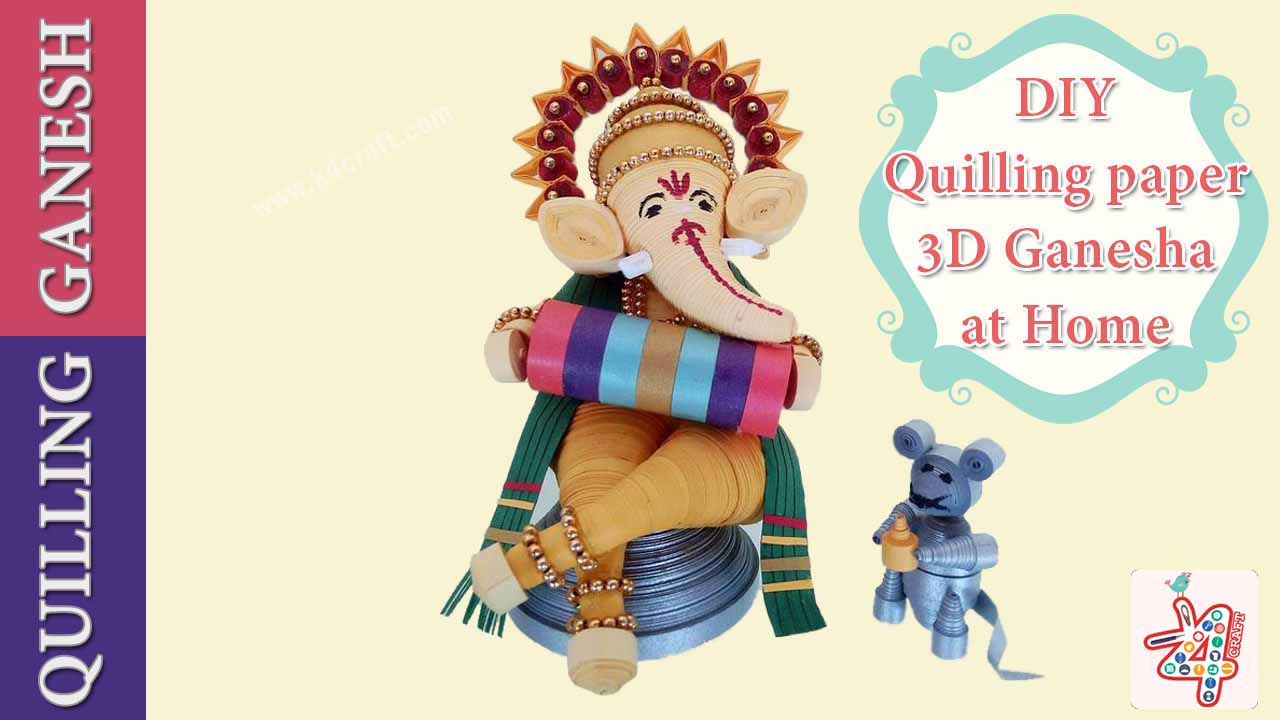
DIY: How to make Quilling paper 3D “Lord Ganesha” at Home
You’ll also like:
- How to Make Paper Quilling Necklace Set at Home
- How to make paper quilling wall mirror (Tutorial)
- How to Make Paper Quilling Wall Hangers For Room Decoration
- Quilling Tricycle With Basket
- How to make flower fairy girl from quilling


