At any holiday, be it a wedding, a children’s birthday, an anniversary, as the main decoration of the hall for the celebration, you can see colorful balloons. Specialists can create from balls not only all kinds of figures and bouquets, but also whole compositions. Such decoration will not go unnoticed and create a festive mood! Our tutorial will help you decorate the room no worse than designers, creating with your own hands amazing flowers from balloons.
What is Twisting?
The process of modeling figures from balloons has its name – twisting (from the English “twist”, which in translation means “twist”). Lovers and professionals of this occupation are often even called twist designers, because they are able to create not only flower garlands and cartoon characters – some of them are experimenting even in the manufacture of fantastic outfits and real masterpieces.\
Anyone can learn the basics and learn all the subtleties of twisting. Such skills can not only become a real hobby, but also bring additional income. For beginners, twist designers suggest using some tips and rules for working with balloons:
- Such an unreliable material, like a balloon, often becomes inoperative with careless work. When inflating and twisting, the balls often burst, so during work it is not worth keeping them close to the face.
- The master of twisting should follow his manicure: one should cut off his nails as short as possible and cut the sharp edges with a nail file.
- In the work on twisting, only long balls are used. The material of the round form is not intended for inflection.
- To place additional inscriptions and drawings on the surface of the ball, water-based markers should be used. Felt pens on alcohol are not designed for drawing on balloons, as there is the possibility of corroding a thin rubber material with alcohol paint. Balls can burst after just a few minutes.

Starting to understand simple schemes and descriptions of work on the basics of twisting, use the glossary of terms :
- Tulip – the formed bubble in the beginning of the inflated sphere.
- Joint – a small piece of the ball, which is formed after twisting.
- A bubble is a part of a ball between two twists.
- Twist, twist and twist – the process of twisting the ball, which results in a junction and a bubble.
- Now that you have at least a minimal idea of what twisting is, you can proceed directly to the work of creating a flower. The offered variant is simple in execution and can approach even for independent execution by children.

Master Class: a flower made from balloons
For work you will need:
- 2 long balls (for petals and a stem),
- pump for inflating balloons.
- To start twisting, prepare the material: the ball for the flower must first be inflated completely, then let the air drop a little, so that it does not become too elastic, but soft. Only in this case the ball will not burst during the twisting process.
- When you inflate the green ball for the stem, leave about 6-7 cm at the end (this will be the working end).
Flower petals do this:
- Spread the ball in half and tie the ends.
- Mentally divide the resulting oval into 3 parts and make 2 twists.
- The next stage is the most difficult: you have to add all 3 pieces in the form of a fan (the joints line up in one line). Squeeze the twisted ball at the joints and twist them together. The most important condition for this stage is a freely inflated ball. If there is too much air, then during the compression of the elements the ball will most likely burst.
- Spread the petals. The main blank is obtained.
- Set aside the flower. Now we’ll make a blank for the stem. Inflate the green ball, leaving the tail on top.

- With your finger, gently press the tip in and, picking up the inside of the second hand, pull the finger back. Make a twist by grasping the inside of the inserted end. Thus, the element “tulip” was obtained.
- Push the “tulip” into the middle of the flower (the place of twisting on the stem should coincide with the middle of the flower)
- On the stem, make 2 bubbles no larger than 10 cm and twist them. Get a leaf on the stem.
- Similarly do the second sheet.
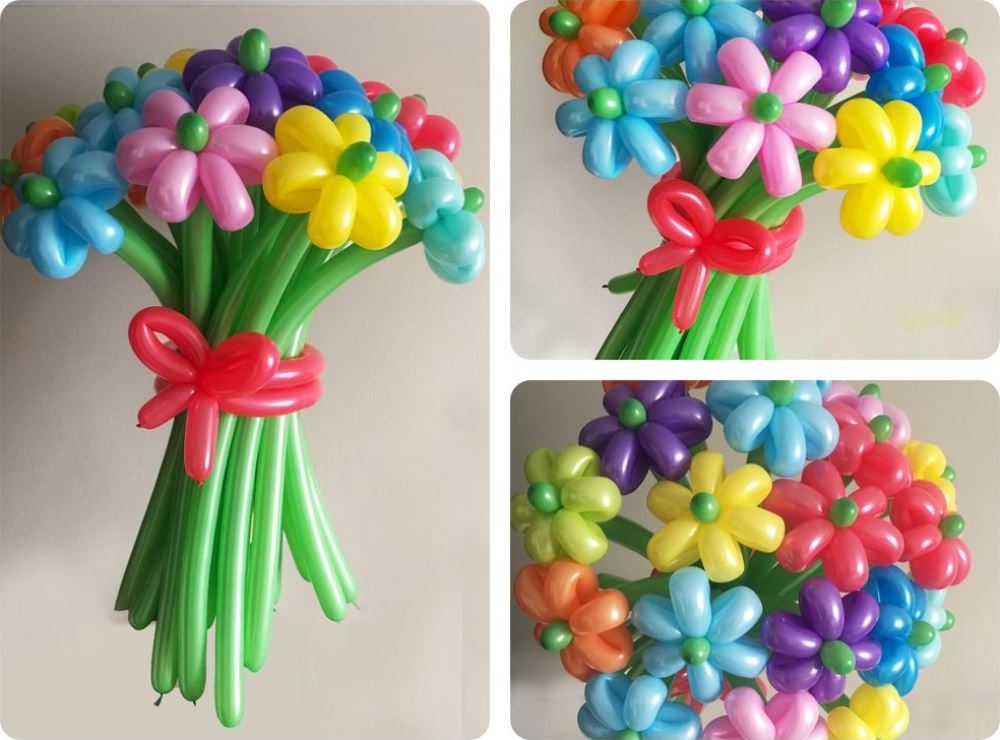
- Having made several flowers of different colors, you can make an unusual bouquet!
 Having practiced on simple models of making colors and having understood the basic principles of twisting, you can safely proceed to work on performing more complex variants. On the proposed photo you can see the step-by-step execution of the exquisite flower-transformer, which will be the highlight of any decor.
Now you know how to make your own fantasy bouquets and you can decorate the room for the celebration yourself!
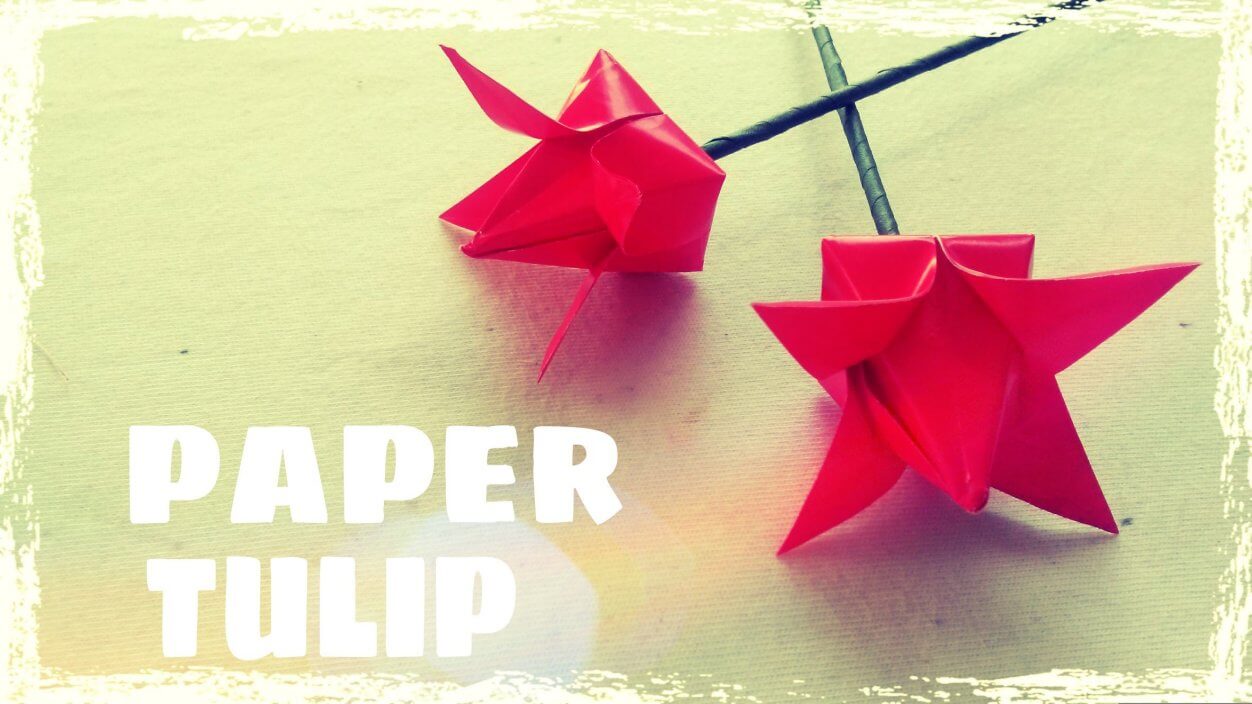
Easy Origami Tulip Flower Folding Instructions – Step by step
Read More
- Latest And Very Trendy Jhumki Earrings Designs
- 15 Latest Indian Pearl Bangles Designs
- Traditional Nose Pin Stud Design Top 20 Collection
- Simple and Easy Summer Updo Hairstyle
- LATEST SILVER TOE RING DESIGNS 2018


