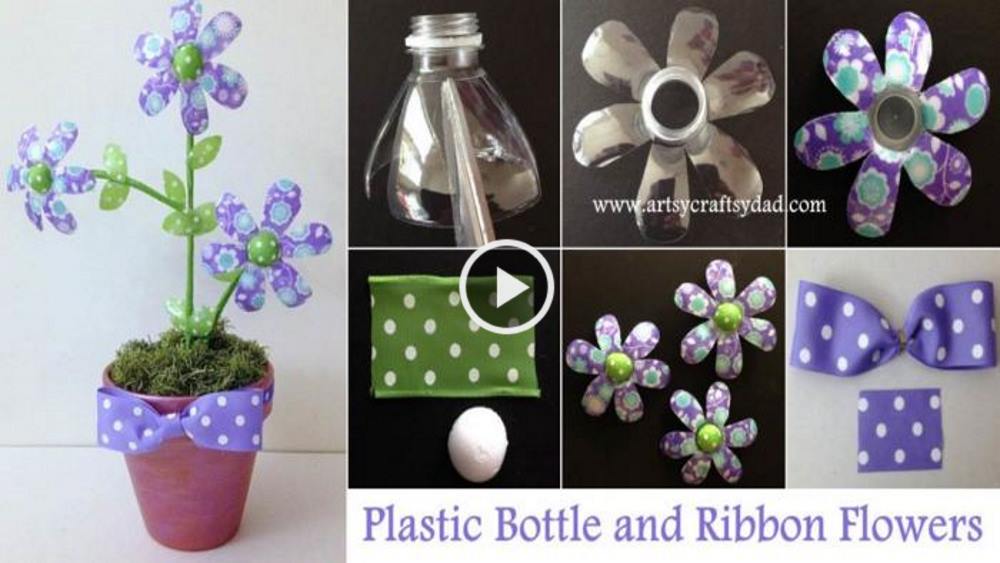
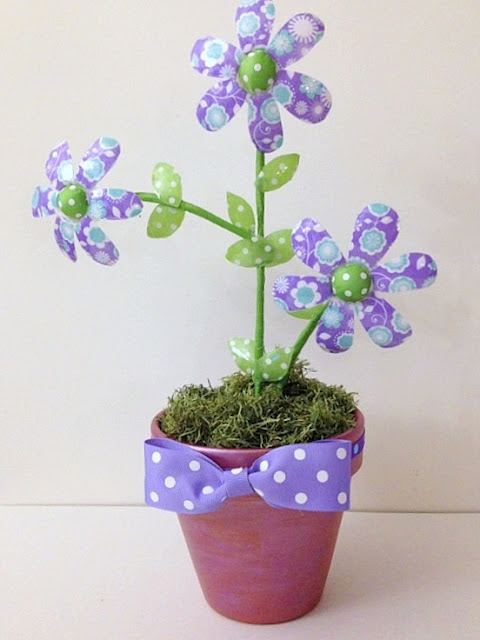
Recycled Water Bottle Ribbon Flowers.

Recycle and turn those plastic water bottles into adorable ribbon pot flowers.
Here’s how – Gather the following materials:
- Water bottles
- Ribbon
- Fabri-Tac glue
- Scissors
- Styrofoam balls
- Skewer sticks
- Clay pot
- Floral foam
- Dried moss
- Bowdabra, wire, wand
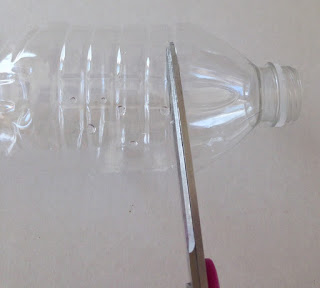
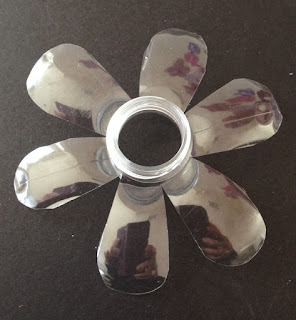
Begin by cutting off the top portion of a water bottle just above the label at the rim.
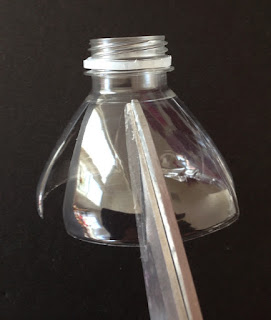
Make six vertical cuts equally spaced and around toward the top.
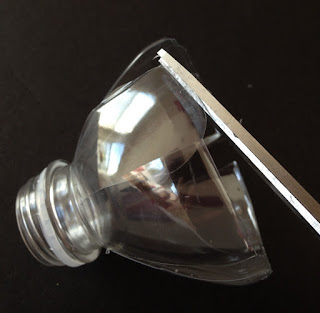
Round off the ends creating “petal shapes.”
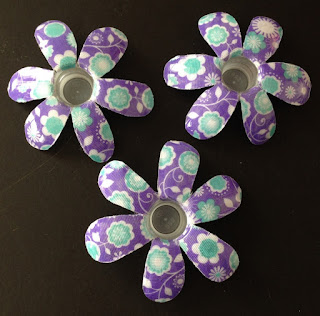
Press the “petals” down, spreading them out to form a flower. The petals can be shaped in or out – your preference.

Next, cut ribbon into 6 pieces the length of a petal.
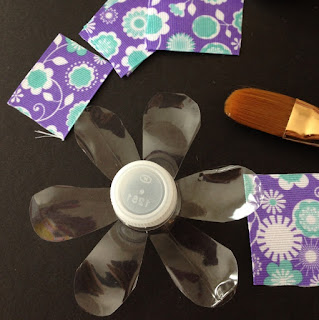
Apply Fabri-Tac glue to the inside petal . . .
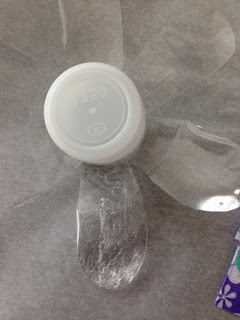
and press the right side of the ribbon onto the glued petal and smooth out. The glue will magically disappear into the ribbon fabric, leaving a clear glossy effect from the plastic. * I tried using mod pod but it dried with a white film on the plastic and the ribbon did not adhere and came off.
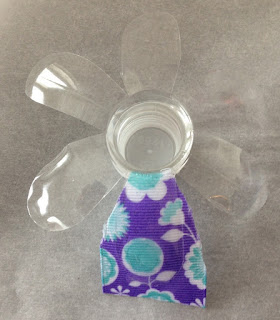
Repeat the previous steps for each petal . . .

and then, two more flowers.
Cut out separate leaf shapes from the water bottles the same way as the petals, applying ribbon in the same manner.
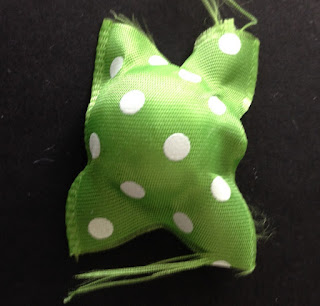
For the flower center, slice a 1″ Styrofoam ball in half and cut a piece of ribbon to cover the round portion . . .

apply fabric glue over the round portion of the ball and smooth the ribbon on.
Place glue around the edge of the opening . . .
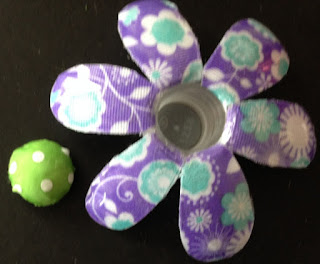
and insert the ribbon covered half ball.

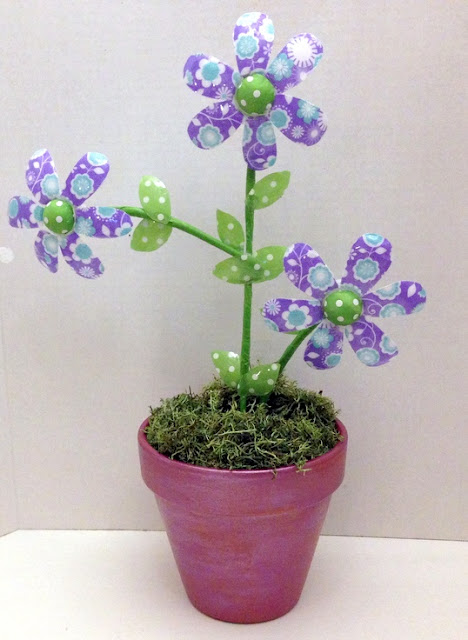
Wrap two skewer sticks with green painters’ tape and insert one into floral foam inside of a clay pot.

Add glue to the top stick and press on the flower. Reinforce the flower and stick with more glue and cover with a cut-out ribbon circle. Break the second stick in half, slightly bending the sticks. Glue one half onto the main stem as pictured and insert other into foam. Glue on the two other flowers at the top of the sticks, reinforcing as before. And finally, gluing the leaves on randomly.
Make a Bowdabra bow tie by cutting an 18″ piece of bow wire, fold in half and place in the Bowdabra, tucking the ends under.
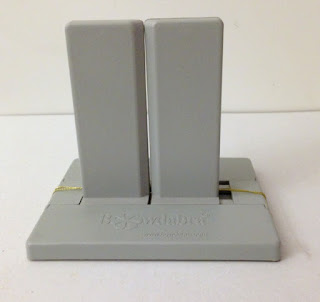
Pinch the ribbon together leaving about an inch on a twelve inch length of ribbon on one side, and place into the Bowdabra, pattern down. Make a loop on the opposite side and fold completely over the tower into the Bowdabra . . .

to form a simple bow.

Scrunch down the ribbon with the Bowdabra wand.

While the bow is still in the Bowdabra, thread the two loose ends of the bow wire through the loop pulling tightly. Gently pull the bow out the Bowdabra separating the ends and taking them around to the back of the bow and tying into a knot. Cut off excess.
To finish the bow, cut a small piece of ribbon about three inches long, and fold the sides over, meeting in the center. Place a dab of glue on the back of the bow and wrap one end around the bow, ending in the back, gluing down.

Wrap a decorative ribbon around the edge of the clay pot, gluing in the center, and adding the Bowdabra Bow Tie on top!
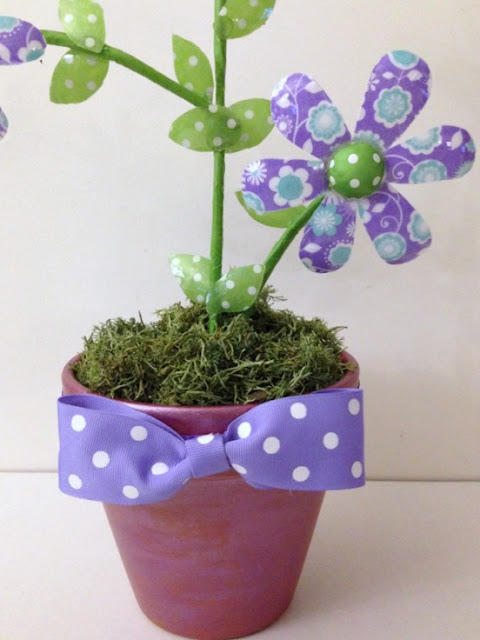

Take a little time to enjoy.
https://www.youtube.com/watch?v=t-MI3ZkwQ1s
Read More
- How to Make a Beautiful Hanging Flower Basket
- How to make Matchstick Peacock
- How to Decorate Saree With Popular Designs
- Beautiful Potli Button Neck Design Cutting & Stitching
- Potli buttons design sleeves cutting and stitching


