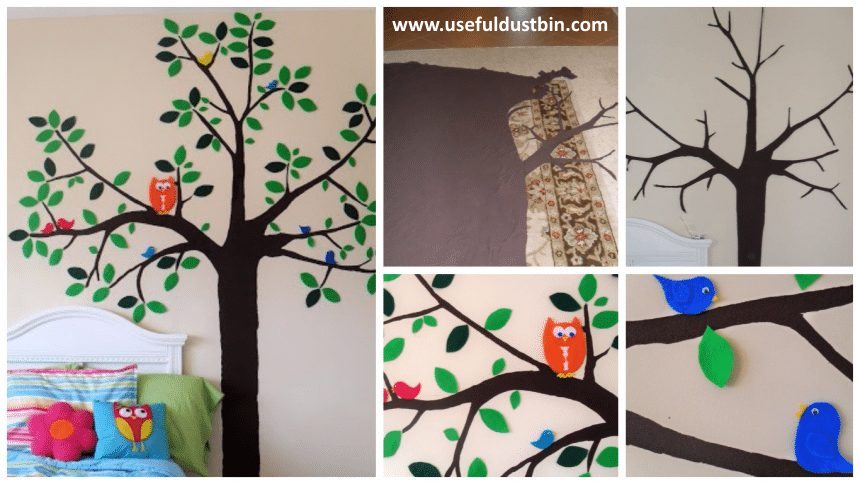
Hello friends, today I’m sharing some interesting idea. How to make our walls beautiful and decorative, yes we can decorate our walls with stickers.
Let’s start our work
1. From queen size or full-size sheet, cut out the shape. I’m no artist but I looked at a picture and did it free-hand (probably why the trunk turned out a little funny?)
2. Using push pins, I hung the now “decal” to the wall for placements. Then I used spray starch (like the kind you use for clothes) to adhere the decal on the wall (almost like wallpaper). My decal is big, and I drenched the fabric, still had plenty of starch left over 🙂 If you do this, make sure to re-pin the decal once the starch is on until it dries. When it’s completely dry, remove push pins.
3. From felt, I cut leaves/birds (or any other desired shapes). I didn’t want to waste my time trying to starch-spray these to the wall…I put a little tape on the back, and stuck those little birdies up there!
Thank you to join us.
Credit: sewcando
Why spend a fortune on expensive vinyl decals when you can create custom, peel-and-stick art for pennies? I’m obsessed with making my own because I can get the exact size, color, and phrase I want. The best part? It’s way easier than you think.
The secret weapon? Adhesive vinyl and a craft cutter—but wait!
Don’t have a Cricut or Silhouette? No problem! You can absolutely do this by hand. Here’s how:
Design & Trace: Find a design or font you love on your computer and print it out. Tape a sheet of adhesive-backed vinyl (available at any craft store) over your printed design, with the paper backing facing you.
The Hand-Cut Method: Use a precision craft knife to carefully trace and cut out your design through the vinyl layer only, being careful not to cut through the paper backing.
Weed It: Once cut, peel away the excess vinyl around your design, leaving your desired shape stuck to the paper backing. This process is called “weeding.”
Apply: Position your design on the wall (the paper backing makes it easy to move around). Once you’re happy, press firmly, rub over the entire design, and then slowly peel the paper backing away, leaving your custom sticker perfectly placed.
This method gives you total creative freedom. You can create intricate quotes, floral motifs, or even a giant custom mural without any special machines.
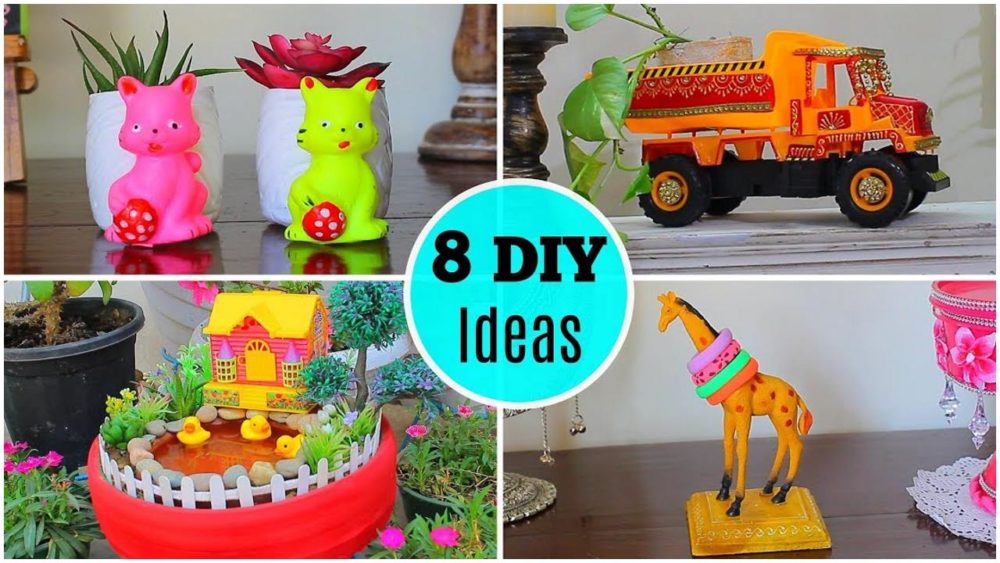
8 Great ideas to use old toys for home decor
Read More
- DIY Home Decorate Glass bottles from balloons
- How to make wind chime from paper – Home Decoration
- DIY Home decoration Lamp using waste plastic bottles
- Easy Tutorials to Reuse Old Bangles in Home Decoration
- How to Make Plastic Bottle Wall Hanging (Home Decor)


