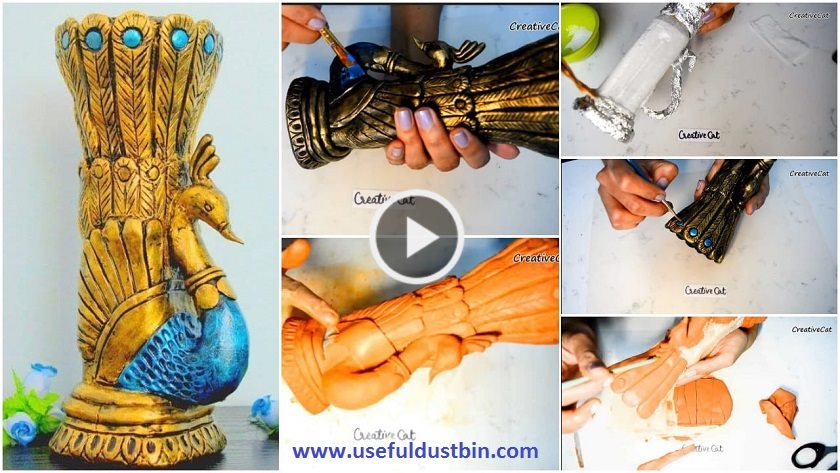
How to Make an Antique Peacock Vase
Want a stunning, one-of-a-kind decor piece? Transforming a plain vase into an antique peacock masterpiece is easier than you think and so rewarding. I used this technique on a thrift store find, and it now looks like a priceless heirloom!
You’ll need: A plain glass or ceramic vase, acrylic paints (teal, gold, bronze, navy), sealer glue, and fine-tipped brushes.
The Creative Process:
Base Coat: Start with a dark base color—a deep navy or black. This will make the metallic accents pop. Let it dry completely.
Sketch the Peacock: Lightly sketch your peacock design with a pencil. Focus on the iconic fan-shaped tail feathers. Don’t worry about perfection; a stylized look is best.
The “Antiquing” Magic: Here’s the secret! Don’t paint solid feathers. Use a dry-brushing technique: dip your brush in gold or bronze paint, wipe most of it off on a paper towel, and then lightly whisk it over the raised details and edges of your design. This gives a worn, gilded look.
The Eye of the Feather: For the famous peacock eye markings, use a dotting tool or the end of a brush to create teal circles, then add a smaller black dot inside.
Seal It: Finally, protect your artwork with a layer of clear matte or satin varnish. This blends the layers and gives it a professional, finished feel
Sharing my Peacock Themed Vase made on Bottle I did some Basic Clay work in this, Hope u will like this Video Tutorial.
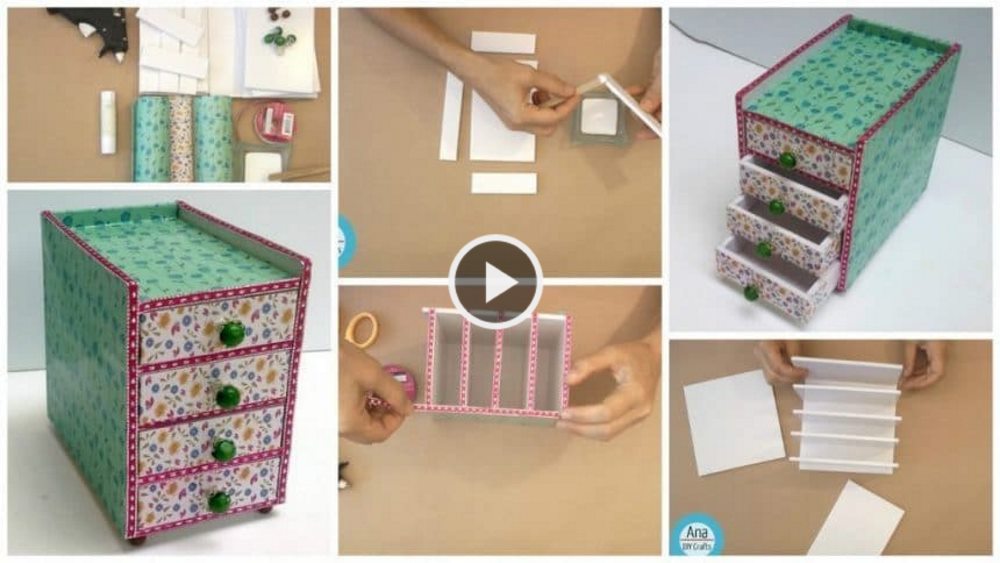
How to make mini desk organizer
Read More
- How to Make Woolen Door Hangings at Home
- How to make matchstick wall hanging at home
- How to Make Plastic Bottle Wall Hanging (Home Decor)
- How to Make Paper Quilling Wall Hangers For Room Decoration
- How to Make Newspaper Waterfall Showpiece


