How to Make a Flying Airplane Using Plastic Bottle and Cardboard
This isn’t just a craft; it’s a basic lesson in aerodynamics! I’ve made these with kids, and the excitement when it actually glides is fantastic.
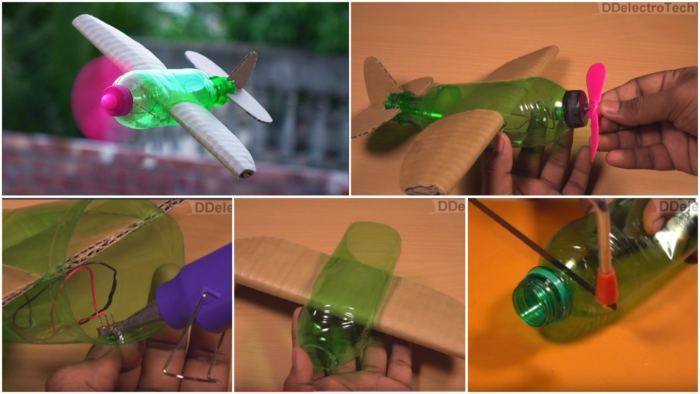
Gather: A small plastic soda bottle (the body), cardboard (for wings), two corks or a small wood block (for the nose weight), and a hot glue gun.
Key Steps for Flight:
The Body: The bottle is your fuselage. Ensure the cap is on tight!
The Nose Weight: This is the most crucial step. A plane needs weight in the nose to fly properly. Glue your corks or wood block to the bottle’s cap end. Without this, it will just tumble.
Wings & Tail: Cut a straight wing and a vertical stabilizer (tail fin) from cardboard. The wings should be centered. The tail fin should be perpendicular.
Assembly: Use plenty of hot glue to attach the wings and tail fin securely. Let everything set completely before your test flight.
Give it a gentle, forward throw—not like a baseball! See how it glides and adjust the wing angles if needed.
How to make a flying airplane using plastic bottle and cardboard easy way to make flying airplane must watch.
Airplane fly only indoor so make and enjoy it. Learn How to Make a Simple indoor flying Airplane using Waste materials like Plastic bottles , Cardboard etc.
Read More:
- DIY Recycled Plastic Bottle Craft Tutorial
- Plastic bottle craft organizer – Best out of waste
- Amazing DIY Using Plastic Bottle – Best Out Of Waste
- How to make organizer from plastic bottle
- Room decor from waste plastic bottle