Dubai Henna Design – Step By Step (Tutorial)
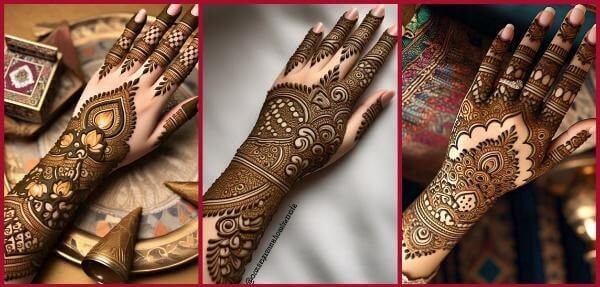
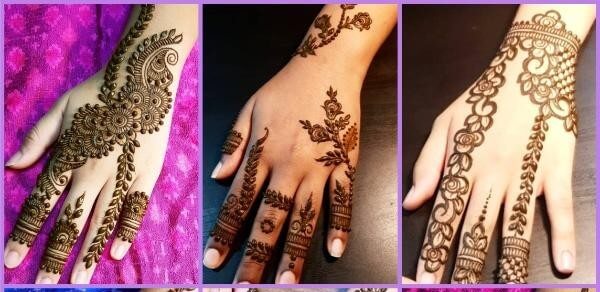
Dubai-style henna is all about bold, negative space, and intricate floral patterns that often cover the hands and feet like lace gloves. I fell in love with this style on a trip there; it’s less about dense fill and more about creating an illusion of jewelry with henna. It looks complex, but you can break it down into simple steps.
Key Characteristics: Think big, open flowers, elaborate vines, and lots of “see-through” patterns within the design elements. The wrist and knuckle areas are often heavily adorned with motifs that resemble cuff bracelets and rings.
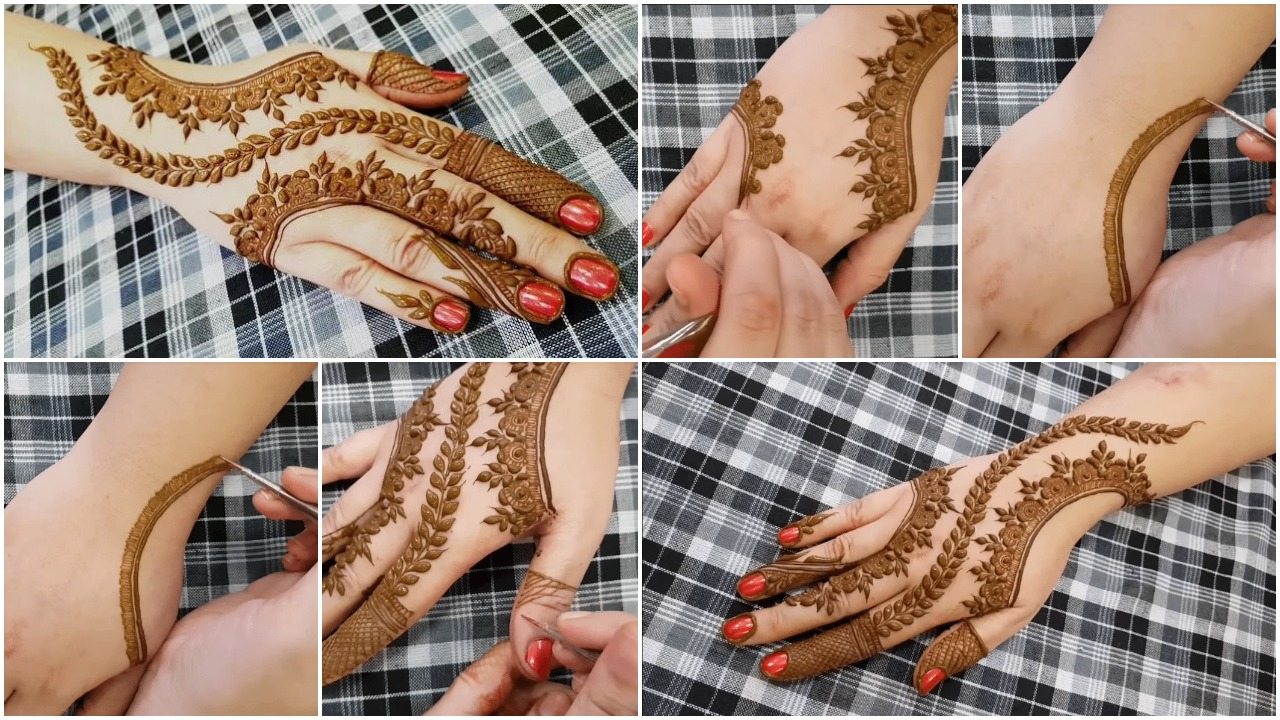
Your Step-by-Step Guide:
Outline the Main Elements: Start with the largest shapes. Draw a few large flowers (like open roses or peonies) on the back of your hand and the center of your palm. These are your anchors.
Connect with Vines: From these flowers, draw graceful, swirling vines that travel down to your wrist and up to your fingers. Don’t make them too thick.
Add the “Jewelry”: At your wrist, draw a bold, cuff-like band. On your fingers, draw rings that connect to the main design on your hand. This is a signature Dubai-style element.
Fill with Negative Space Patterns: This is the magic! Inside your large flowers and the cuff band, don’t fill them in completely. Instead, create patterns within them using tiny dots, lines, and small leaves. The goal is to make it look detailed but still airy.
Pro Tip: Practice the fill patterns on paper first. The beauty of this style is in the delicate details inside the larger outlines.
Dubai henna design – Step By Step (Tutorial)