Hello, dear friends! This master class is dedicated to making a multi-row bracelet with a beautiful toggle lock.
These bracelets are now very popular and give great scope for the imagination of needlewomen. You can make them from natural stones, from glass or any other beads, you can combine in one product beads of different shapes or different colors. The number of rows in the bracelet can also be different – from 2 to 10.
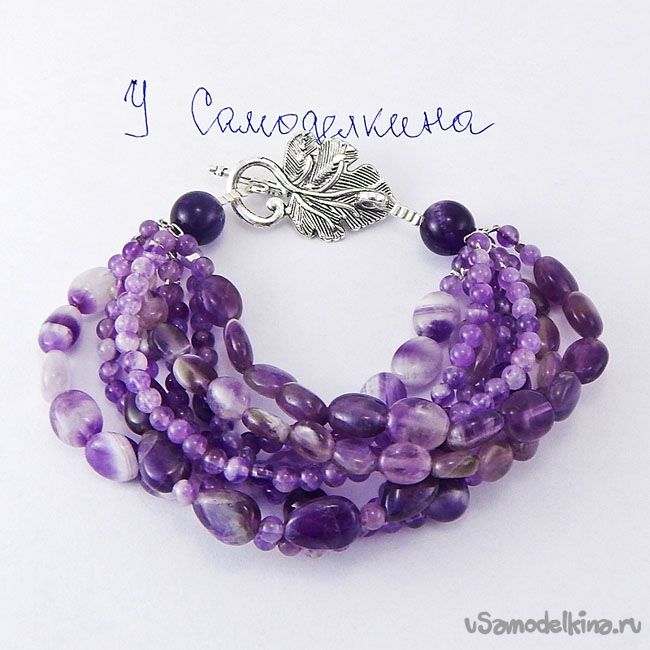
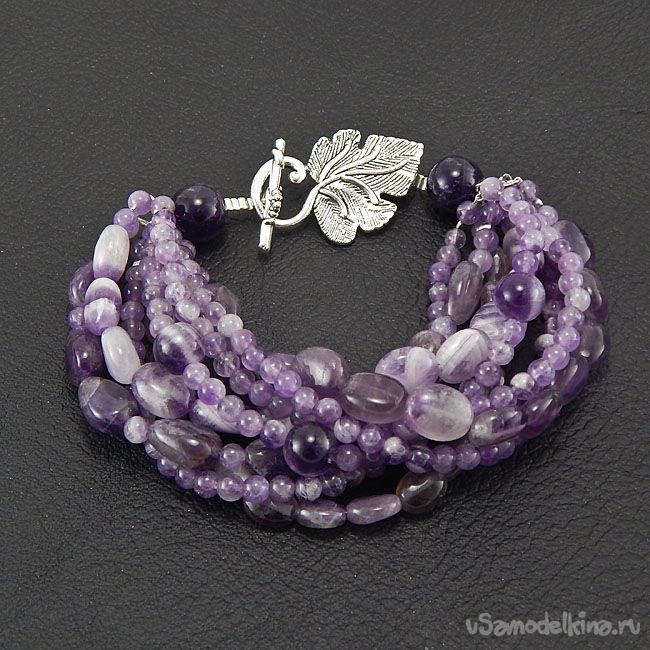
I myself work only with natural stones and very much like to use in one decoration beads from one stone, but in different shapes and shades. Here is a bracelet in 8 rows of natural amethyst and is described in this master class. But you can do any other, most importantly – know the technology.
Materials and tools | Basic Materials
Beads of different shapes and sizes, enough to fit 8 rows of 14 cm
Two beads are larger
Toggle lock in the form of a grape leaf
15-20 cm chain
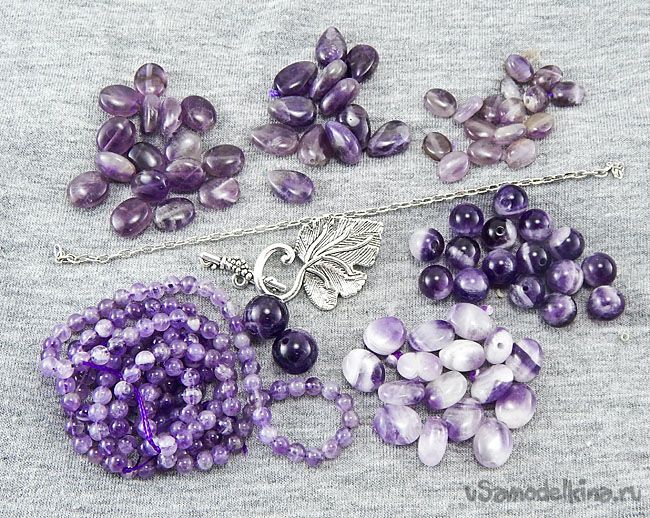
Auxiliary materials
Jewelry wire – about 2.5 m
Crimps (clips for rope) 24 pieces
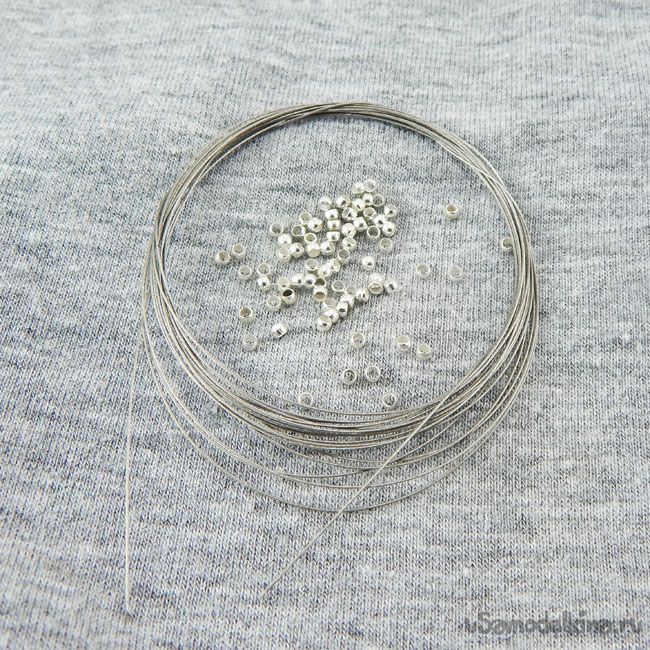
Instruments
Thin-nose pliers
Side cutters
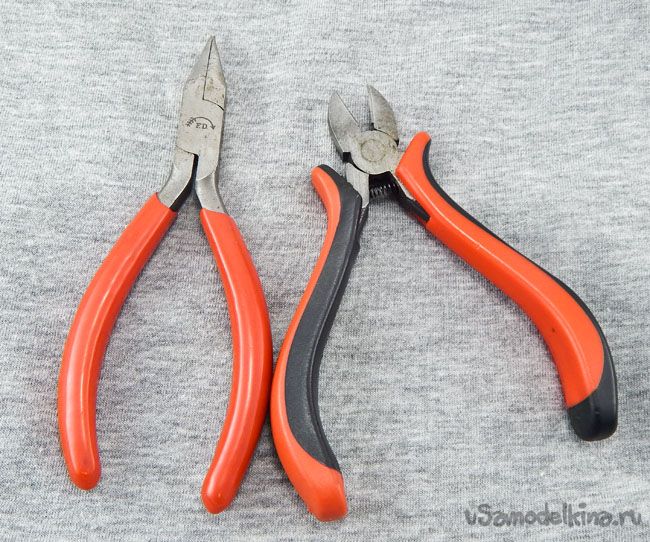
A detailed description of the work .
Step 1. We prepare the rows of beads.
Cut off a piece of rope about 25 cm long, tie a knot at one end and string beads to a length of 14 cm. Thus we prepare 8 rows.
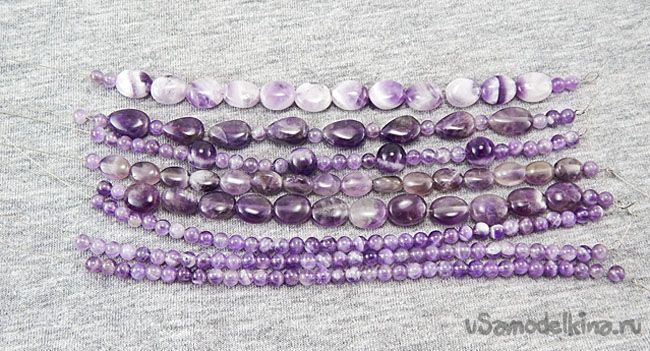
Step 2. Attach the chain to the ends.
We start from the end of the cable, on which there is no nodule.
Remove the last beads, put on the crimp and return the bead to the place.
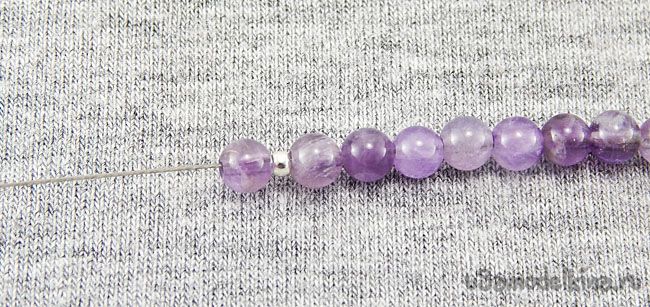
We pass the end of the cable through the last link of the chain, and then again through the beads.
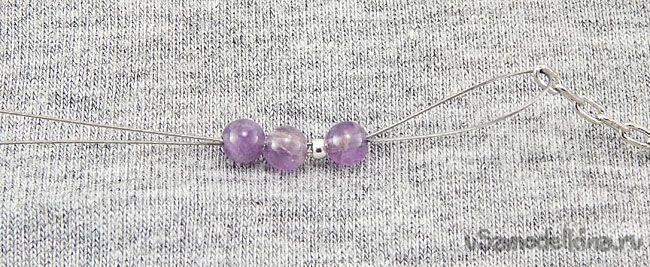
We shift the extreme bead and krimp to the chain itself …
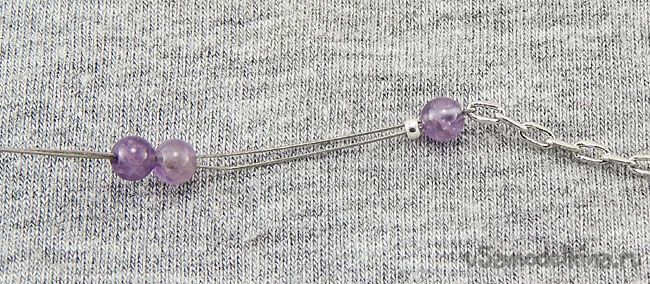
… and squeeze the crimp with thin-nosed pliers. Cut off the extra piece of cable, leave so much that it hid in the last 2-3 beads.
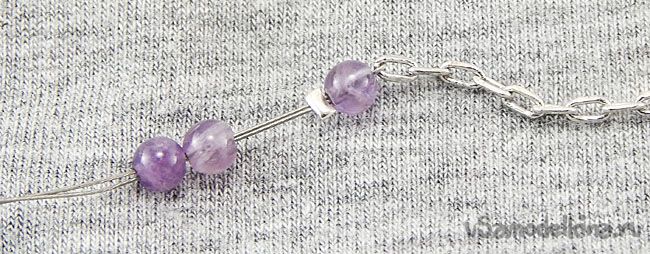
Now you need to cut the chain to the desired length, we have 3 links.
If the links are smaller, you need 5 links or even 7 (the total length should be 1.5-2 cm, the number of links is necessarily odd).
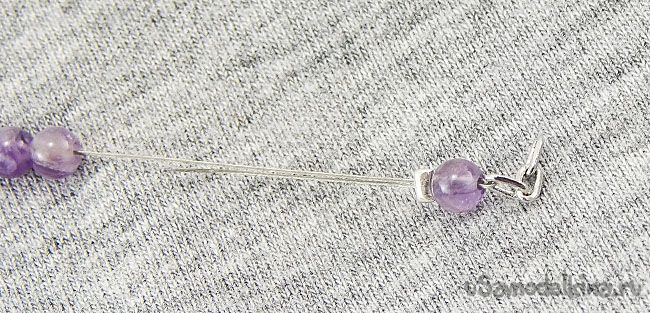
Thus we prepare all 8 rows.
Step 3. Join the rows in pairs.
Now we will work with those ends, where a knot is tied, which at this stage will have to be cut off.
Just as in step 2, before the last bead we set the crimp, pass the end of the cable through the last link of the chain and again through the last bead, krimp and a couple of the beads.
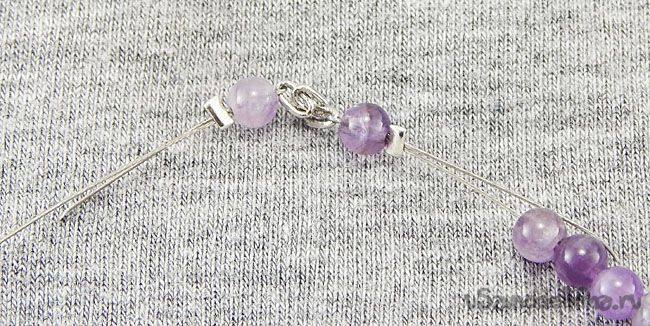
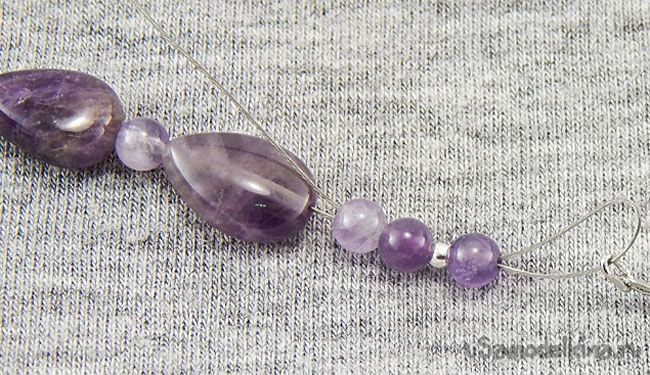
We take the protruding end of the cable and tighten the loop so that the last bead is pulled close to the chain. At the same time, make sure that the tip of the cable on the other side is hidden in the beads.
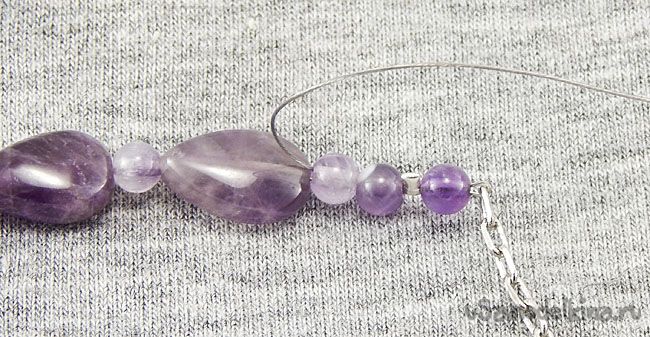
Clamp the crimp, cut off the end of the cable.
Now 2 rows of beads are connected by a chain. Similarly, we connect the opposite ends, to get a ring of two rows of beads, connected together by segments of the chain.

We do this operation with all rows.

Step 4. Join the rows
Now we need to collect all the rows together.
We take a piece of wire length of 15-20 cm and pass it through the middle chain link
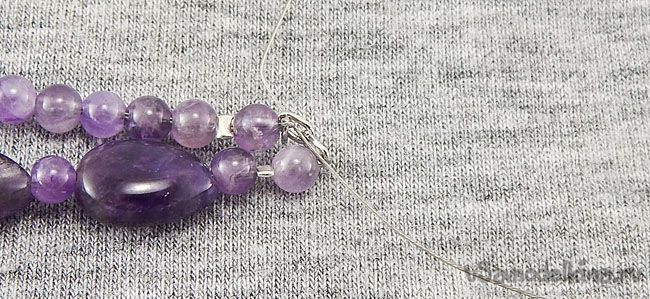
We do the same with the other pairs of rows
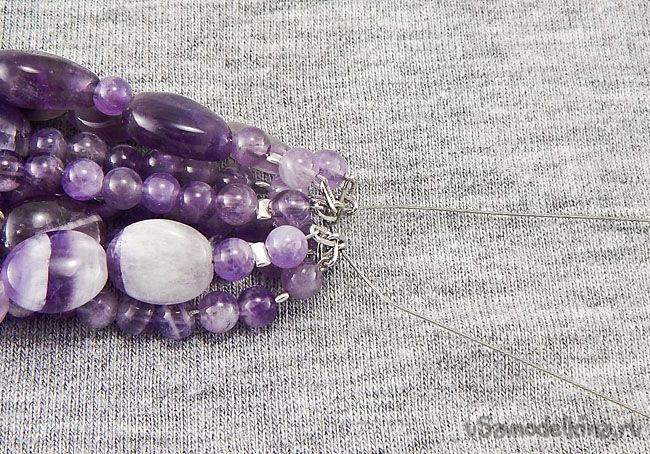
Immediately on both ends of the cable put on a large bead and 4 krimp.
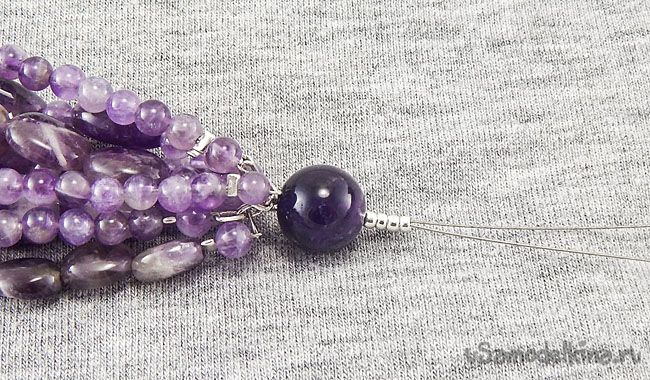
Step 5. Install the lock
Attachment of the lock practically does not differ from the attachment of the chain, only instead of one end of the cable we use two at once. We pass the ends through a ring of the lock and again back through krumpy and bead.
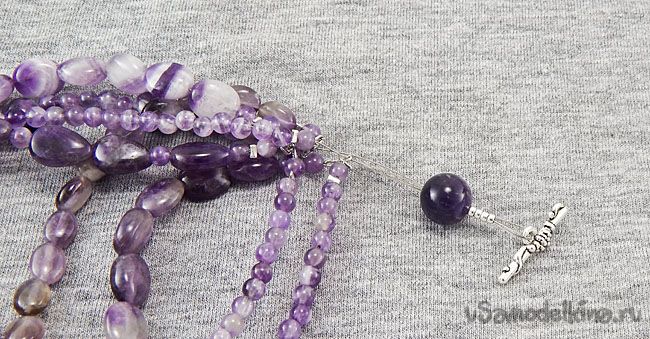
We tighten, squeeze the crimp, cut off the protruding ends.

It remains to connect the rows and attach the lock on the other side
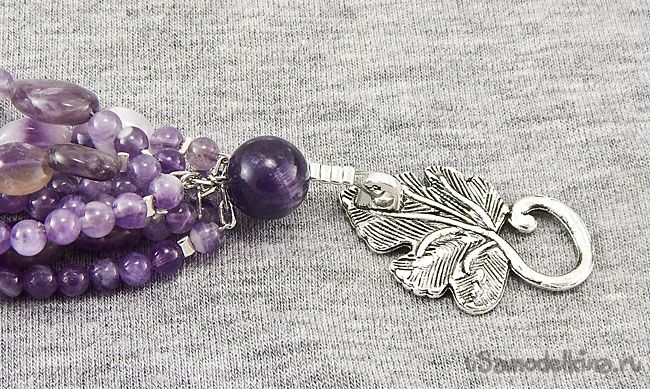
Here is what the beauty turned out as a result
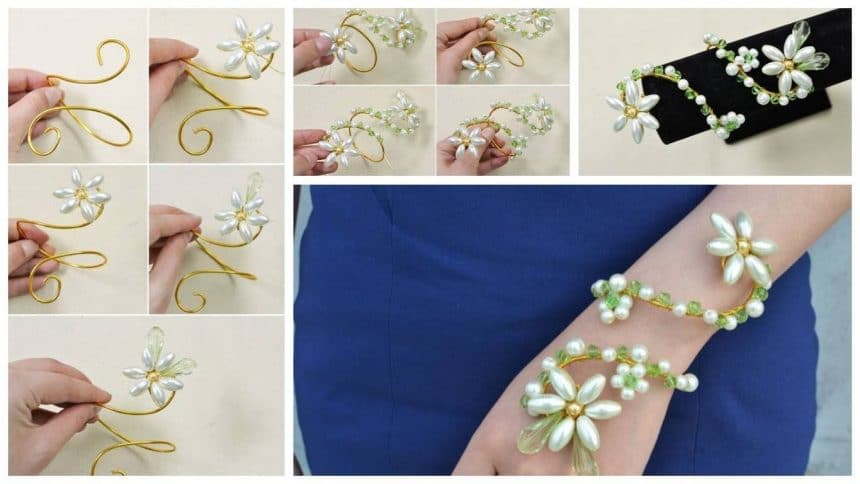
How to make a wire wrap pearl flower bracelet
Read more
- Amazing detail on kurti neck Designs
- How to do bullion rose embroidery for kurti neck
- Different types of patiala salwar suits cutting and stitching
- Different types of patchwork handbag
- Princess cut double front slit kurti (Dress Tutorial)

