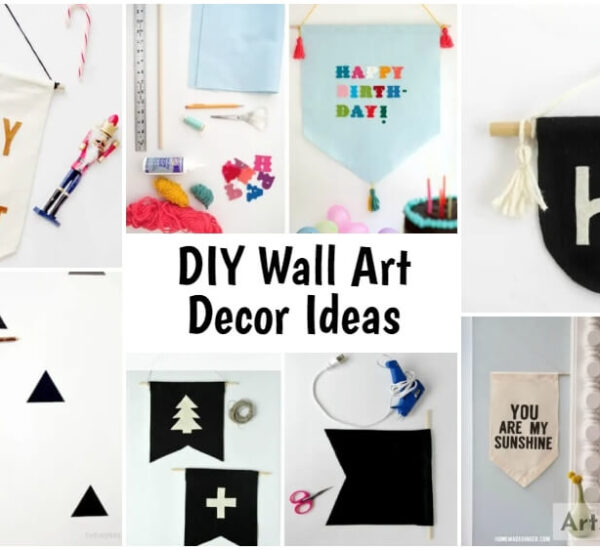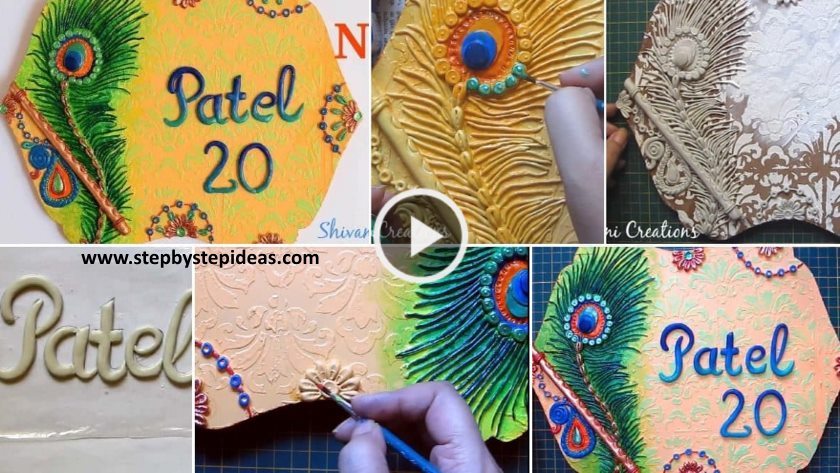
How to Make a Nameplate Using Clay at Home
Creating a personalized nameplate is such a rewarding DIY project. I made one for my niece’s door, and it was a hit! Air-dry clay is fantastic for this—it requires no baking and is easy to shape.
You’ll need: Air-dry clay, a rolling pin, a knife or clay tools, acrylic paints, and a sealant (like mod podge).
Step-by-Step Creation:
Roll & Cut: Roll your clay out to about 1/4-inch thickness. Use a knife to cut it into your desired shape—a rectangle, a circle, or even a cloud!
Imprint the Name: This is the fun part! Use letter stamps, or carefully carve the name freehand with a toothpick or clay tool. Don’t forget to poke two holes at the top for hanging later.
Dry Completely: Let the clay dry according to the package instructions. This can take 24-48 hours. Be patient—if it’s not fully dry, it might crack later.
Paint & Seal: Once bone-dry, unleash your inner artist! Paint the nameplate with acrylics. To make the name pop, paint the entire piece one color, then use a contrasting color to fill in the carved letters. Once the paint is dry, seal it with a layer of varnish or mod podge to protect it.
Now, thread some ribbon or twine through the holes, and your handmade nameplate is ready to hang!
This video is about how to make beautiful handmade nameplate using shilpkar clay.. This is air dry clay. Also in this video you will find how to write alphabets using clay.
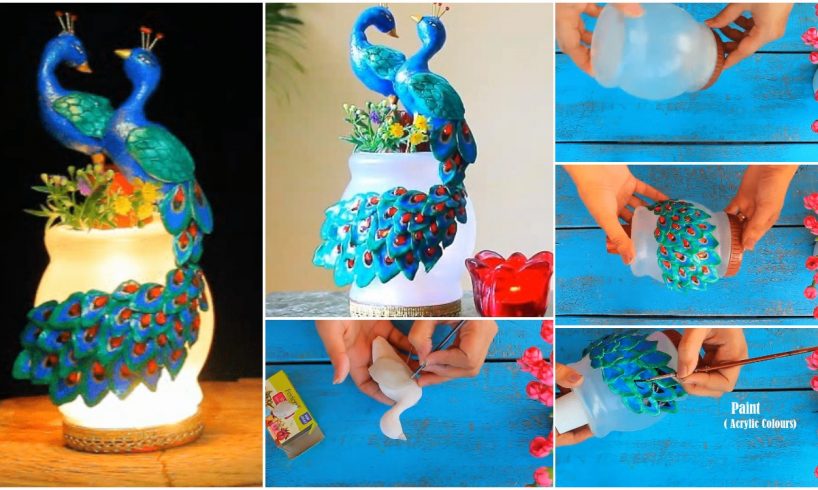
How to make peacock lamp using clay for home decor
Read More
- How to make nameplate from waste material
- DIY Home decoration Lamp using waste plastic bottles
- Easy Tutorials to Reuse Old Bangles in Home Decoration
- How to Make Plastic Bottle Wall Hanging (Home Decor)
- 8 Great ideas to use old toys for home decor