Latest Slit Sleeves Design: Cutting & Stitching Tutorial
Slit sleeves are everywhere this season, and I’m obsessed! They add drama, movement, and a touch of effortless cool to any top or dress. The best part? They’re surprisingly simple to create.
The key is in the cutting, not the stitching.
Draft the Sleeve: First, draft or use a pattern for a basic long sleeve. The wider the sleeve, the more dramatic the slit will be.
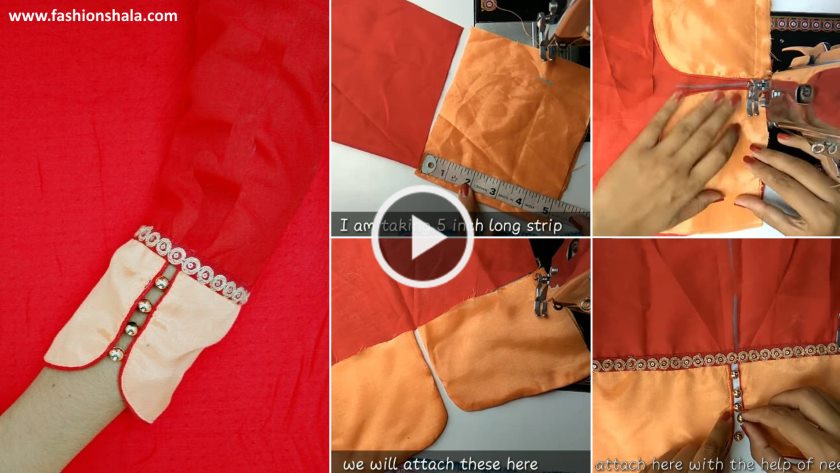
Mark the Slit: Decide where you want the slit – the inner forearm is a classic and flattering placement. Mark a straight line on your pattern piece from the hem up, typically 5-7 inches.
Add Seam Allowance: This is the crucial step! Don’t just cut a slit. Add extra fabric (about ½ inch) on both sides of the marked line. This will become your seam allowance for a clean, finished opening.
Stitch & Finish: Sew the sleeve seam as normal, but leave the slit portion open. Press the seam allowances of the slit open and finish the raw edges with a serger or zig-zag stitch for a neat, professional look.
Have you been thinking of getting a kurti but need a new style to flaunt? It’s not just about the type of kurti you’re looking for, or the colour, or even the print on it! However, silhouette is also an important role. Going beyond the concept of lengths and structure, we are talking about the sleeves that are now available in the market.
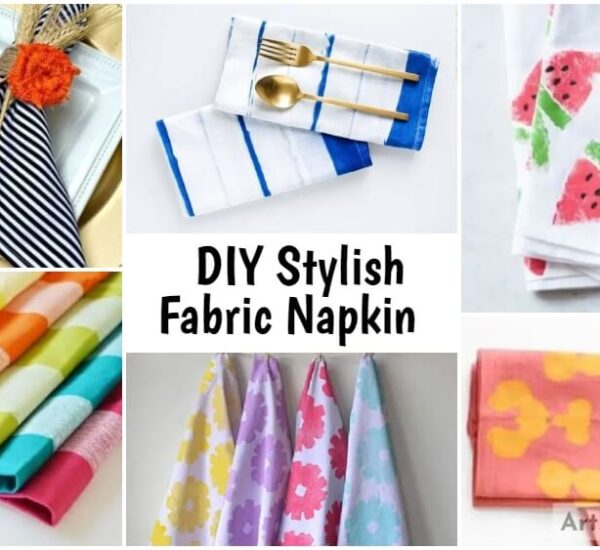
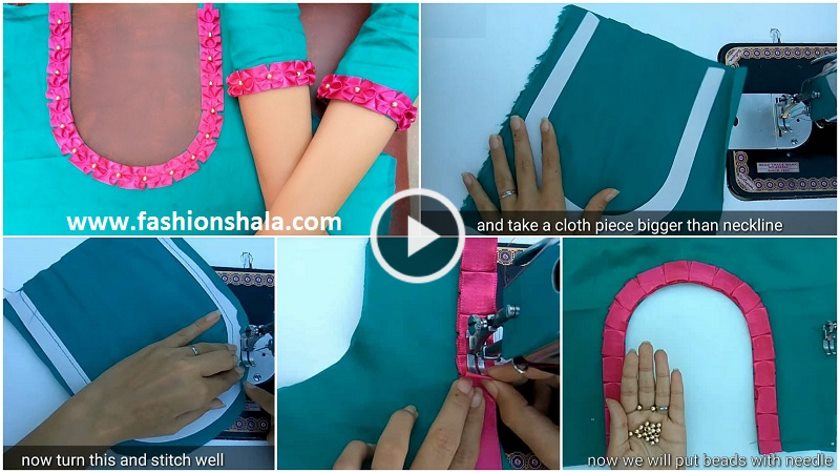
Latest neck and sleeves design in very easy way
Read More
- Different types of sleeves often found in vintage clothing
- Handmade Designer Sleeves Design Similar To Aari Work
- 15+ Stylish Silk Saree Blouse Sleeves Design
- Creative designer sleeve pattern cutting stitching
- Designer sleeve pattern with pin tucks and dori gathers