
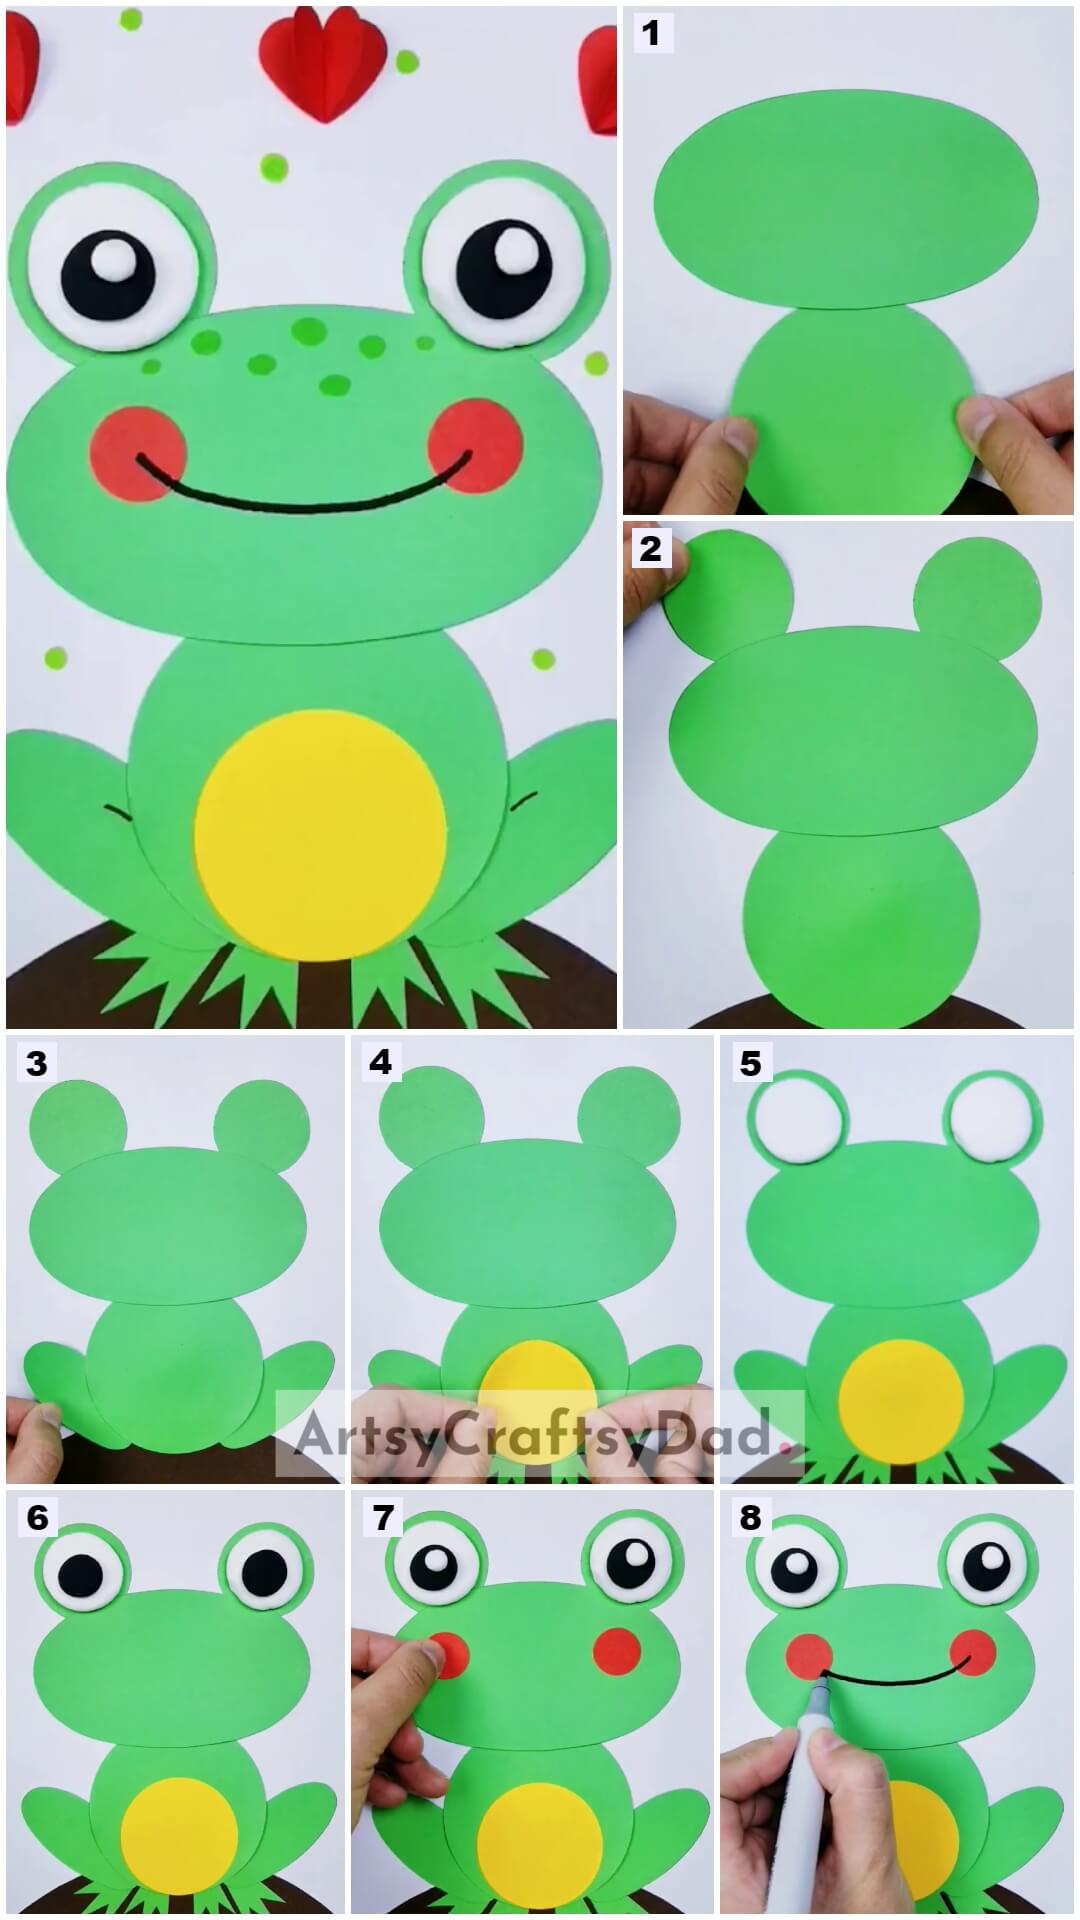
Create a colorful and adorable paper frog with this easy step-by-step tutorial for kids. Perfect for a fun and educational craft activity for kids of all ages.
Get ready to hop into creativity with this incredible paper frog tutorial! With just a few simple folds and cuts, you can create a realistic and adorable paper frog that’s sure to delight kids of all ages. In this step-by-step guide, we’ll walk you through each stage of the process, making it easy for even the youngest crafters to follow along.
Incredible Paper Frog Craft Tutorial For Kids
Must Read: Paper Frog Face: Jumping Toy Craft Tutorial
Supplies & Tools
- Sheets( green, black, white, red, yellow)
- Glue
- Scissor
- Black marker and green marker
Paper Frog Craft Instructions
Step #1: Begin With The Base
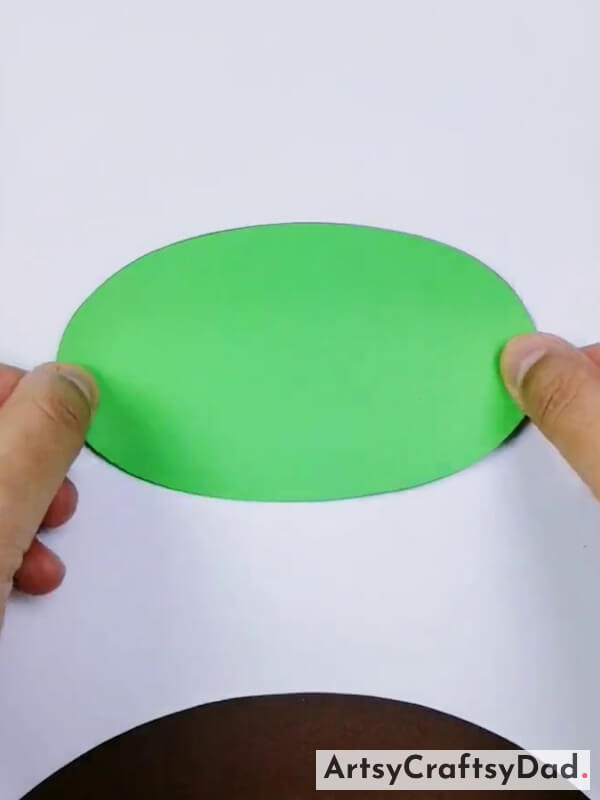
First, take a white sheet and a semi-circle cut shape of the black sheet and paste it on the bottom of the white sheet. Then, take a green sheet and cut it into an oval shape horizontally.
Step #2: Cut Another Shape

Now, use a green sheet and cut a circle shape, and paste them together. Paste a horizontal oval shape upper and then a vertical oval shape downward.
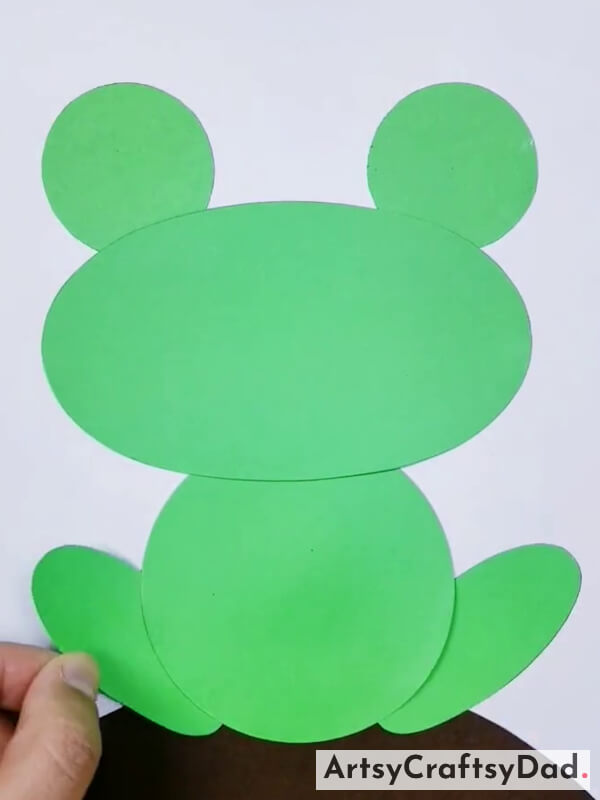
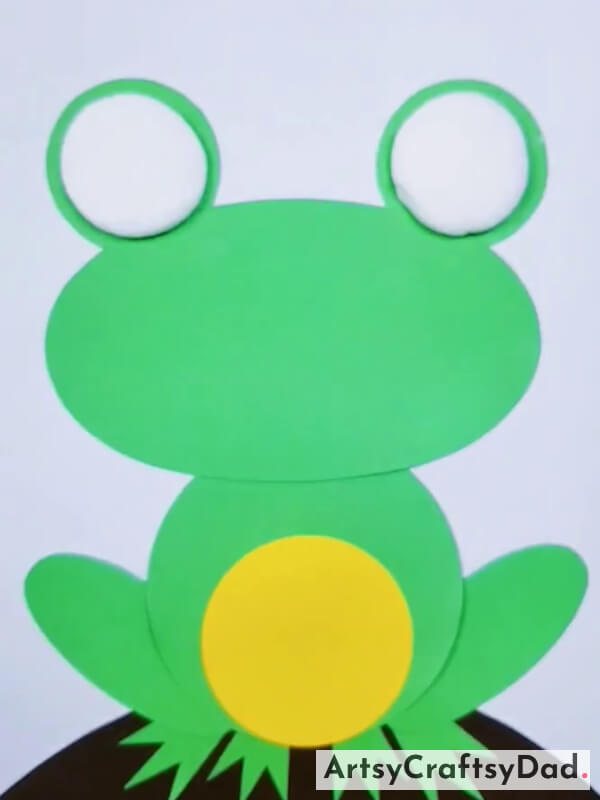
Step #3: Make Two Ears

Now, use a green sheet again cut two same-size circular shapes, and paste them on the head of the upper part.
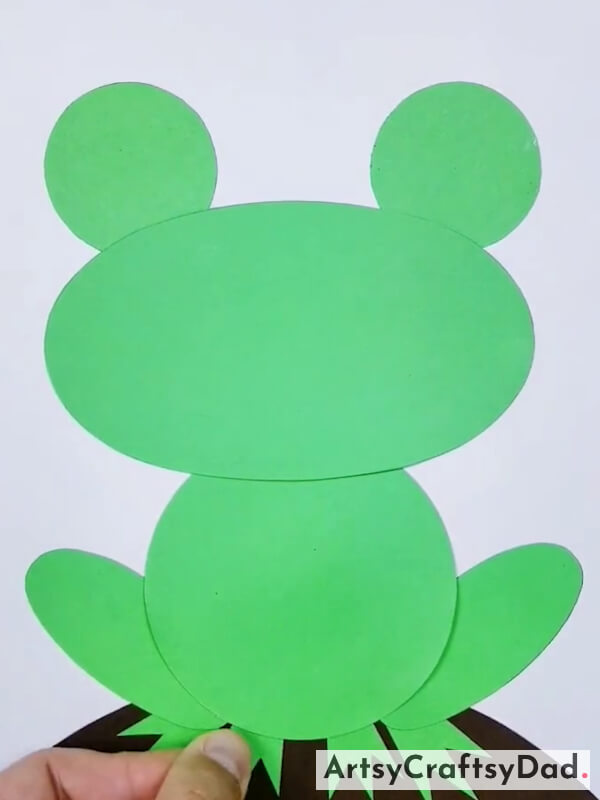
Step #4: Add Legs

Now, make legs with the help of green sheet only, cut it horizontally oval shape, and paste it diagonally at the lower part of the circular shape.
Step #5: Repeat The Step
Now, repeat the above step make another leg, and paste it opposite side of the first one.
Step #6: Paste Feet Of The Frog
Now, cut the green sheet into four “W” “-like shapes a foot of the frog and paste them just below the legs.
Step #7: Use A Yellow Sheet

Now, use a yellow sheet cut the sheet in a circular shape, and paste it on the circular area of the frog.
Step #8: Paste White Sheet On The Ears
Now, use a white sheet and cut these sheets into a circular shape but smaller circles as compared to the eyes of the frog and paste it on the eyes.
Step #9: Paste The Inner Part Of The Eyes

Now, paste the inner part of the eyes by using a black sheet and paste it above the white eyes.
Step #10: Paste Chicks
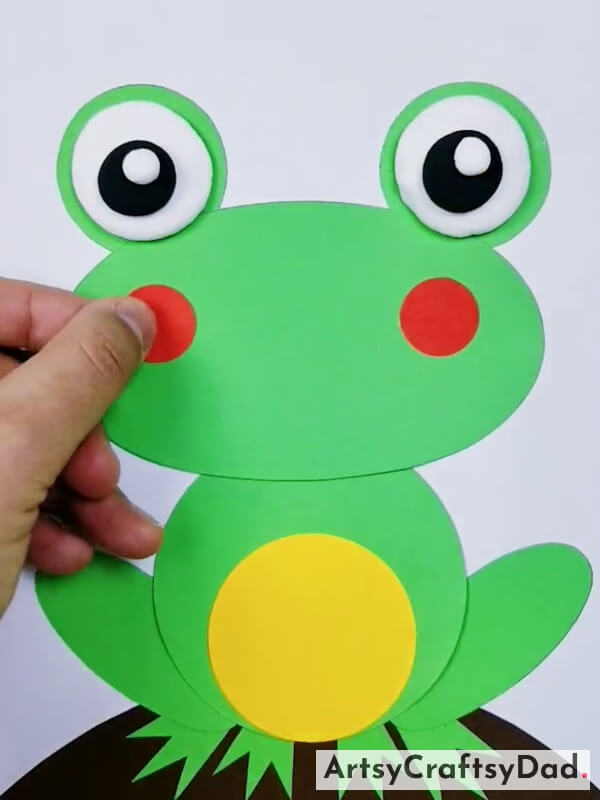
Now, use a red sheet cut the sheet in a circular shape, and paste it on the oval horizontal shape.
Step #11: Connect The Chicks

Now, with the help of a black marker connect both the chicks.
Step #12: Decorate The Craft

Now, with the help of a green marker draw some dots on the background and the green sheet.
Step #13: Paste Heart Shape

Now, by using the red sheet make a heart shape and paste it in the background.
Congratulations! our Incredible Paper Frog Craft Is Ready.

After completing the heat-pasting shape Incredible Paper Frog Craft is ready. This is simple cum easy to craft and while making this craft you will sure have fun a lot.
Finally! Your craft is ready.
And that’s it! You now have a beautiful paper frog that’s ready to hop its way into your heart. With this tutorial, you’ve learned how to use paper folding and cutting to create a 3D object that looks just like a real frog. We hope you had fun making it and can’t wait to see what other creative projects you’ll come up with!
You Might Also Like This
- DIY Paper Trees Craft Step-By-Step Tutorial For Kids
- Beautiful Paper Cup Sunflower Craft Step-By-Step Tutorial For Kids
- Crab Paper Craft Step-By-Step Tutorial For Kids
- DIY Paper Bird Craft Step-By-Step Tutorial For Kids


