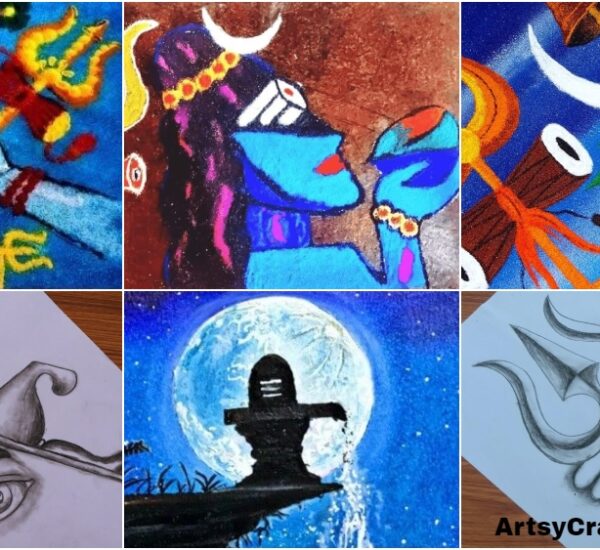
Easy Festival Rangoli with Chalni Stencil
Rangoli is all about creativity, but sometimes freehand patterns can feel intimidating. That’s where the chalni (sieve) technique comes in—it’s quick, innovative, and perfect for festivals when you’re short on time but still want stunning designs. In 2023, this method has become a huge trend on Instagram reels and YouTube tutorials.
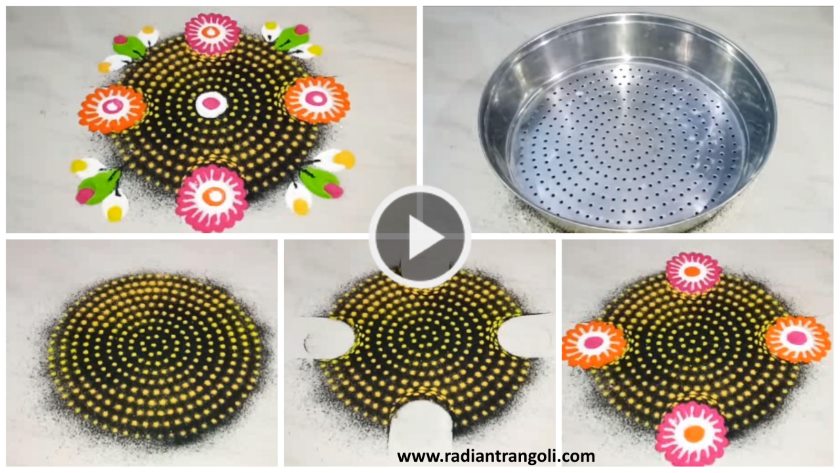
How to Make Rangoli with Chalni
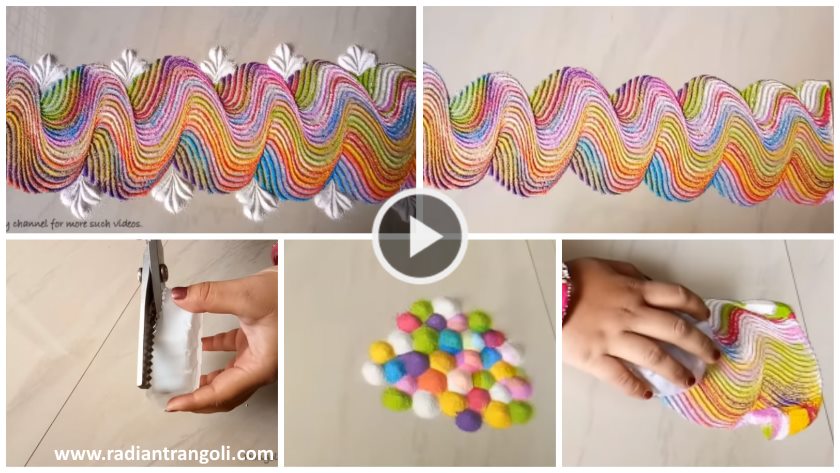
All you need is a chalni, rangoli colors, and a flat surface. Follow these easy steps:
- Place the chalni on the ground where you want the design.
- Add rangoli powder inside and gently tap it to create even, dotted layers.
- Carefully lift the chalni—your base pattern is ready!
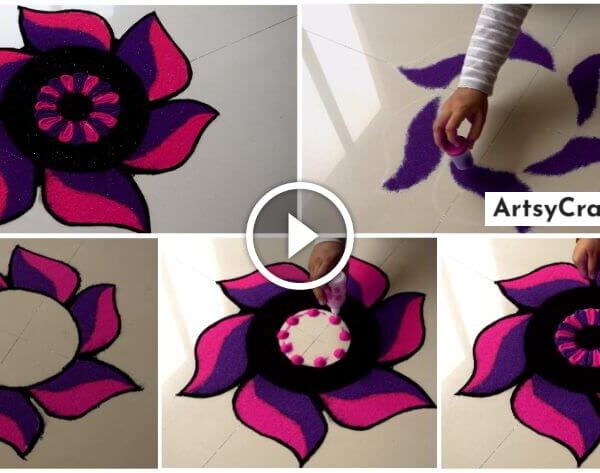
- Use different colors and repeat the process to form flowers, mandalas, or geometric designs.
- Finish with diyas, mirrors, or flower petals for extra charm.
I remember a client once telling me, “I finished my rangoli in 15 minutes using a chalni, and everyone thought I’d hired a professional artist.” Honestly, I’ve seen the same magic—it looks neat and creative without much effort.
Why This Technique Works
In my experience, chalni rangolis are loved because they’re:
- Beginner-friendly – no drawing skills needed.
- Quick to make – perfect for busy festival mornings.
- Customizable – works with flowers, rice flour, or colors.
- Trendy – widely shared across social platforms as DIY hacks.
Quick Tips
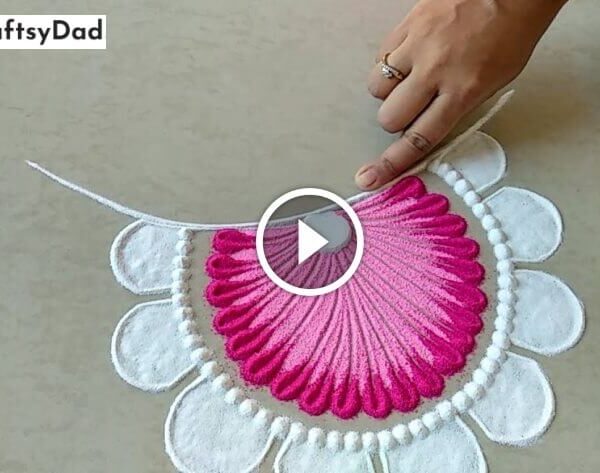
- Use contrasting colors for maximum impact.
- Try multiple chenils of different sizes for layered effects.
- Add a border with diyas to highlight the design.
Final Thoughts
Unique chalni rangolis prove that innovation and tradition can beautifully coexist. So, are you ready to try this fun tutorial for your next festival?
Rangoli Magic Trick BEST 2018
Read More
- Beautiful And Unique Rangoli Design -Tutorial
- Easy and Beautiful Rangoli Design – Tutorial
- Very Simple Freehand Colorful Rangoli Designs
- Unique and Beautiful Peacock Rangoli Designs
- Very Easy Rangoli Design Using Spoon by DEEPIKA PANT