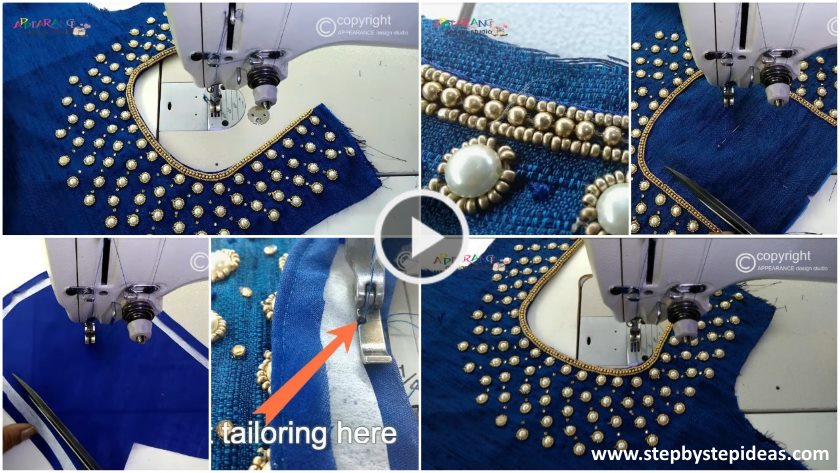
A beaded neckline is the fastest way to add glamour to a plain blouse! A “U” neck is a perfect canvas because its curve provides a natural guide for your design. I remember a client who was nervous about this; we started with a simple dotted line, and the result was stunning.
Your Stress-Free Beading Guide:
Plan Your Path: First, use a water-soluble fabric marker to draw your design directly onto the neckline. A simple flowing vine or a scalloped edge works beautifully.
Thread & Knot: Use a fine beading needle and strong thread (like Nymo). Knot the end and come up from the inside of the fabric where you want to start.
The Stitch: String a few beads onto your needle. Lay them along your marked line. Take a tiny backstitch after the last bead to secure them in place. Continue this “string a few, stitch down” method—it’s much more secure and controllable than trying to sew each bead on individually.
Secure the End: When finished, take your needle to the inside and make a few small knots close to the fabric to secure.
This method gives you a professional, durable finish that won’t lose beads after a few wears.
How to stitch on bead work embroidery neckline”U” neck
https://youtu.be/CPLwDVNMuo0
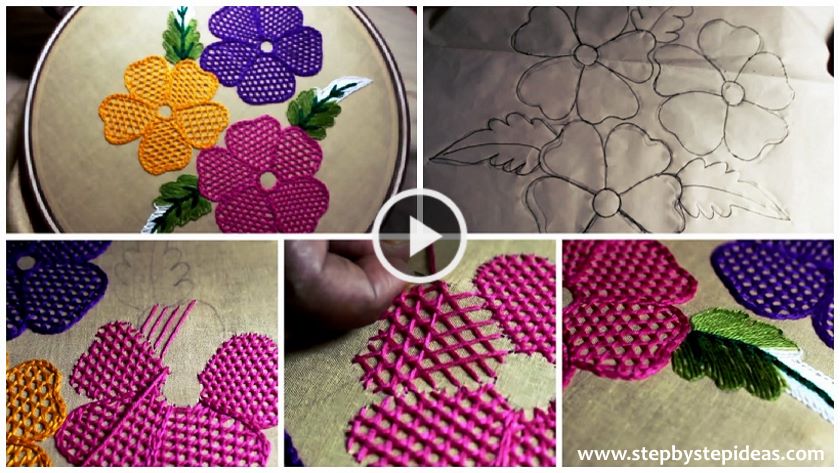
Hand Embroidery Net Stitch Design For Cushion Cover
Read More
- Hand embroidery easy stitch Neckline net embroidery stitch
- Satin stitch flower embroidery for boat neck blouse
- Hand embroidery dress design with mirror work
- How to make neck embroidery design with tassels
- Making beautiful design by aari work embroidery