Starting bead embroidery can feel daunting, but I promise, it’s easier than it looks! The secret is to begin with the right stitches.
Creative Bead Embroidery Designs for Beginners
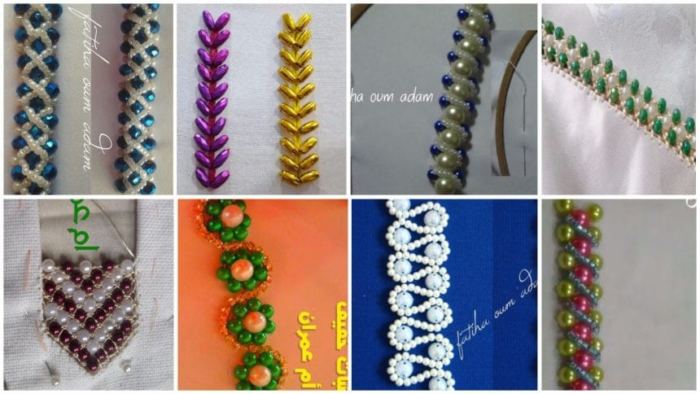
The Basic Backstitch: Perfect for outlining. Thread a few seed beads onto your needle, slide them down the thread, and take a small stitch backwards to secure them. Repeat. This creates a beautiful beaded line.
The Couching Stitch (My Favorite for Filling): This is a game-changer. String a long line of beads onto your thread and lay it along your design line. With a separate, thinner thread, take tiny stitches between the beads every few beads to “couch” them down to the fabric. It’s the easiest way to fill areas without frustration.
A Simple Starter Design: Don’t try a complex flower immediately. Practice with a heart shape or a simple star. Outline it with backstitch, and if you’re feeling brave, fill one section with couching.
My biggest tip? Invest in a good-quality beading needle. They’re ultra-thin and flexible, making it easy to pass through beads multiple times. You’ll be creating beautiful designs in no time
Bead embroidery is a type of beadwork that uses a needle and thread to stitch beads to a surface of fabric, suede, or leather.
Bead embroidery is an embellishment that does not form an essential part of a textile’s structure. In this respect, bead embroidery differs from bead weaving, bead crochet, and bead knitting. Woven, knitted, and crocheted beads may be attached during fabric production, whereas embroidered beads are always added to the finished fabric.
Read More:
- Satin stitch flower embroidery for boat neck blouse
- Hand embroidery dress design with mirror work
- How to make neck embroidery design with tassels
- Making beautiful design by aari work embroidery
- How to Stitch Bead Work Embroidery on a “U” Neck