All mothers know how difficult it is to interest a baby, to sit him down and get him to engage in a useful and instructive work. But desperate situations do not exist. Child psychologists and teachers recommend turning developmental activities into entertaining games, using various materials and adaptations for this purpose. Perhaps the most accessible and common for the creativity of children is clay. During molding with the help of bright blocks of plastic material you can get acquainted with new concepts (shape, color, size), develop imagination and fine motor skills of fingers.
Making the first steps in modeling is best, starting with simple to perform and understandable crafts. With the help of the proposed step-by-step master classes and detailed descriptions with a photo of each creative work you can easily and clearly explain and teach the child how to make beautiful little chickens.

Subtlety of work with plasticine
Before you start working with plasticine, you should tell your child all the features of working with this material:
Prepare the workplace (lay the table with an oilcloth or a special rug).
Expand the clay and stacks.
Choose a piece of plasticine of the required color for work.
Trim with a stack (plastic knife) the right amount of material.
Warm the plasticine piece with the heat of your hands so that it becomes soft and easily takes on the necessary shape.
After the work is finished, you must first wipe your hands with a dry soft cloth (napkin) and only after that wash them with warm water and soap.
After you have prepared the workplace, you can start modeling.

Figurine of a chicken
All children really like to play with the young animals, and amusing little yellow chicks are no exception. To make a chicken figurine, you will need:
- Plasticine (it is preferable to take a bar of yellow color, but if the baby chooses another color for the work of clay, do not convince him, because in this the child will be able to show his creativity).
- Plank (oilcloth) for modeling.
- A set of stacks (most often such a set is already in the plasticine box).
- A toothpick (it is required for pushing holes into the eyes, so you can use a sharpened pencil or a rod from a ballpoint pen for this purpose).
Phased work description
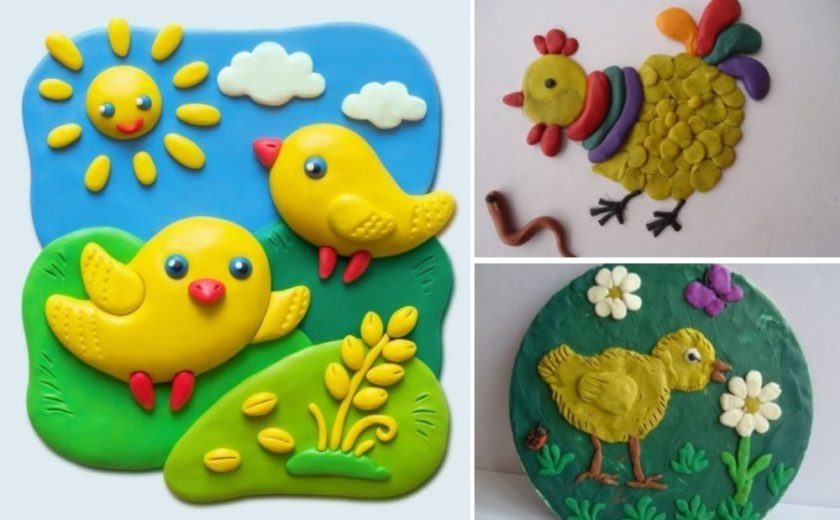
- To the kid clearly visualized what exactly he sculpted, and better understood the structure of the craft, show him the picture of a chicken or a ready figure of a chick. An excellent solution will be to make the craft in parallel. So at the end of the work you will have two chicks at once, which will be interesting to play with.
- Take a bar of yellow color and smash it in your hands to make the material plastic.
- Make a work piece of the trunk: between the palm of your hand, roll the ball and squeeze it slightly.
- The next step is the execution of work pieces for the paws. Roll 2 identical balls (half the ball for the trunk), flatten them and glue them on the sides of the body.
- Next, from the brown (orange) plasticine, roll 2 small balls, flatten and glue from below.
- We make a stack with 2 extensions (fingers).
- We make the head of the chick: a small yellow ball, flattened from both sides glued to the top of the body.
For the tail, cut the cake into 2 halves, and then one of the halves divided into quarters. One of the quarters is glued behind. Get the tail of the chicken.
Sticking the tail from both sides, making the feathers.

- In order to blind the beak, it is necessary to bend a flat round piece of orange in half and glue it to the head.
- With a pencil we make grooves for the eyes.
- Two small balls of black color are inserted into the indentations.
- Wings of chicken are made from a half-cut yellow cake. Fix them from two sides of the trunk.

Funny chicken is ready! Having made several such figures, you can play in the farm.
From an egg from a kinder-surprise
Perhaps the proposed option of making a chicken from a capsule from a kinder is the easiest and fastest. It is necessary to take:
- plastic eggs from kinder (the amount depends on how many chicks you plan to make);
- plasticine;
- stacks.

For the production of chickens are suitable boxes of yellow and orange kinder.
For one chick, it is required to prepare such details from plasticine:
- 4 small red scones for scallops;
- 2 oval cakes for wings (make several cuts on the one side, simulating feathers);
- 2 glued on one side of the triangle for the beak;
- eyes (you can use ready-made plastic).
The prepared details are glued to the capsule, pressing slightly to hold them.From corrugated paper of green color we cut strips, we make from them a clearing and we arrange the received chickens. To surprise and please the baby, inside each egg you can put a candy or a piece of marmalade.

Applique from plasticine (plasticine)
Relatively new and unconventional technique, combining drawing and modeling, is plasticine. It consists in drawing plasticine on cardboard (plywood). Not only the characters, but also the background in this technique are depicted not by drawing, but by means of sculpting. Objects in such works can be flat, convex, relief. Children really like the process of laying out the picture, because you can always remove (remove with the help of stacks) any part, avoiding mistakes while working.
Application of plasticine can be done in various ways:
- spread out in small pieces (mosaic);
- paste whole fragments;
- to smear.
For this type of creativity, it is necessary to take as a basis a piece of plywood or thick cardboard. With copy paper or tracing paper, transfer a schematic drawing to the prepared substrate. You can use the proposed drawing or draw your own.

Let us consider in more detail each method of plankography:
- Laying out a mosaic. Simply pinch off small pieces of plasticine of the desired color and gradually fill them with a pattern.
- Adhesion. You can make a panel by gluing whole fragments: figurines of chickens, grass, sun. The stack can draw small details.
- Smearing. To make the application, you should spread the clay on the basis of your fingers, distributing it evenly. Some individual parts are glued on top.
Such work can be cut out on the contour, from the back, glue the loop and hang on the wall.

Working with plasticine, of course, will become one of the favorite options for creative activities for your child.
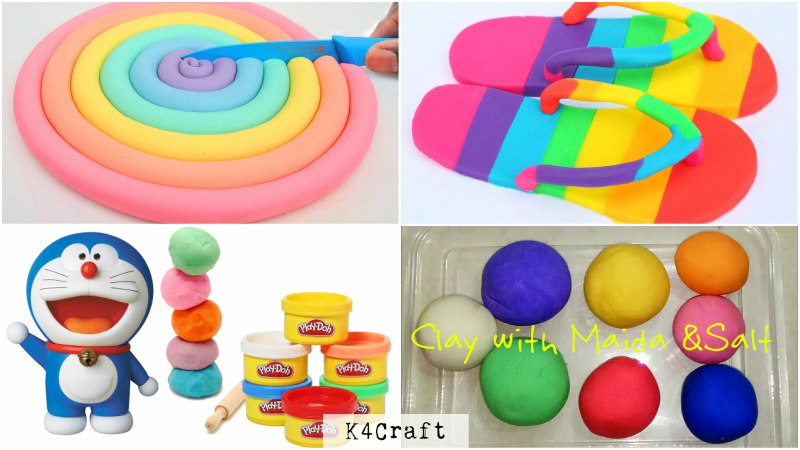
Amazing Clay Models To Make At Home
Read More:
- Lovely Heart Mehndi Design For Hand
- Simple and Beautiful Rangoli Designs
- Beautiful Indo Arabic Mehndi Design
- Beautiful Rangoli Designs For Krishna Janmashtami
- How to weave a toy of rubber bands


