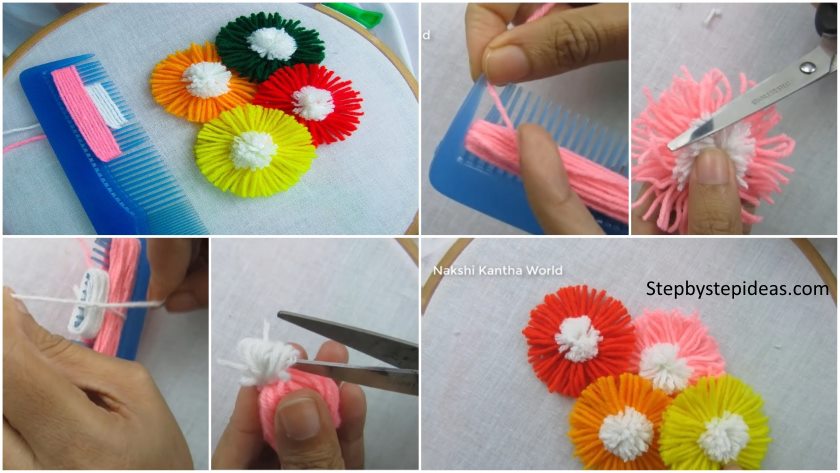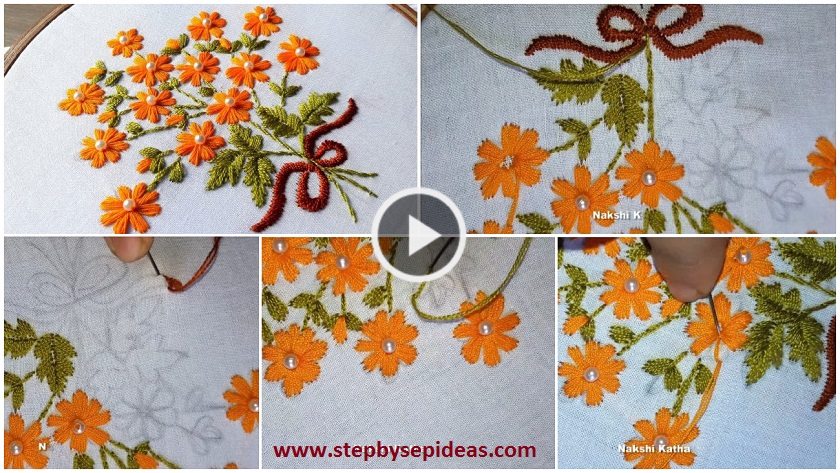
Hand Embroidery Satin Stitch Flower Design – Step By Step (Tutorial)
The satin stitch is the ultimate stitch for creating smooth, sleek, and solid-filled shapes—perfect for stylized flower petals and leaves. It’s a fundamental stitch that every embroiderer should master. In my experience, the key to a perfect satin stitch is patience and good tension.
Mastering the Satin Stitch:
Outline is Key: First, use a stem stitch or backstitch to outline the shape of your petal or leaf. This contains the satin stitch and gives you a clean edge to work against.
Fill It In: Now, bring your needle up just inside the outline on one side and take it down directly opposite on the other side. Each stitch should lie flat and parallel to the last.
Keep it Smooth: Work closely spaced stitches to create a solid, satin-like surface. Avoid pulling the thread too tight, as this can cause the fabric to pucker. The threads should lie snugly against each other.
Start Simple: Practice on a small, simple shape like a teardrop-shaped leaf before moving on to a larger flower petal.
It’s a meditative stitch that yields incredibly professional and satisfying results. Perfect for adding bold, colorful elements to any design.
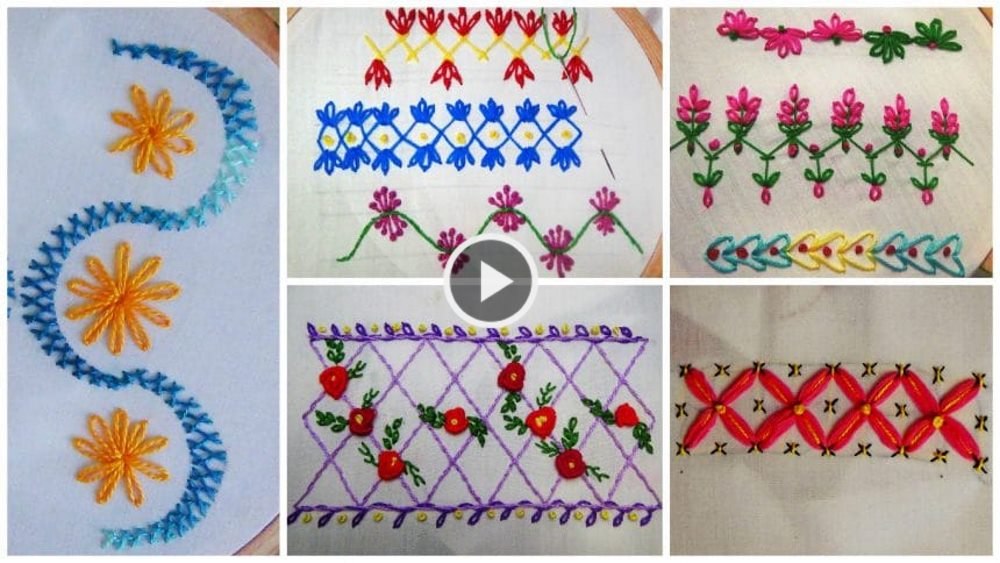
How to hand embroidery border stitch (Tutorial)
Read More
- Hand embroidery : Neckline Embroidery for Dresses
- How to do hand embroidery peacock (Tutorial)
- Hand Embroidery Beautiful Border Flower Stitch
- Hand Embroidery: Flower Stitch Tutorial
- Hand Embroidery: Neckline Embroidery Design for Kurti