
From summer heat and stuffiness in the room, many are saved by through ventilation and a fan, but this can not always be safe for health. Therefore it is recommended to use an accessible and simple device – a fan. Since ancient times, fans (big fan) made of palm branches and huge leaves of the lotus. Then these accessories began to be made from feathers, fabrics, decorated with lace and precious stones. All this talked about the status of the owner, but the accessory was too heavy and cumbersome.
Modern women of fashion prefer to have light fans, but at the same time stylish and functional. You can buy a fan in the store or order online. But all the options purchased from the manufacturer, will not be exclusive. Solve this issue easily, by making a useful accessory yourself.

By engaging children to make a fan, you can not only develop the creative potential of the child, but also attract him with interesting work.
Make with children
Kids will be very interested in making a toy fan themselves, especially since it will require a very simple and affordable set for its manufacture:
- flat sticks of ice cream (pieces 5 – 6);
- a sheet of white paper;
- scissors (prepare for work children’s scissors with rounded ends);
- Paints (felt-tip pens, gouache, colored pencils – everything that your kid likes to decorate);
- a piece of wire and an awl;
- PVA glue.

Progress:
- First, make a small hole at the bottom of each stick (at the same distance, so that the hole coincides). Trusting this baby for self-fulfillment should not be,
- because when drilling holes with an awl the child can be injured by a sharp tool.
- We fasten the sticks with a wire or a tight thread. To ensure that the mount does not interfere with the full opening of the fan, it should not be too tight.
- Then open the shelves, apply to the paper and outline the semicircle.
- Cut out the paper part and paint it on one side with bright colors.
- After the paint dries, glue the opened PVA glue with the glue stick to the paper base on the back (white).
Children’s toy fan is ready!

Lacy fan
It’s very easy to make such a pretty fan. It is enough to take a few flat wooden sticks (you can cut it out of plywood or thick cardboard) and fasten it down. On the open parts paste with a glue gun (stapler) lace. To the fan looked neater, the edges of the lace bend and additionally glue from the back. To decorate the place of fastening of parts in the middle, glue a bow from the satin ribbon.

Decorative fan
The fan can act not only as an accessory for saving from heat and stuffiness, but also as an original element of decor for the house. It is this decorative object that you can make with your own hands at home. Work on manufacturing is not difficult, but laborious, requiring accuracy and accuracy. But the result of such painstaking work will please you for a long time.
Before proceeding directly to the manufacture of the craft, it is necessary to take care of the materials and tools required in the work. You will need the following:
- dense cardboard (you can use a cardboard box);
- several newspapers or magazines;
- glue PVA or gluing gun;
- scissors (also a clerical knife perfectly suited);
- material for decoration (satin colored ribbons, beads, braid, lace, artificial flowers, etc.).
Phased work:
- On the cardboard we will draw a semicircular detail. Use a clerical knife to make a slot inside. It will take 2 such blanks.
- From the newspaper stripes we twist at least 30 pieces of thin tubes. To do this, thread a newsprint on a thin knitting needle or a wooden skewer. To ensure that the tubes do not unwind, the ends of the newspaper should be glued with glue.

- When all the tubes are ready, we evenly distribute a part of the blanks on one of the cardboard parts and fix it with a glueing gun.
- We glue the second base from above.
The remaining tubes make several rows of weave. - We cover the fan with paint from the can.
- After the paint dries, decorate the craft with harvested materials.
The photo shows an example of decorating a decorative fan.

Of plastic forks
What only do not creative people from plastic disposable dishes. And flowers, and toys, and various decorative figures for decorating the garden, and much more. Inspired by the previously described works on the manufacture of fans, we suggest to make this beautiful lady’s thing from plastic forks.
To work did not cause additional questions, you should use the proposed master class and make your own original fan:
- On a sheet of thick cardboard draw a circle (you can sketch a CD-ROM).
Cut the circle in half. - On one of the halves with the help of a glue gun we glue the tips of the forks tightly around each other in a circle. It is necessary to make sure that the forks
- on the top also touch each other.
- On top of the second semicircle ladle paste. The base of the fan is almost ready. It remains only to decorate and decorate it.
- We insert between the teeth of the forks lace. The edges of the lace tape are tightened and fixed with an adhesive gun.

- On each fork on top we glue decorative flower.
In addition, we pass the ribbon below and attach the ornaments to the paper base. - Below you can decorate with a satin bow or a composition of artificial flowers.
Very unusual and original versions of fans are obtained if we take for them not ordinary white plugs, but colored ones, or paint the workpiece (before decoration) with paint from the can.

Card-fan
Taking a paper fan as a basis, you can make an original postcard-souvenir, which can be placed on a shelf or desk. It will take a two-sided leaf of green paper, cut out blanks of flowers (red tulips, chamomiles).
Performance:
- Fold the paper with an accordion.
- The resulting part is bent in half and glued in the middle.
- We adorn the cut flowers.
Similarly you can make a bouquet mini-fan. The work progress differs only in that the folded accordion folded in half is cut along the fold line. To the fan bouquet did not lose shape, at the bottom should be tied with a ribbon, then paste the buds of tulips and give it to the addressee!

You can find on the open spaces of the Internet and in printed publications a huge number of options for making this object from various materials and in a variety of techniques. We wish you inspiration and creativity in carrying out all your ideas!
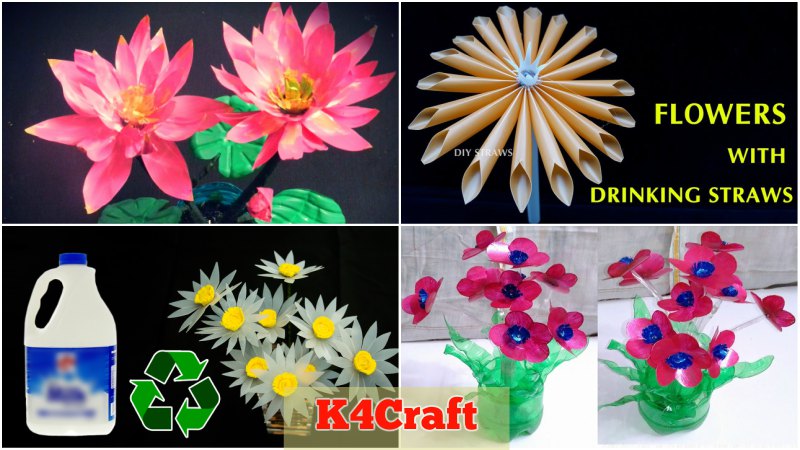
Learn To Make Flowers Using Waste materials
Read More
- Simple Mandala Mehndi Design for Hands – Step By Step
- Quick and simple front side henna mehndi design
- A New Peacock Mehndi Design -Henna Designs For Hands & Foot
- Simple Mandala Mehndi Design | Latest Easy Henna Mehndi Pattern for Hands
- Full Hand Teej Mehendi Design 4 Dulhan | Latest Easy Henna Mehndi Pattern for Hands


