How to Make Paper Flowers : When it comes to joint crafts with a child, each mom tries to choose the safest and environmentally friendly materials for this purpose. Probably the most accessible material with the above characteristics is cotton wool. And if you add to this the convenience and the opportunity to show creativity, wadded disks become completely irreplaceable. It is from them that we propose to make souvenirs with our own hands.
The proposed master classes will be interesting not only for children, but also for parents and teachers. An accessible step-by-step instruction for performing colors from the cotton discs will not cause any difficulties. You will only have to help your children prepare the necessary materials, explain the safety techniques of working with scissors and glue. Let’s learn how to make paper flowers.

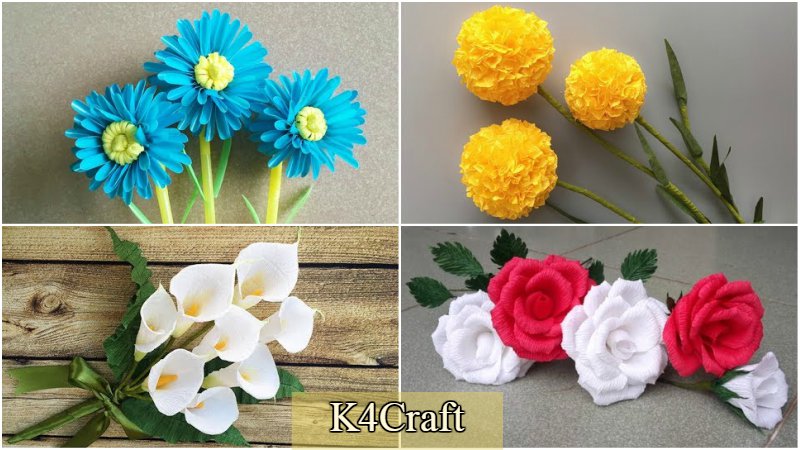
Wadded Disk Flowers
For preschoolers and children of primary school age, it is quite possible to make an appliqué from cotton wool discs. So, you need the following:
- color cardboard for the substrate;
- color and corrugated paper;
- glue;
- a simple pencil;
- scissors;
- and, of course, wadded disks.

Now you can proceed directly to work.
Procedure : How to Make Paper Flowers
- We take a cotton pad and bend the edges. So that they do not bend, you need to fix them with glue. It’s enough just to drop on the edge and press for a few seconds. The glue will quickly absorb into the disc and after drying it will fix its edges in the required position.
- Thus, we turn off 7 disks (the number of petals of our flower):
Next, from the colored paper, cut out 2 circles. One is larger (flower base), the second is smaller (middle). - Important! While working with scissors, pay attention to children’s accuracy. For greater safety, offer the child scissors with rounded ends (they can not be pricked during work).
- Then paste the prepared petals on the base. Glue from the circle, tightly pressing together.

When the flower itself is ready, we cut out elongated leaves from green corrugated paper. In order for them to be voluminous, fingers gently smooth the middle.
Now you can collect the whole flower. On the prepared base (a sheet of colored cardboard) we place green petals. In the middle we glue the inflorescence.
The application is ready! After the work has dried, you can either place it in a frame or use it as a postcard.

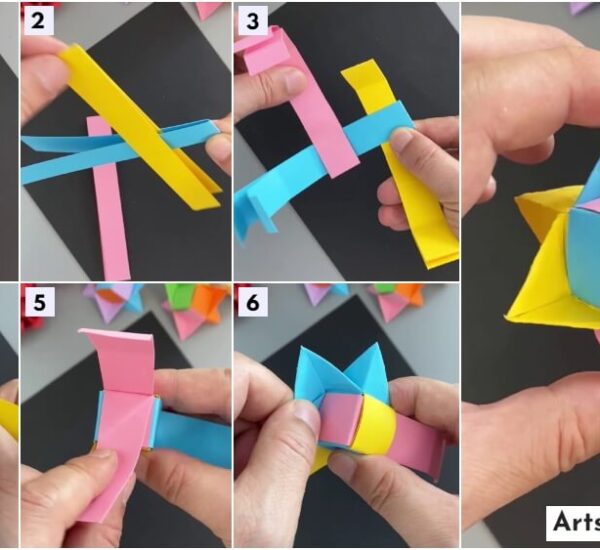
3D Flowers
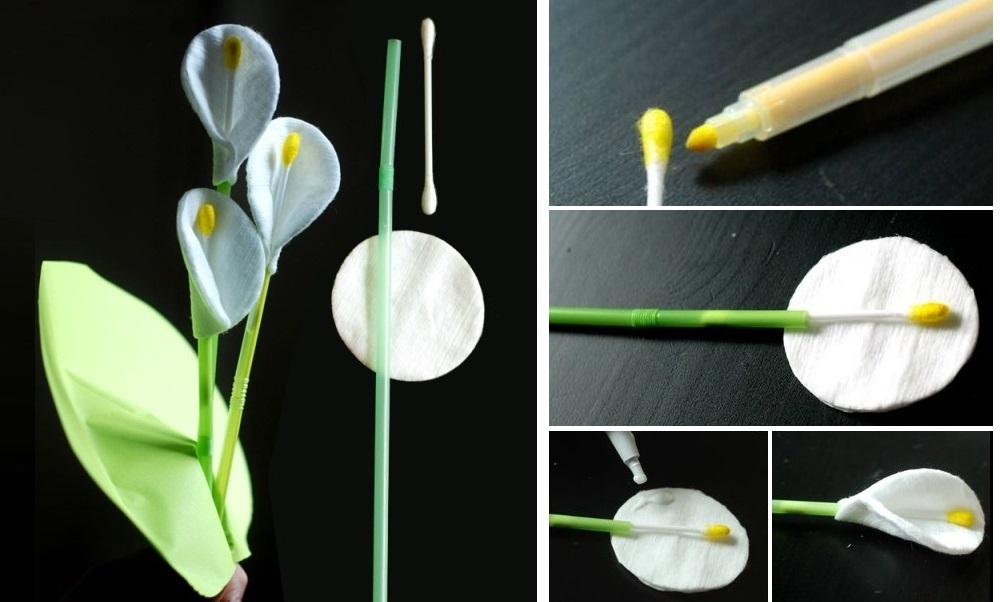
For older guys, it would be interesting and easy to produce three-dimensional colors. They can be offered to make callas from disks, cocktail tubes and cotton buds.
The progress of the work will not cause additional questions if you follow the instructions.
Procedure : How to Make Paper Flowers
- One of the ends of the wadding stick is colored in yellow. You can immediately put it in yellow gouache or watercolor paint or paint using a felt-tip pen.
- Insert the clean side of the stick into the tube and thrust into half.
- Then wrap the workpiece with a cotton disc and fix it at the base with glue.
- We make in this way a bouquet of three or five flowers. You can cut out a large green leaf from colored paper and wrap the stems with it.
Bulk bouquet is ready. It can be put in a vase or used to decorate a panel.

White Roses
Decoration of the interior and a pleasant souvenir can be handmade roses. The offered variant will surprise not only beauty, but also simplicity of performance.
We need the following:
- cotton wheels,
- corrugated paper green,
- scissors,
- nylon threads,
- wooden skewers for skewers,
- stationery glue.
Procedure : How to Make Paper Flowers
- The tip of the skewer is dipped in the glue and wrapped with a cotton disc. Press firmly for a few seconds to make it stick. This is the first petal of our rose.
- On the base of the petal, apply a thin layer of glue and wrap it with another disc. We make sure that the middle of the second disk falls on the joint of the edges of the first petal.
- In the same way, we paste 5-6 cotton petals to the base. Each of the following is glued in staggered order.
- When the bud is ready, let’s start making greenery. From the green paper, we cut out a figure resembling a fence.
- On the base, apply a thin layer of glue and glue to the bud. Firmly press and slightly scroll clockwise. Corrugated paper is slightly stretched and nicely lies around the base.
- Skewer tightly wrapped with green paper and fix the tip of the glue so that it does not subsequently turn around.
- The leaf is cut from corrugated paper and glued to the stem.
 The rose is ready! Bud can be dyed with paint from a can or put sparkles on the edges of petals – this is at your discretion.
Beautiful Flower Making Tutorials
Want to explore more tutorials for flower making? Click here
Read More
- Best Use of Waste Himalaya Face Wash Packet Craft Ideas
- Very very easy and simple rangoli design
- Very easy rangoli and colourful rangoli design
- Latest Chandbali Earrings Designs
- How to do neckline embroidery design