Create a stunning accordion paper bee with our easy, step-by-step tutorial. Perfect for kids and adults, this DIY craft project is fun, engaging, and beautiful.
Creating crafts can be a delightful and rewarding experience, especially when the end result is as charming as a paper bee. In this step-by-step tutorial, we will guide you through the process of making a beautiful accordion paper bee, perfect for adding a touch of whimsy to your home decor or as a fun project to share with kids.
This craft is not only easy to make but also requires minimal supplies, making it an accessible and enjoyable activity for all ages. So, gather your materials and let’s get started on crafting your very own adorable accordion paper bee!
Beautiful Bee Craft Tutorial Using Paper
Must Read: How to Make Accordion DIY Paper Basket
Supplies & Tools
- Sheet(Yellow, Black, White, Red)
- Glue
- Scissors
- Black marker
Paper Bee Craft Instructions
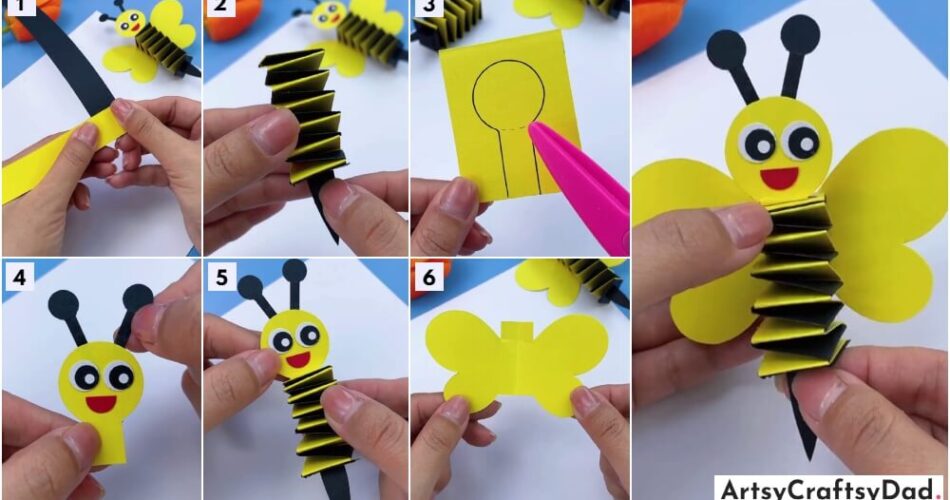
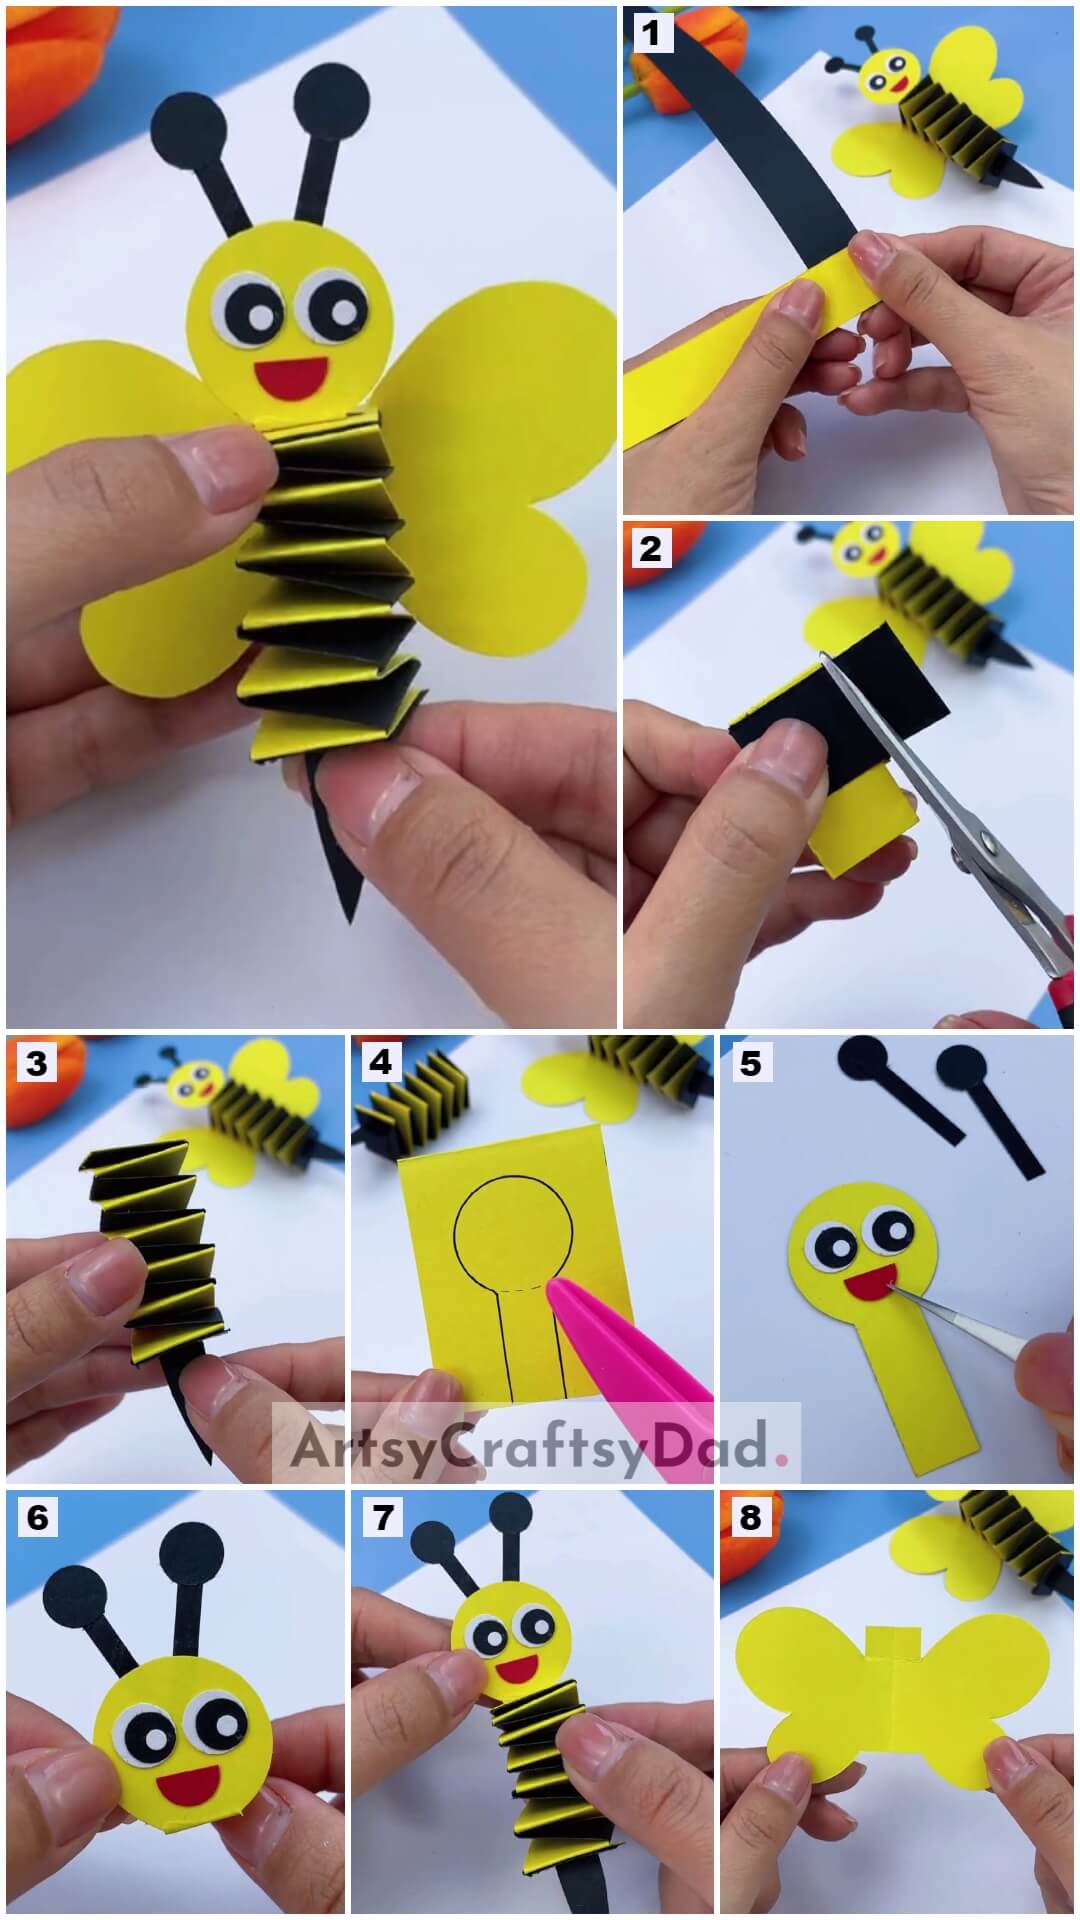
Step #1: Take Two Sheets
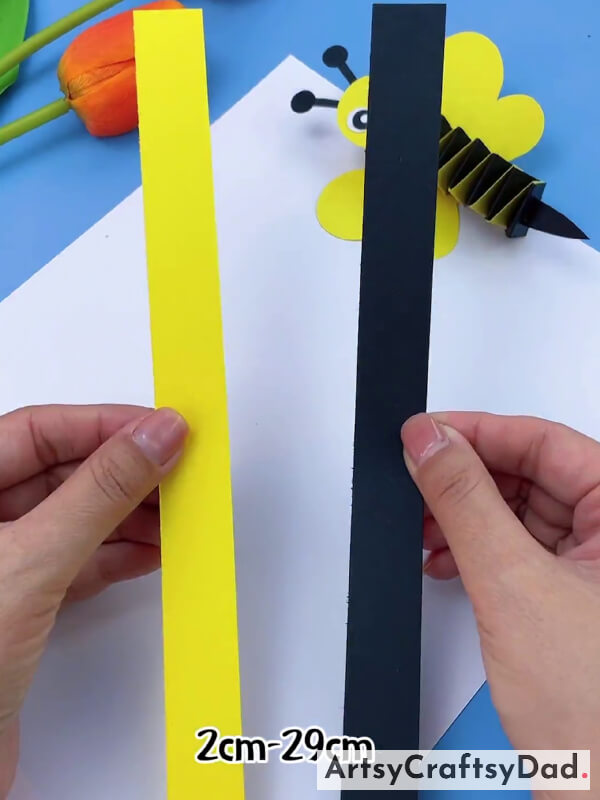
Take to sheet yellow and dark blue then, cut it into long rectangular straight shapes.
Step #2: Make Patterns

Take both sheets and start making a pattern where put it oppositely then fold one and then another.
Step #3: Cut The Extra Part
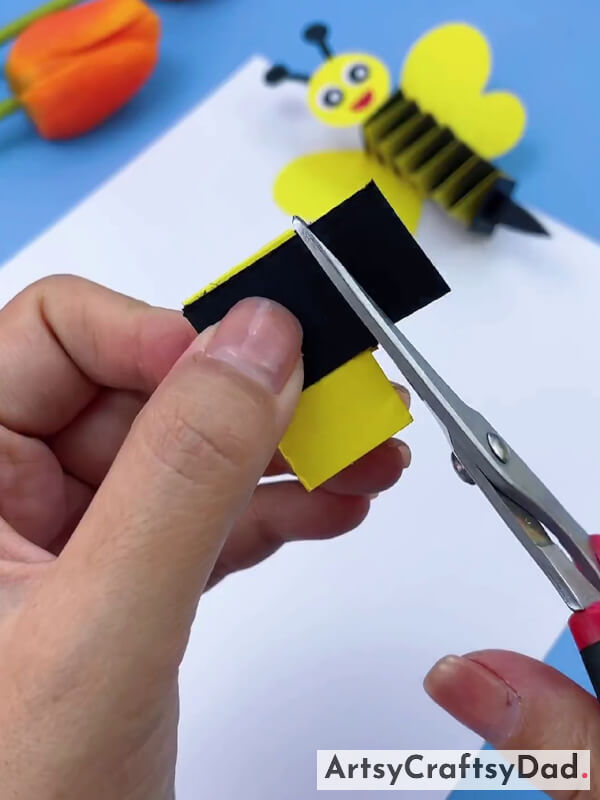
That part is left after folding cut the rest part after folding.
Step #4: Separate Its Point
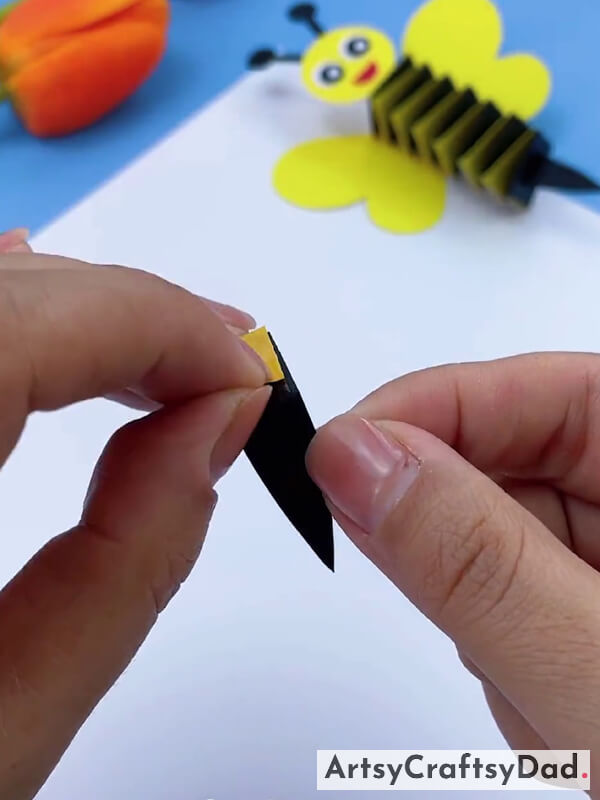
Then, we separate the beep of the black so that will be stretched soon.
Step #5: After Stretching
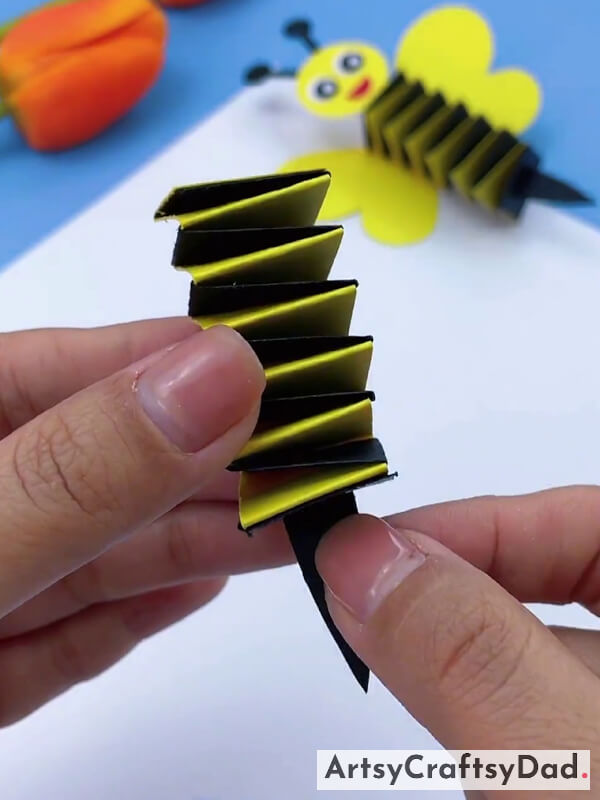
After stretching from the black beep. It will be like this in shape.
Step #6: Take A Yellow Sheet
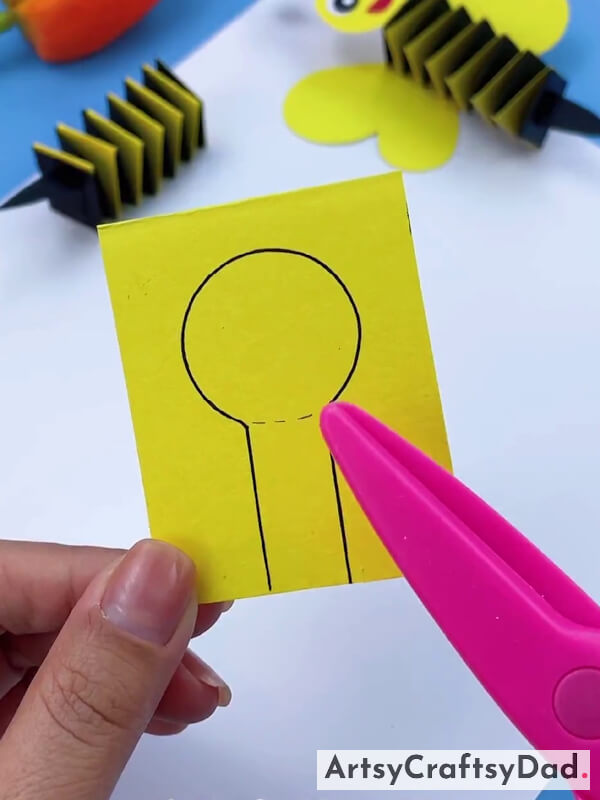
Then, take a yellow sheet and make a design on your sheet which is drawn above, and cut it.
Step #7: Make Eyes
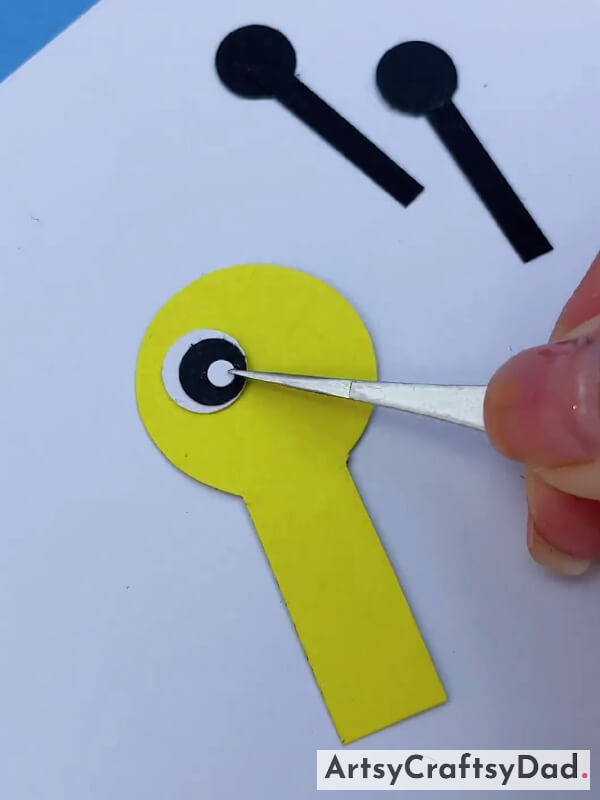
After cutting the shapes from the yellow sheet we will make an eye by using a black and white sheet pasted at the face. Then make two little black dunks of a bee.
Step #8: Make Smile
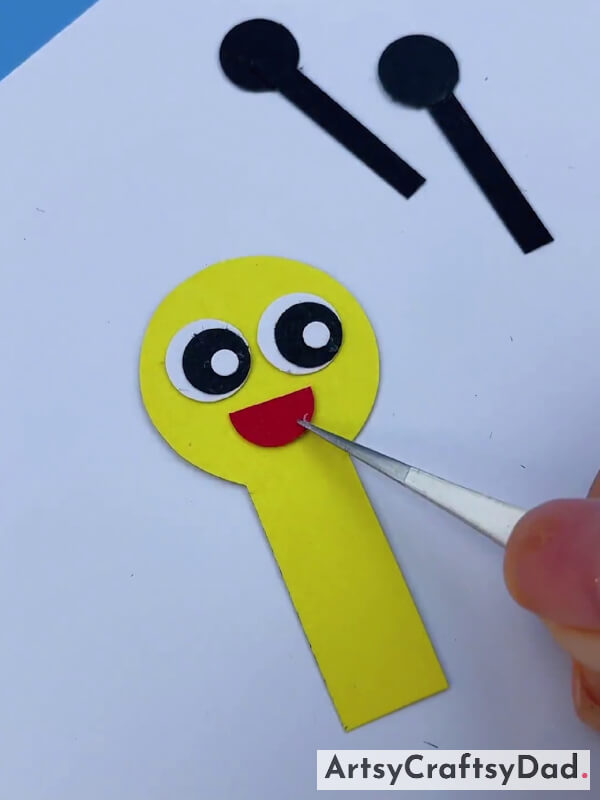
Then, use a red sheet to make a happy face of the bee.
Step #9: Paste The Dunks
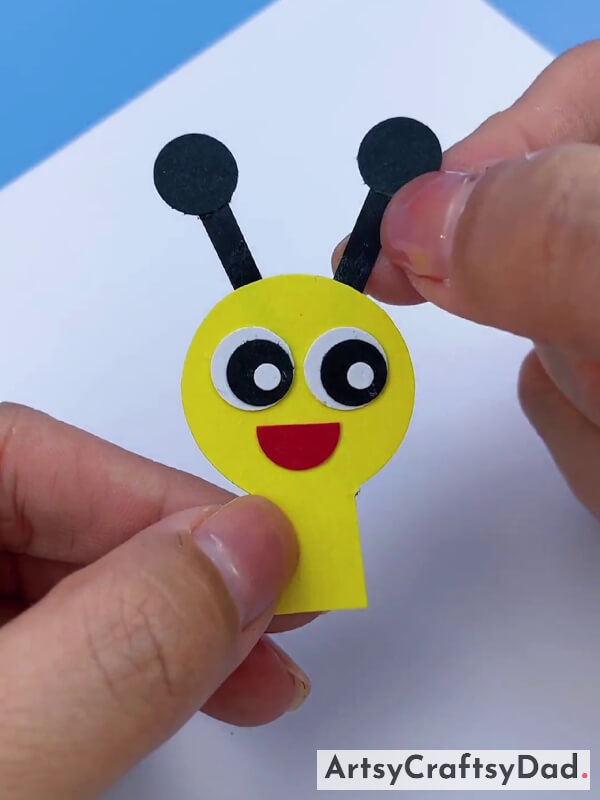
At the end paste the dunks of the bee at the top.
Step #10: Put It In
The face should go Into the previous design.
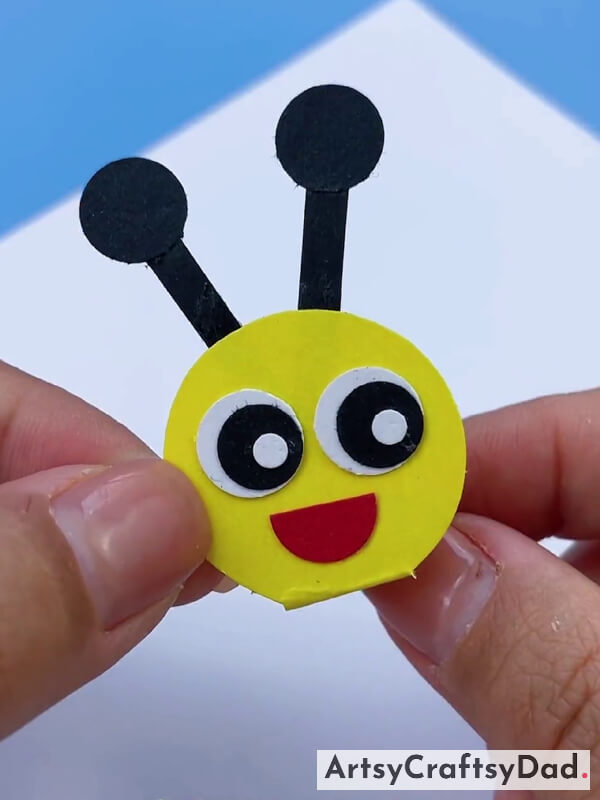
Step #11: That Is How It Looks
The bee’s face is visible like this only.
Step #12: Take A Yellow Sheet
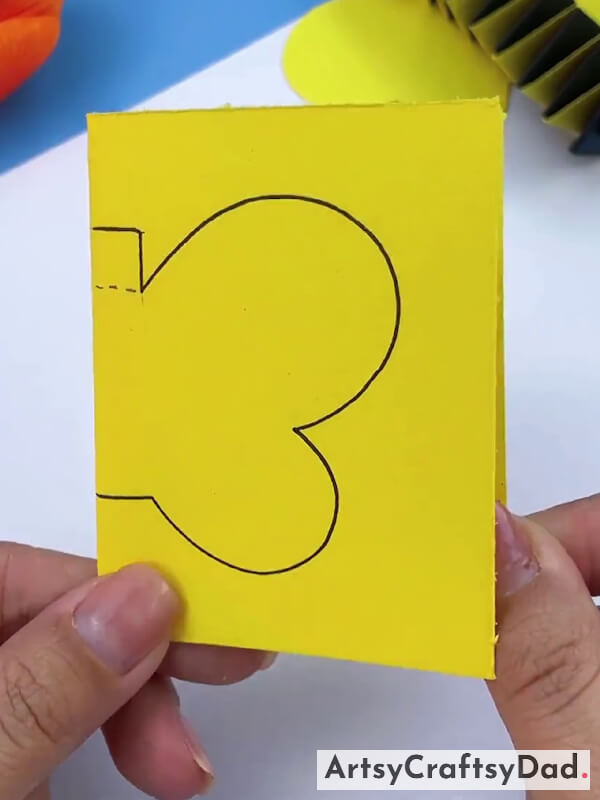
Take a yellow sheet and draw a butterfly design with the marker.
Step #13: Cut The Butterfly
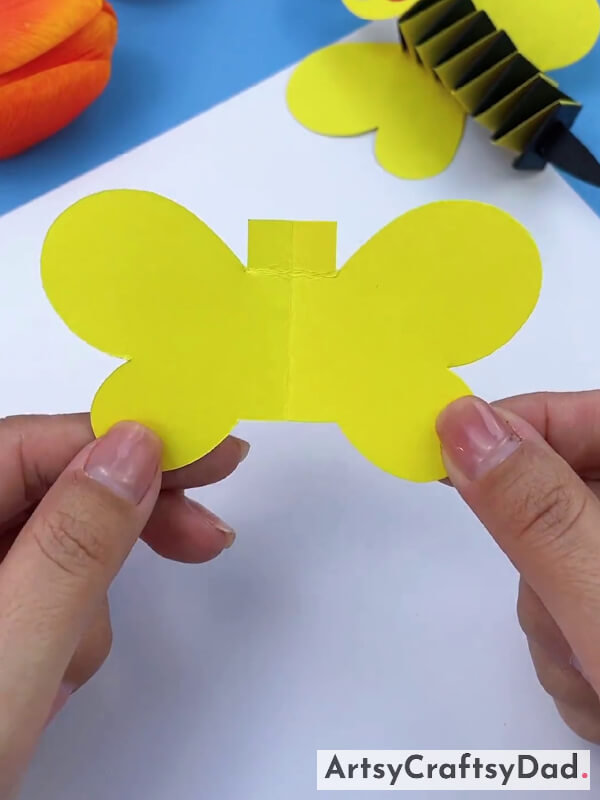
After drawing the butterfly cut the butterfly according to the shape.
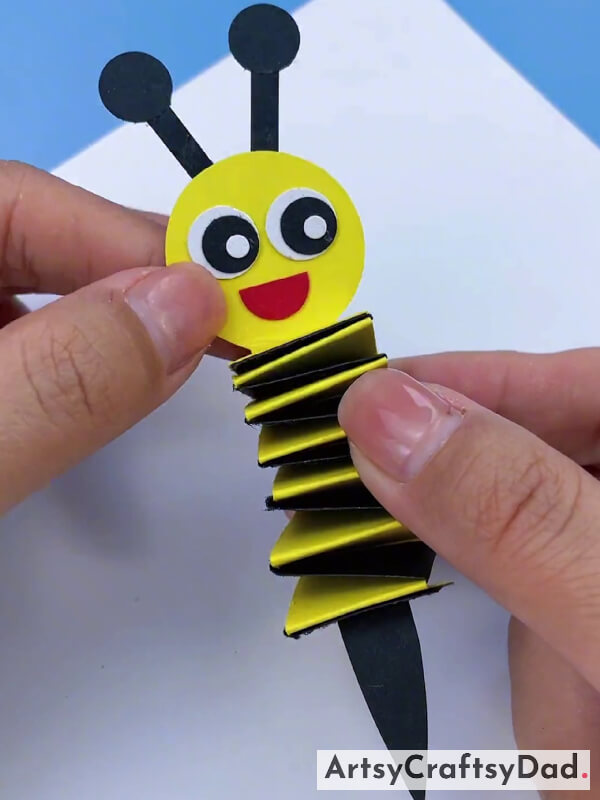
Step #14: Put It Behind The Bee
Then, put the butterfly wings behind the bee so that it seems like a beautiful Bee.
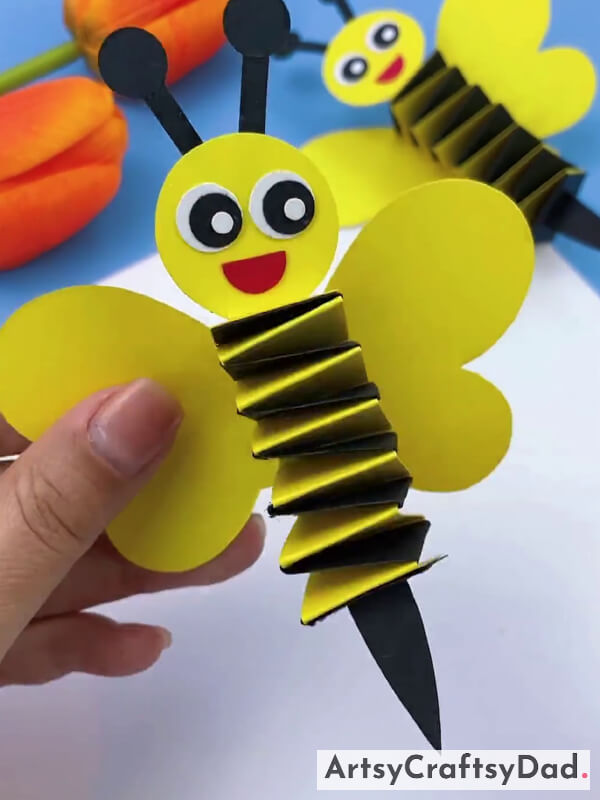
Congratulation! Your Craft Is Ready.
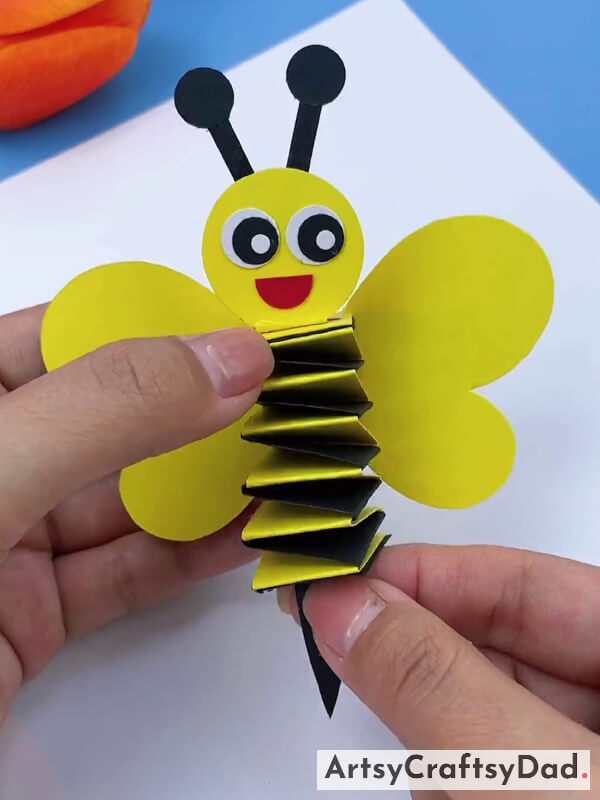
That is the final look of your butterfly, try to make it like this.
Creating a beautiful accordion paper bee is a delightful and engaging craft that brings joy to all ages. This step-by-step tutorial offers clear instructions and creative tips, ensuring a fun and rewarding experience. Perfect for home, school, or group activities, this craft fosters creativity and produces charming, decorative bees.
You Might Also Like This
- Beautiful Paper Cup Sunflower Craft Step By Step Tutorial For Kids
- How to Make Accordion DIY Paper Basket
- Crab Paper Craft Step By Step Tutorial For Kids
- Dumpling Dragon Boat Paper Craft Step By Step Tutorial
- How To Make Paper Fish Aquarium Step By Step Tutorial


