A boat neck is the epitome of effortless chic. It’s that classic, wide neckline that runs nearly shoulder-to-shoulder, and honestly, it’s one of the most flattering designs out there—it emphasizes the collarbones and makes your posture look amazing! I love using it on kurtas because it provides a perfect canvas for statement jewelry.
Boat Neck Design Tutorial
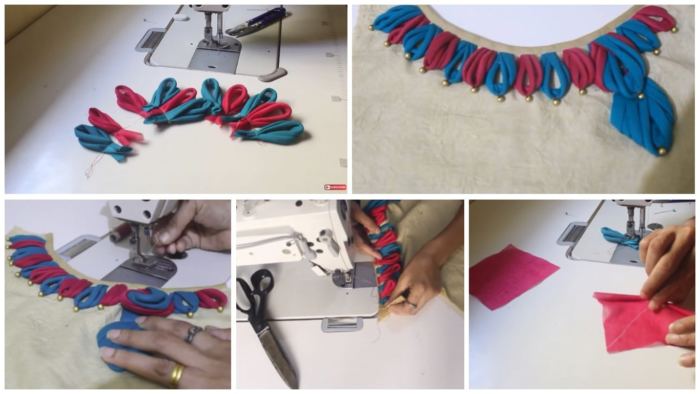
Here’s how to nail it:
Drafting: Fold your fabric in half. From the fold (which is the center front), measure outwards. The width is key: for a standard size, measure about 7-8 inches from the center fold at the shoulder point. The depth is shallow; only go down about 2-2.5 inches from the neck point.
The Curve: This is the magic. Using a French curve or a round plate, connect the shoulder point to the center front point with a smooth, shallow curve. Don’t make a deep U-shape.
Facing is Your Friend: Always cut a matching facing piece (a duplicate of the neckline shape) from leftover fabric. After stitching the shoulder seams, attach the facing to the neckline, right sides together, stitch, understitch, and then turn it inward for a super clean, professional finish that lies flat.
Pro Tip: For a modern twist, try a slightly dropped boat neck that sits just off the shoulders. It’s incredibly trendy right now!
Read More:
- Beautiful Boat Neck Cutting & Stitching: Your Secret to a Polished Look
- Different types of kurtis design cutting and stitching
- Beautiful Beads Neck Design For Kurtis ( Cutting And Stitching )
- How to Make Long Rambo Skirt From Wasted Cloth Tutorial
- Stylish Boat Neck Kurti Cutting and Stitching