Transforming a flat piece of fabric into a designer kurti is so satisfying. Let’s break down the A-line kurti, a universally flattering silhouette.
Designer Kurti Cutting and Stitching Ideas
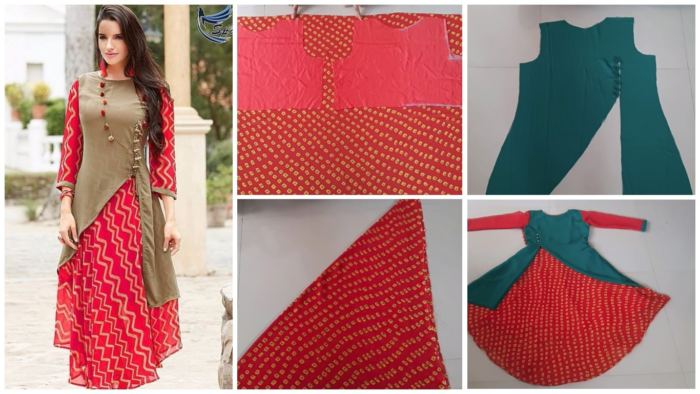
Step 1: The Pattern
Length: Decide your desired length (e.g., 40 inches).
Width: For the bust, take your bust measurement, divide by 4, and add 2 inches for ease. This is your top width. For the hem, simply make it wider—maybe 18-20 inches across for a flowy look.
Armhole & Neck: Draft a simple curved armhole and your chosen neckline (like the boat neck above!).
Step 2: Cutting
Fold your fabric lengthwise. Place the pattern pieces (front, back, sleeves) along the fold and cut. Don’t forget to add seam allowances (½ inch is standard)!
Step 3: Stitching (The Crucial Order!)
Shoulders First: Stitch the front and back pieces together at the shoulder seams.
Attach the Sleeves: This seems tricky but isn’t! Pin the center of the sleeve cap to the shoulder seam. Ease the rest of the sleeve into the armhole, right sides together, and stitch.
Side Seams: Now, with the sleeves attached, stitch from the sleeve cuff all the way down the side of the kurti in one continuous seam.
Finishes: Hem the sleeves, hem the bottom, and finish your neckline with a facing or bias tape.
The key to a designer look is precise stitching and pressing every seam open as you go!
Read More:
- Handmade Patchwork for Designer Kurti
- How to Make a Hand-Painted Designer Kurti
- Designer Kurtis Before They Hit the Market
- Attractive Designer Kurtis Patterns
- How to Make a Block Printed Designer Kurti