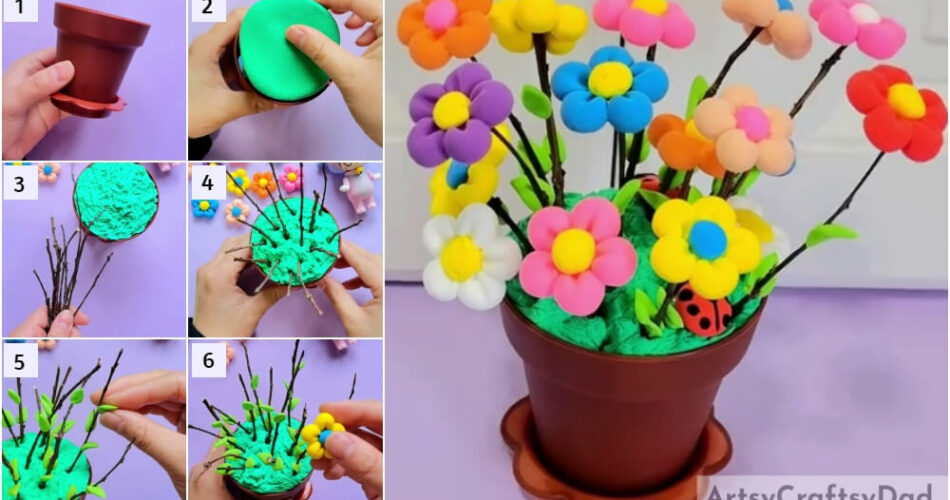
Want to have an easy-to-manage beautiful flower pot in your room? Make it on your own using clay with the help of this step-by-step tutorial!
If you love flower pots but find it very difficult to manage them in your room, then you have come to the right place! This step-by-step tutorial will guide you on making an artificial flower pot with clay flowers! You don’t have to water them, don’t have to clean up the dried fallen leaves and flowers, and can put that flower pit in any corner of your room without worrying about the sunlight over them! This craft will be easy to make and you will receive a fantastic outcome for sure!
Beautiful Flower Vase Craft For Kids
Must Read: Easy flower vase craft using pom pom
Supplies & Tools
- Plastic Flower Pot
- Fruit Foam Net
- Colored Super Clay
- Thin Branches
- Black Marker
Flower Vase Instructions
Step #1: Taking A Plastic Flower Pot
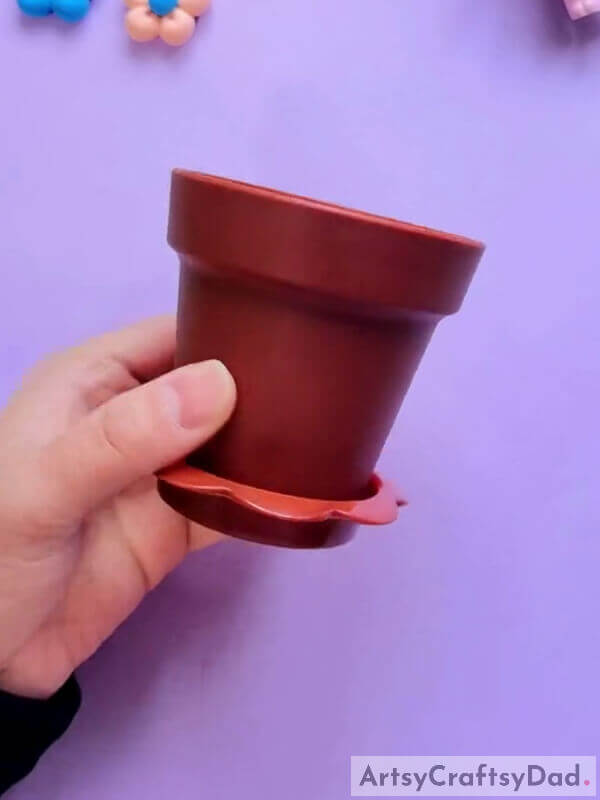
Begin this craft by taking a plastic flower pot.
Step #2: Stuffing Fruit Foam Net Into Pot
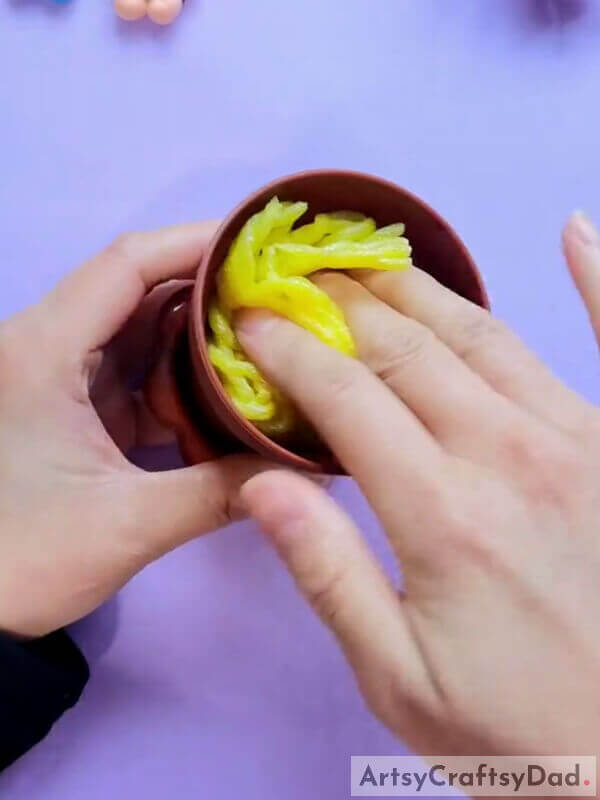
Stuff some fruit foam net into the pot.
Step #3: Stuffing The Pot With Some Super Clay
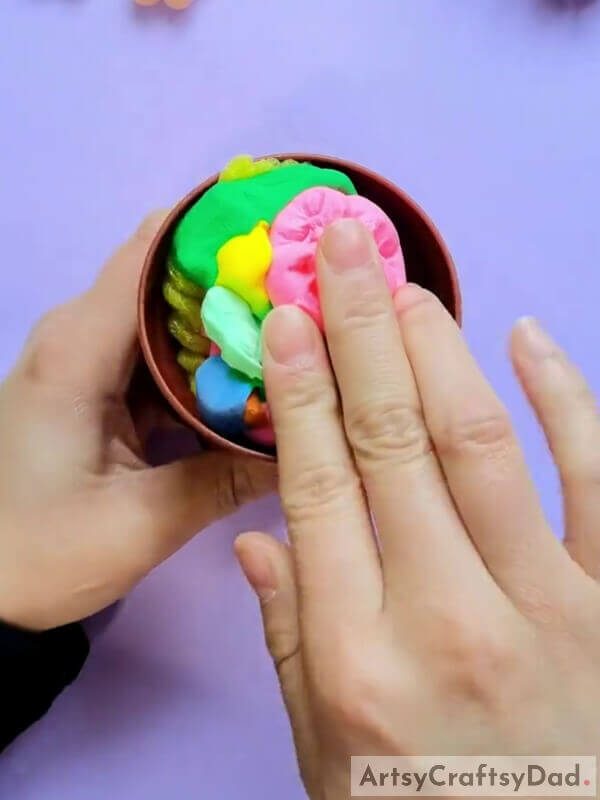
Stuff your pot with some super clay over the fruit foam to reach the top.
Step #4: Putting A Clay Circle Over The Pot Top
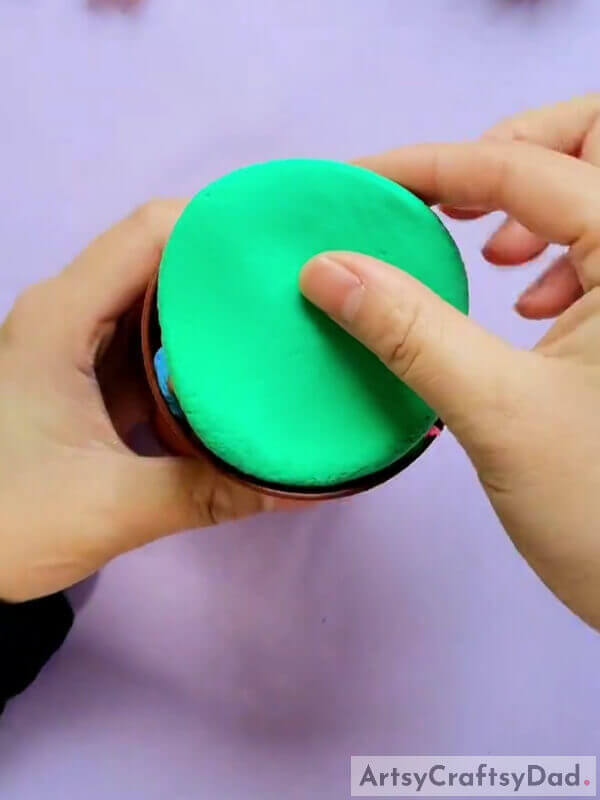
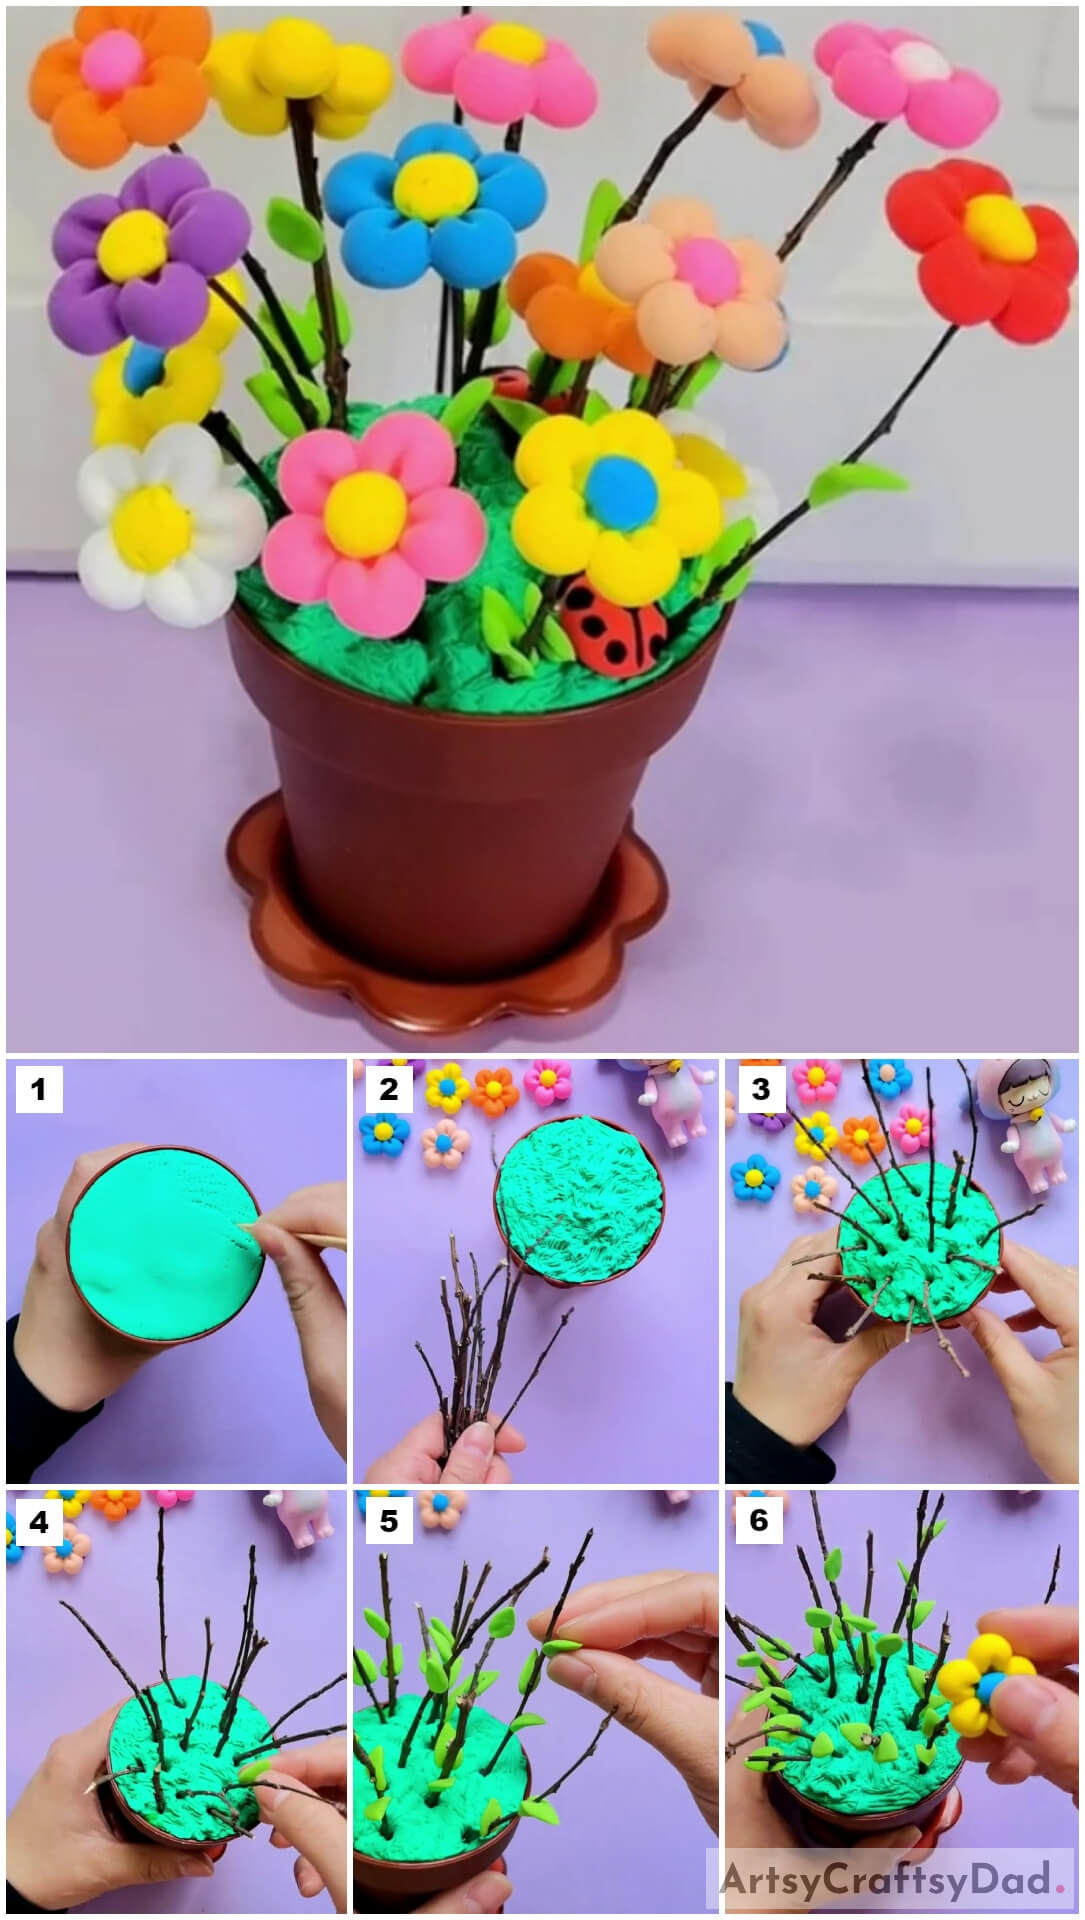
Dough green clay into a big clay ball and press to flatten it into a thick circle. Put the circle over the top of the pot stuffing. This will be the green grass in your flower pot.
Step #5: Detailing The Grass
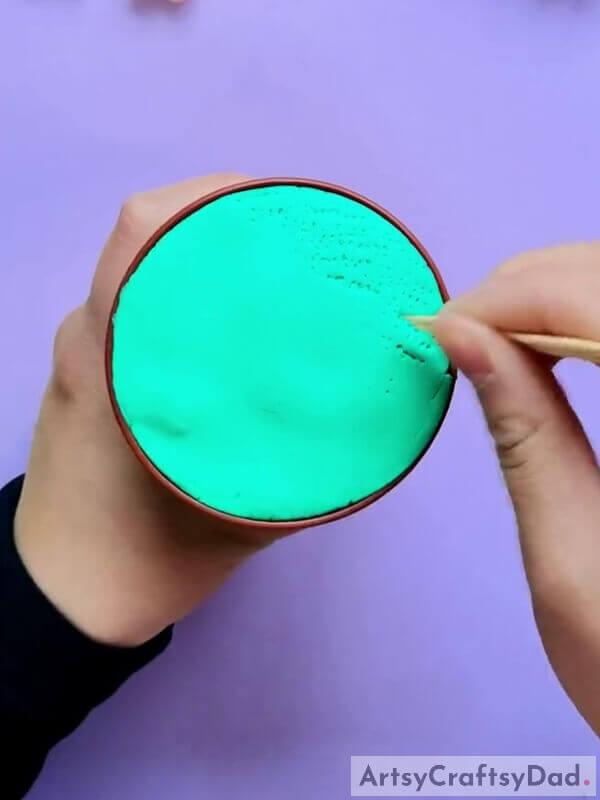
Using a toothpick, carve random dots in the green grass of your pot. Further, uneven the flat shape of the grass using the toothpick.
Step #6: Taking Some Branches
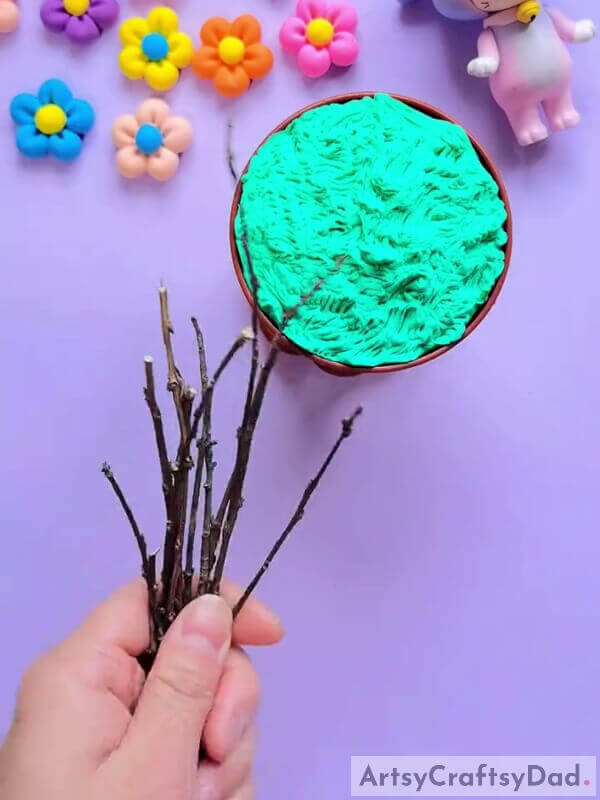
Next, collect some thin branches of a tree or plant.
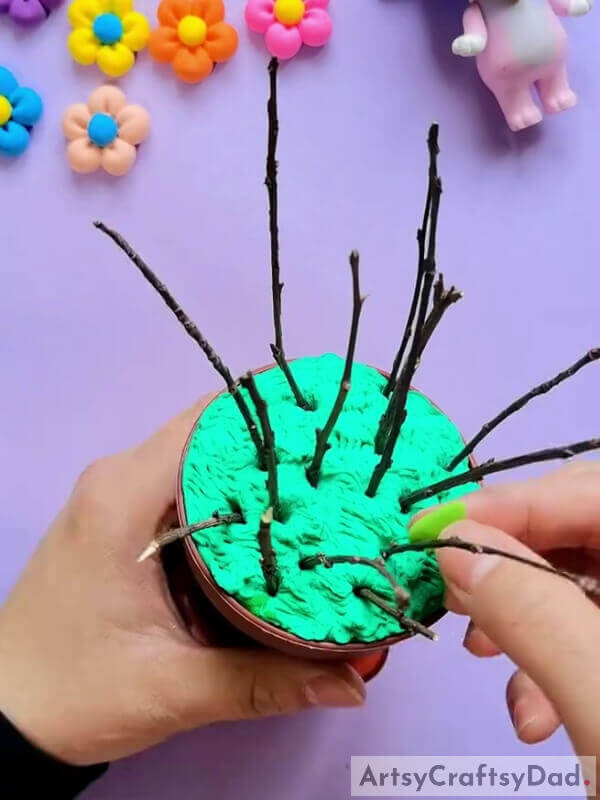
Step #7: Inserting The Branches In The Pot
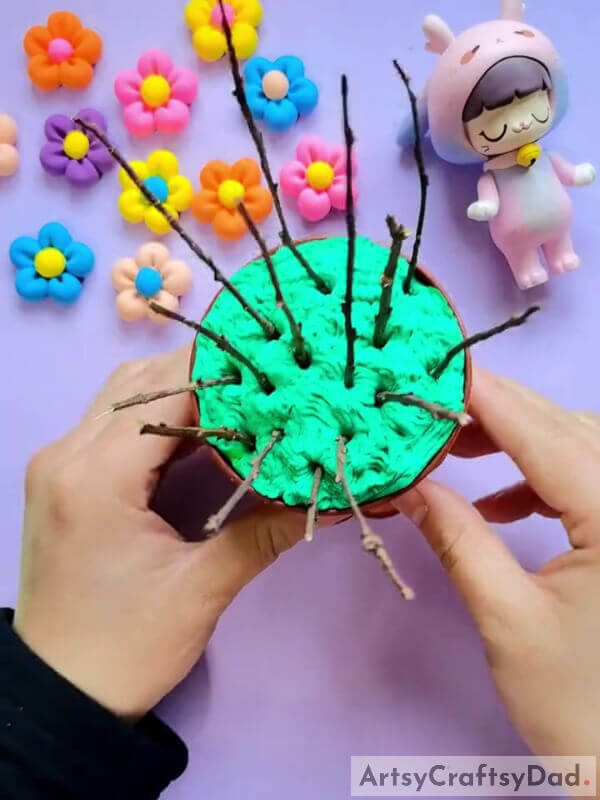
Insert the branches into the clay grass to make them stand over the pot. These will be the stems of your flowers.
Step #8: Sticking Leaves To The Stems
Using light green clay, make small leaves and bend them a little to give them a realistic shape. Now, stick the leaves over to the branches i.e. stems of the flowers.
Step #9: Completing Sticking The Leaves
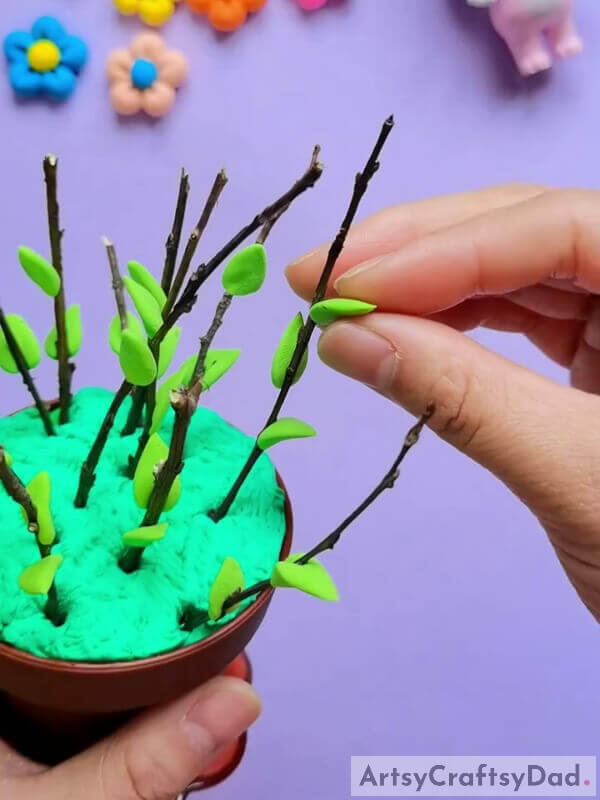
Stick the leaves randomly over the branches and cover all of them.
Step #10: Making A Yellow Flower
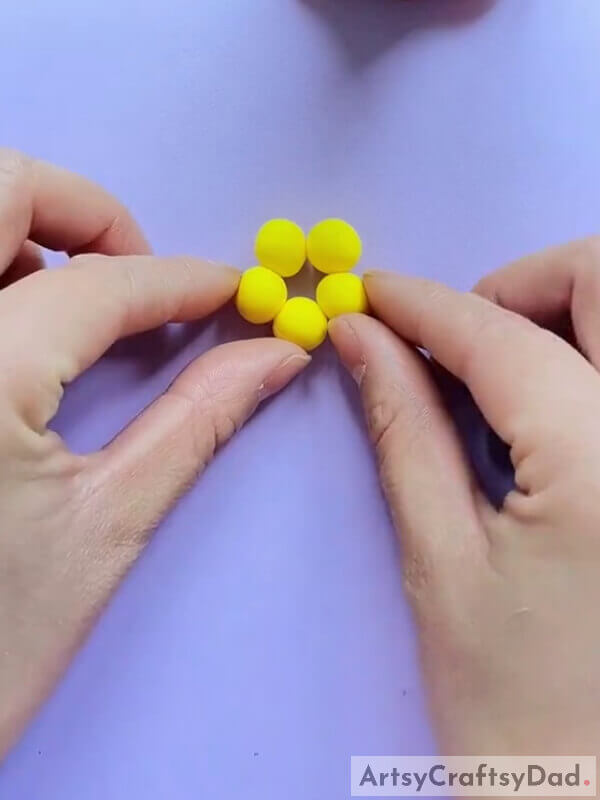
Dough 5 clay balls from the yellow clay and stick them together in a circle to form a yellow flower.
Step #11: Making The Center Of The Flower And Detailing It

Dough a blue clay ball from the blue clay and place it in the middle of the flower to make the center of it. Using a clay shaping tool, carve a small line over the yellow petals from the middle to shape and detail the flower.
Step #12: Sticking The Flower To the Stem
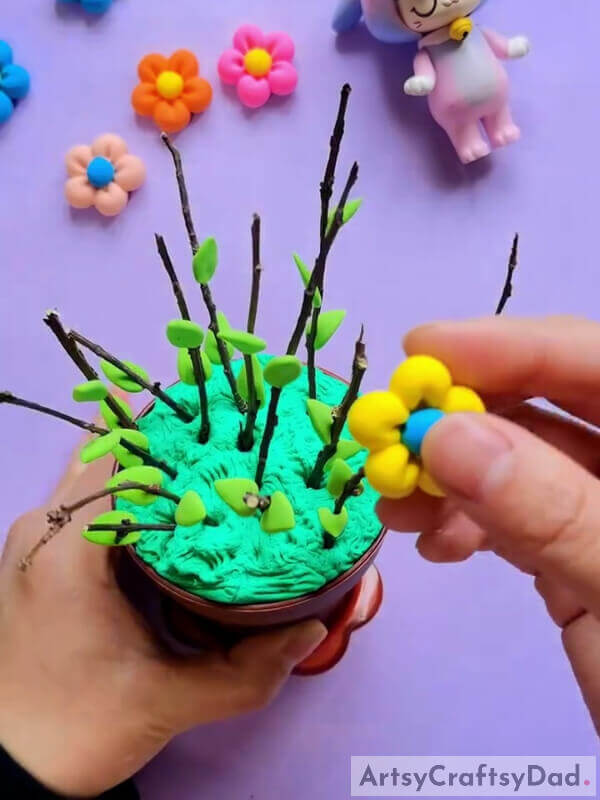
Stick the flower to the stem from the top of the branch and push the flower a little over it.
Step #13: Making More Flowers Over The Branches
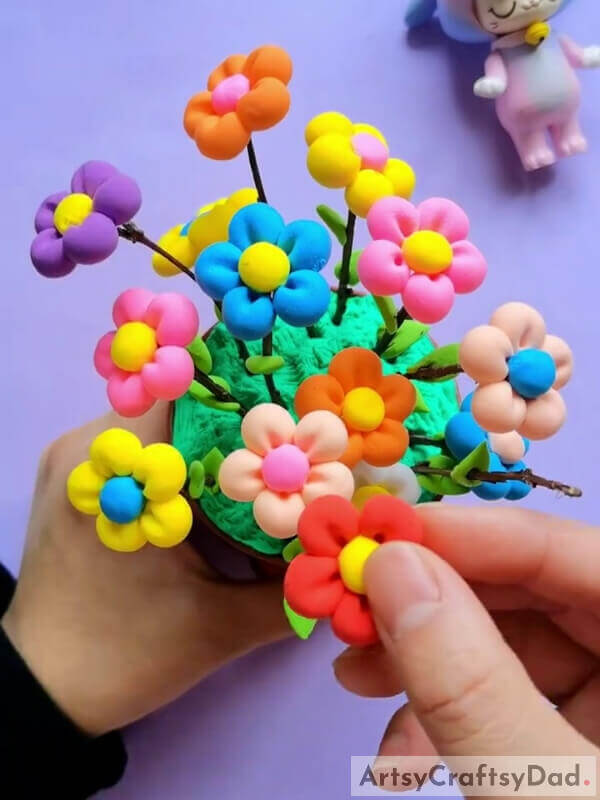
Following the same, make more and more flowers of different color combinations and stick them one by one on each stem branch as you stuck the previous one. See the image for the reference.
Step #14: Adding A Ladybug

Make a ladybug using red and black clay, make a thick circle of red clay and a crescent from black clay. Stick the crescent to the circle from the side to make a ladybug and detail the ladybug using a black marker, draw a vertical line in the red body in the center, and make 3-3 circles on the sides of the line along the body. Also, make a circle over the line in the center of it.
Now, for the eyes of the ladybug, dough 2 tiny white clay balls and stick them over the black face of the ladybug side by side and press them to flatten them.
This Is The Final Look Of Your Clay Flower Pot!
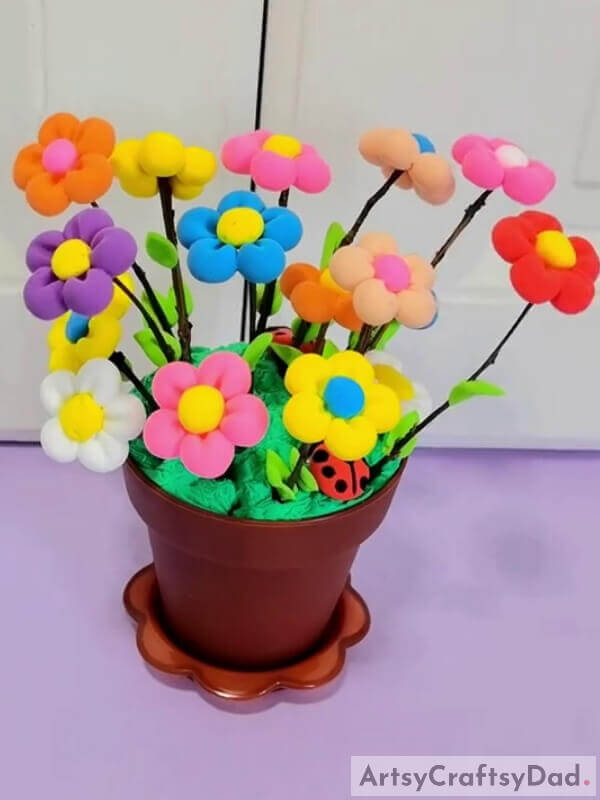
Woohoo! Your prettiest flower pot is ready to be displayed to brighten up your room!
You can take a minute to admire your creation! Now, set it up in any corner of your room, where you like to have it! You can also customize this flowerpot in any way you like by designing petals in different shapes, colors, or textures! You can also use this flowerpot as a handmade-with-love kind of gift for your loved one, I’m sure they will love it and will be happy to receive such a pretty flowerpot! This craft is a perfect alternative to the expensive flowerpot in the market!
Hope you liked the article! Please, drop your feedback in the comments section, so that we can get to know about yor views on it!
You May Also Like
- Peacock Stamp Painting With Hacks Tutorial
- Easy Town Landscape Drawing Tutorial For Kids
- Painting a vase with stained-glass paints
- Clay Snails On Leaves Craft Tutorial For Kids
- Basic Magical Leafs Pattern Henna Mehndi-Mehendi Designs with gulf rose & Beautiful Bels(Tutorial)


