Want to make a painting in an extraordinary manner? This step-by-step tutorial will guide you to make a polythene impression flower painting!
Hello and welcome to this wonderful painting article! In this tutorial will be making a flower painting through the polythene impression technique that will give you extraordinary results that you wouldn’t have imagined! The painting will turn out so perfect and flawless that you will love it! We will guide you on each and every step, from gathering the materials to the painting pattern and technique! Unleash the inner artist in you because you are about to shock yourself!
Flowers Painting Using Polythene For Beginners
Must Read: Balloon Stamping Painting Ideas
Supplies & Tools
- White Paper Sheet
- Polythene
- Paint Colors
- Paintbrushes (Rounded And Flat)
- Water
- Palette
- Cotton Earbuds
Polythene Flower Instructions
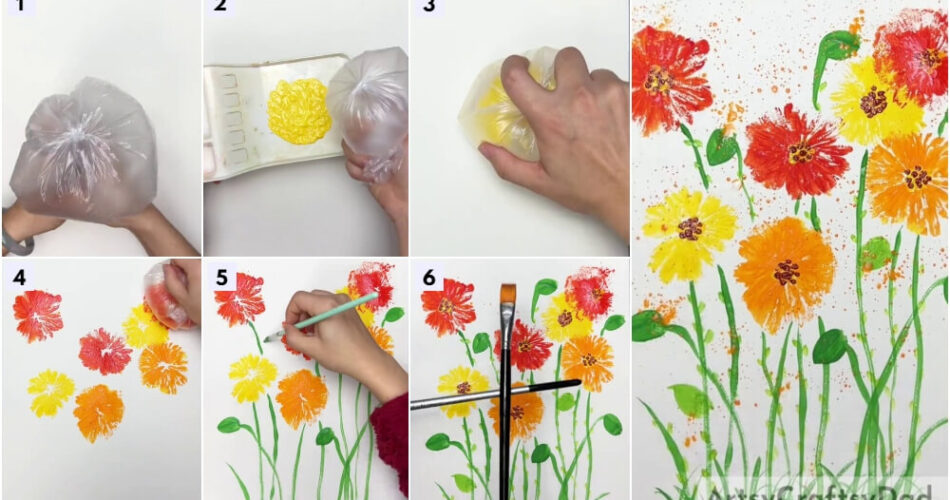
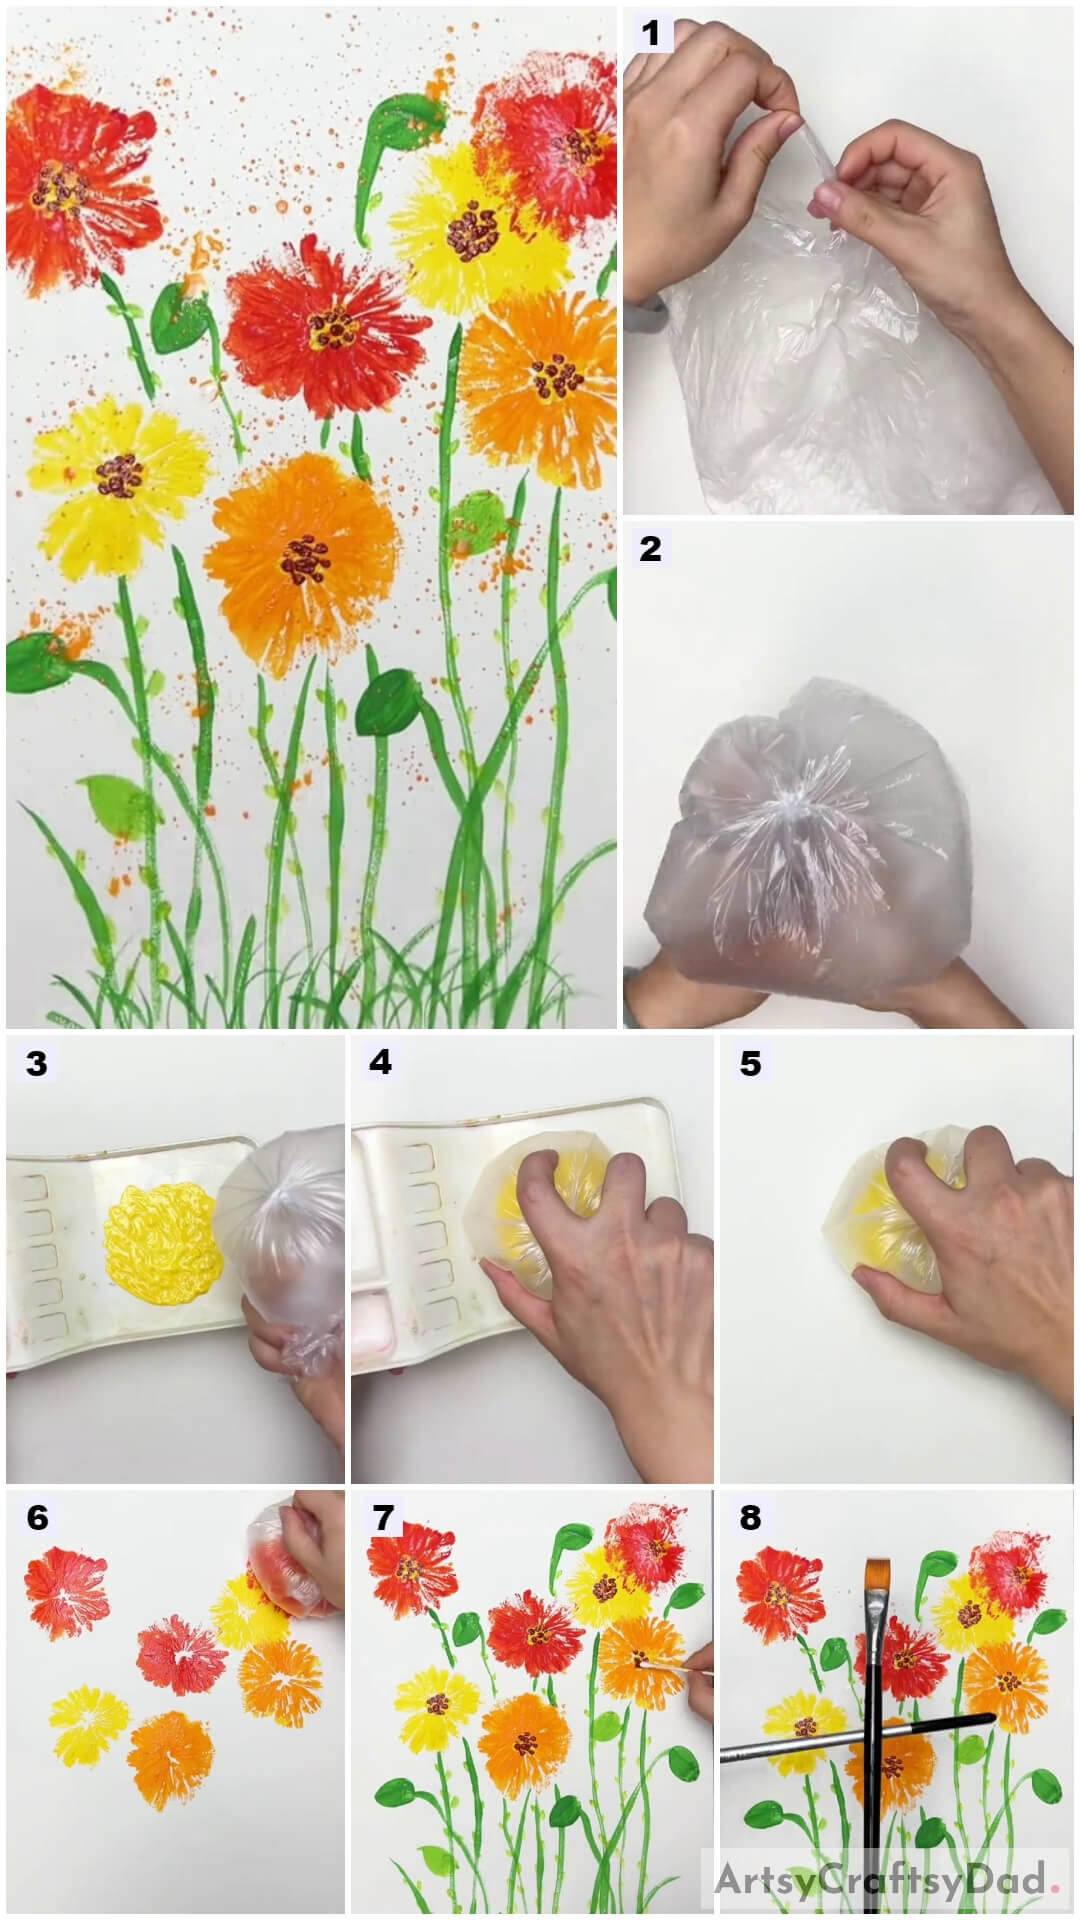
Step #1: Taking A Polythene
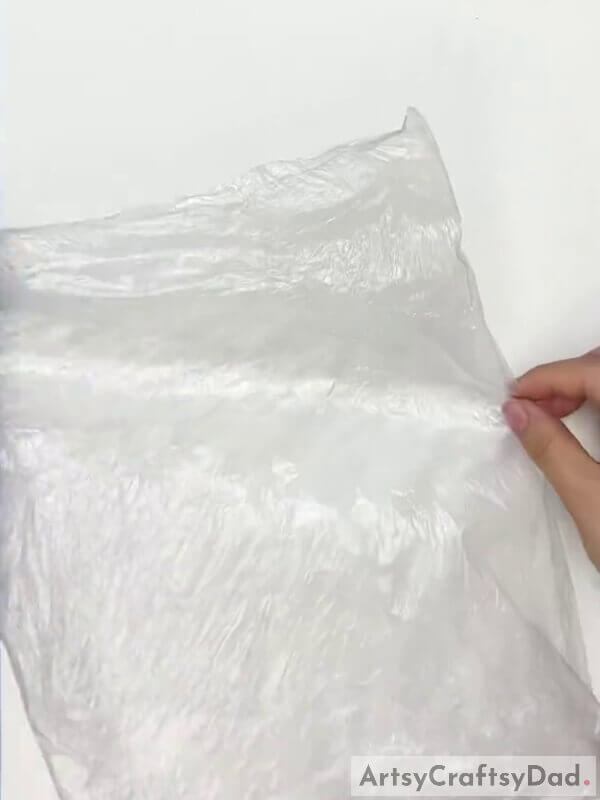
Begin this painting by taking a polythene.
Step #2: Tying A Knot
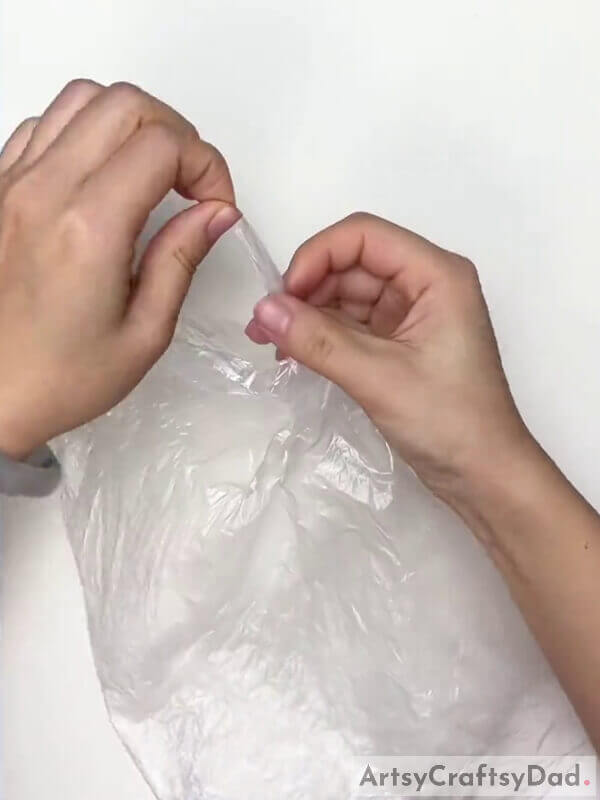
Next, tie a knot at the very corner of your polythene.
Step #3: Blowing In The Polythene
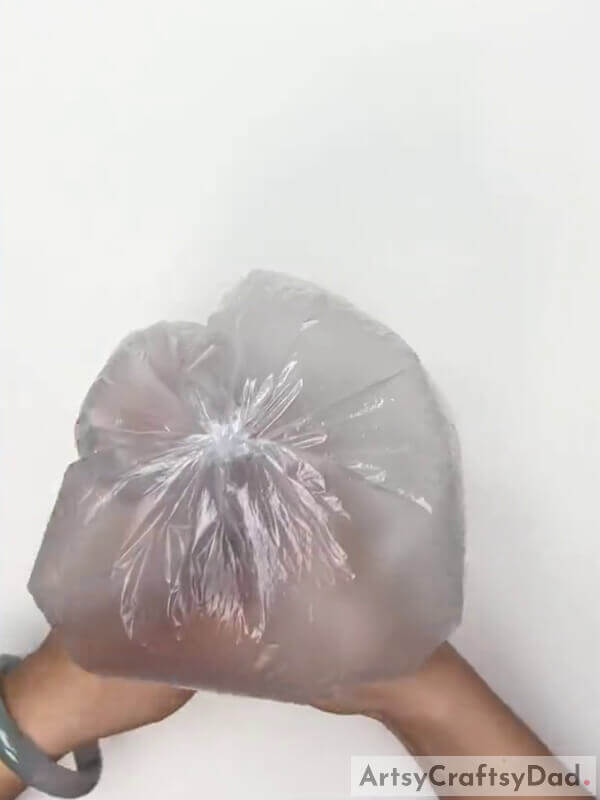
Blow air in the polythene and secure it by tying a knot from the opened side and holding it tightly. Now, you will use this polythene as a stamp for your flowers.
Step #4: Taking Yellow Paint In Palette
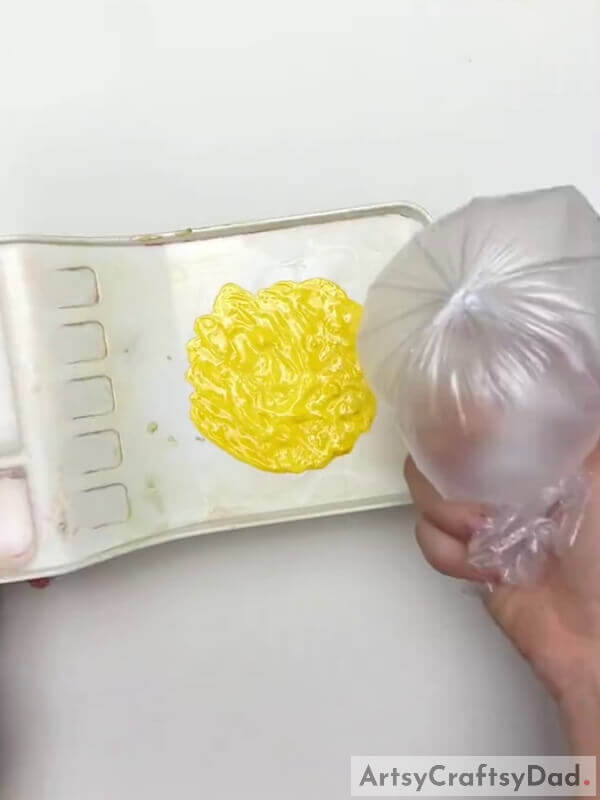
Take a palette and put some yellow paint on it.
Step #5: Dipping The Polythene Stamp In Paint
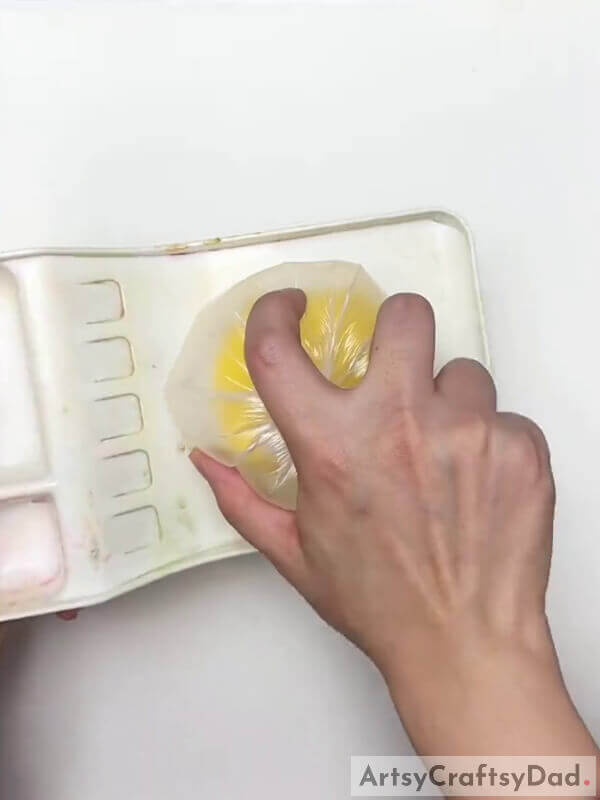
Dip your polythene stamp into the yellow paint that you have poured on the palette from the side where you have made the first knot.
Step #6: Stamping Yellow Flower
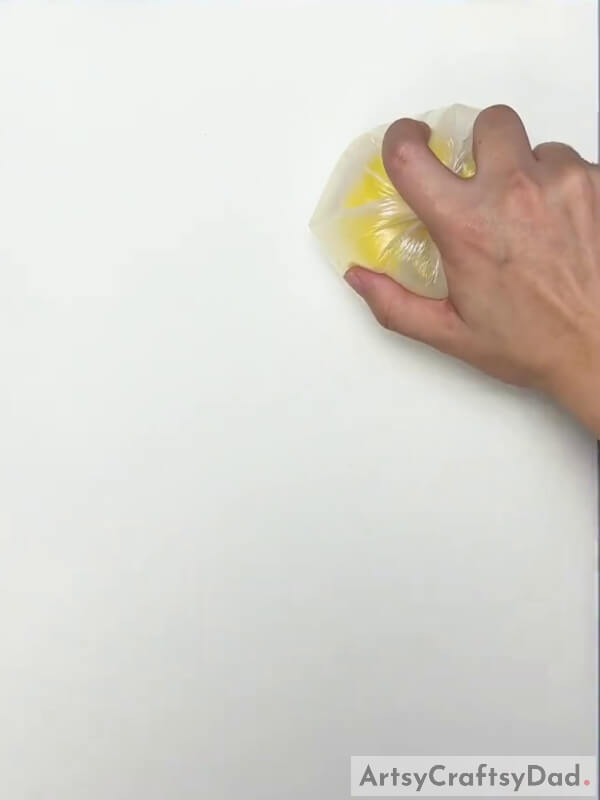
Now, dab your stamp on a white sheet of paper to see a stamped flower.
Step #7: Making More Stamped Flowers
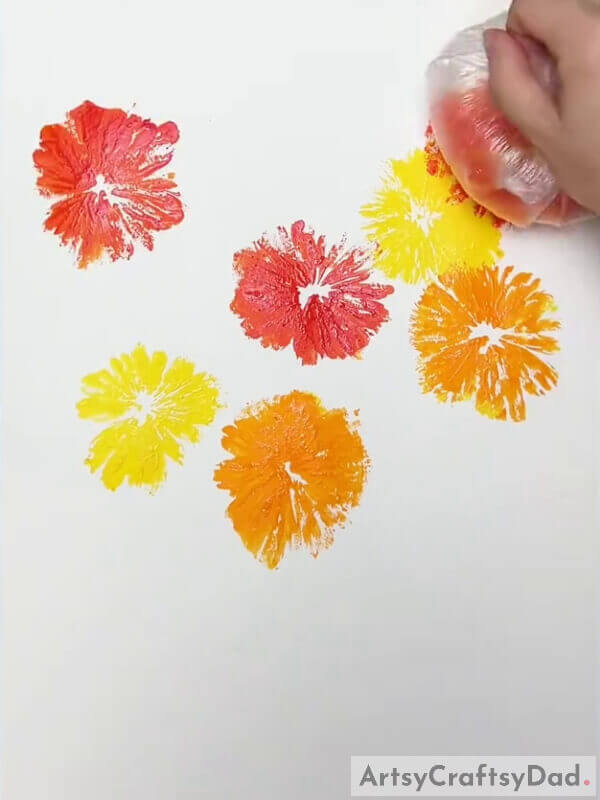
Following the same, dip the polythene stamp into red, yellow, and orange paint to make these colored flowers randomly over the paper.
Step #8: Making Stems Of The Flowers
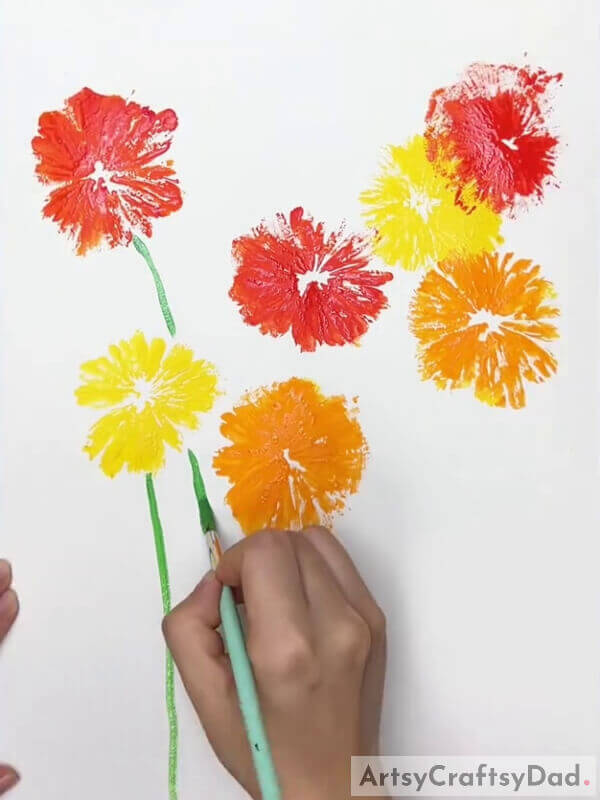
Dip a paintbrush into green paint and make the irregular stems of the flowers beneath them over the paper.
Step #9: Completing Making The Stems
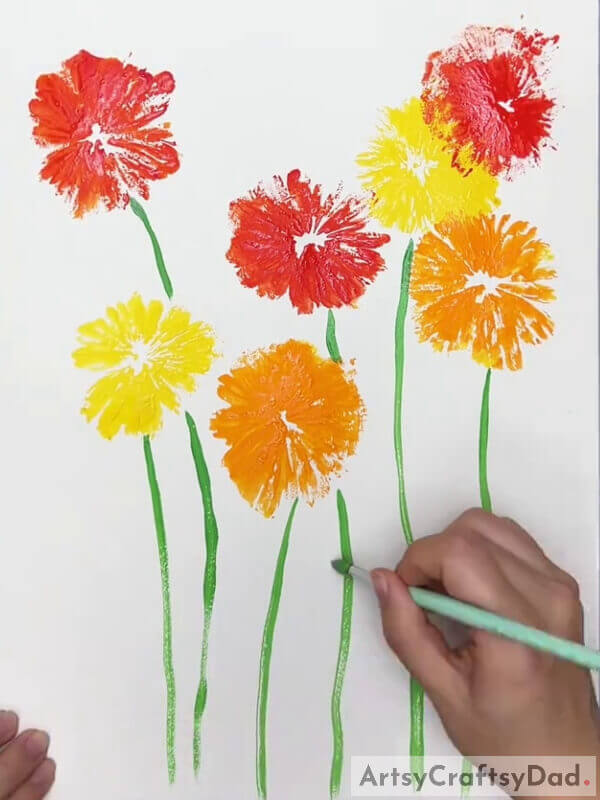
Make stems of all the flowers beneath them over the base as shown in the image.
Step #10: Making Leaves To The Stems
Using the same paintbrush, make the leaves among the stems by making other stems for the leaves as well randomly between them.
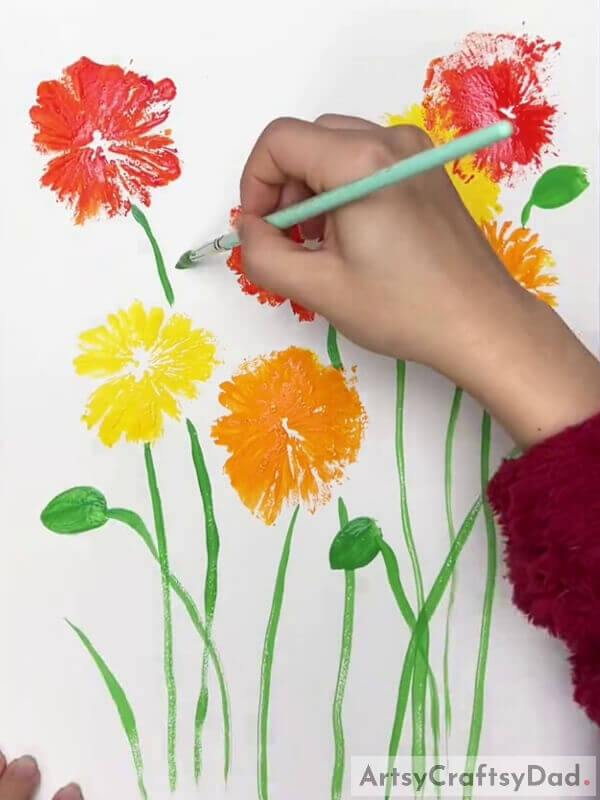
Step #11: Detailing Stems And Making Grass
Now, dip a cotton earbud into light green paint and make tiny leaves over the stems of the flowers and leaves, covering them wholely from both sides. Also, using the green painted paintbrush, make the small curvy strokes at the bottom of the paper to make the grass in the ground.
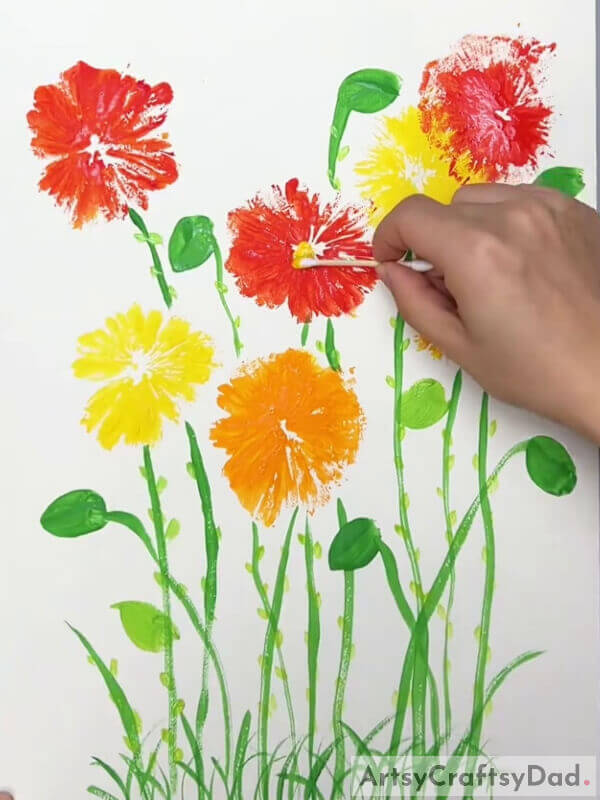
Step #12: Making The Center Of The Flowers
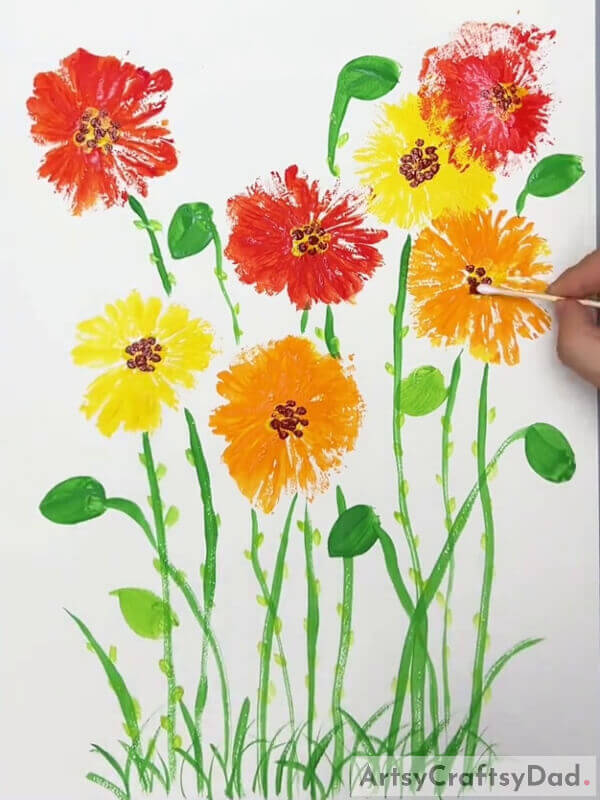
Dip another cotton earbud into yellow paint and dab it over the middle of the flowers to make the center 4-5 times collectively. Now, dip the cotton earbud into brown paint and again dab over the yellow centers to make scattered dots over them separately. See the image for reference.
Step #13: Sprinkling Paint On The Painting
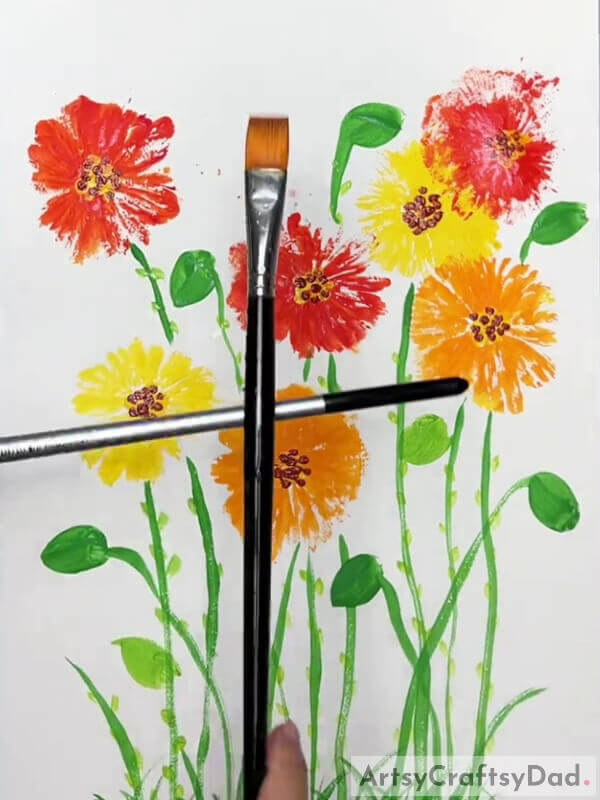
Dip a flat paintbrush into the mixture of red paint and water, pat that paintbrush to the rounded one, and sprinkle water paint drops on the painting. Do the same, sprinkle some yellow paint drops and some orange paint drops too.
This Is The Final Look Of Your Polythene Flower Painting!
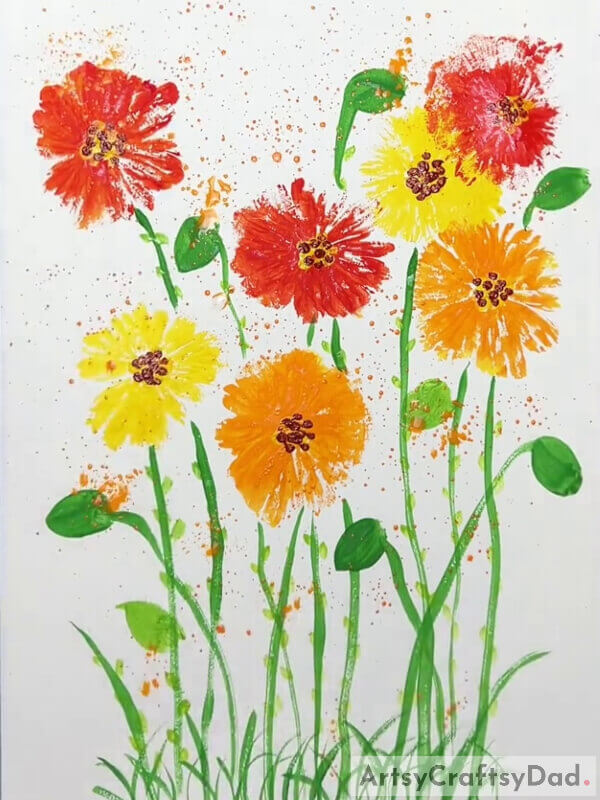
Voila! Look at the final results of your polythene impression flower painting!
You can now decorate your painting in your room to showcase it to everyone who comes by! Through this painting, you have turned the most unexpected thing into a paintbrush, the polythene, which is a mere waste! This painting is best to make to flaunt when you don’t have paintbrushes or your paintbrushes are damaged! You can also use this painting as your school art project! I’m sure your teacher would love it and will find the procedure very creative and fascinating!
We are hoping you loved the article! If so, do give it a like and share it as much as you can! Also, drop your feedback in the comments section below!
You May Also Like
- Peacock Stamp Painting With Hacks Tutorial
- Simple Paper Tearing Flowers Craft Tutorial
- DIY Easy Kanzashi Flowers for Beginners
- Beautiful dotted flowers from one stroke painting
- Nylon stocking flowers craft tutorial


