This step-by-step tutorial is on making the prettiest bird! Yes, you guessed it right! A peacock painting! Make it just like a pro artist!
Hello young artists! Today, we brought you a stunning artwork that will blow everyone’s mind! Don’t get yourself in doubt by looking at its appearance! We are here to guide you on each and every step of this painting making! You will definitely get pro-like results! The results will surely be a piece to showcase and will be admired by everyone! With just some basic art supplies you will create this peacock painting in just the blink of an eye! Let us begin with the painting!
Peacock Stamp Painting Art Idea For Kids
Must Read: How to Make Peacock Clay Pot at Home
Supplies & Tools:
- White Circular Paper Sheet
- Circle Stamps (Big And Small)
- Paintbrush
- Paint Colors
- Toothbrush
- Cotton Earbud
Peacock Stamp Painting Instructions
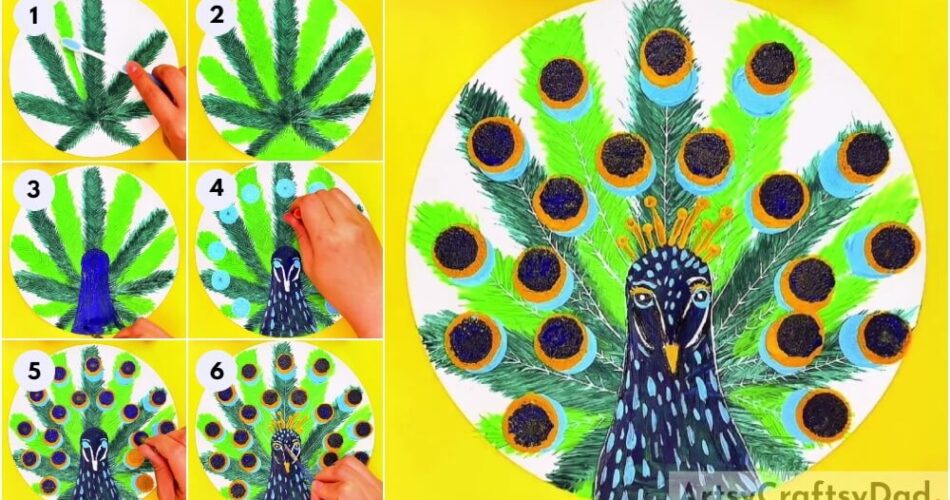
Step #1: Painting A Line
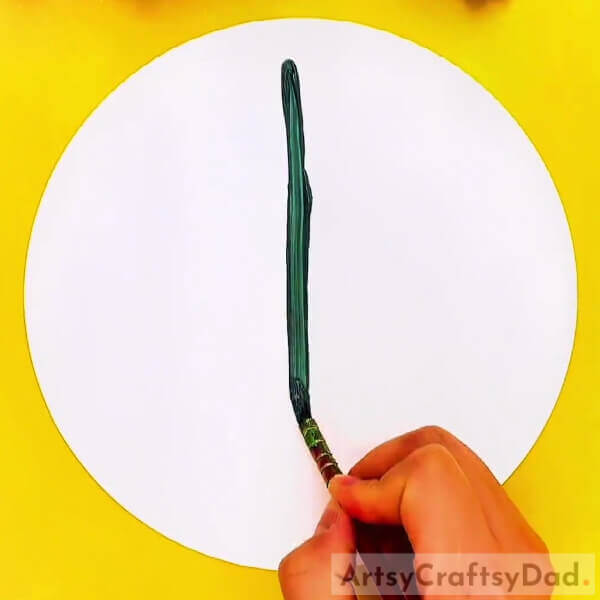
Begin this craft by taking a white circular paper sheet as the base for the artwork, a paintbrush, and green paint. Dip the paintbrush into green paint and make a vertical line in the center of the base.
Step #2: Making A Peacock’s Feather
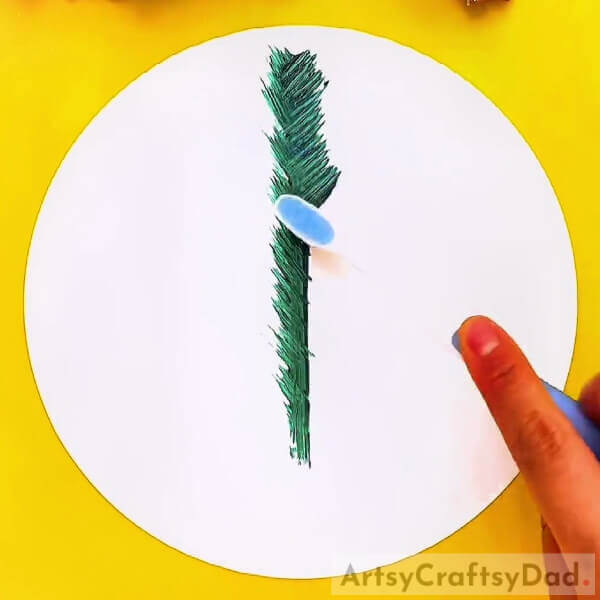
Take a toothbrush and use it to make slanting strokes over the paint line on both sides to make the feather of the peacock.
Step #3: Making More Feathers
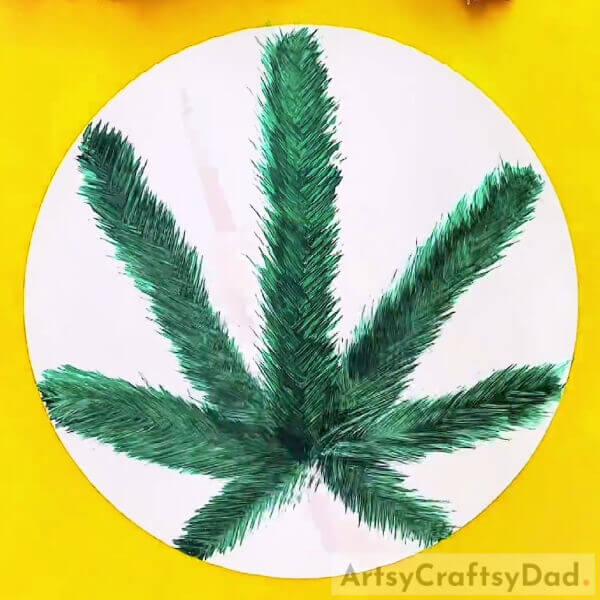
Following the same, make more feathers in a star shape s shown in the image.
Step #4: Making Light Green Feather
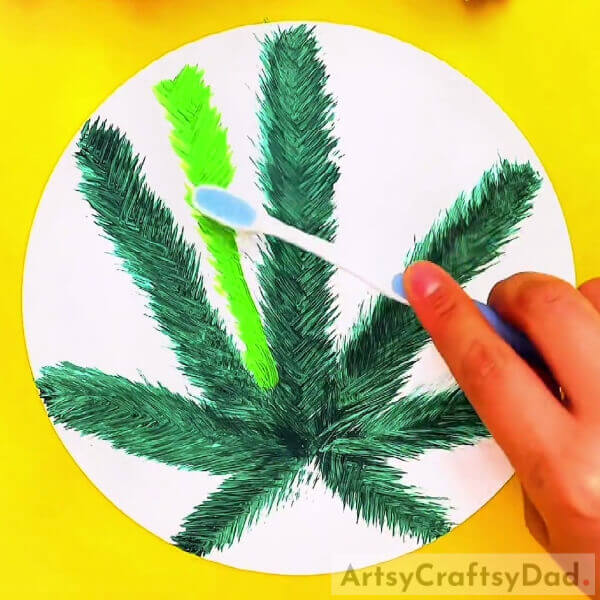
As you make the green feather, make a light green feather in between the green ones.
Step #5: Completing The Peacock’s Train
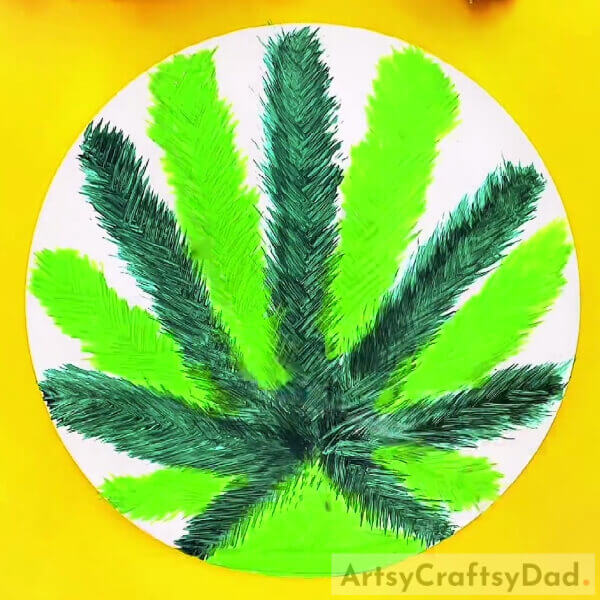
Make the light green feathers between all the green ones and also paint some light green paint at the bottom white base. This completes the train of peacock feathers.
Step #6: Stamping A Blue Circle
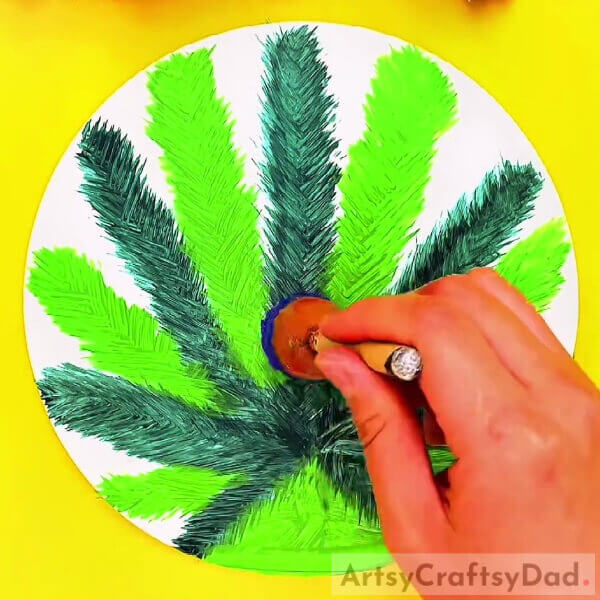
Dip a circle stamp in blue paint and stamp it over the base right in the center.
Step #7: Making The Peacock Base

Drag the circle stamp to the bottom of the base to make a thick blue line. Now, dip your paintbrush into blue paint and make curves on both sides of the blue line to make the peacock base and paint it whole to make the peacock base thin from top and thick from bottom.
Step #8: Making The Facial Features
Dip the paintbrush into the light blue paint and make the eyes of the peacock with carved eyebrows, also vertical dashed lines on the neck region of the peacock. Now, dip the paintbrush into white paint and make a triangular nose below and between the eyes of the peacock. Also, make curved lines coming from the eyes to the nose as shown in the image.
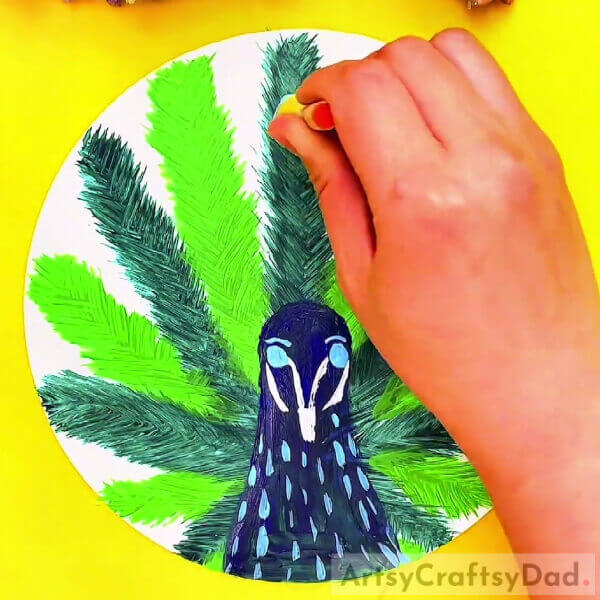
Step #9: Stamping Light Blue Circles
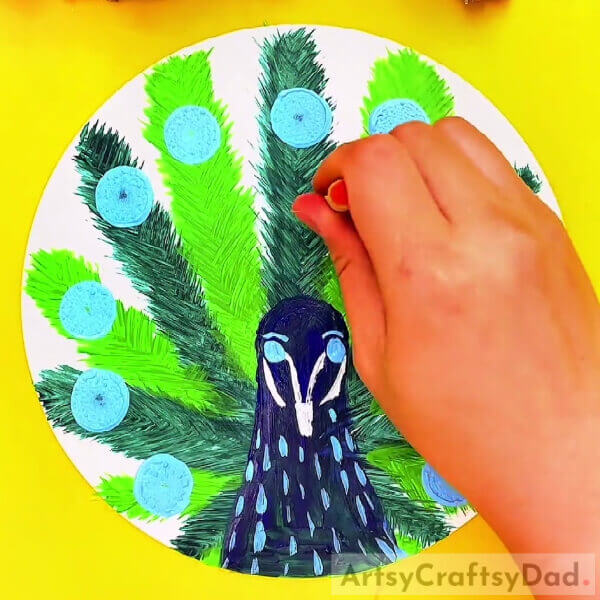
Dip the circle stamp into light blue paint and dab it over the top of each feather. Also, below and in between the top ones.
Step #10: Stamping Yellow Circles
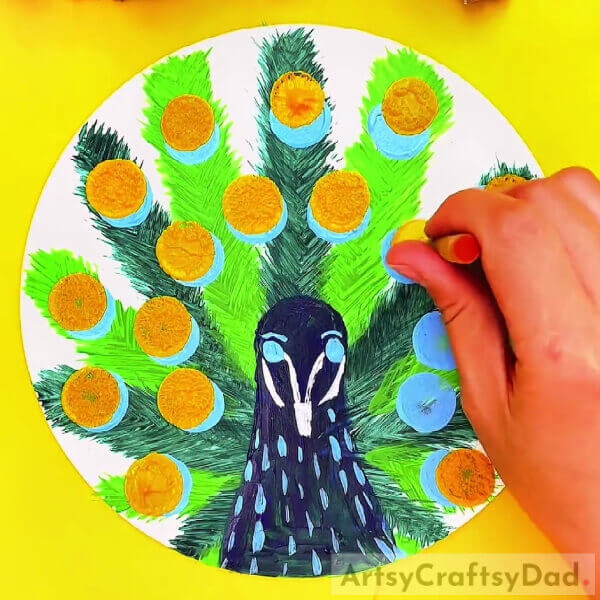
Dip the circle stamp in yellow paint and dab it above the blue ones by leaving some space at the bottom of the blue one.
Step #11: Making The Eye On The Feathers
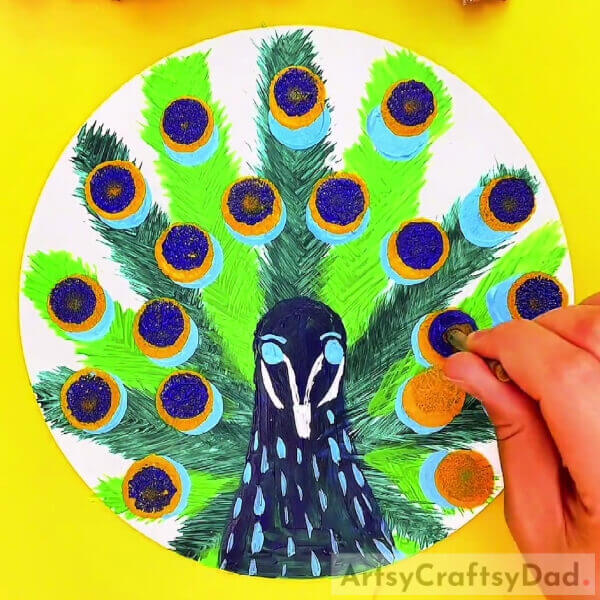
Dip a relatively smaller circle stamp into the blue paint and dab it over the yellow circle to complete the eye on the peacock feathers.
Step #12: Detailing The Facial Features And Feathers
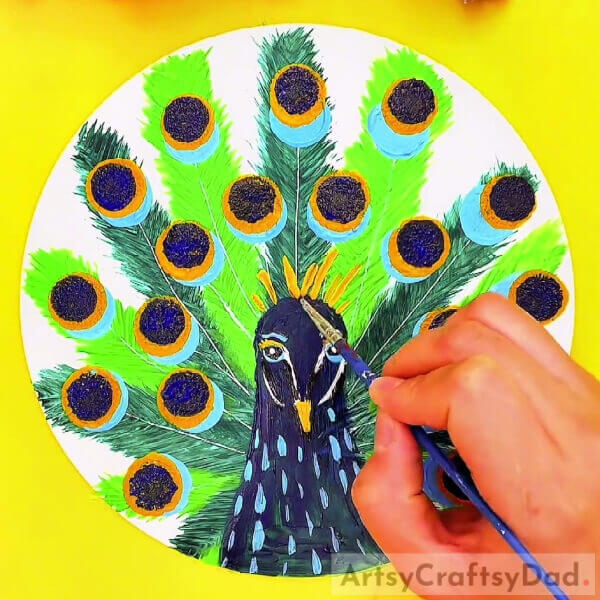
Dip the paintbrush into white paint and make the lines of the feathers on them. Now, dip the paintbrush into blue paint and color the eyes by leaving the light blue boundary. Make the eyeballs of the peacock by making dots in the eyes of white paint. Dip the paintbrush into yellow paint paint the nose and make small lines above the head to make the peacock crest.
Step #13: Completing Making The Peacock Crest
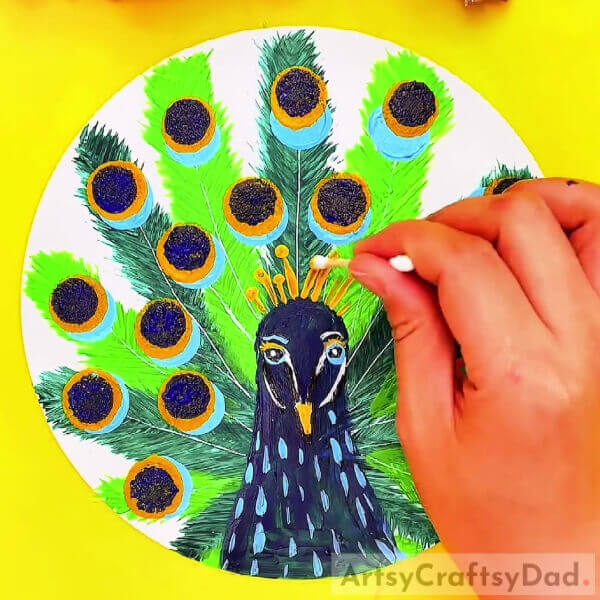
Dip a cotton earbud into yellow paint and dab it over the ends of the yellow lines above the head to make dots over it and complete the crest.
Step #14: Making The Peacock Texture
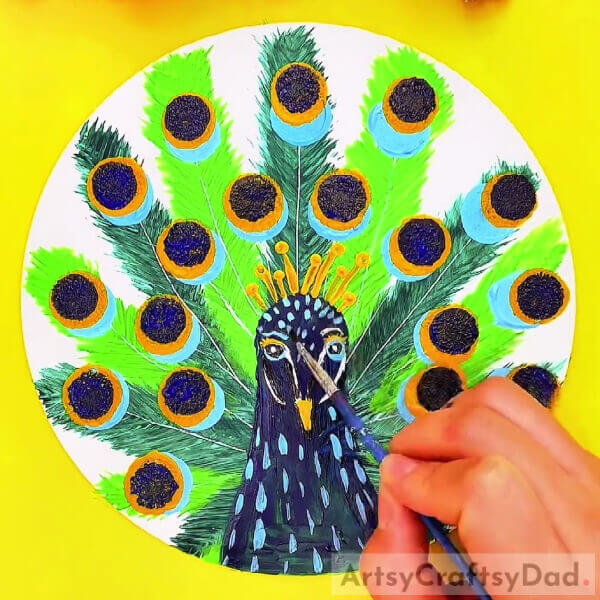
Dip the paintbrush again into light blue paint and make small dashed lines over the head of the peacock to the nose along the boundaries to make the peacock texture over it.
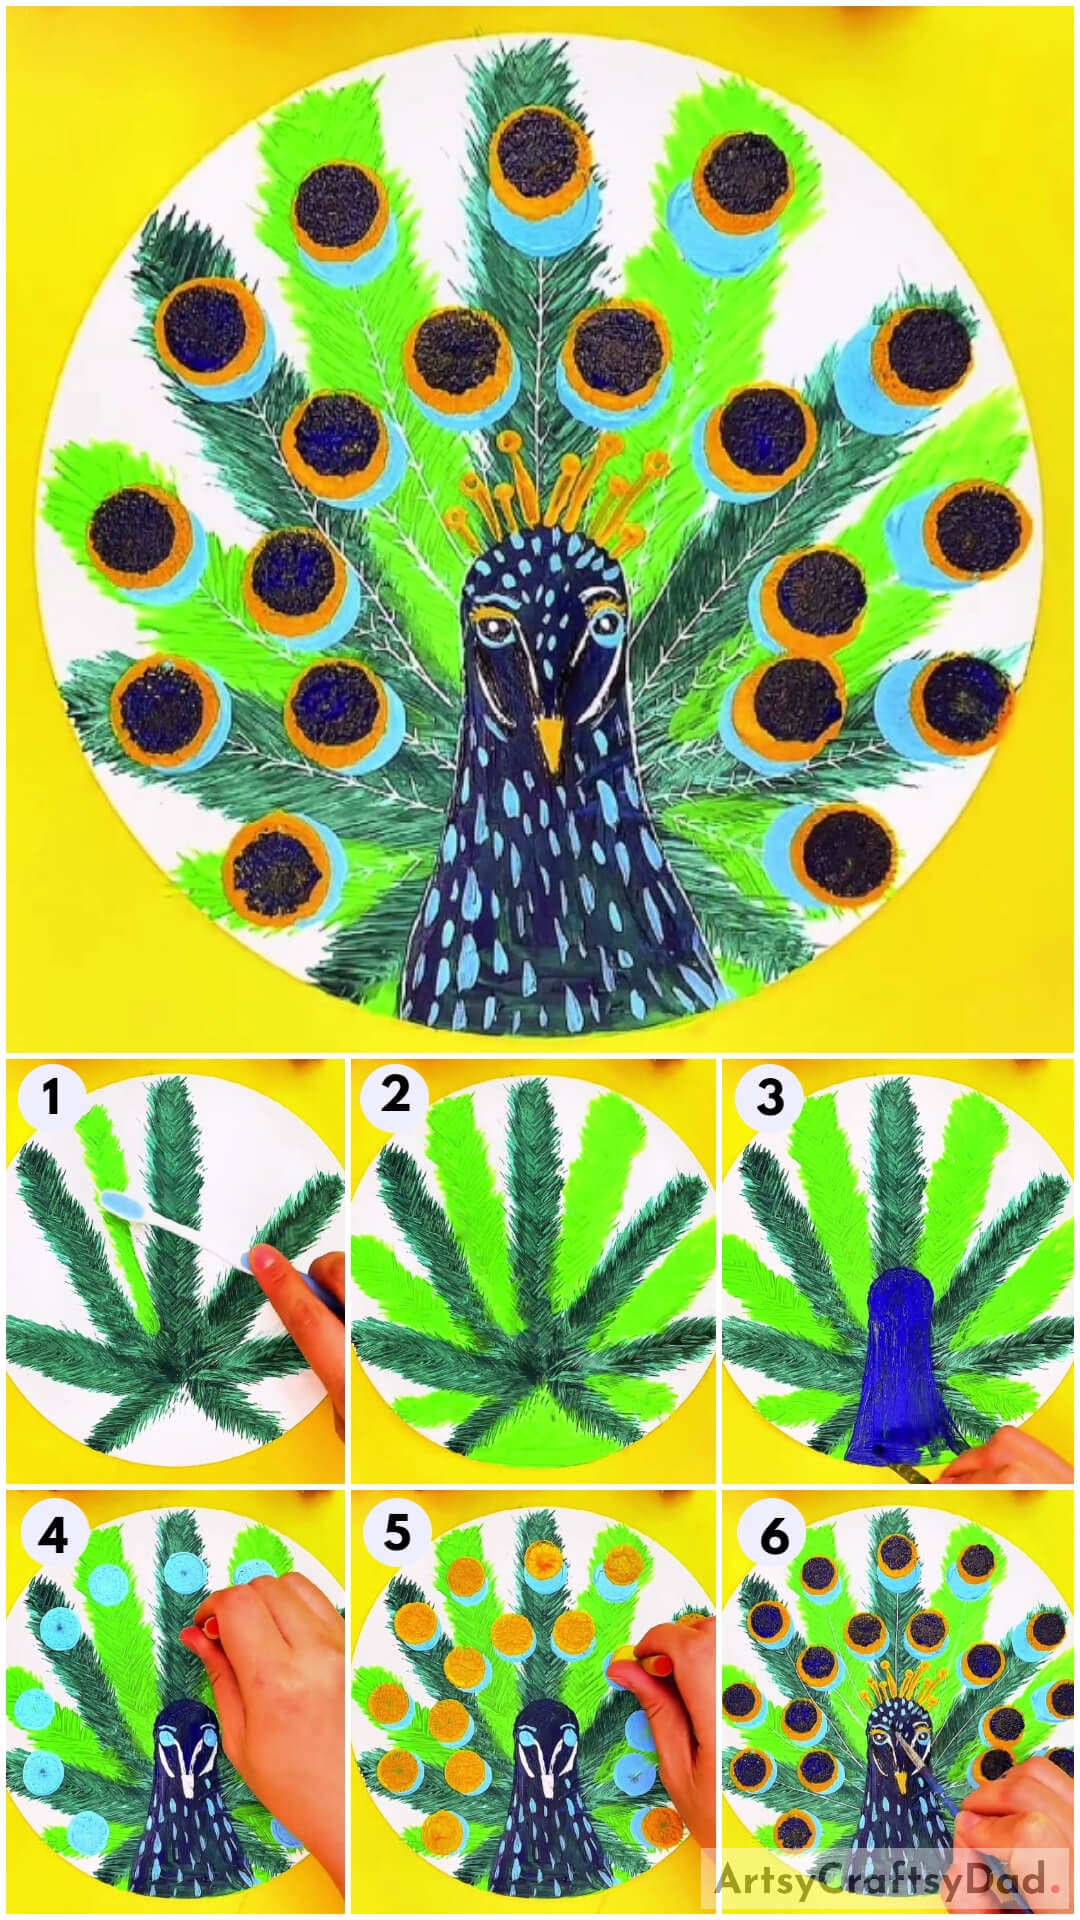
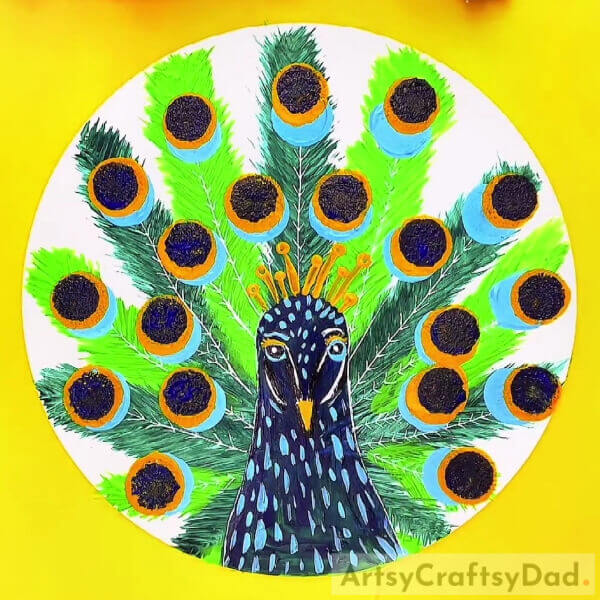
Yay! Your Peacock Stamp Painting Is Ready!
For the last step, dip the paintbrush into white paint and using it make the slanting veins over the feathers along the white lines.
Voila! This is the final look of your peacock artwork!
Whoa! I’m stunned too! You can take a minute to admire your creation! This might be the best artwork of yours up to date! You should definitely faint your creation in front of everyone and make them stun too! They might not believe at first that you made it, but you can prove them wrong! Everyone will admire your skills by looking at this artwork! You can even make this peacock on a giant base to decorate in the drawing room! It will look fabulous everywhere!
We hope that you liked the article and the artwork idea and hack! Don’t forget to share your art journey with us in the comments section below!
You May Also Like:
- Balloon Stamping Painting Ideas
- How to do hand embroidery peacock (Tutorial)
- Creative Peacock Rangoli Art Designs Tutorial
- How to Make Dancing Peacock Out of Pista shells
- RED / Abstract Painting Demonstration / Easy in Acrylics


