I bring to your attention a series of simple master classes on embroidery in the technique of “decorative mesh” or, as my friend called it, “a cross for lazy people” 🙂
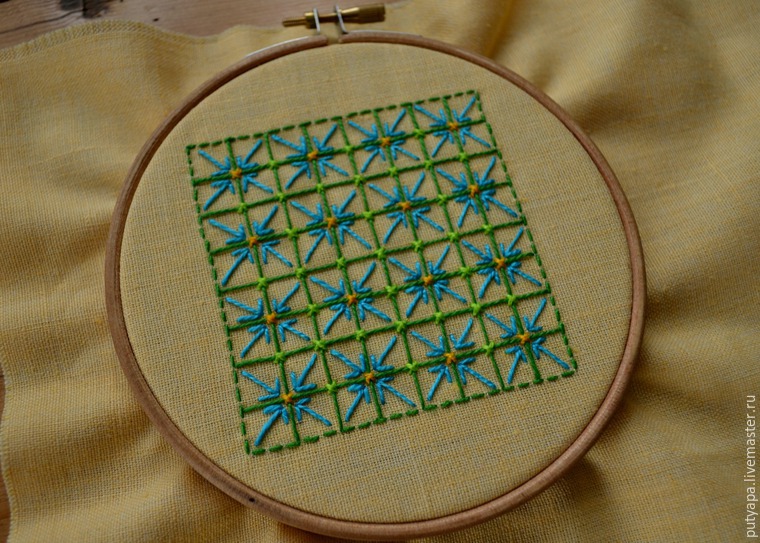
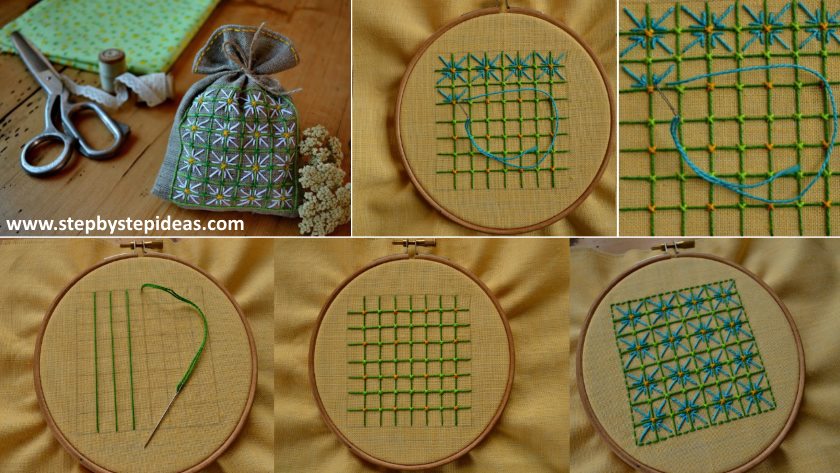
This technique is quite simple and under the power of novice needlewomen. A grid is stretched within the contour, which can be straight or diamond-shaped. The intersections of the threads are attached to the fabric by stitches-“clips”, which can be in the form of straight or oblique stitches, crosses. The resulting grid cells are filled with various stitches, laid in different directions in a certain way. These stitches – an air-bearing seam, nodules and rococo, eyelets with prikrepami – are called “cuttings”. The contour of the pattern is covered with a stalk seam. Decorative nets are usually decorated with tablecloths, napkins, towels, pillows. I decorate with such embroidery bags for grasses.
For embroidery, we need a fabric (I have linen), thread (mulina, iris), a needle with a wide eye, a pencil with a ruler, scissors and a frame.
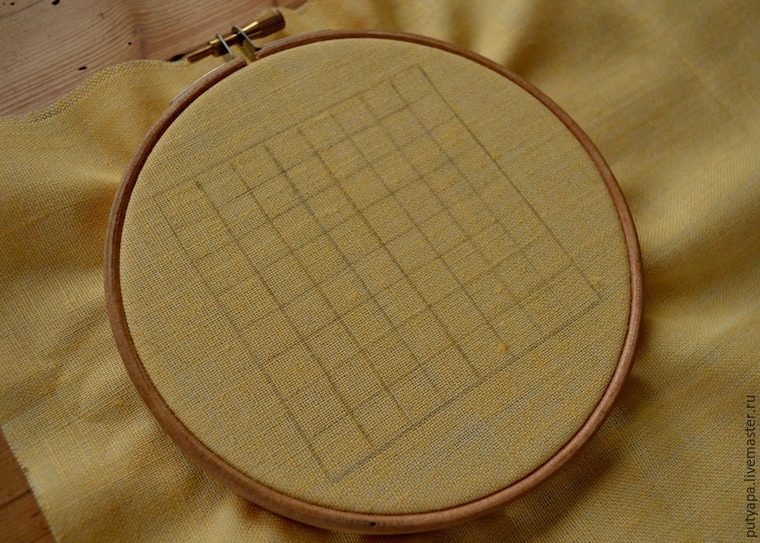
Before pulling the net, mark the lines with a pencil. The size of the cells can be different – from 0.5 to 1 cm – depending on the size of the pattern. In this case, I drew a square of 8 cm by 8 cm and marked cells 1 cm apart.
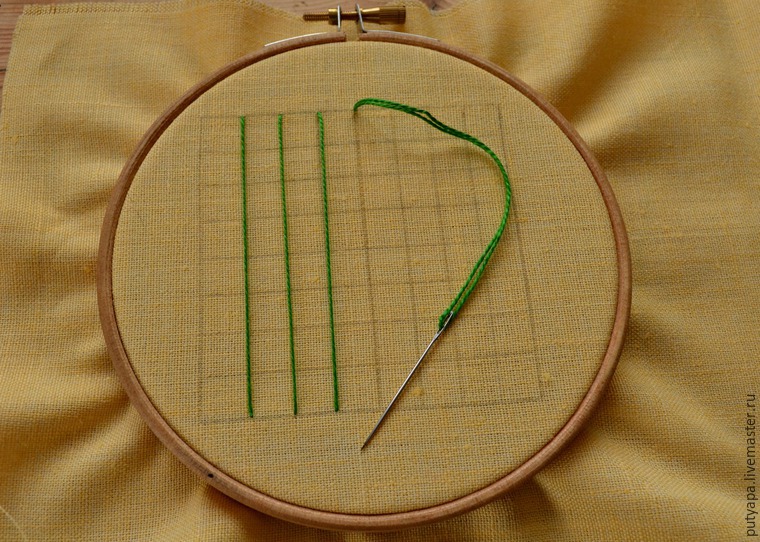
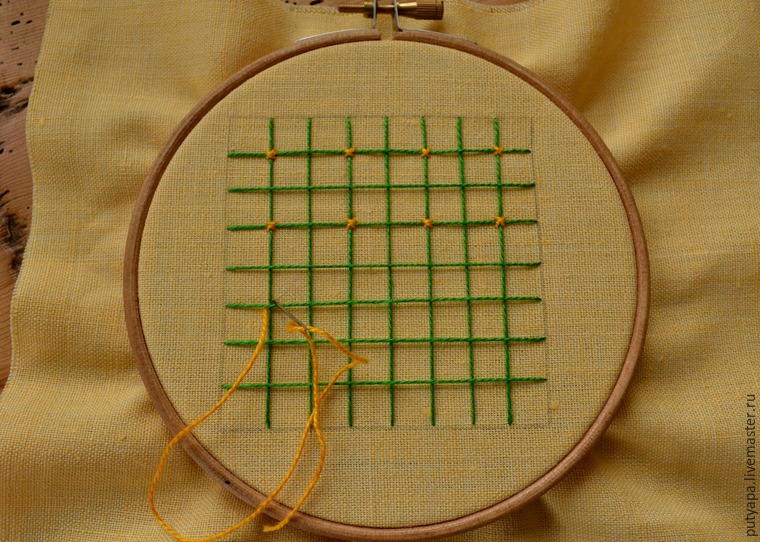
Further along the planned lines we extend the threads from left to right, then from top to bottom (or vice versa – it does not matter). On the contour of the square, the thread is not stretched, at the end we sew it with a stalk seam. You will get such a grid:
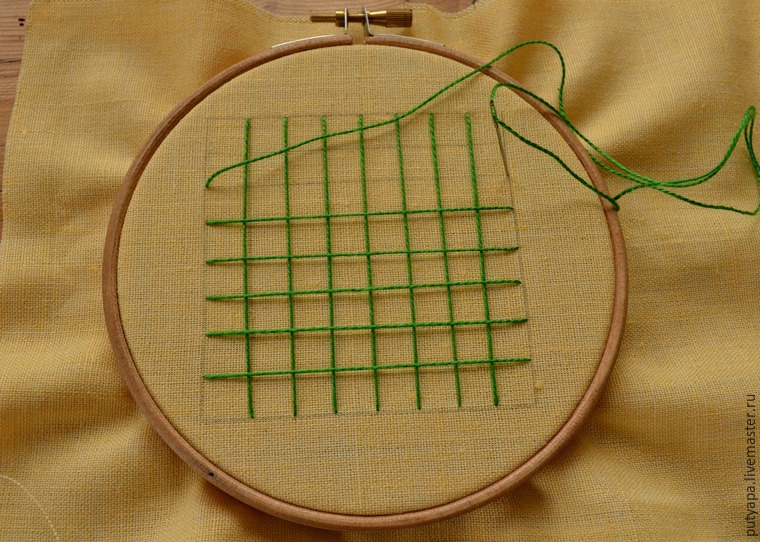
This is the basis of the future pattern. (Usually the grid is made with threads of dark tones, and the cuts are lighter, brighter).
Next, the places of intersection of the threads we attach to the fabric by stitches-“clips”. These stitches perform not only a “functional” role, but also decorative, decorating the mesh. Stitch-“clips” can serve as simple single stitches or crosses, they can be laid in one direction or in staggered order. Usually, these stitches are made with threads of a different color (different from the mesh).
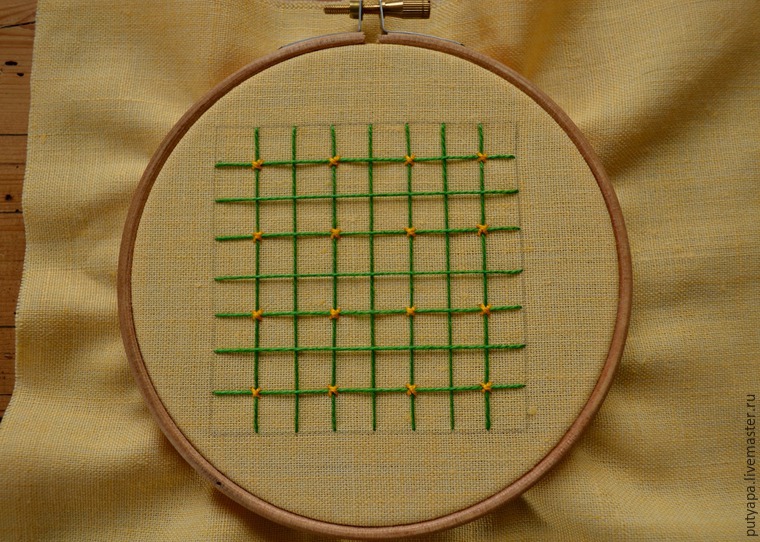
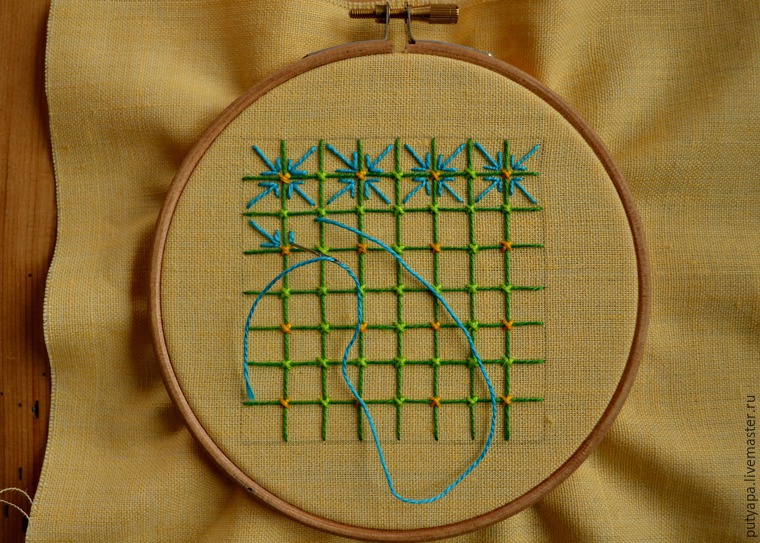
In our work, we will attach the grid stitches crosses of two colors. In the beginning – yellow threads (this is the “center” of future flowers). We perform these stitches through the cell in this way:
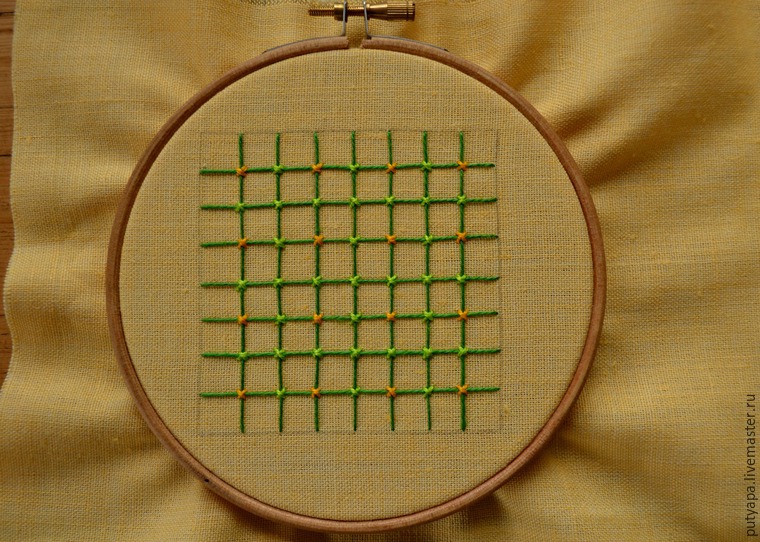
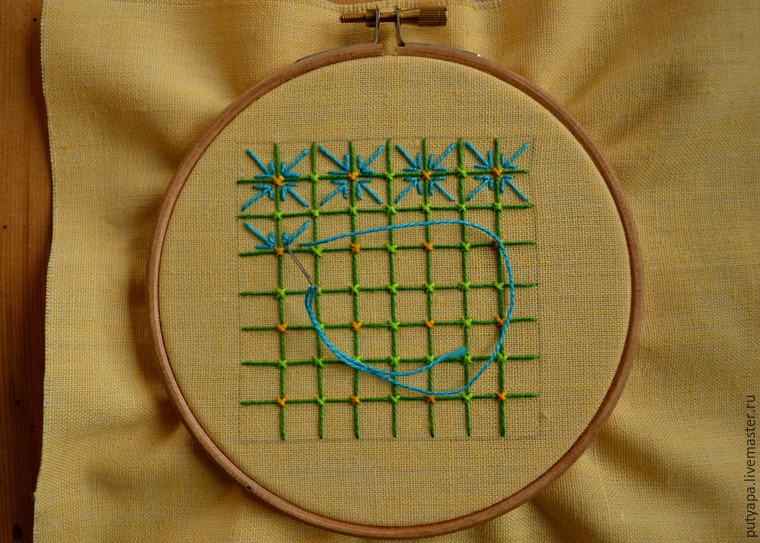
Then, the other intersections of the threads are attached with a cross with light green threads. You will get such a grid:
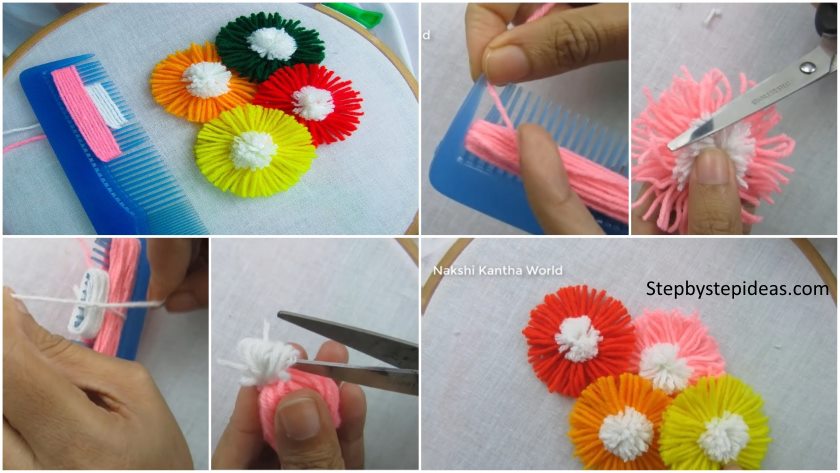
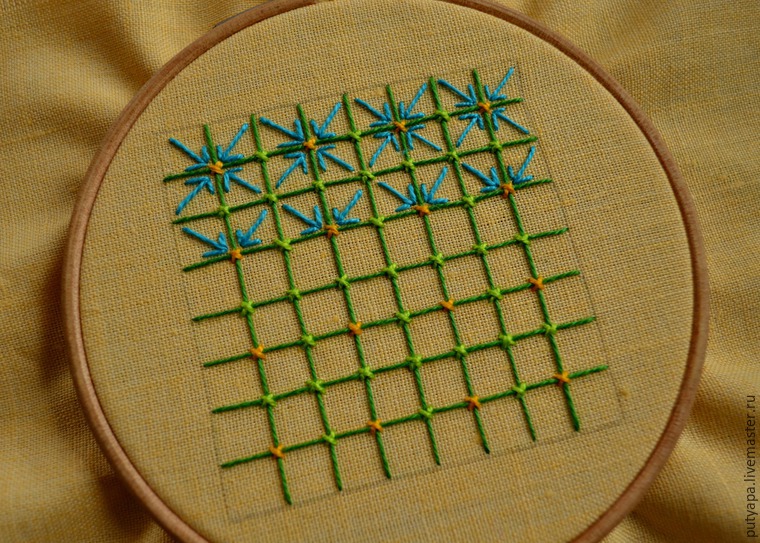
Now in each cell of the resulting grid, we embroider the cutting of the “paw”. This pattern is made of 3 stitches: 2 small stitches (about half a cot) along the 2 sides of the square; and 1 stitch more – diagonally from one corner of the square to the other. To make the “legs” look neat and even, make sure that all 3 stitches are connected at the same point.
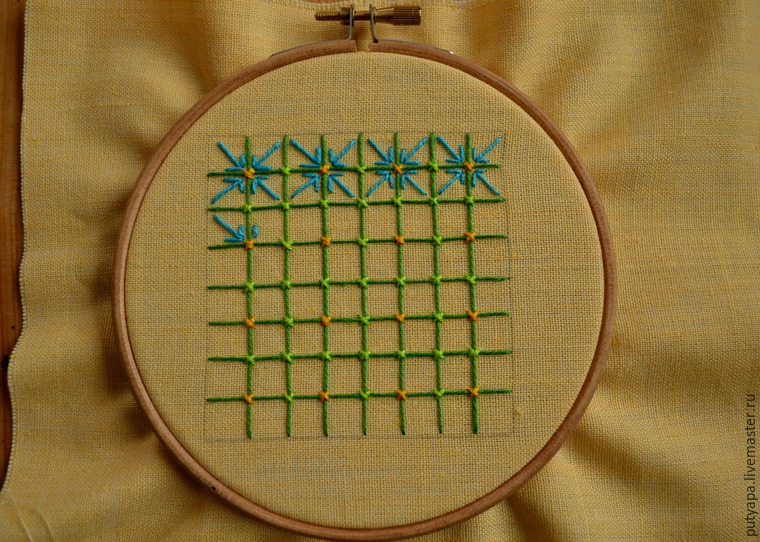
Fill the cells with the “paws” from left to right, first the top row of the future flowers, then the bottom one.
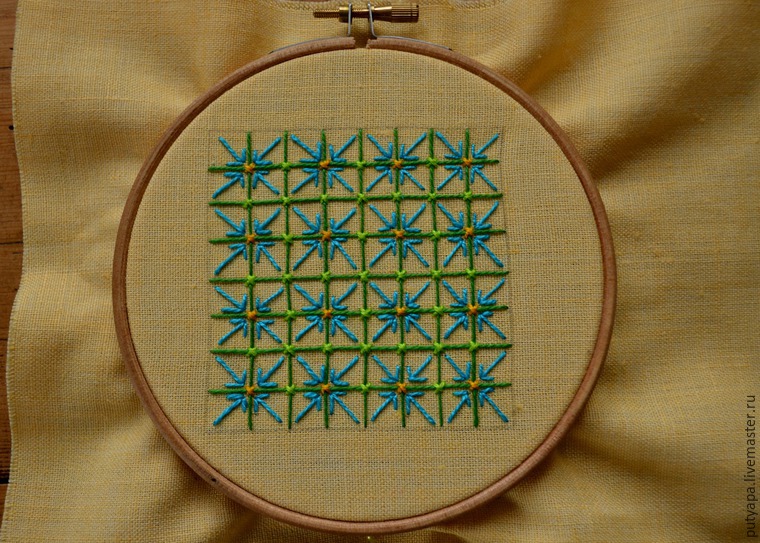
At the end of our work, we sew the contour with a stalk seam or a “forward needle” seam. So, our work is ready:
Here is an example of a finished product using this pattern – gentle chamomile.

I hope my master class was interesting and useful to someone. To be continued, to new meetings!