“Discover the art of creating a beautiful circular traditional hand fan with our step-by-step Origami paper craft tutorial. Perfect for DIY enthusiasts and craft lovers!”
Creating a circular traditional hand fan using origami paper is a delightful and engaging craft that blends the art of paper folding with the charm of cultural heritage. This tutorial will guide you through the meticulous yet rewarding process of crafting a beautiful and functional hand fan, inspired by traditional designs. Whether you are an experienced origami enthusiast or a beginner eager to explore the world of paper crafts, this project offers a perfect blend of creativity and practicality.
Hand Fan Origami Paper Craft Tutorial

Must Read: Full Hand Traditional Mehndi Design For Wedding
Supplies & Tools
- Purple sheet
- Purple quarreling
- Glue
- Flower printed paper
- Scissor
Traditional Hand Fan Craft Instructions
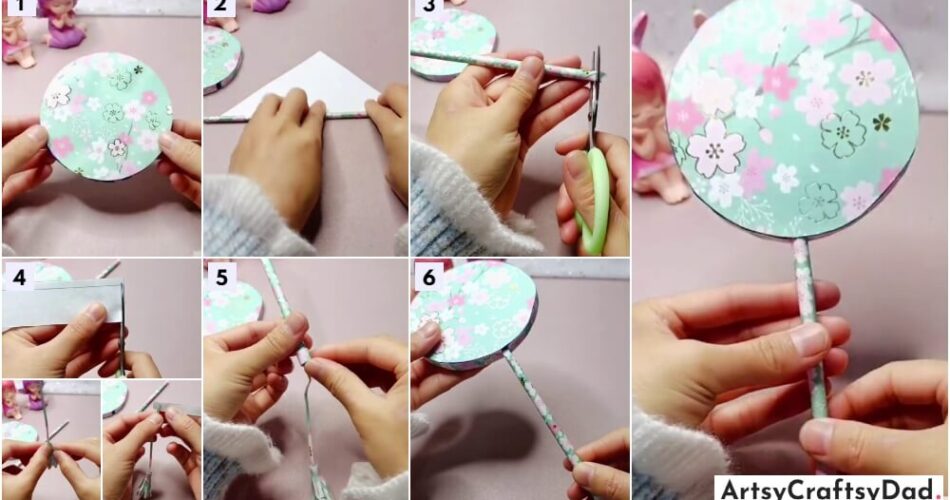
Step #1: Prepare The Base

First, prepare the base for that first we take a purple sheet and cut that sheet into a circular shape. Then, add a quarreling to it.
Step #2: Paste The Quarrelling
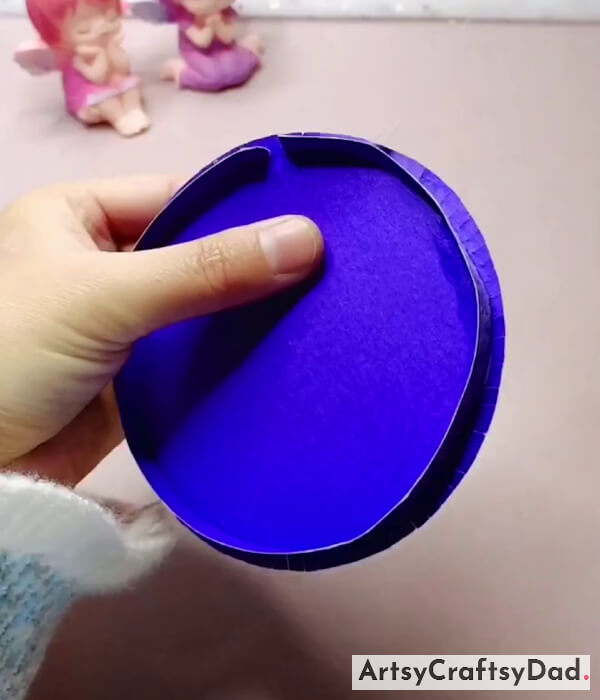
Now, we will paste the quarreling straight to the circular cut sheet.
Step #3: Fix It

Then, check whether the sheet and quarreling got pasted and fixed properly or not.
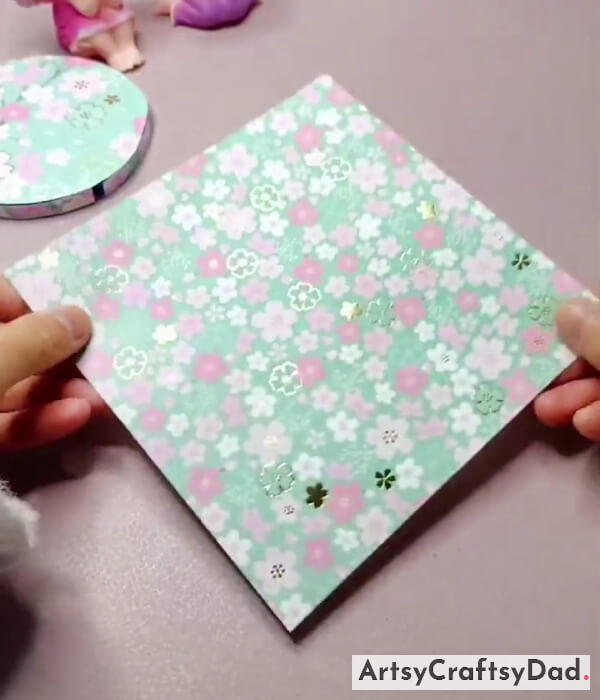
Step #4: Use A Printed Sheet

Then, take a flower print sheet.
Step #5: Paste The Printed Paper
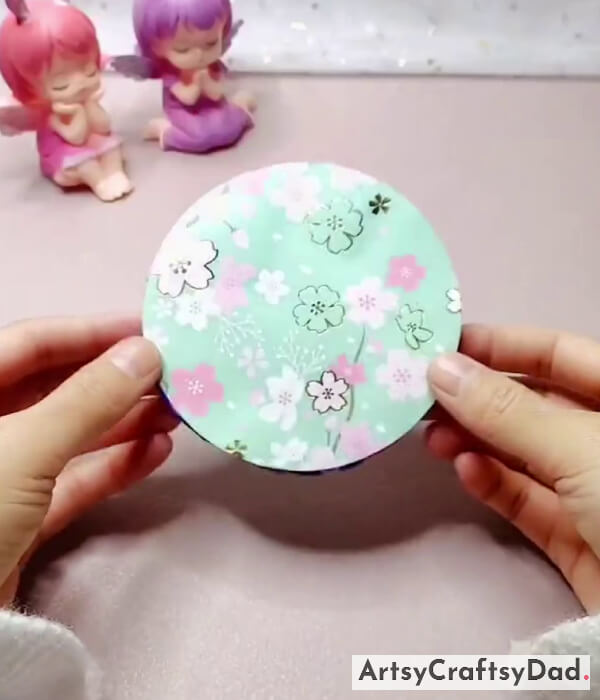
Paste this printed paper to the prior made circle and quarreling design.
Step #6: Paste The Boundary Too
Paste the boundary too with the printed paper.
Step #7: Use Same Printed Sheet
Now, use the same flower-printed sheet again.
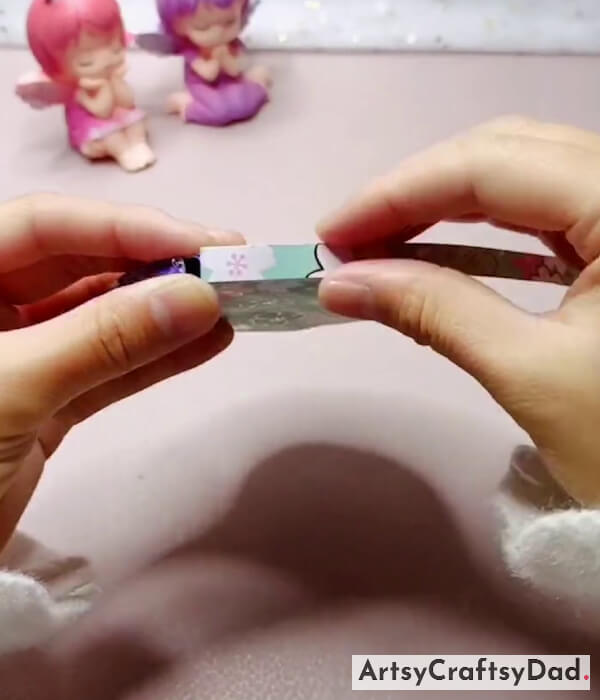
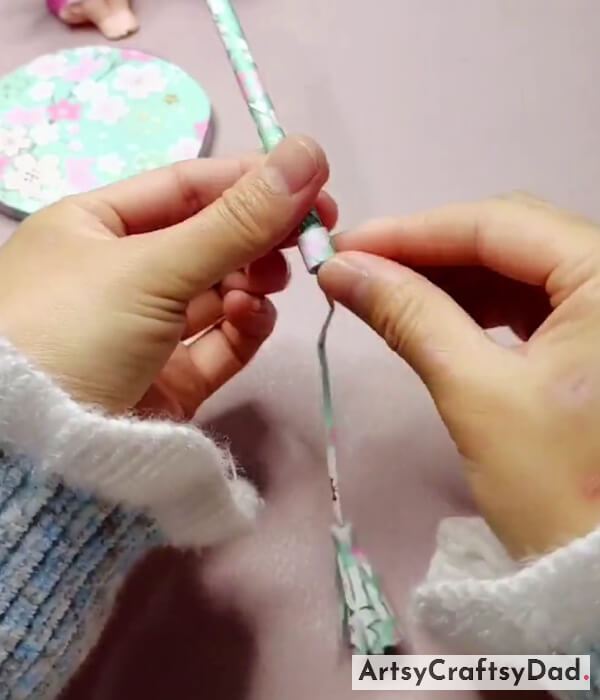
Step #8: Roll The Sheet

Turn around the sheet and start rolling it in a diagonally upward direction.
Step #9: Cut The Ends
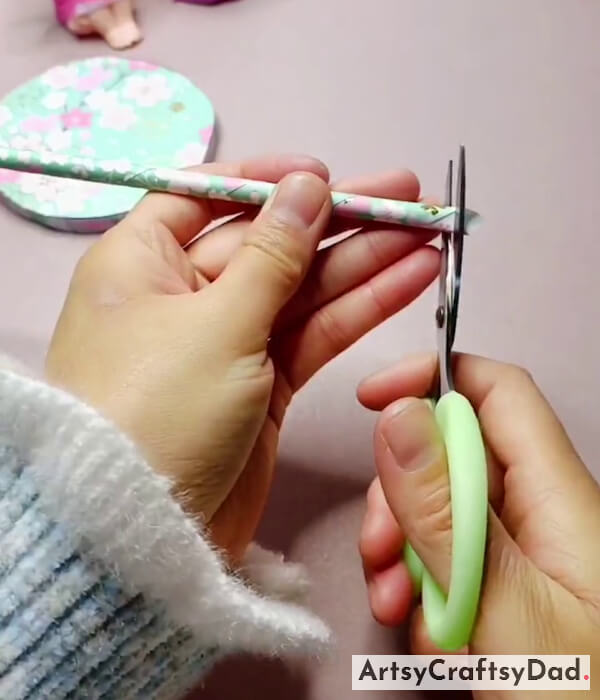
The stick that is prepared cuts the ends of the sticks from the last.
Step #10: Use A Plane Sheet

Use a plane sheet and cut that sheet from the border a little.
Step #11: Make A Tassel
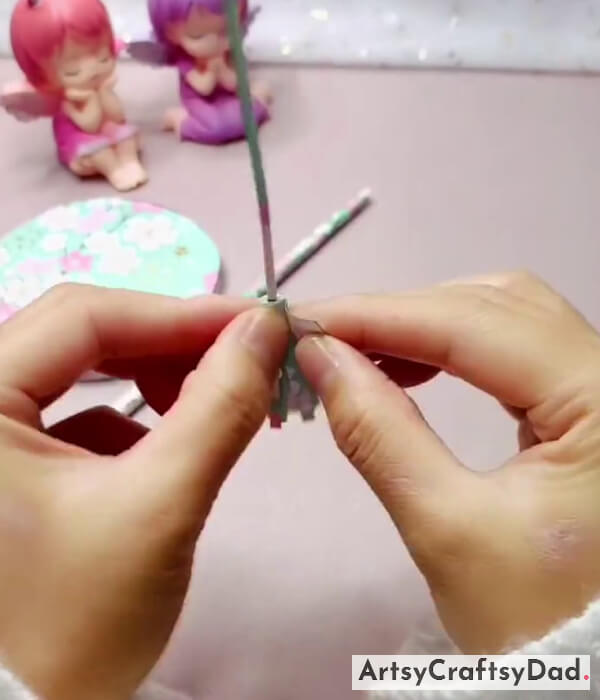
Now, by using the same sheet it is making a small tassel in which it is making one straight roll of paper, and at the bottom it is preparing a fringe, and at last covering the middle area of fringe and the roll with the paper.
Step #12: Paste The Sheet At Top

The fringe that we made we add a paper to it at the top.
Step #13: Paste It With The Stick

Then, we will paste that with the roll which we prepared earlier.
Step #14: Fix It
Then, we will fix it properly so that it will work properly.
Step #15: Paste The Roll
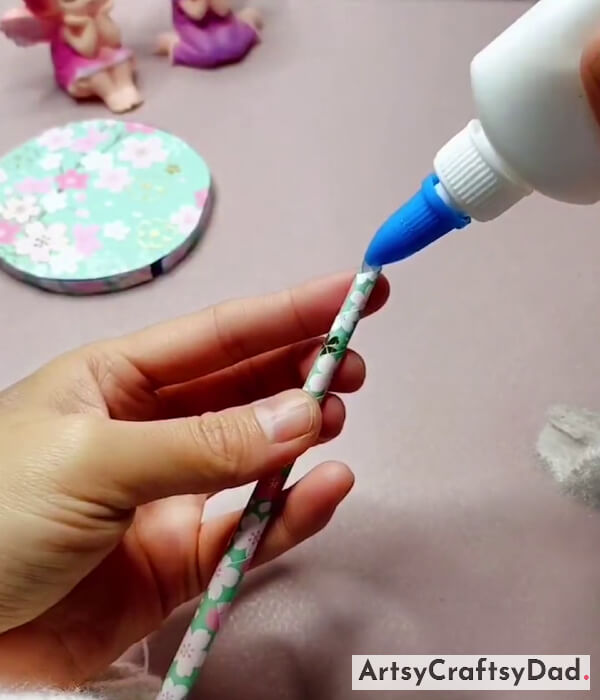
Paste the roll with the shape that we made earlier using glue.
Step #16: Paste It Properly
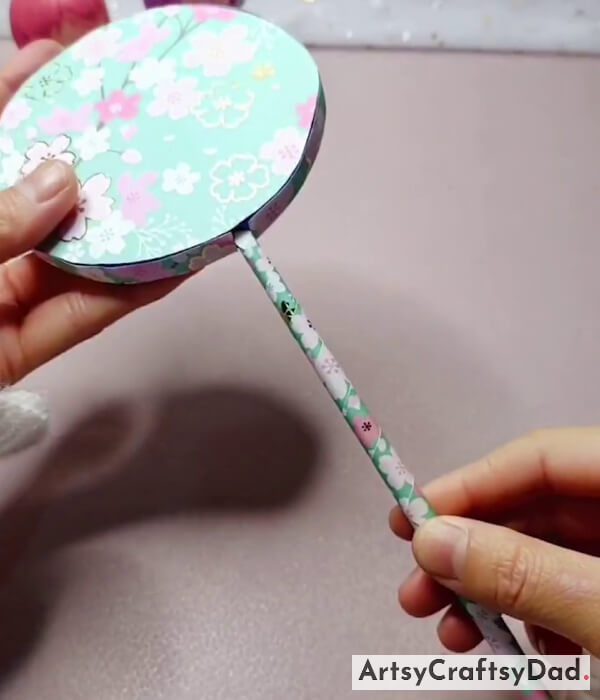
Then, at the end paste it properly.
Wow! Your Craft Is Ready
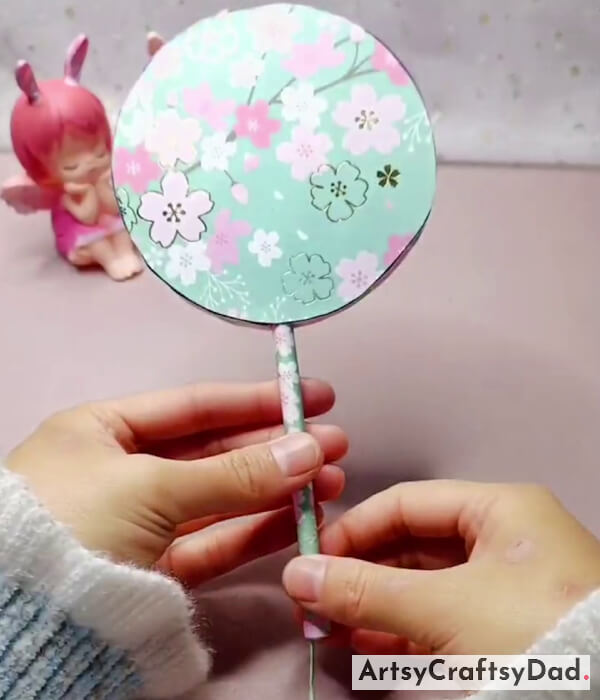
Here is the final look of your craft, it should look like this.
Creating a circular traditional hand fan using origami paper craft techniques not only offers a delightful way to explore artistic creativity but also connects us with cultural heritage. This simple yet elegant project is perfect for all ages, fostering both skill development and an appreciation for traditional arts.
You Also Might Like This
- Origami Paper Heart Craft Tutorial For Kids
- Paper Heart Origami Craft Tutorial For Kids
- Paper Organizer/Keeper Origami Craft Tutorial
- Colorful Paper Flower Hand Fan Craft Tutorial
- Paper Origami Sofa Craft Tutorial For Kids