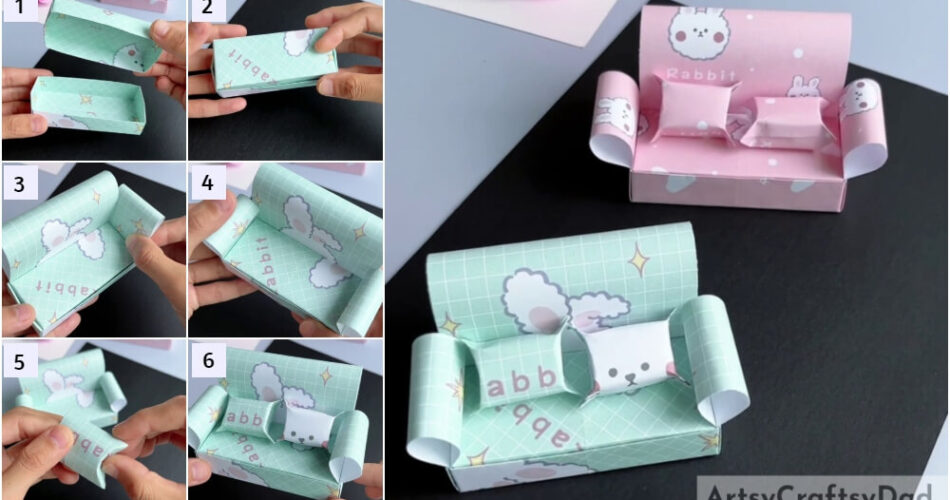
Are you looking forward to improving your origami skills and doing something more creative than usual? Well, let us make this Origami Sofa set!
We are here with simple paper origami craft for you. This is a beautiful sofa craft suitable for kids of ages around seven and above. It is not a complete beginner-level craft activity. You have to have some sort of prior experience or practice in the niche of origami to make this craft. This craft will help you to uplift your origami skills and get you forward from the basics. This is a little time-consuming, so you need to be focused and precise.
Easy Paper Origami Sofa Craft For Kids
Must Read: DIY Origami Paper Designer Frock Craft Tutorial
Tools & Supplies
- Craft Papers
- A Pair Of Scissors
- A Pencil
- A Ruler
Origami Sofa Instructions
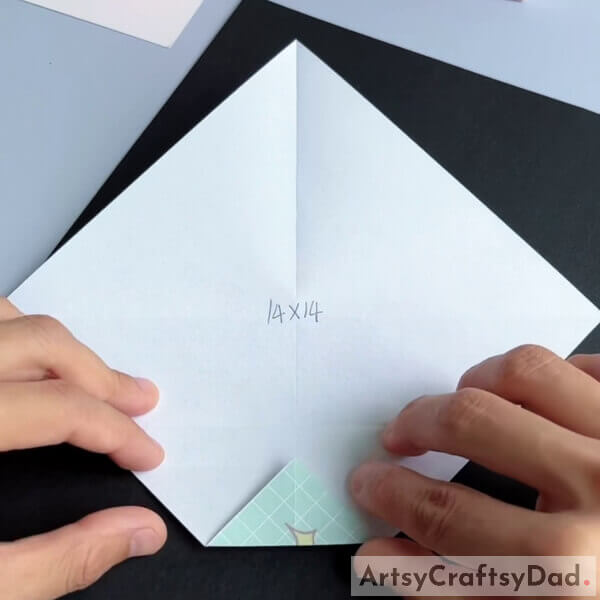
Step #1: Take An Origami Paper Of Dimensions 14×14
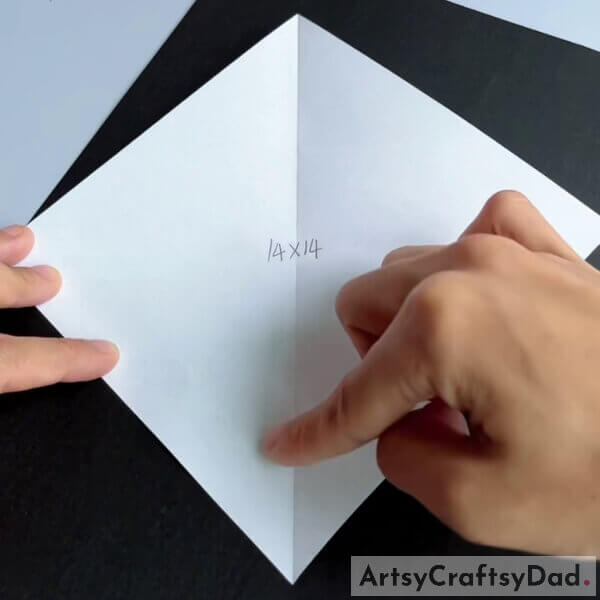
Take an origami sheet of the dimensions 14×14. Fold it from the edges to get two half triangles.
Step #2: Fold The Paper From One Of The Corners
Fold one of the corners following the above crease. Fold it just a little.
Step #3: Fold It Further, Inwards
Fold the same side further inwards till the center.
Step #4: Repeat The Same With The Opposite Side
Repeat the same folding procedure with the opposite side. both the folds must meet right at the center.
Step #5: Fold Them Inwards Where They Meet At The Center Line
Fold both sides more inwards with the center remaining still the same.
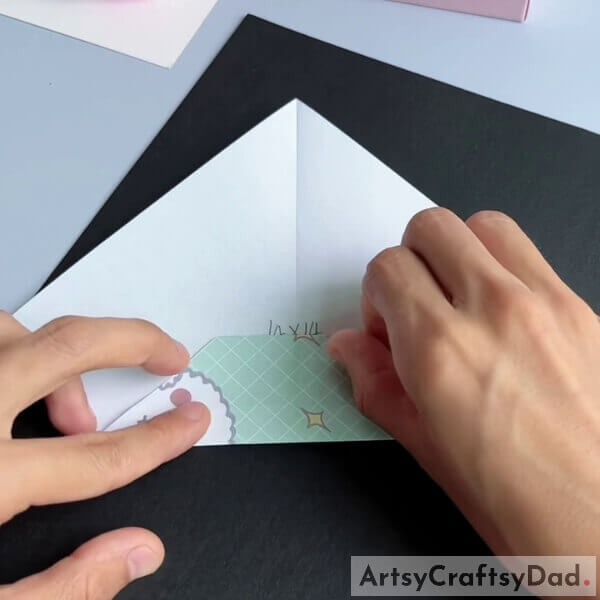
Step #6: Undo The Previous Step. You Might Have Got The Crease
Undo the previous step. It was not useless; the important part is the crease that we got her from the last step. Now, you will see both the pointed sides of the portion that surfaces white, forming a diamond. Fold one of the sides to make a triangle. Just fold the white portion and only from one of the sides.
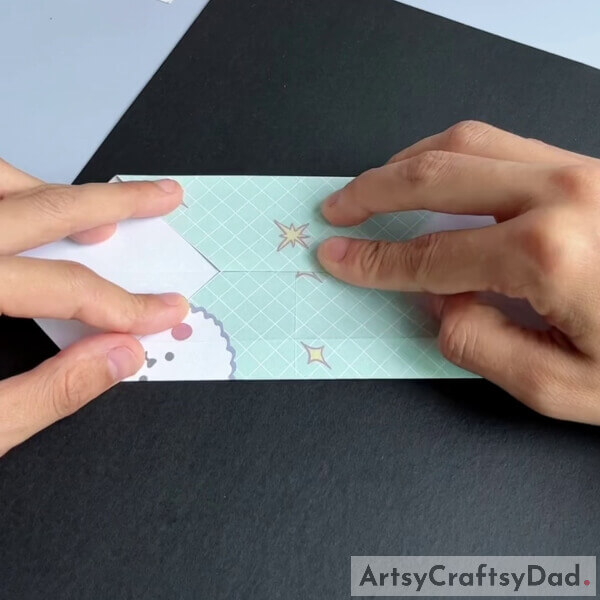
Step #7: Fold The Sides And The Front Partially
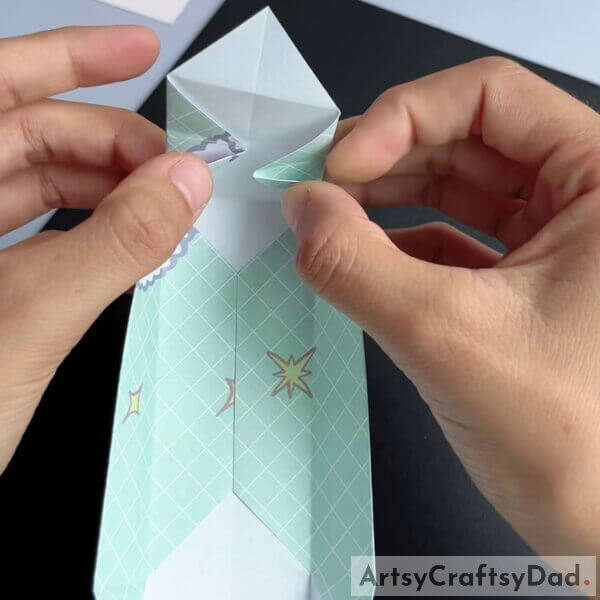
This step is a little tricky. Partially fold the lengthier sides. Let them stand. Do not completely fold them. Take the side you just folded above now. Unfold it and make it stand too. This time, fold the sides of that diamond shape inwards. Remember, in the previous step, you did it from the top; now you have to do it from the side and there will be a little triangle left, forming on the top. Take the help of the above image.
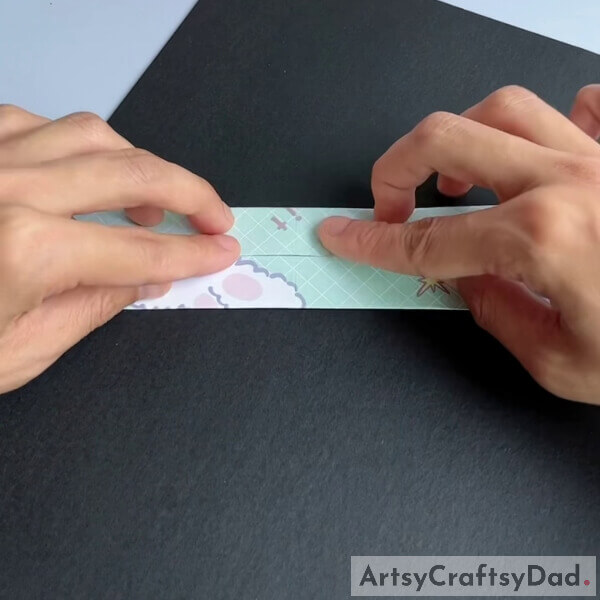
Step #8: Make A Box-Like Thing From That Same Side
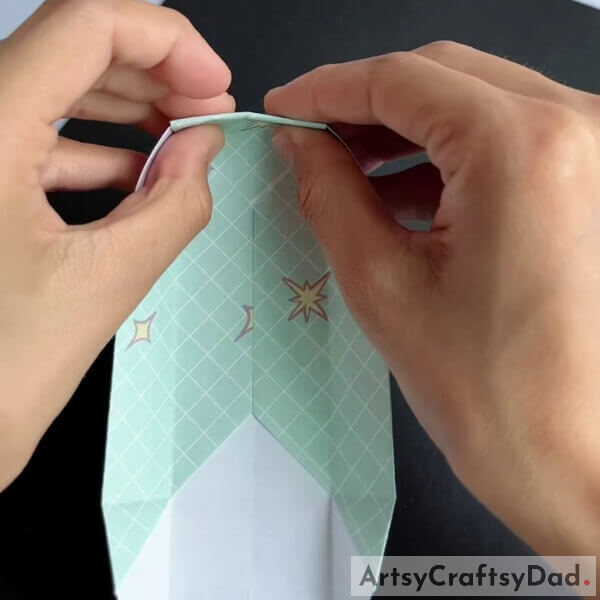
Now, that topmost triangle with the white surface facing upwards; fold it inwards. You will get this box-like structure. Look at the image above for a better idea.
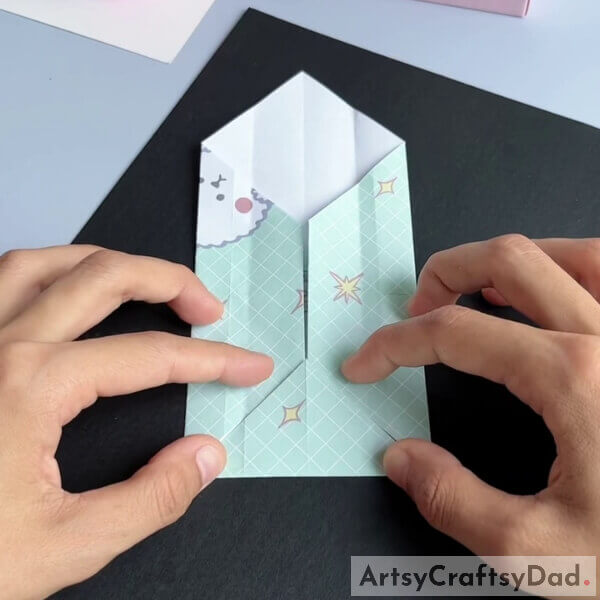
Step #9: Repeat The Same On The Other Side. The box Is Ready
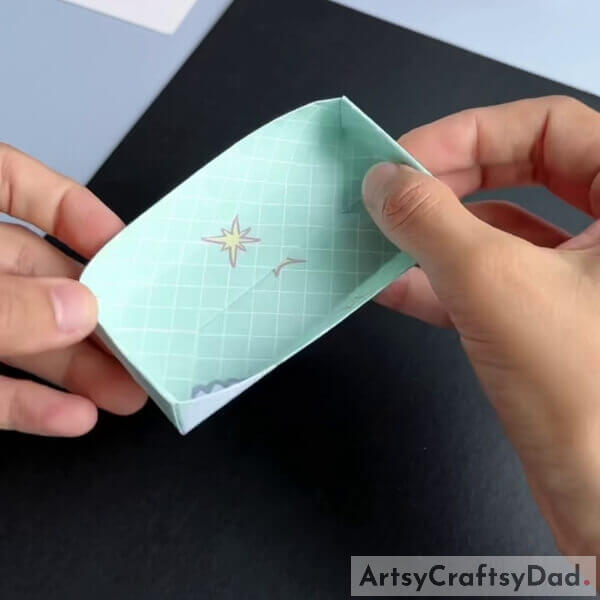
Repeat all the above steps on the opposite side and you will finally get a box. This is done here.
Step #10: Take Another Origami Sheet Of Dimensions 13.5×13.5
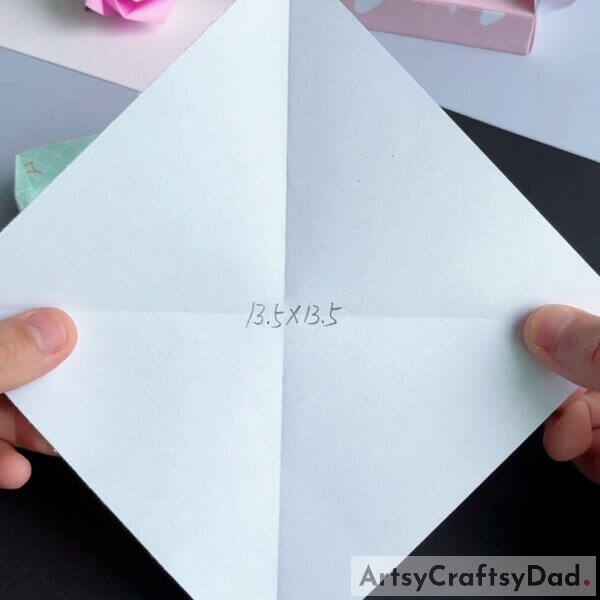
Take a fresh origami sheet of dimensions 13.5×13.5.
Step #11: Repeat The Above Steps And Fold This One As A Box

Using all the steps that you have followed up till now, fold this into a box as well. This will help you practice the method as well. This will become the lid. If you get confused, revisit from the start; you will do it.
Step #12: Close The Lid Of The Box
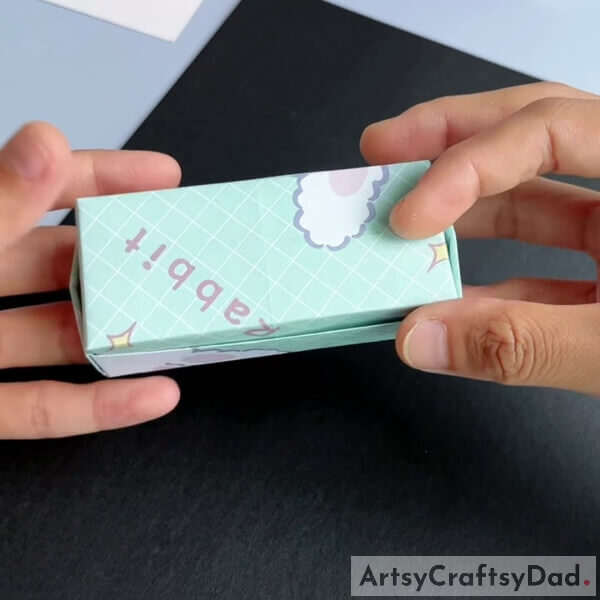
Close the lid of the box and keep the surface of the smaller box on the top.
Step #13: Take Yet Another Origami Sheet Of Dimensions 8.5×14
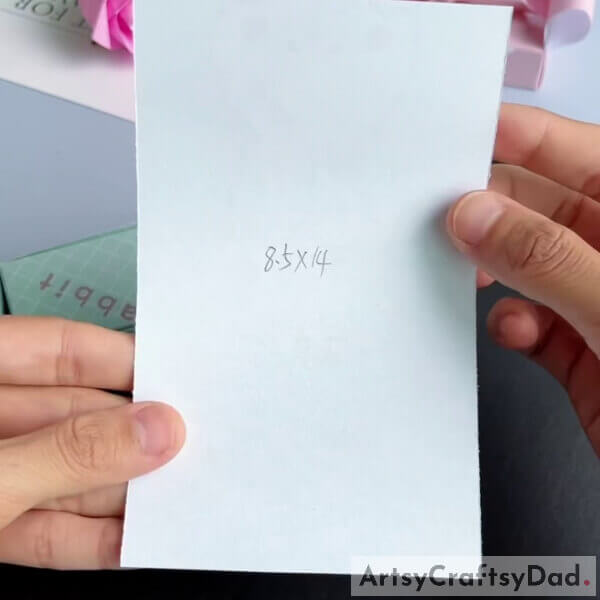
Take another fresh origami sheet of dimensions 8.5×14.
Step #14: Fold The Paper Into Halves But Do Not Make The Crease

Fold the sheet but do not make the center crease. It is very important, not to make the center crease.
Step #15: Place It In The Corner Of The Box As Follows
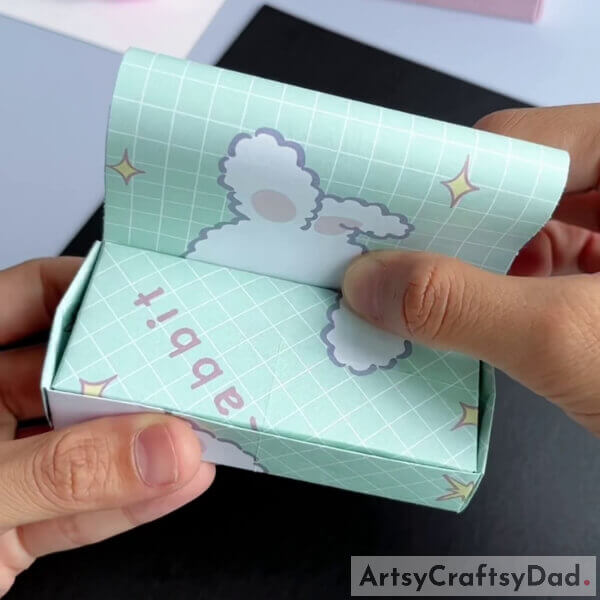
Place the above sheet in between the space of the box. Use the above image as a reference.
Step #16: Take Another Origami Sheet Of Dimensions 3.7×9.5
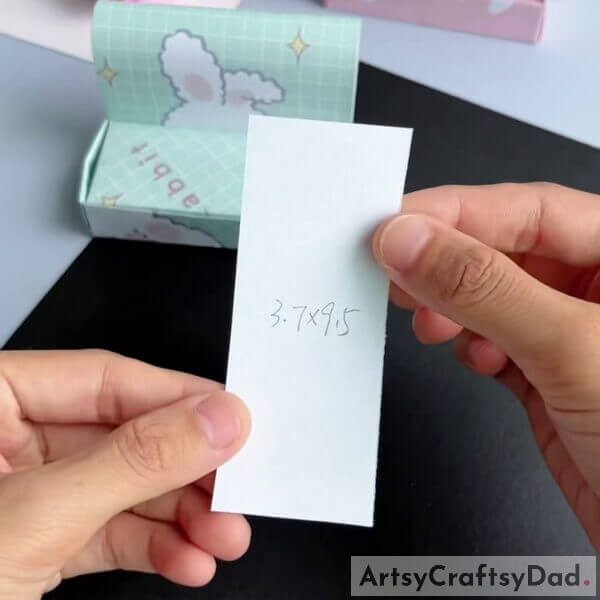
Take another sheet of dimensions 3.7×9.5.
Step #17: Fold This Sheet As Well Without A Crease
Fold it without a crease, just like you did with the last one.
Step #18: Place It In The Box In The Following Manner
Now, place the above fold on the shorter side. It is just as you did with the longer side. Now you have two sides of the sofa out of three.
Step #19: Repeat The Same With The Opposite Side
Make the other side of the sofa using the same procedure as above. Revisit the above steps. That will provide you with some clarity.
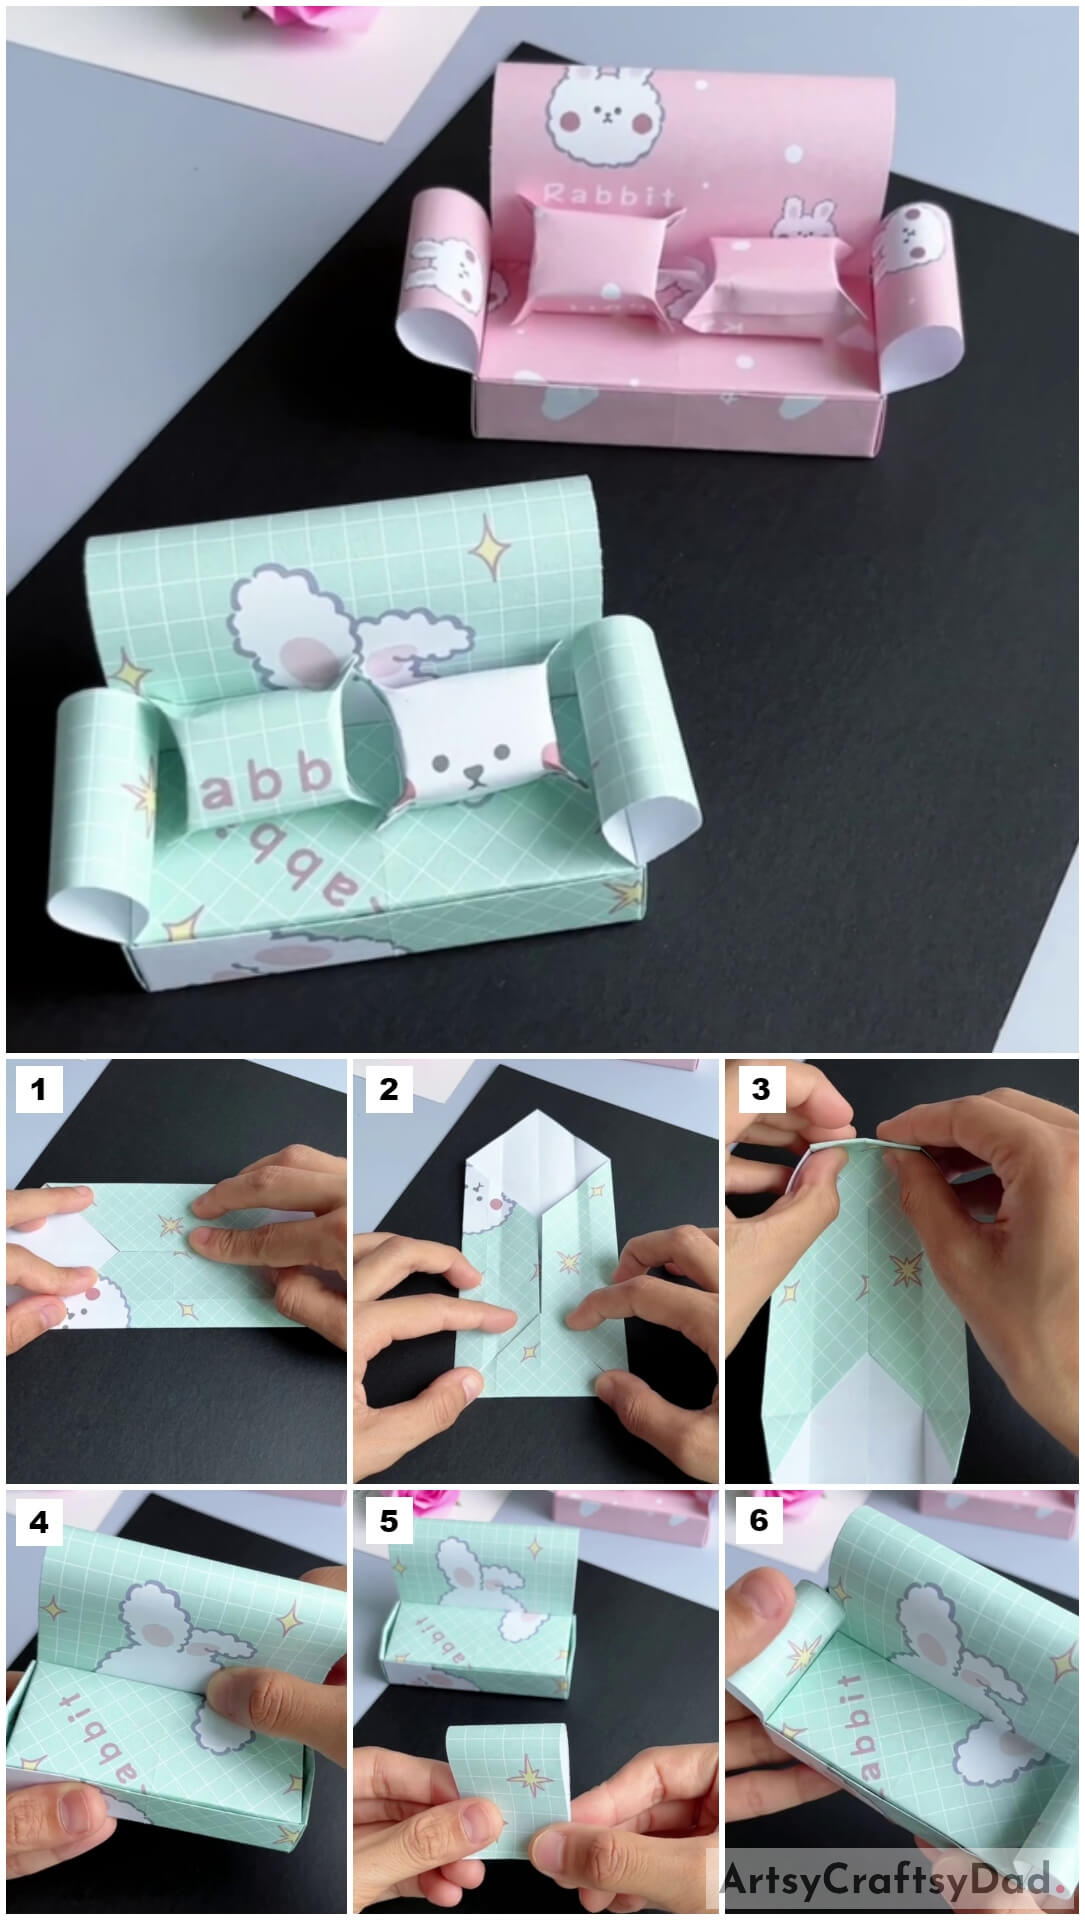
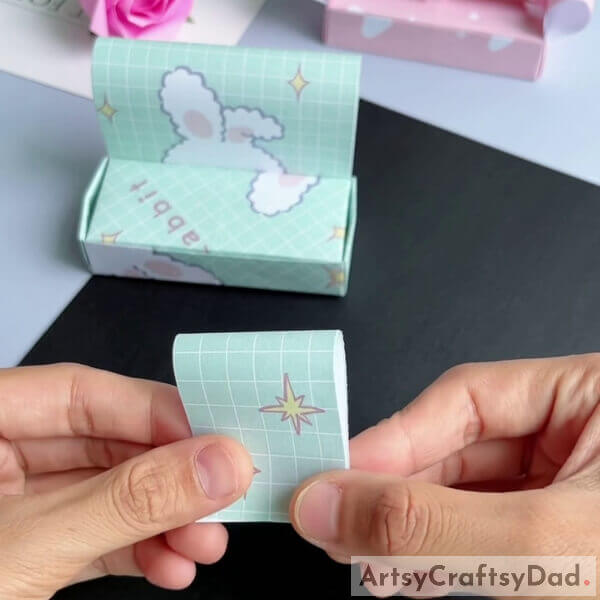
Step #20: Take A Fresh Sheet Of Dimensions 4×7 Now
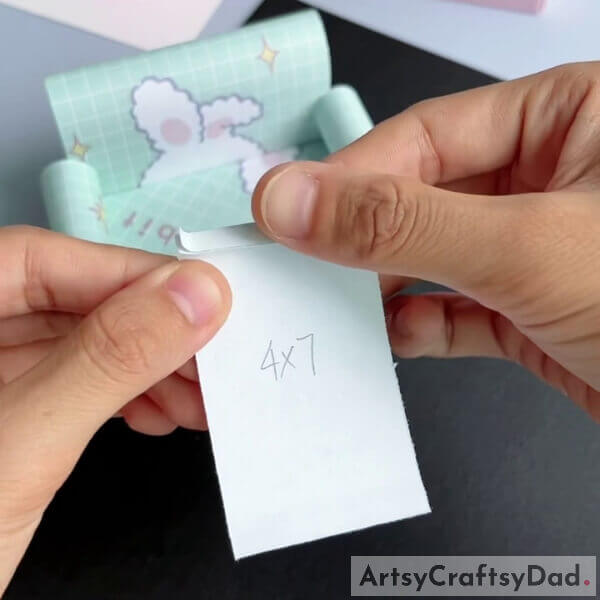
Take a fresh sheet of dimensions 4×7. Fold the shorter side as shown in the above image.
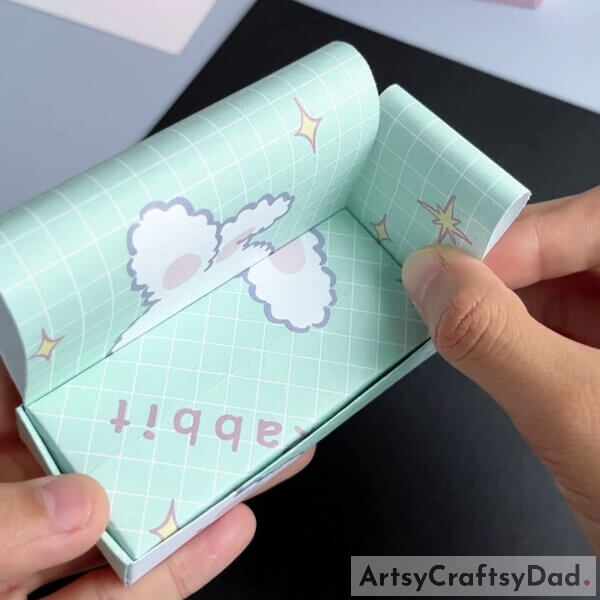
Step #21: Fold The Sheet This Time
Do it on the other side as well and turn it around.
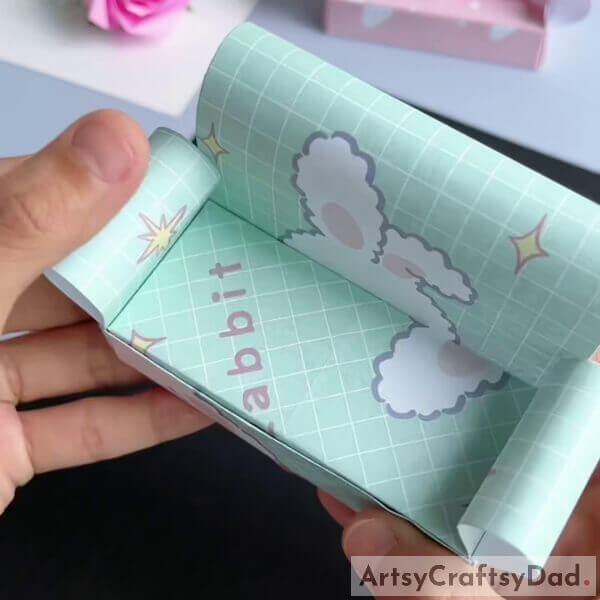
Step #22: Open It And Apply To Push The Fold Inwards To Get The Puffiness
Keeping the edges of the shorter side gives it a little inward push. Do the same on the other side as well. It will give the center part the much-needed puffiness of a cushion. It will form a half-convex shape.
Step #23: Make It Pointed From The Sides

Flatten the edges now to give the above effect.
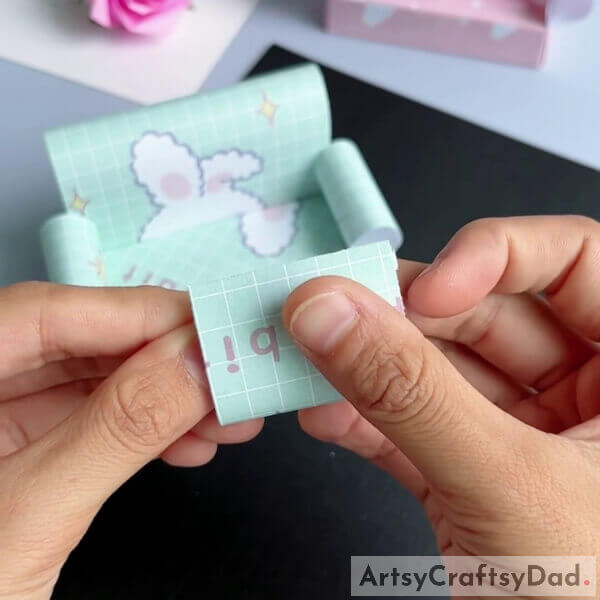
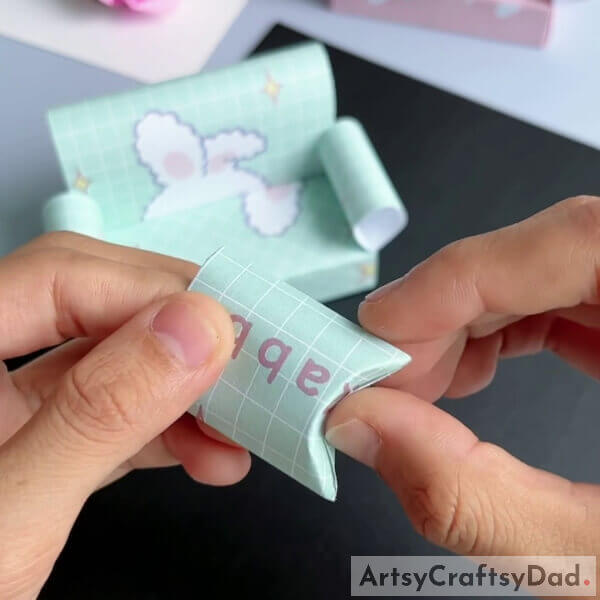
Step #24: Make One More Cushion Using The Same Procedure
Make another cushion using the same procedure. Retrace your previous steps. And you are finally done with a sofa set.
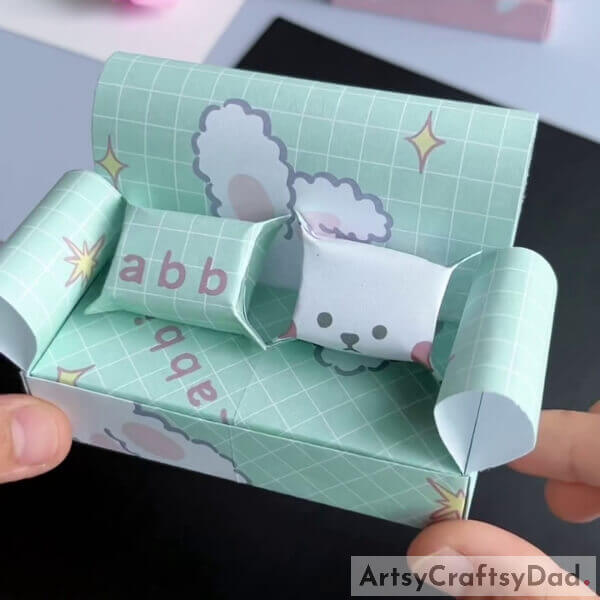
Final Image: Well. This Is What The Origami sofa Set Looks Like

It will make a wonderful decoration for your house. And not only this, but you will also have learned a lot of different things at the end. Now that you are thorough with the procedure, you can make sofas of different colors, patterns, designs, and sizes. This will be both fun and creative.
Thank you for your time and support. We hope you had fun doing this.
You May Also Like
- Paper Origami Chinese Fan Craft Tutorial For Beginners
- Paper Pinwheel Flower Craft Tutorial For Kids
- Colorful Hedgehog Paper Craft Tutorial For Kids
- Paper Cutting Cute Tigers Craft Tutorial For Kids
- Red Fishes With Clay And Paper Craft Tutorial


