
Explore a paper organizer/keeper origami craft step-by-step tutorial for kids to have fun. This activity awaits you to learn a new technique in crafting.
Easy Paper Organizer/Keeper Origami Craft
Must Read: Flip Flops: Paper Origami Craft Tutorial
Supplies & Tools
- A Printed Origami Sheet
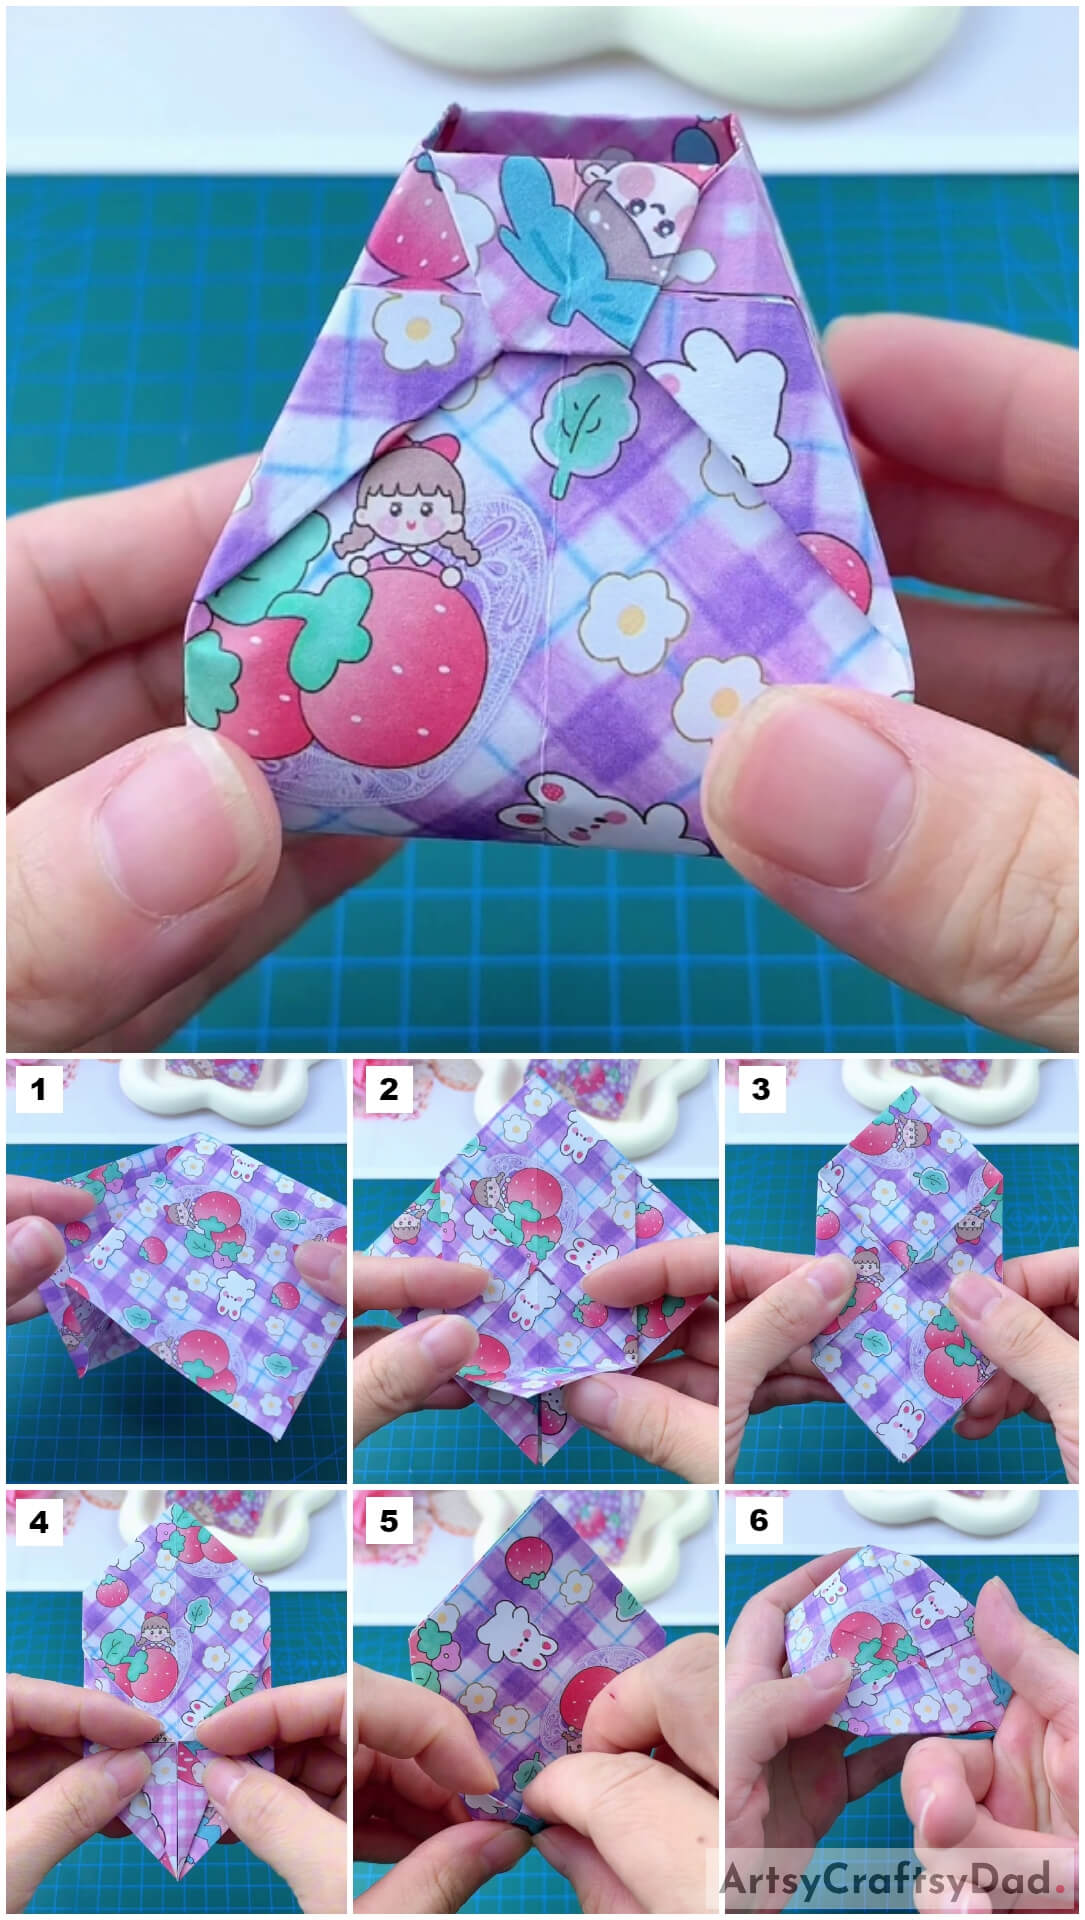
Paper Organizer Instructions
Step #1: Make Creases
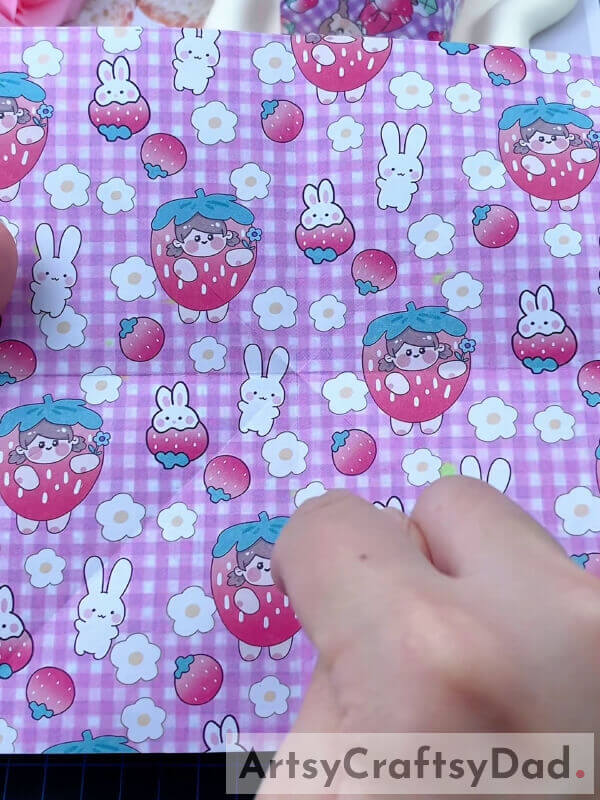
Take a printed origami sheet and make creases on it. Fold it diagonally, and fold both the diagonals. Open the folds. Also, fold it in half and open the fold again. There are two diagonal creases and one horizontal crease.
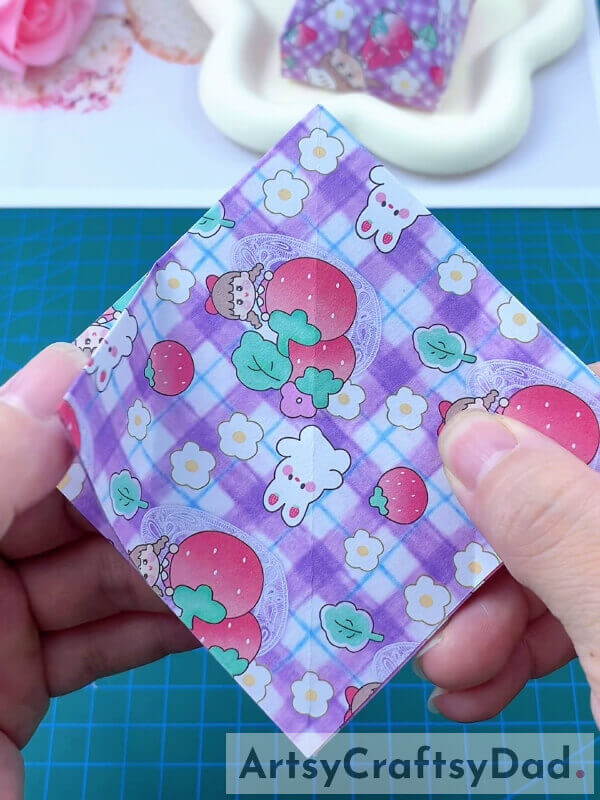
Step #2: Fold By Using Creases
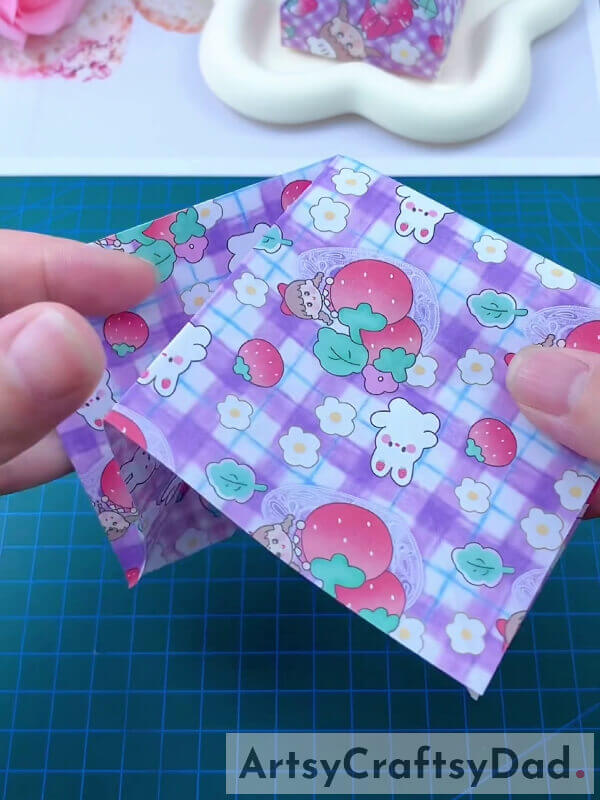
Now, fold in half like before and hold the fold from both ends. Push them closer so that diagonal creases align at a common point. Fold it following the crease. It would look like a diamond.
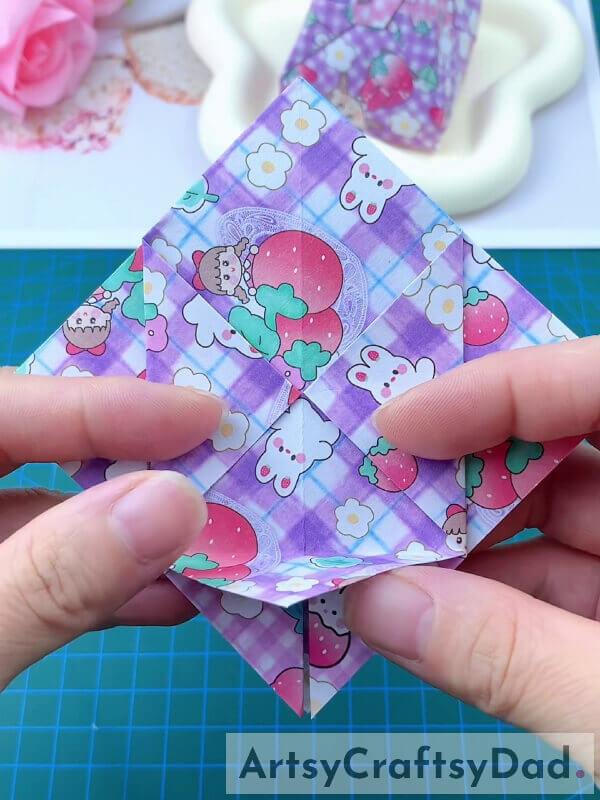
Step #3: Fold From Both Sides
Now, fold from both sides. Fold them up to the center of the diamond.
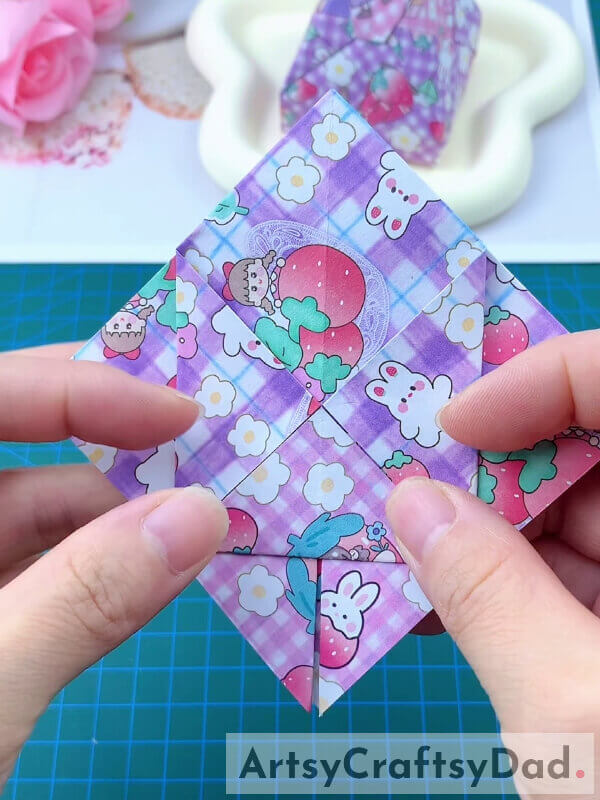
Step #4: Fold From Bottom
Fold from the bottom up to the point where the previous two folds meet.
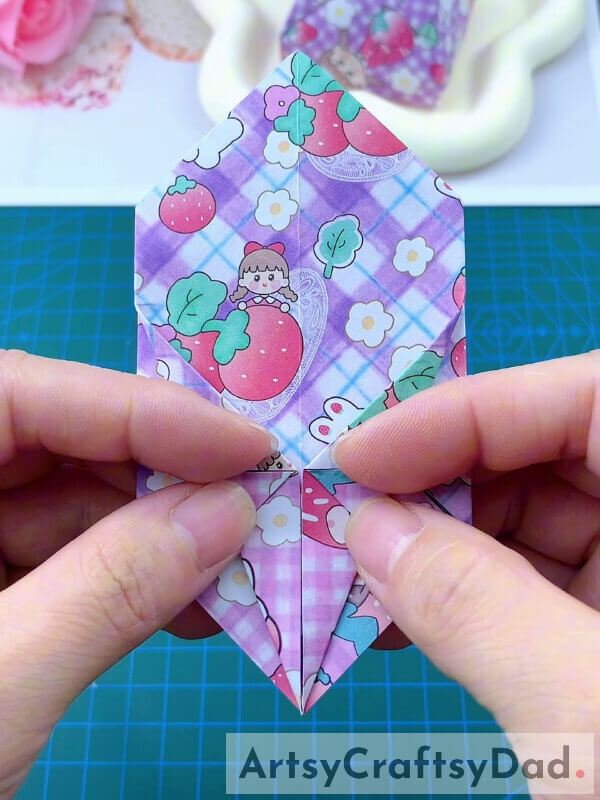
Step #5: Secure The Folds
Secure all the folds made so far.
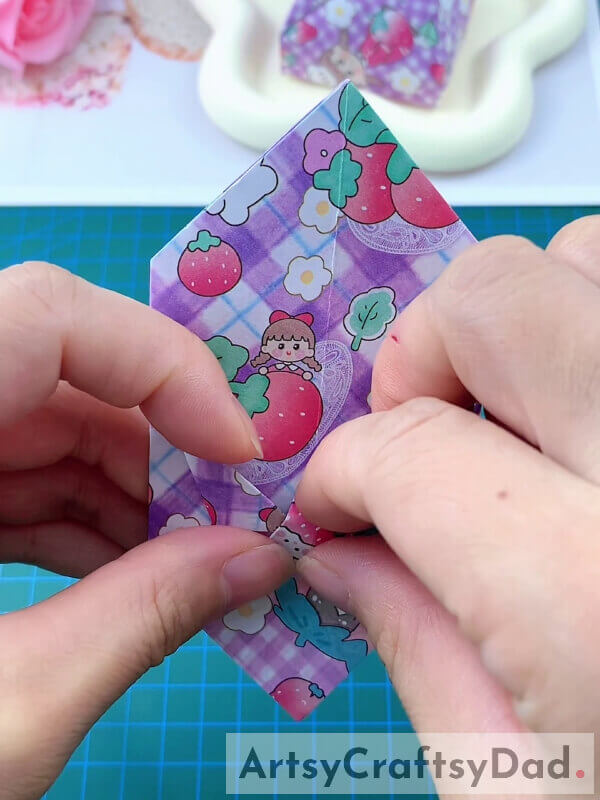
Step #6: Flip and Fold
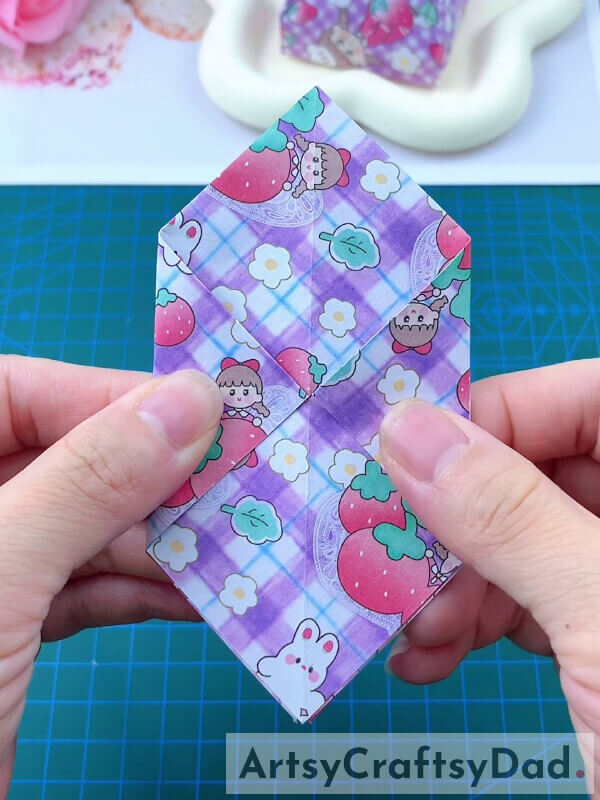
Now, flip the origami and fold the flaps from both sides up to the midpoint. Just repeat the previous process.
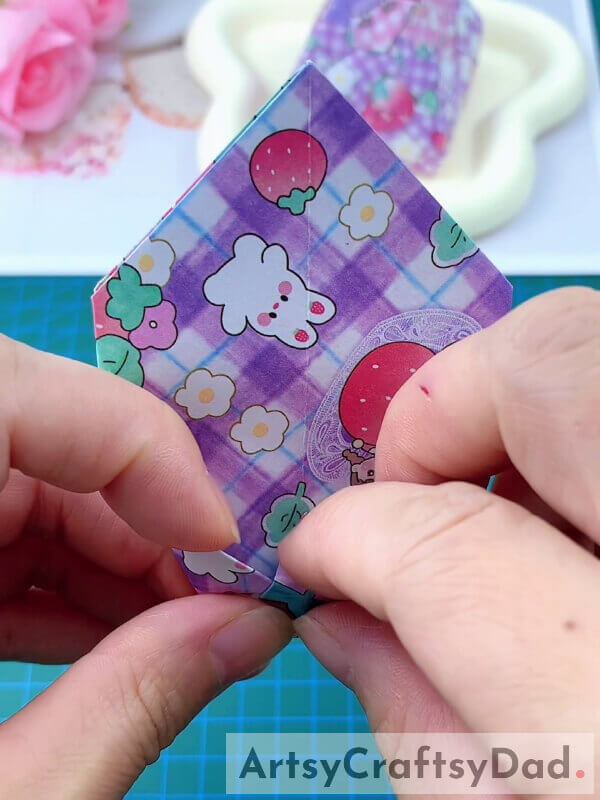
Step #7: From The Bottom
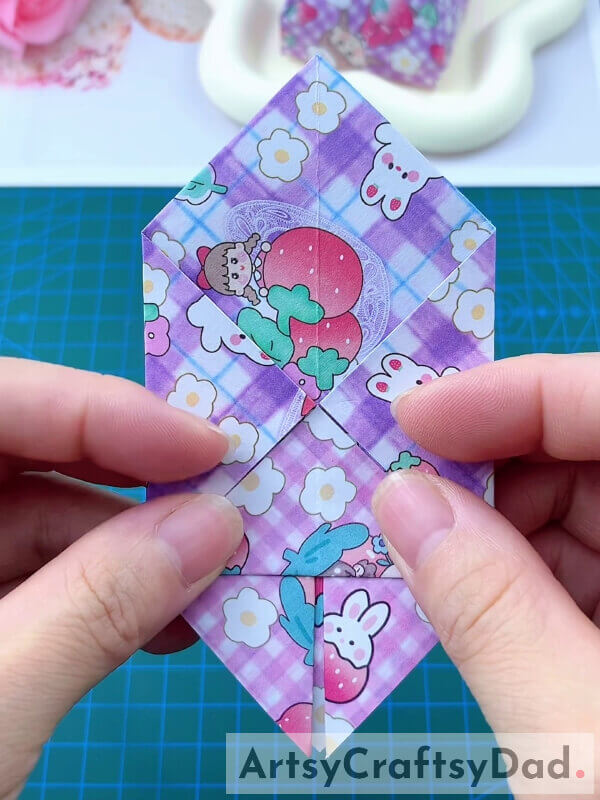
Now, fold from the bottom of the up to the point where previous folds meet.
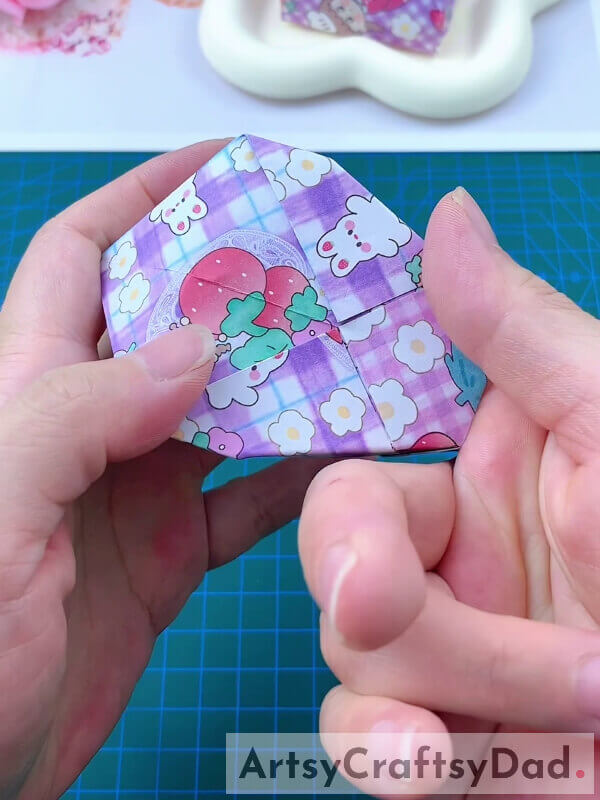
Step #8: Side and Bottom Folds
Now, fold from both sides then fold from the bottom. Look at the picture for the reference.
Step #9: Tuck It In
Fold the flap from the bottom and tuck it in.
Step #10: Tuck It In Again
Flip the origami and tuck it in.
Step #11: From The Top

Now, from the top, fold the triangular flaps downwards.
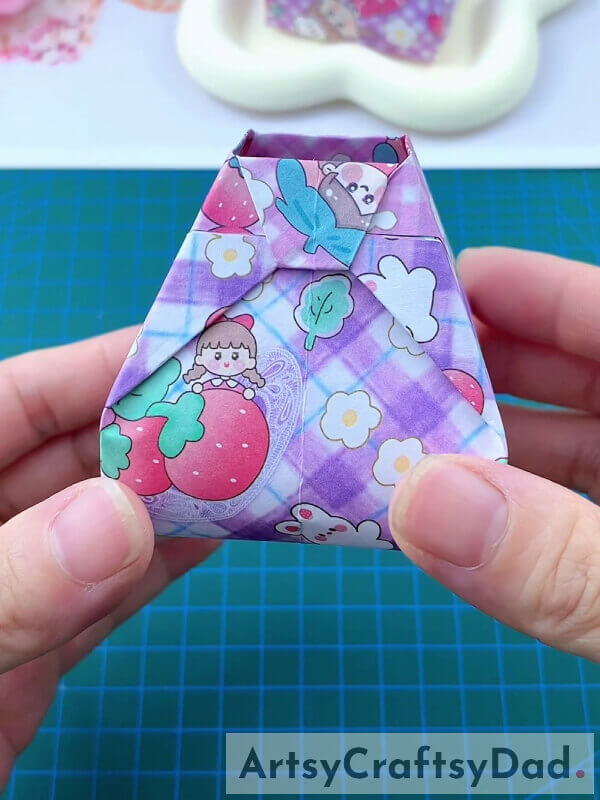
Step #12: Secure The Folds
At last, secure the fold and make sure the flaps are tucked in properly.
Paper Organizer/Keeper Origami Craft Tutorial
With this, you have come to the paper organizer/keeper origami craft tutorial. This was a good learning experience for kids as they learned about origami folding and crafting a paper keeper/organizer by folding method. This craft idea would teach students about origami folding skills, they will end up polishing their skills. This must be fascinating for kids of 9-14 years of age. This paper keeper/organizer looks adorable. Kids have learned about a new mechanism from this tutorial. They can use this as room decor.
Hope you liked this paper organizer/keeper origami craft step-by-step tutorial. Don’t forget to share your comments and inform us about your experience. Make sure to revisit our website!
Thanks for visiting our website.
You May Also Like
- Paper Origami Chinese Fan Craft Tutorial For Beginners
- Paper Flower Garden Craft Tutorial For Kids
- Paper Pinwheel Flower Craft Tutorial For Kids
- Popping Out Rice Balls Paper Craft Tutorial
- Chick Hatching Drawing Fun Craft Tutorial

