How to Make CD Wall Art – Step by Step (Tutorial)
Got a stack of old CDs collecting dust? Their iridescent surface is perfect for creating stunning, light-catching wall art. I made a large mosaic sunburst for my hallway, and it creates rainbows all over the walls when the sun hits it.
Let’s create a mosaic:
Prepare the CDs: Using strong scissors, cut the CDs into small, random pieces (squares, triangles). Wear safety glasses for this step as the plastic can snap.
Design Your Art: On a canvas or wooden board, sketch a simple design—a heart, a star, or an abstract pattern.
Glue the Pieces: Using a strong adhesive (E6000 works best), start gluing the CD shards onto your design, shiny side up. Place them close together like a mosaic, leaving small gaps.
Grout (Optional): For a professional finish, you can spread tile grout over the entire piece, wiping it off the shiny surfaces immediately to leave grout only in the gaps. This makes the design pop.
Hang it in a sunny spot and watch it sparkle! It’s a brilliant way to upcycle and create a truly original piece of art.
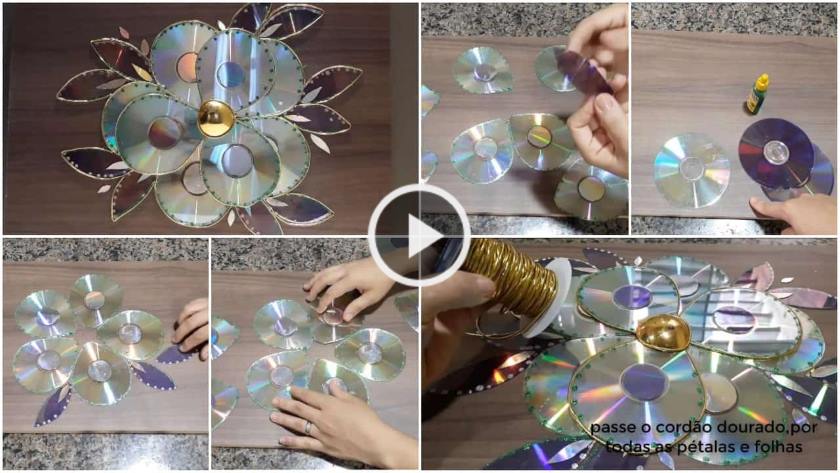
How to make CD wall art. CDs are a great example of something that was an inseparable part of our lives a few years ago. Now we have cloud storage, flash drives and overall easier and faster storage methods. That doesn’t mean, those discs we all have lying around, should just gather dust or go to waste. Instead, here are some ideas for a few cheap DIY CD crafts.
How to make Pen stand using CD ( PENCIL HOLDER ) – Reuse Crafts

Read More
- How to make fluffy skirt for girls – step by step
- How to sew a dress to a girl with her own hands
- Mother’s Day Classroom Display Board Decoration Ideas
- Simple and easy summer twisted updo / Hairstyle
- How to make beautiful potli designs for plazzo bottom