Start your child’s creativity and cultivate their appreciation for the beauty of nature with this amazing paper tissue bouquet craft tutorial.
Embark on a captivating journey of floral crafting with this enchanting paper tissue bouquet tutorial. Empower your child to create their own vibrant, one-of-a-kind bouquet, blending the delicacy of paper with the vibrant hues of their imagination.
Beautiful Paper Flower Bouquet Craft Tutorial
Must Read: Clay Flower and Tissue Paper Bouquet Craft Tutorial
Supplies & Tools
- Sheets (Green, Pink, Yellow)
- Green Marker
- Tissue Paper
- Bow
- Glue
- Scissor
Paper Tissue Bouquet Craft Instructions
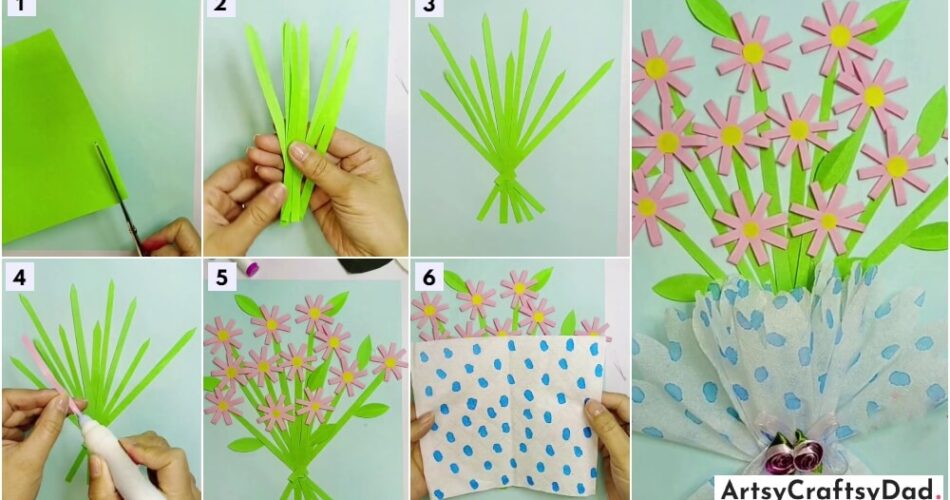
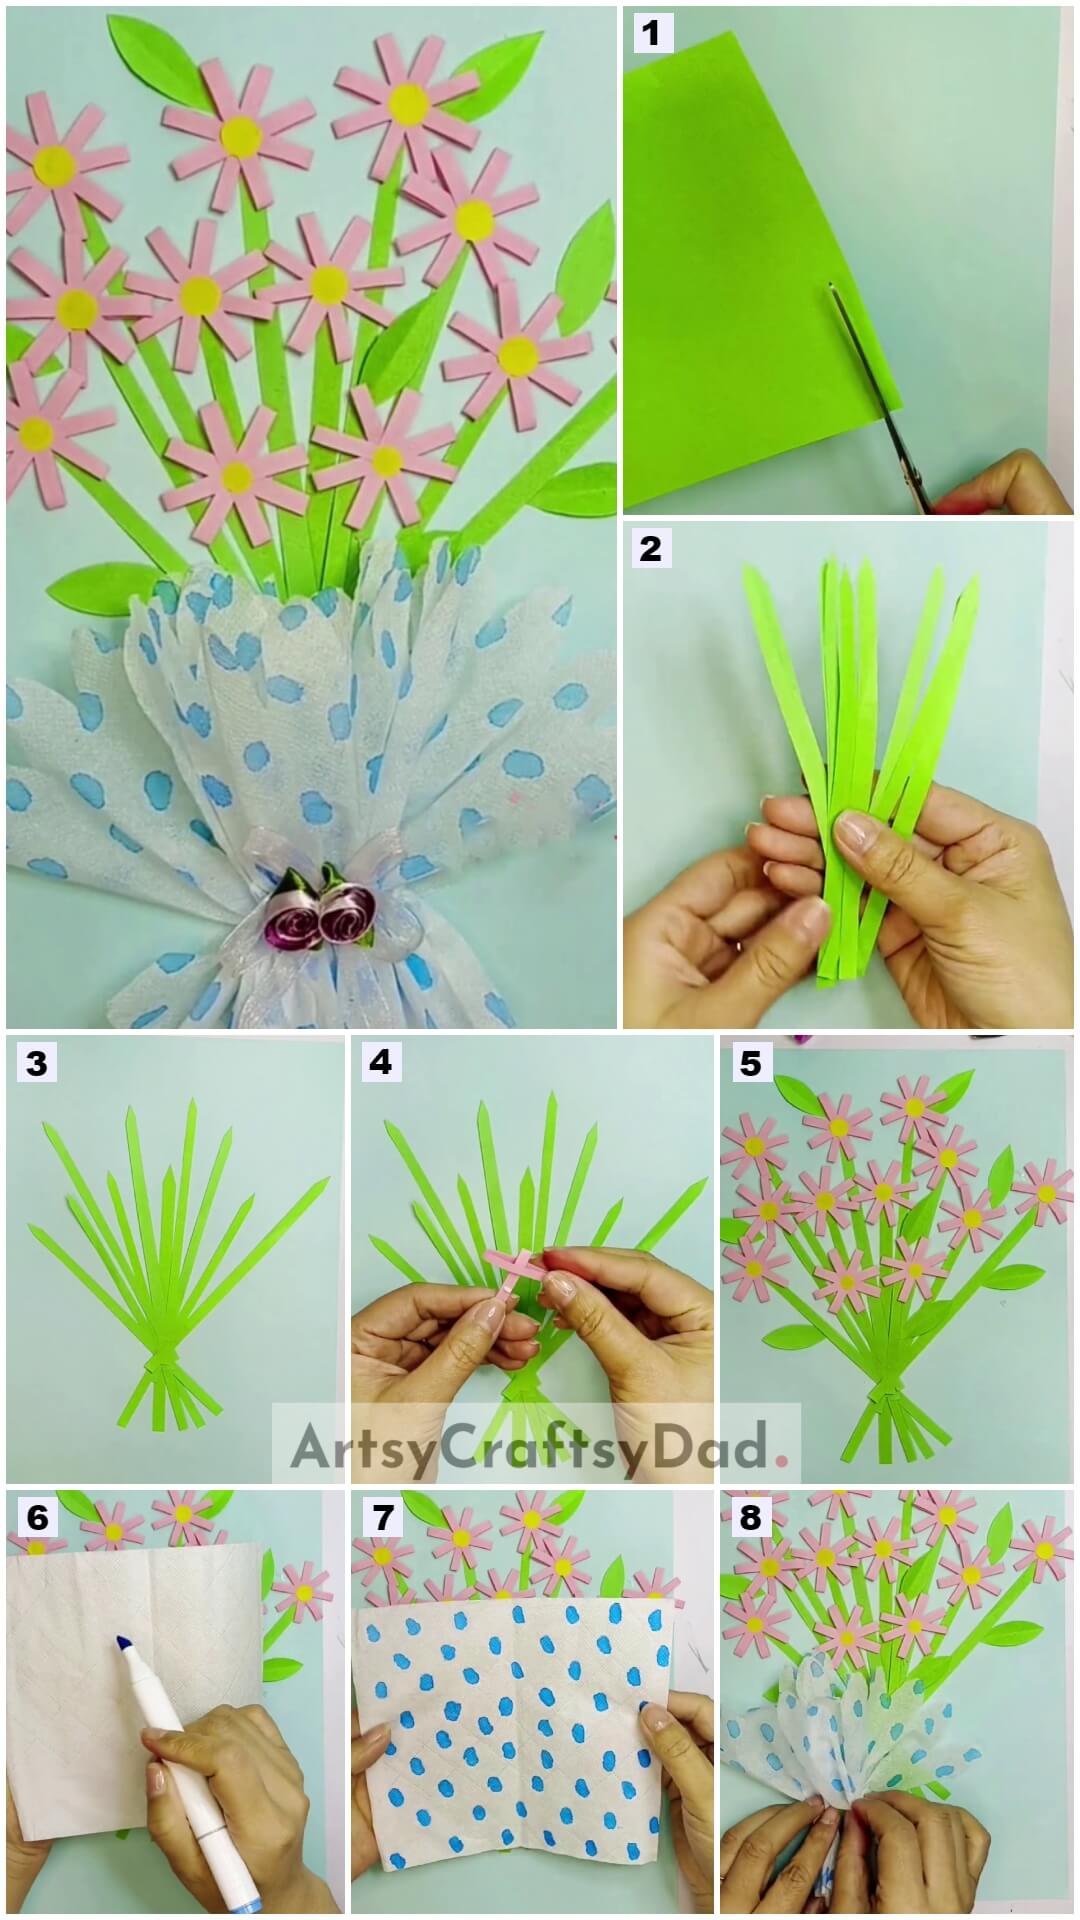
Step #1: Prepare With The Base

First, I take a green sheet and start cutting the sheet from the corner with the help of scissors.
Step #2: Cut The Strips

Here, I am cutting the strips from the green sheet in the shape of a long pentagon where two sides are long and the other three are short.
Step #3: Make A Design Using Strips
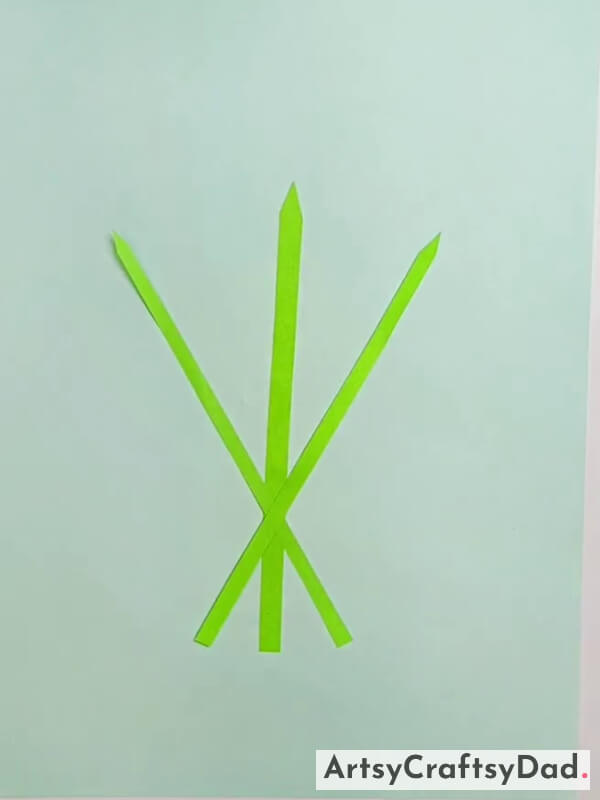
Now, I am pasting it in the middle of the light green sheet. Here, I am taking three strips among them I am pasting two strips in cross sign and one is in the vertical direction.
Step #4: Repeat The Steps

Repeat the previous step and paste all the strips nearer to each other.
Step #5: Take Another Strip
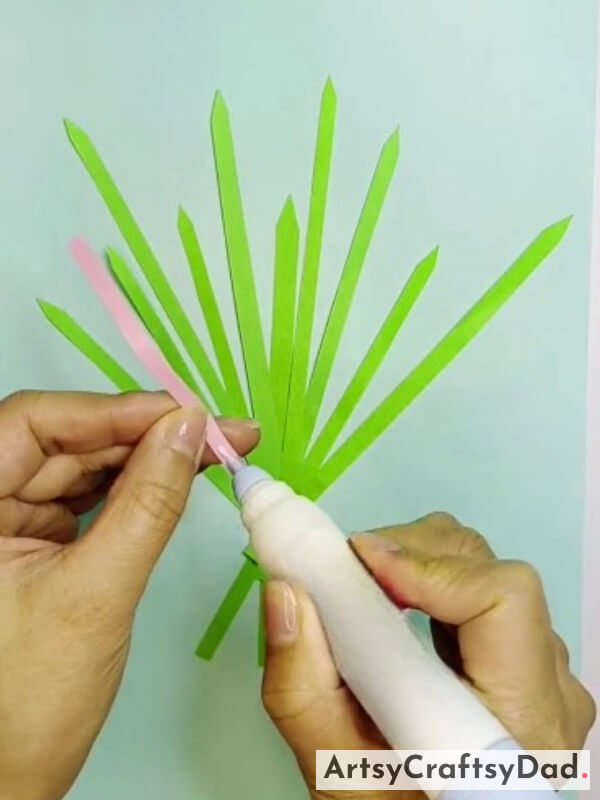
Now take another strip of pink color and glue it to one end.
Step #6: Fold The Strip

Now, fold the strip and paste it with its other end.
Step #7: Repeat The Steps

Prepare more pink strips and fix them with the other.
Step #8: Complete The Steps
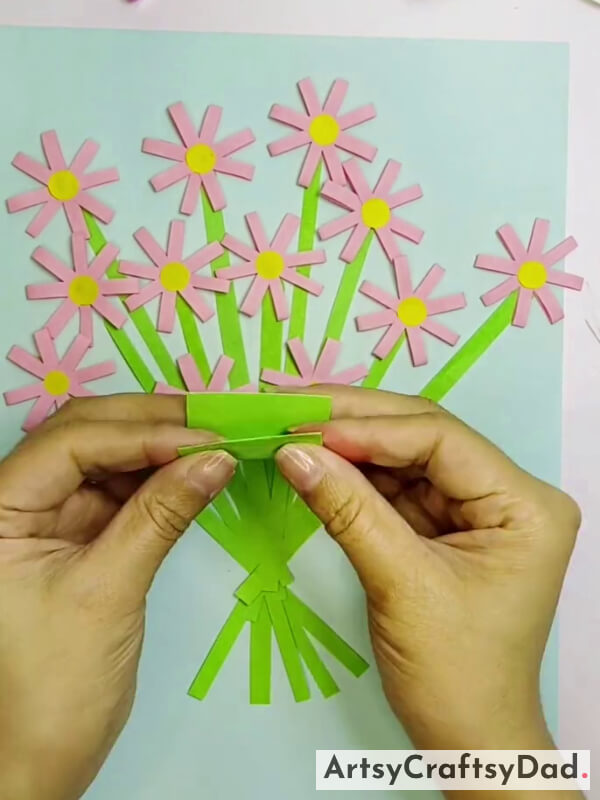
Here, by fixing one strip into another and folding a pink flower, paste the flower on the green strips with the yellow circle in the middle. Repeat these steps until and unless you complete your whole green leaves. Then, take a green sheet which is cut into a square shape, and fold it in the middle.
Step #9: Add Leaves To The Flowers

Now, with the help of a folded green sheet cut that sheet into a leaf structure and then paste them near the flowers.
Step #10: Take A Tissue Paper

Now, take a tissue paper accompanied by a blue marker.
Step #11: Put These Dots On The Tissue Paper
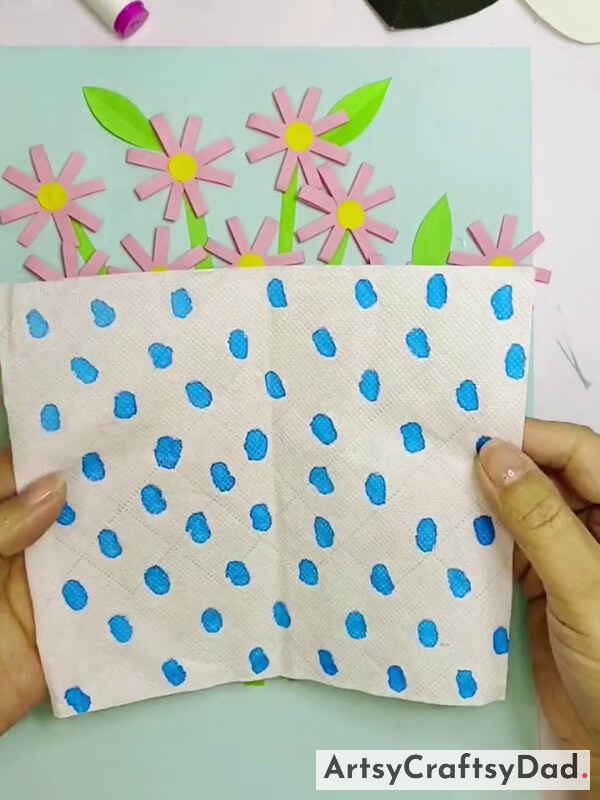
Now, put these types of dots on the tissue paper with the help of a blue marker.
Step #12: Paste The Tissue On The Flower

Now, paste that tissue paper on the bottom of the flower. Divide the tissue into two parts and bind the divided part.
Congratulations! Your Amazing Paper Tissue Bouquet Craft Is Ready

Wow! Your amazing paper tissue bouquet craft is ready. At the end add a beautiful bow to the divided part.
Creating a stunning paper and tissue bouquet is a fun and engaging craft for kids, fostering creativity and fine motor skills. This tutorial provides clear, step-by-step instructions, ensuring an enjoyable and educational experience. Perfect for decorations or gifts, these handmade bouquets bring joy and a personal touch to any occasion.
You Might Also Like This
- Flower Bouquet: Clay & Tissue Craft Tutorial
- Paper Lump Flower Bouquet Craft Tutorial For Kids
- Heart Flowers Bouquet: Clay & Tissue Craft Tutorial
- Paper Flower Bouquet Artwork Craft Tutorial For Kids
- How to Make Amazing Tissue Paper Dancing Dolls at Home


