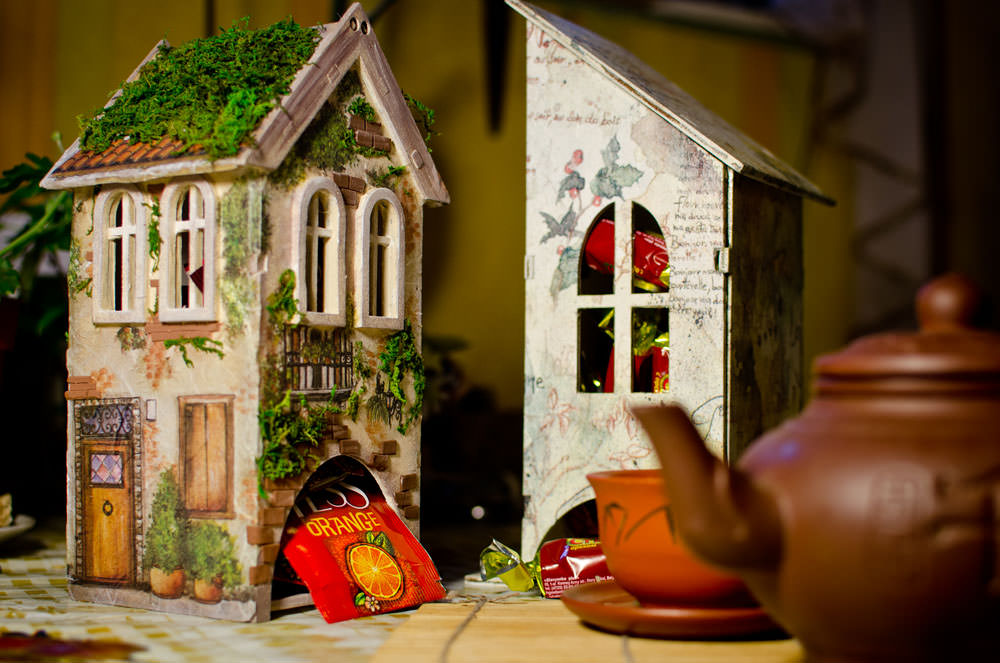
Having made yourself a decoupage of a tea house – you will receive an original decorative object that will take a worthy place in your kitchen and decorate a festive table, giving a special charm to tea.
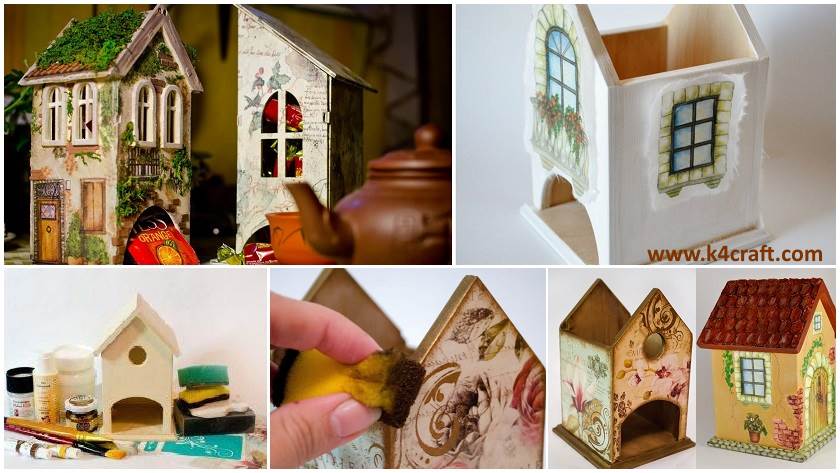
Make an interesting house decor for tea bags
The first master class presents you a beautiful option for decoupage a tea house. It will take you up to three days to create it yourself, but as a result, you will receive a unique product that will long please you and others with its beauty.
In order to make a tea house, you need to prepare the next set of necessary materials and devices. So, prepare:

- billet from a tree for a tea house;
- an interesting motif (it can be prepared from printouts of various images,
- printed on rice paper , napkins or special cards for decoupage);
- Acrylic primer of light shade, intended for surfaces from wood;
acrylic paints shades of umber and ocher; - patina of bronze tone;
- Special glue for decoupage;
- stencil with adhesive base;
- paper (coarse-grained);
- office file;
- rubberized spatula;
- sponges made of foam rubber;
- Brushes of flat form of sufficient width;
- varnish.
The master class begins with the preparation of the wooden surface to the primer. For this, take sandpaper and walk it through all the wooden planes, carefully removing all uneven places. After this, it is necessary to prime the surfaces, except the walls that are inside the house. For the primer, you can use a wide flat brush and apply a couple of layers, each of which is dried. Please note that the primer is applied in one direction. If you do not have a brush available, use a foam sponge or roller.
After letting the primer dry, walk on it with sandpaper, so that the tea house ends up smooth and smooth. Take this process carefully, because with careful surface treatment, the selected motif will be placed in a beautiful and even layer over the product.
In the next step, the master class demonstrates the pasting of the selected drawing using an ordinary clerical file. Follow step-by-step photos to view this process. So, you need to take the glue for decoupage and apply it on the primed plane. Next, take the selected image and attach it. A file is superimposed over the motif. Now with a spatula, you need to walk on the surface of the tea house, starting with the central part. In this way, the formed bubbles are expelled during the gluing of the pattern, and the motif itself is securely fixed.
Similarly, you will need to manually fix all the remaining images on each side.
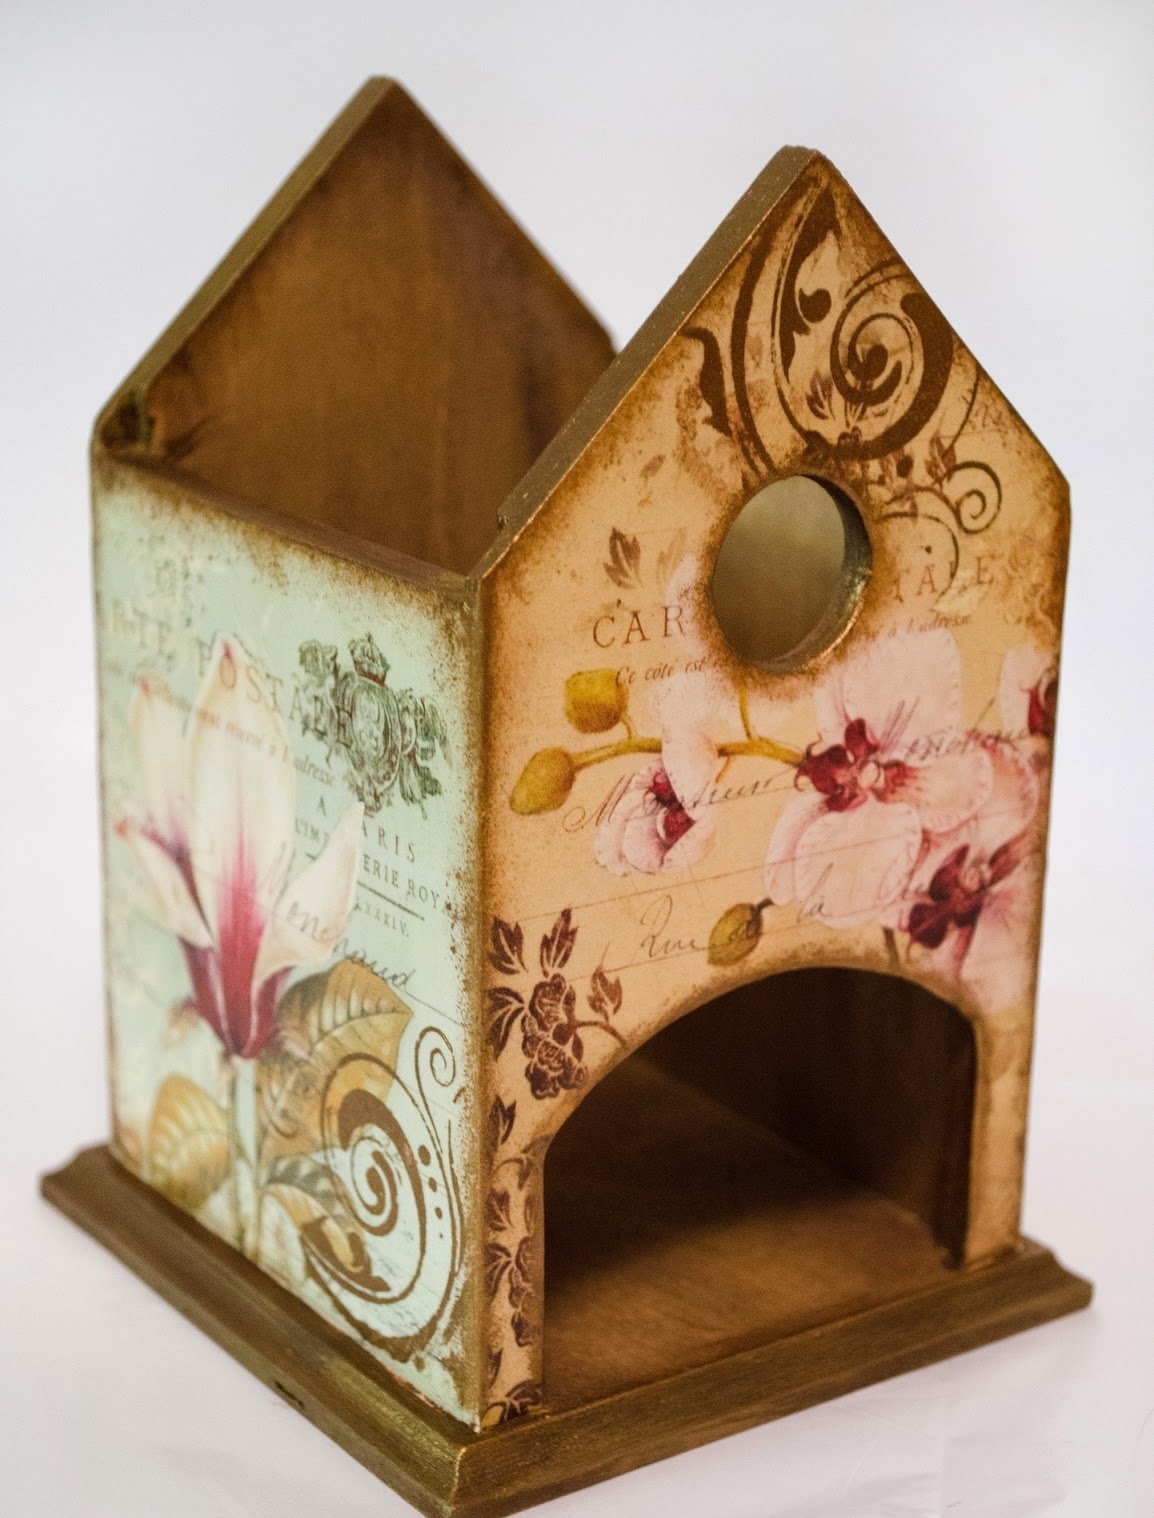
After this, the interior of the tea house begins to be decorated. Prepare a wet brush and walk it on the inside of the house for tea bags. So moisten all the walls and the lower part. On a wet wooden basis you need to go through a sandpaper with a large grain. So, the process of debris will go deeper. Next, a solution is prepared from water and acrylic hue ocher. This mixture is applied in one small layer. On the bottom of the protruding part and the thickness of the product is applied an undiluted layer of acrylic with a shade of umber.
We pass to the roof of the tea house. It should be painted with a thick layer of brown color with a wide and flat brush in the direction of the fibers in several layers. Take care that you do not have unnecessary gaps on the plane on which the primer was applied.
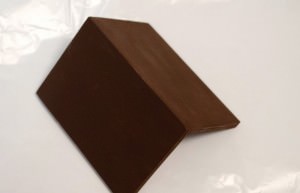
After letting the blank dry, take a wide bristly brush. It must necessarily be dry, soak it in the ocher shade paint, get rid of its excess with a napkin and with a slight depression walk on the surface in the same direction as the painting.
These actions are carried out on the entire plane of the roof of the tea house in the upper and lower parts. In this case, small stripes of ocher color are formed. As a result, the roof will become more attractive.
To make the tea house with decoupage even more grace, it can be decorated. To do this, take an interesting template, applied to the glue base and patina of bronze shade. Next, fix the desired element on the roof to the adhesive base. After that, patina is applied to the sponge and is driven into the stencil by a slight movement.

Now, with the help of the same sponge, apply patina on the roof borders. Next, the roof of the tea house is covered with several layers of varnish based on acrylic. Each of the words is pre-dried. Then, on the dried surface, a varnish is applied on the acrylic base for finishing work.


Also, the selected images on the stencil can be applied to different angles of the product, then, using a sponge and patina of bronze color, walk through the corners, the borders of the cut-outs and the window.
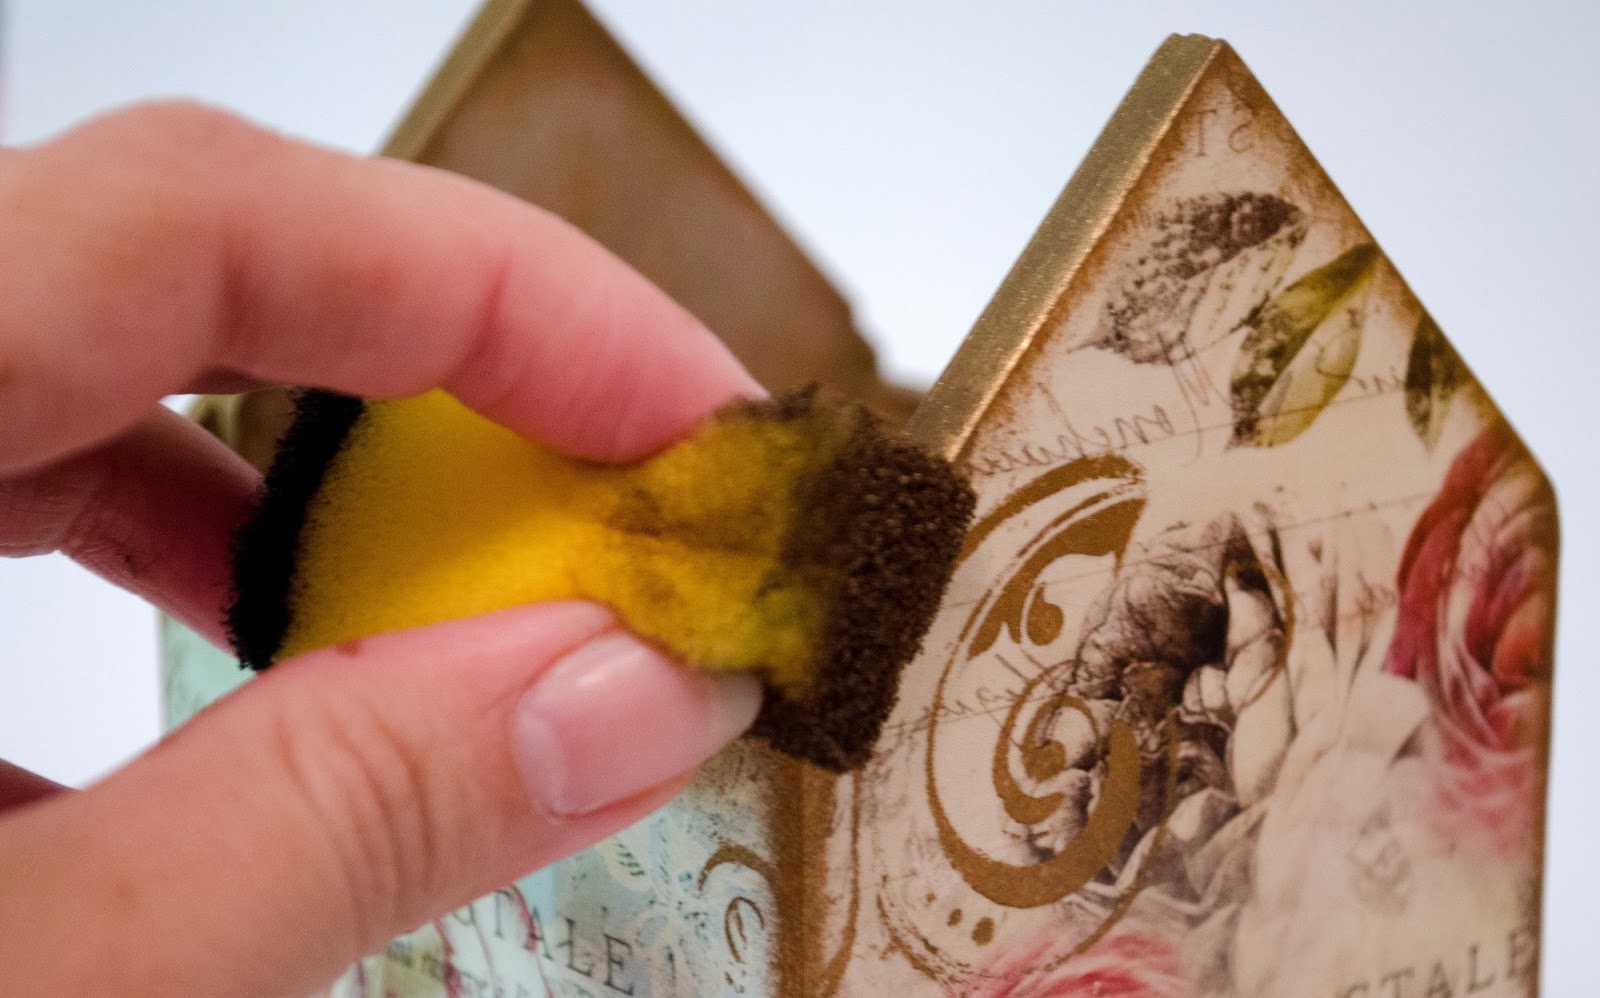
In the protruding lower part, the sponge with the patina is given a relief by a light pressure, as in the photo.
On the inner and outer sides, it is necessary to apply a pair of varnish layers based on acrylic, each layer is dried before application. After all the drying stages, we fix the work with the finishing varnish.
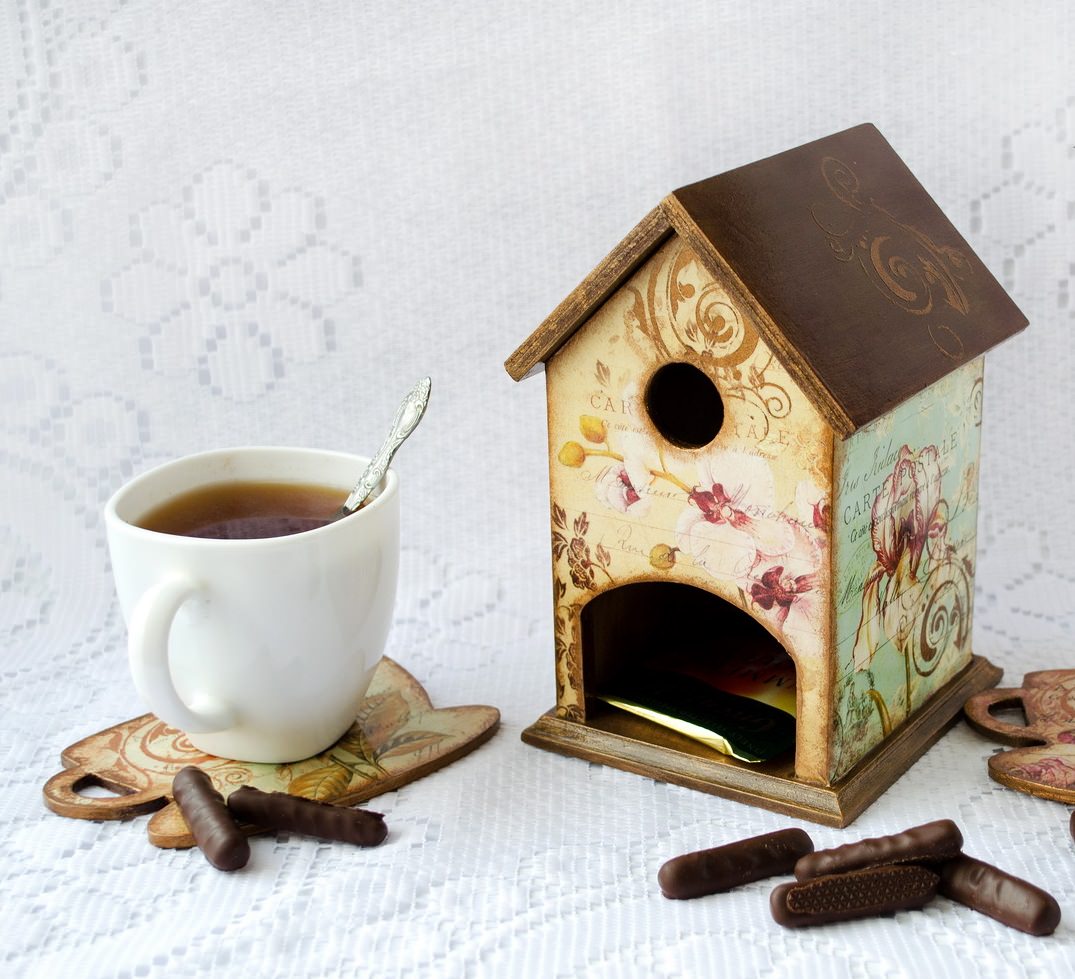
Be sure to take this master-class and in your interior will be a delightful decorative object in the form of a unique tea house.
The lesson of the tea house decoration by the method “Ambiente”
The next master class will show you an interesting technology, with the help of which another tea house will be decorated

For work, prepare:
- wood billet;
- acrylic paste, which is used to impart detail to the relief;
- palette knife;
- paints based on acrylic: light, red, yellow shades, as well as the colors of indigo,umber, chromium oxide, red English;
- a thematic rice map;
- varnish in the form of a spray matte shade;
- lacquer matt shade on acrylic base;
- gel with ZD effect;
- pattern with holes in the form of shingles;
- decoupage glue.
As usual, a master class on deconstruction of items begins with the priming of the workpiece.
After that, take a rice card and with your own hands tear out the necessary elements, which will be decorated with a tea house. On the edges, always leave gaps of one and a half centimeters.
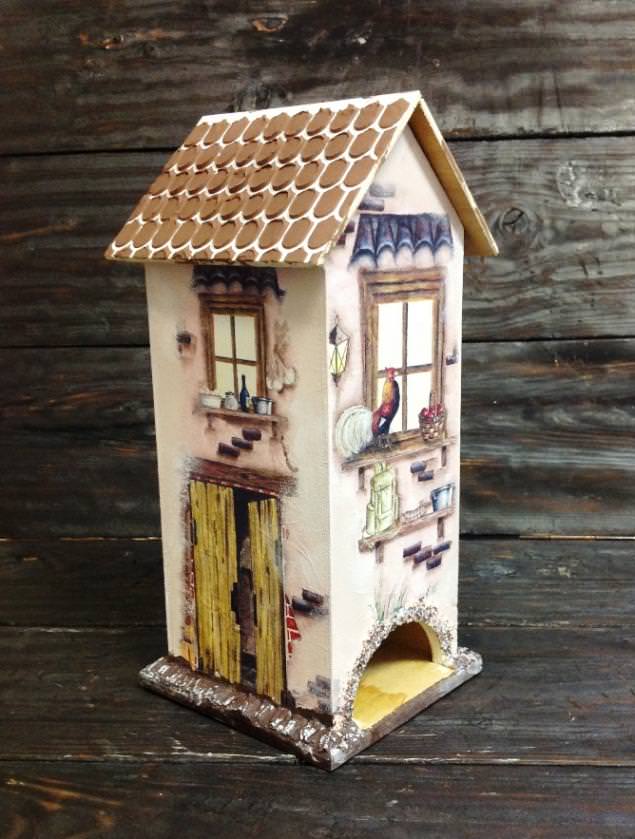
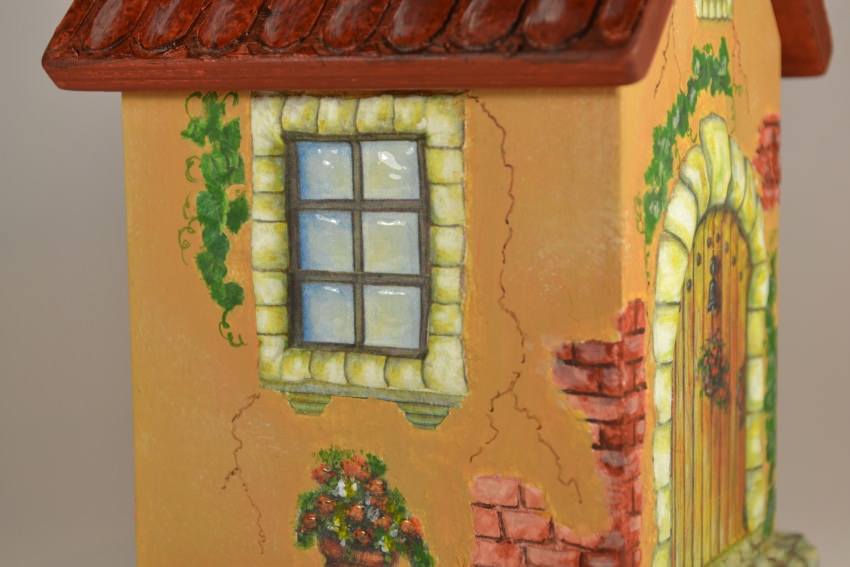
This master class for decapping a tea house uses thematic images of architectural elements on a rice map. These parts are glued to the surface of the product. The edges remain unattached. See how the photo looks like this process.


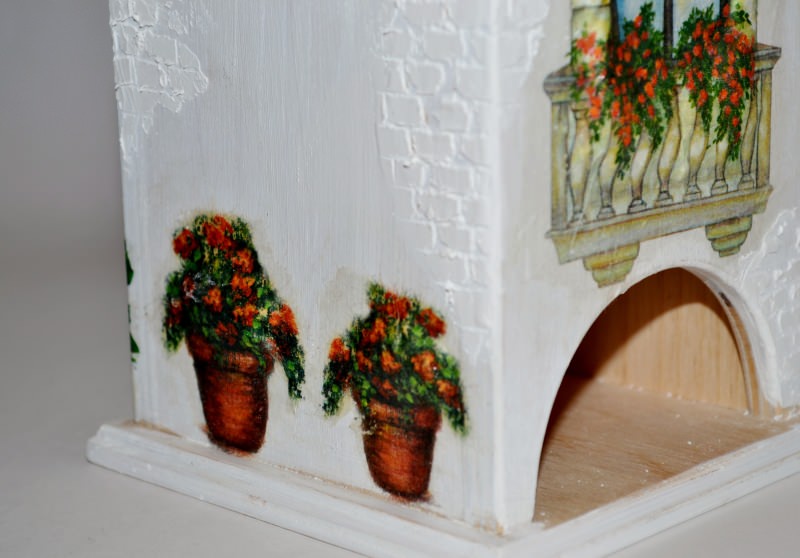
Next, take a palette knife, and make the application with his help of a relief paste under all the borders that have not been pasted. These edges are glued after giving them the necessary shape. In this way interesting convex details are obtained, as in the photo.

On the walls of the house with the help of toothpaste and toothpaste, you can make imitations of bricks.
The roof of the tea house is decorated with a stencil with tiles.

At the next stage of the master class, the colors are mixed. Choose colors of similar colors with the chosen image, put on a rice map.

Paint the house, its walls and bricks. Also, you can add interesting details. In this master class – it is a vine and a decorative flashlight. Next, the base of the house is masonry marking. After that, paint these elements and paint the cracks on the plaster.
The tile is painted with the color “English red”.

The inner part of the tea house can be left untouched. At the final stage, it will be necessary to darken the roof with the umbrella color, add light patches of light to some details in the form of cobblestones and green elements. Prepared gel with a 3D effect is necessary for glazing the window and flashlight. It remains only to fix the whole product with a matte spray varnish.
The resulting tea house will not be left without attention. This elegant product will seamlessly fit into the interior and will give your home a cozy touch. Learn the fascinating creativity of decoupage and unique items will fill your home.
If you are interested in this subject on decoupage of tea houses, we advise you to watch training video lessons with step-by-step master classes on a variety of decorating such products with your own hands.

Video: We decorate the tea house
15 Ways to Repurpose and Reuse Broken Household Items
You’ll also like:
- 12 Innovative Household Hacks To Ease Your Life
- 12 Amazing Ideas on How to Decorate House for Christmas
- How to make a cardboard house
- Hot glue waterfall mini house building
- DIY Crafts: Bird houses with corks Christmas tree (Tutorial)


