Learn how to create a stunning and trendy zippy chain bracelet using loom bands with this easy-to-follow craft tutorial for adults. Discover step-by-step instructions, helpful tips, and essential techniques to master this fashionable accessory.
Loom bands have now made their way into the world of adult crafts. The Zippy Chain Bracelet, in particular, has become a favorite among adults who are looking for a fun and creative way to express their style. This craft tutorial will guide you through the process of creating your own Zippy Chain Bracelet using loom bands. Whether you are a beginner or an experienced crafter, this tutorial will provide you with step-by-step instructions and helpful tips to ensure your bracelet turns out beautifully.
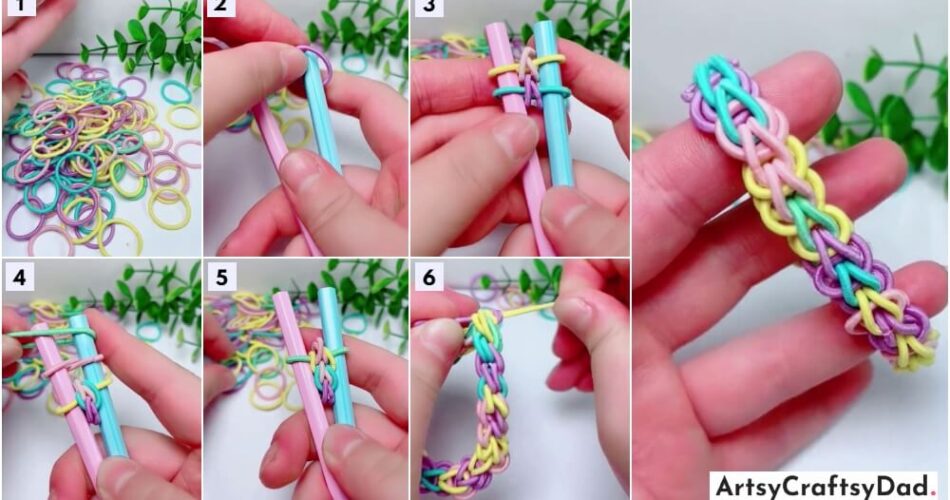
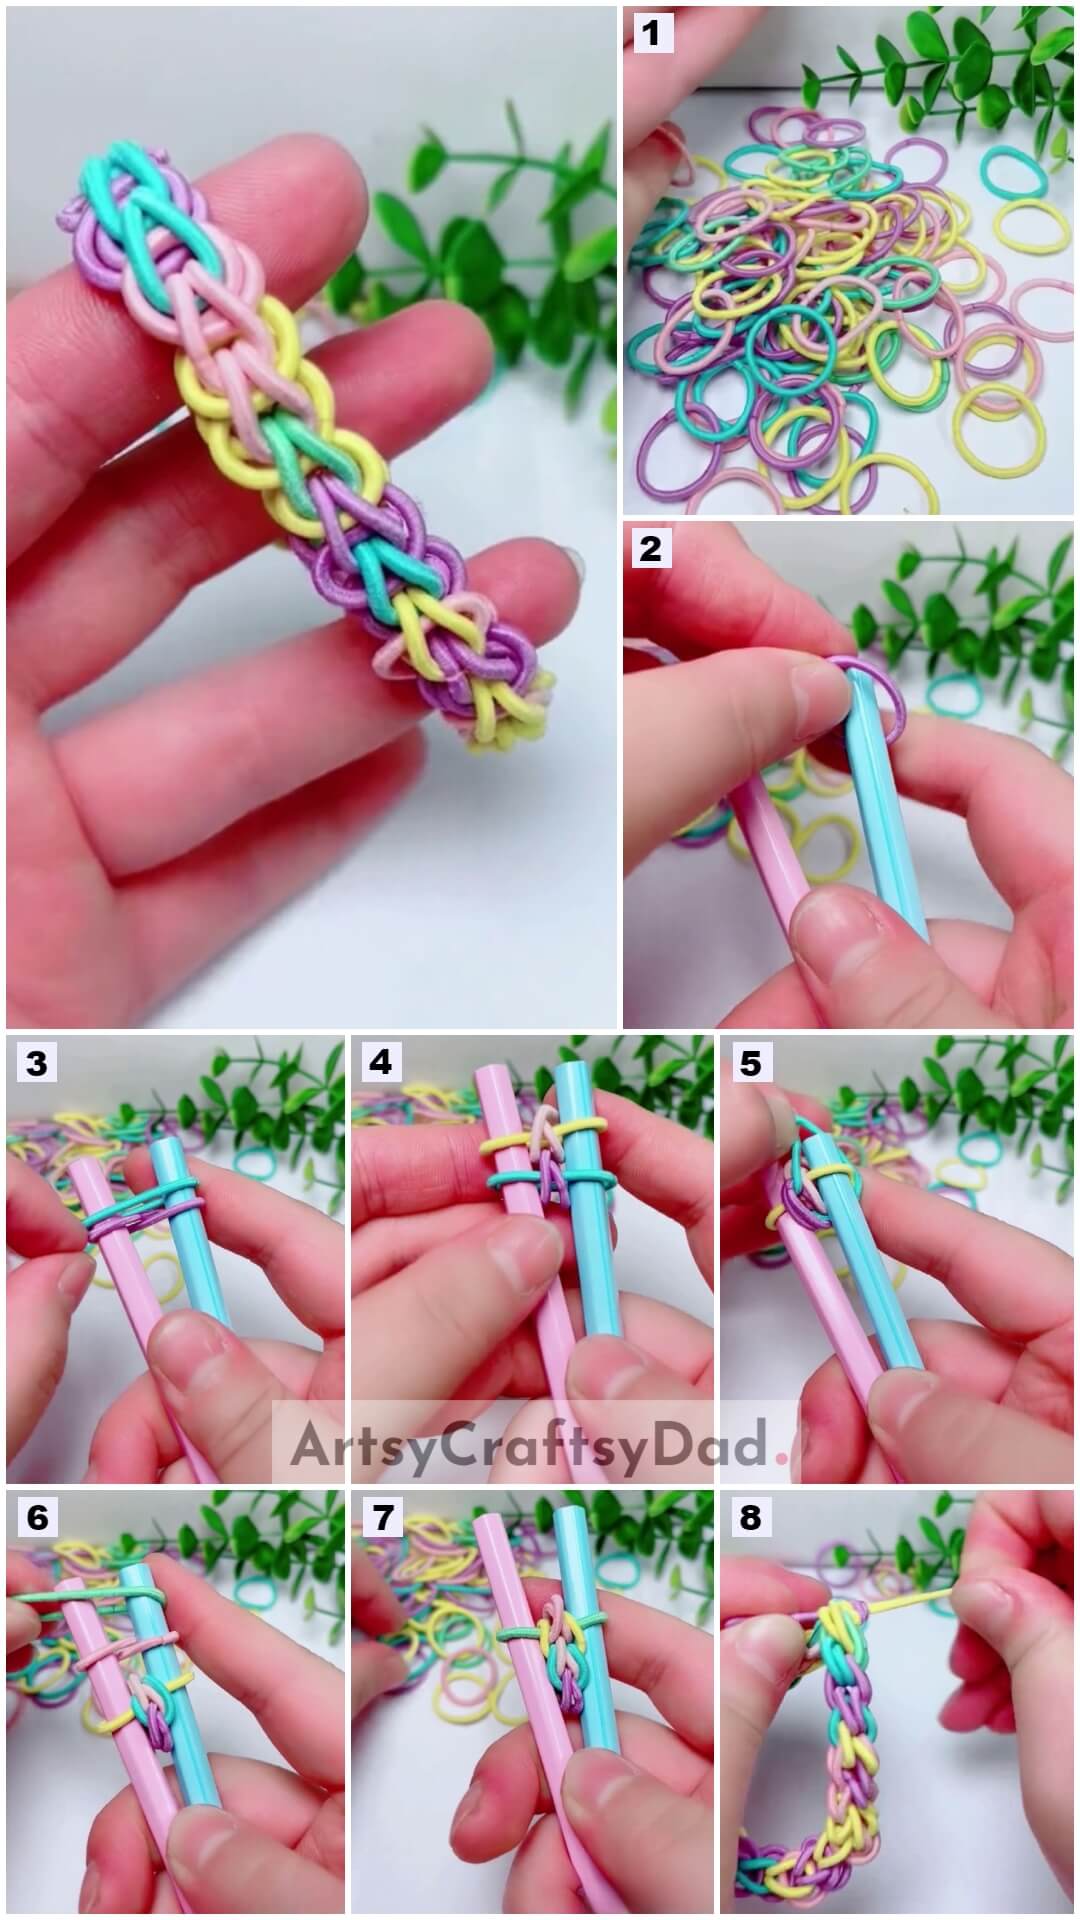
Beautiful Loom Bands Zippy Chain Bracelet Craft For Adults
Must Read: DIY Loom Bands: How to Make Elastic Bracelets
Supplies & Tools
- 5 Different Colored Rubber Bands (Yellow, Purple, Blue, Baby Pink, Green)
- 2 Pencils
Zippy Chain Bracelet Instructions
Step #1: Taking Rubber Bands Of Five Different Colors
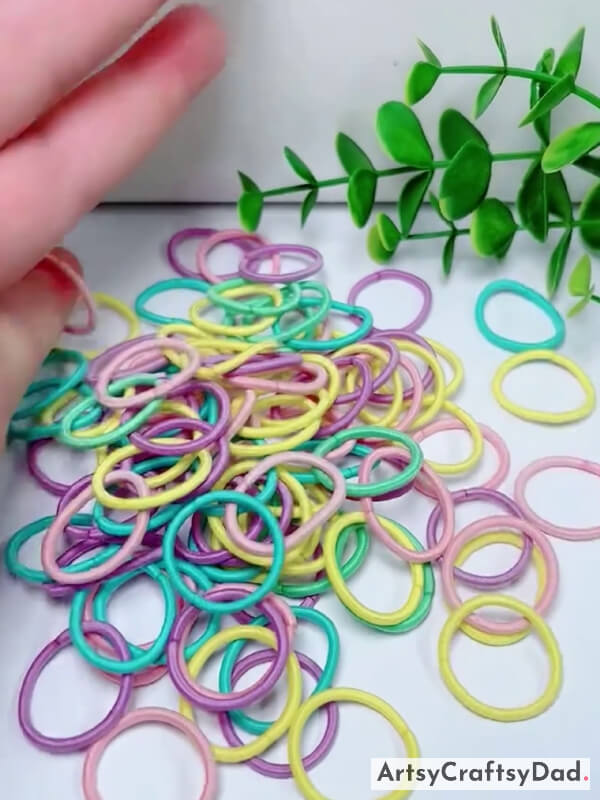
First, we take rubber bands of five different colors yellow, baby pink, purple, blue, and green.
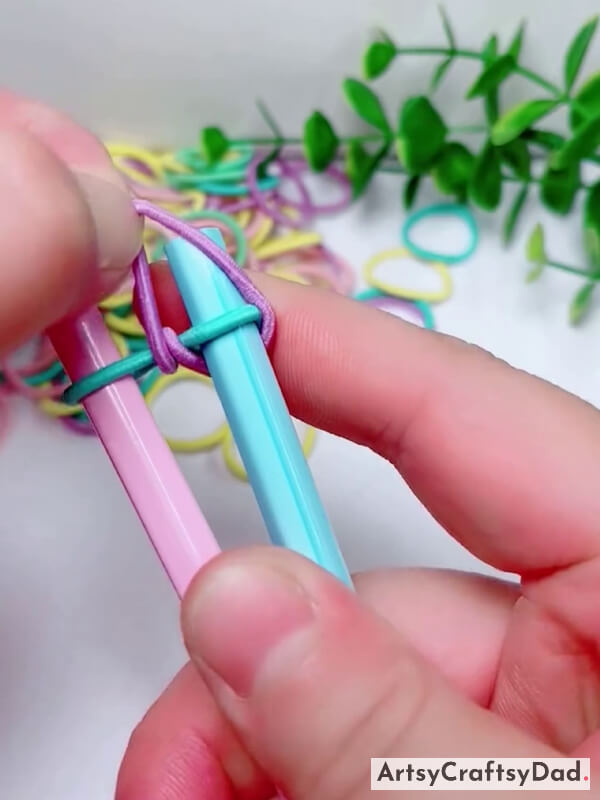
Step #2: Inserting Purple Band In Pencil
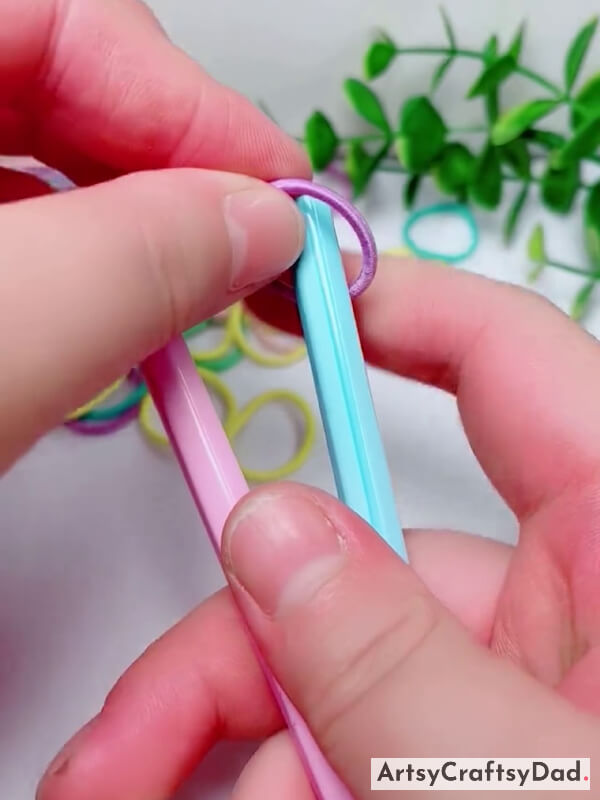
Now, first, we take two pencils to make a zippy chain bracelet & hold both pencils with hand. Then insert the purple color band first over the right side pencil.
Step #3: Twisting Purple Band In Another Pencil
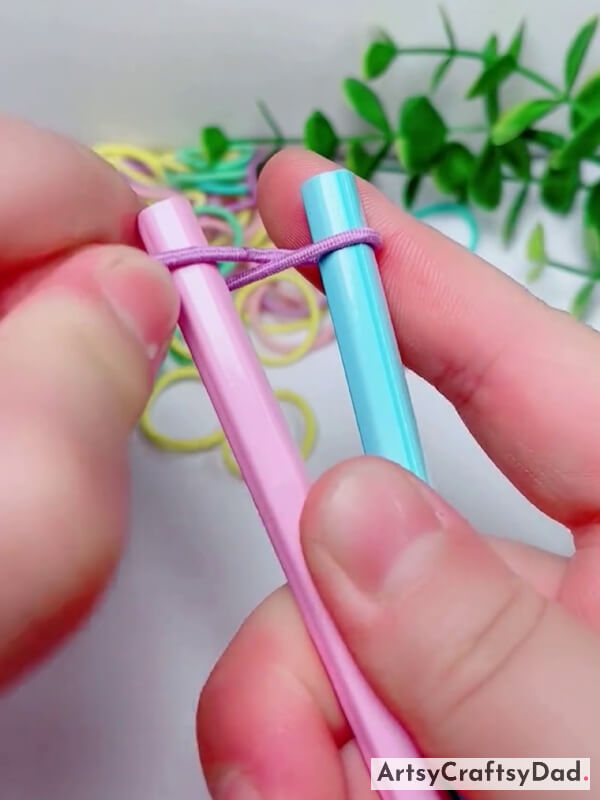
Now, twisting the purple band into the left pencil
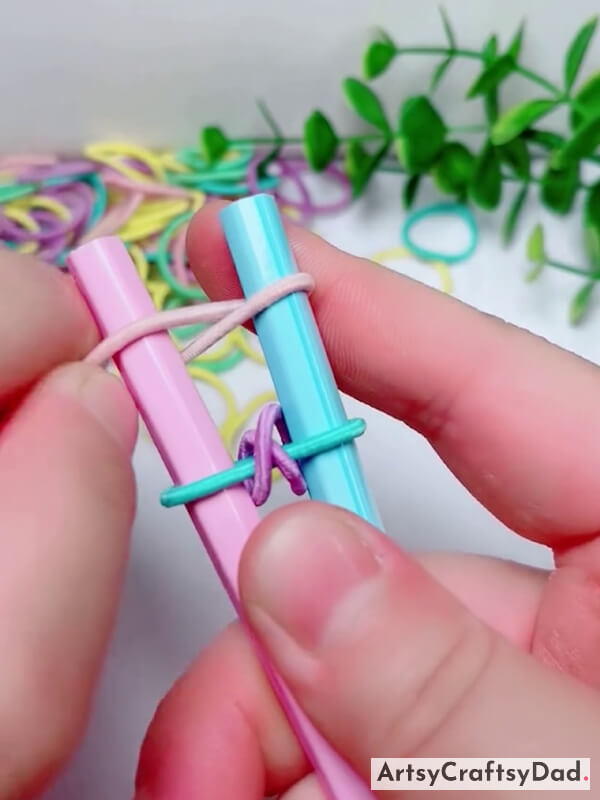
Step #4: Adding A Blue Band On Pencil
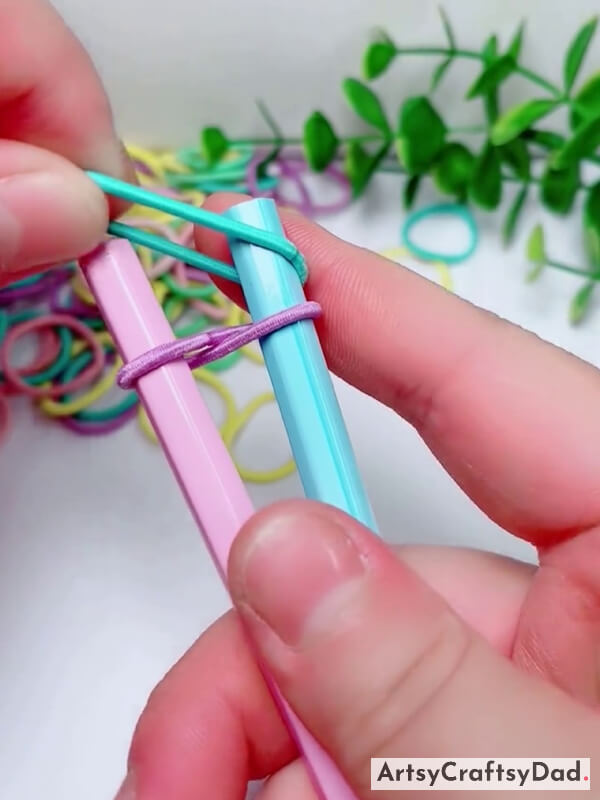
Placing the blue band over the blue pencil.
Step #5: Placing The Blue Band Other Side
Placing the blue band over the pink color pencil.
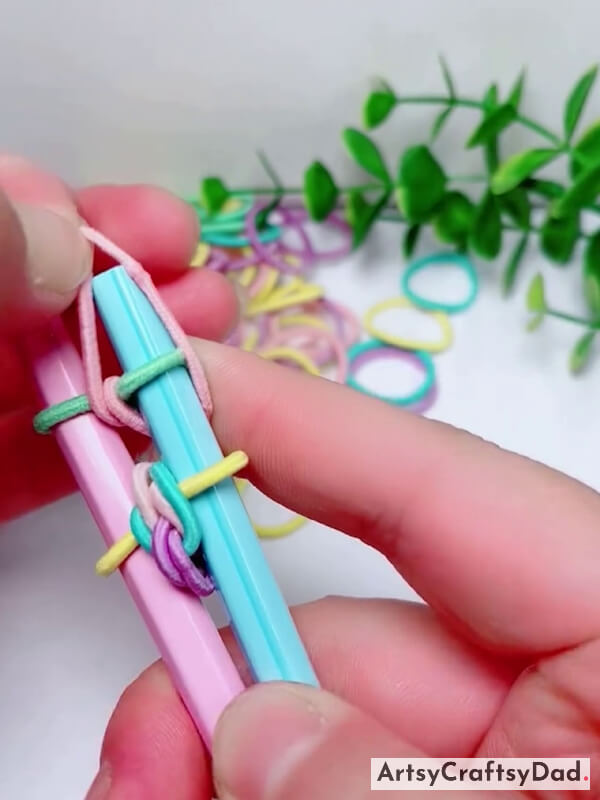
Step #6: Pulling The Purple Band One Side Over The Blue Band
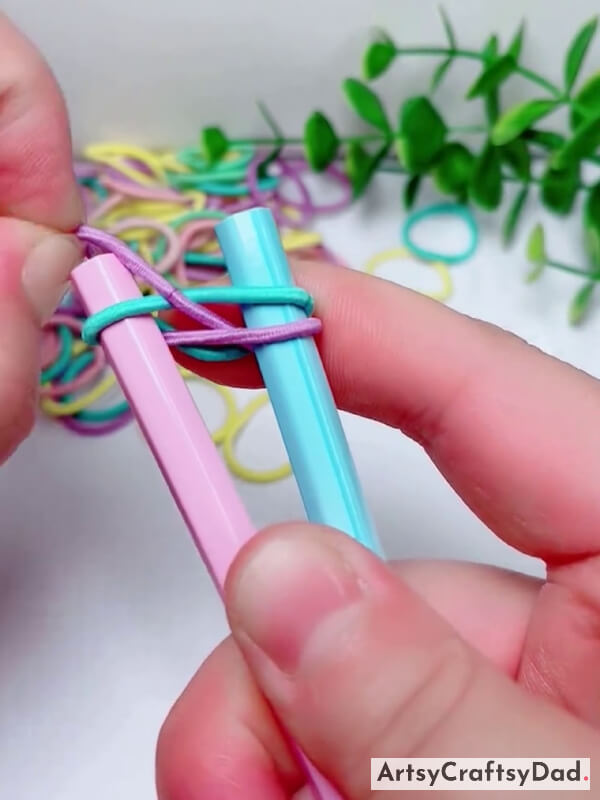
Pulling the bottom purple band left side over the blue band & the pink pencil.
Step #7: Pulling The Purple Band Other Side
Pulling the bottom purple band right side over the blue band and the blue pencil.
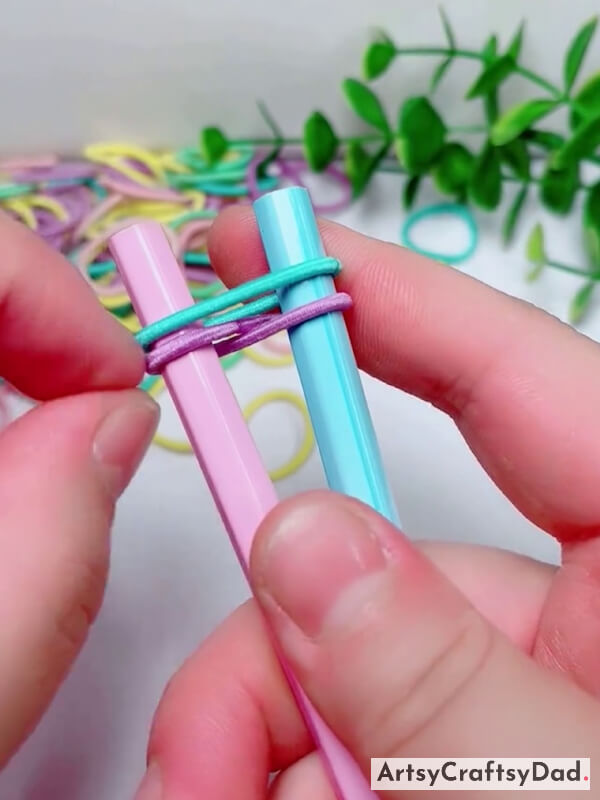
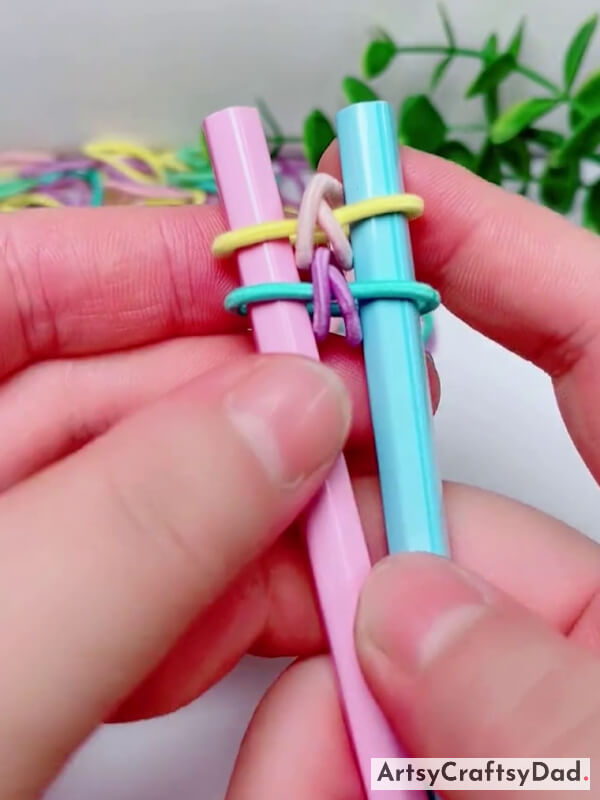
Step #8: Placing Baby Pink Band On The Pencils
Now, take a baby pink band & place it on the pencils by twisting it.
Step #9: Placing Yellow Band On The Pencils
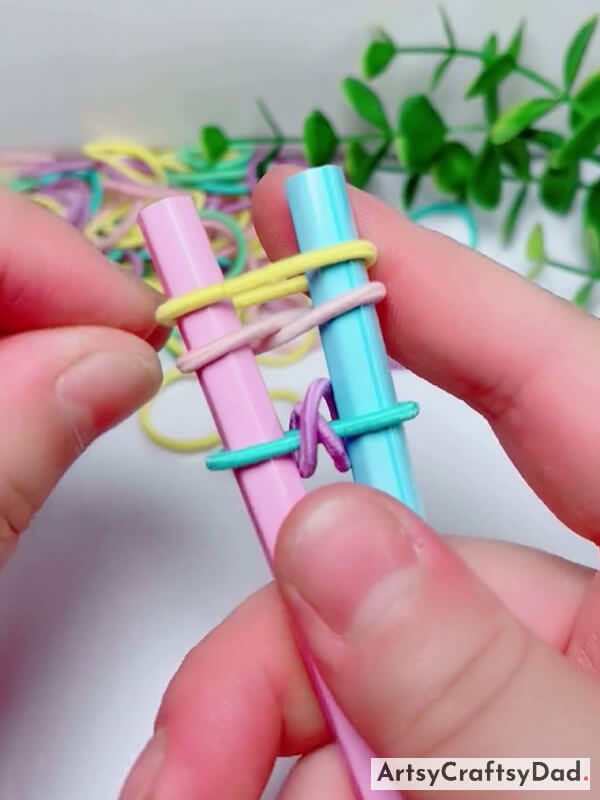
Take a yellow band & place it on the pencils.
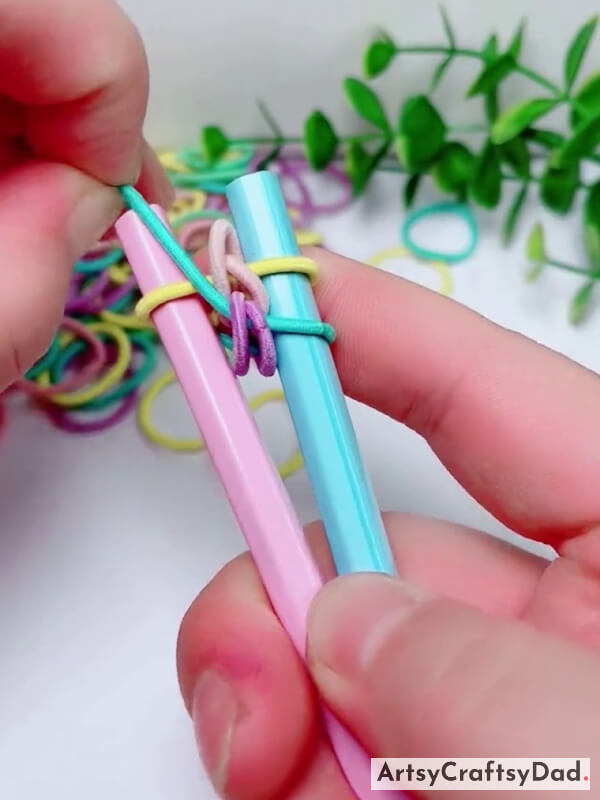
Step #10: Pulling The Baby Pink Band Over The Yellow Band
Now, pull the baby pink band over the yellow one & both pencils.
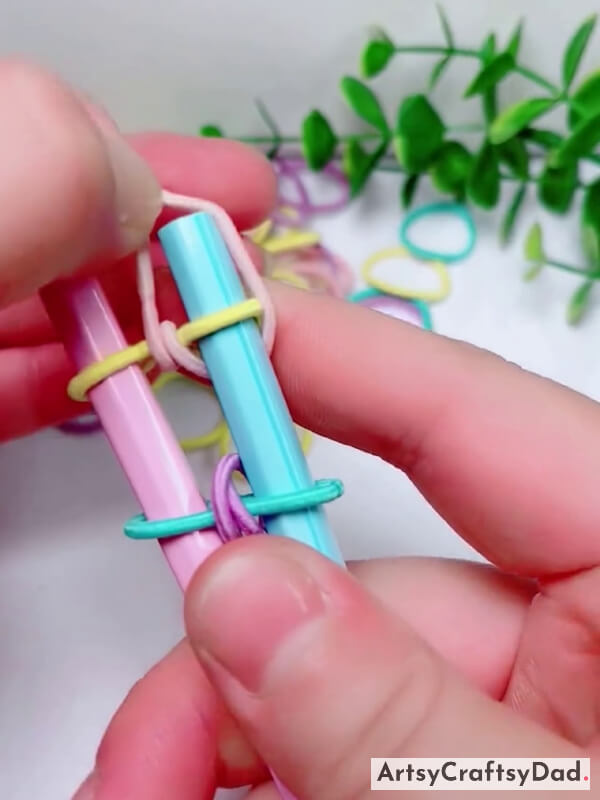
Step #11: Adjusting The Bands
Now, push the bands down in pencils.
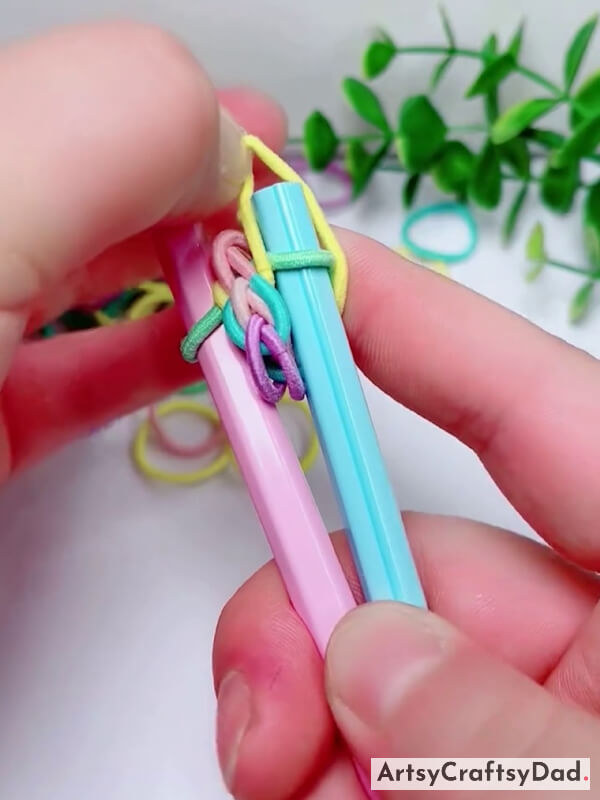
Step #12: Pull The Blue Band Over The Top One
Now, pull the bottom blue band one side over the top yellow band & pink pencil as shown in the above image.
Step #13: Pulling The Other Side Of The Blue Band
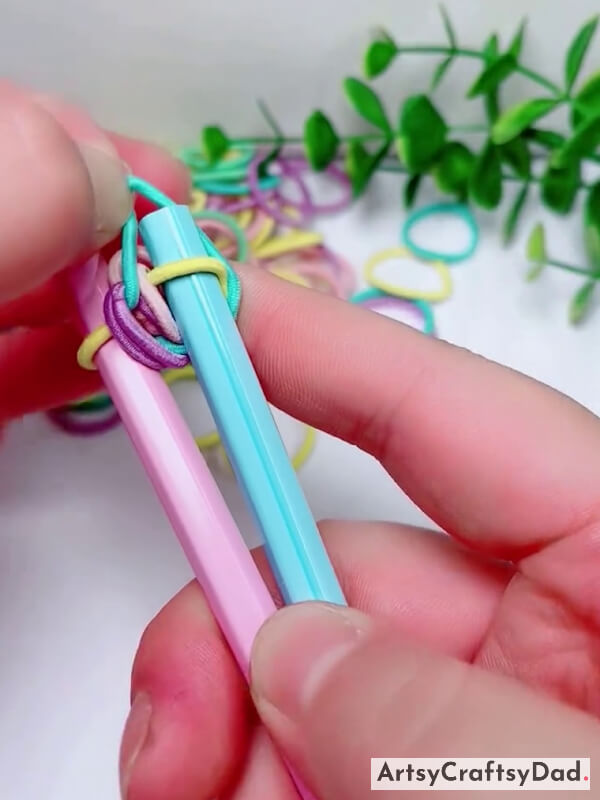
After that pull the other side of the bottom blue band over the top yellow band & blue pencil in the same manner.
Step #14: Adding Baby Pink Band

Now, first, we push the bands in the pencils downside to get the space to place other bands. Now, take a baby pink band & put it on the pencils by twisting it.
Step #15: Adding Green Color Band
Take a green color band & put it on the pencils.
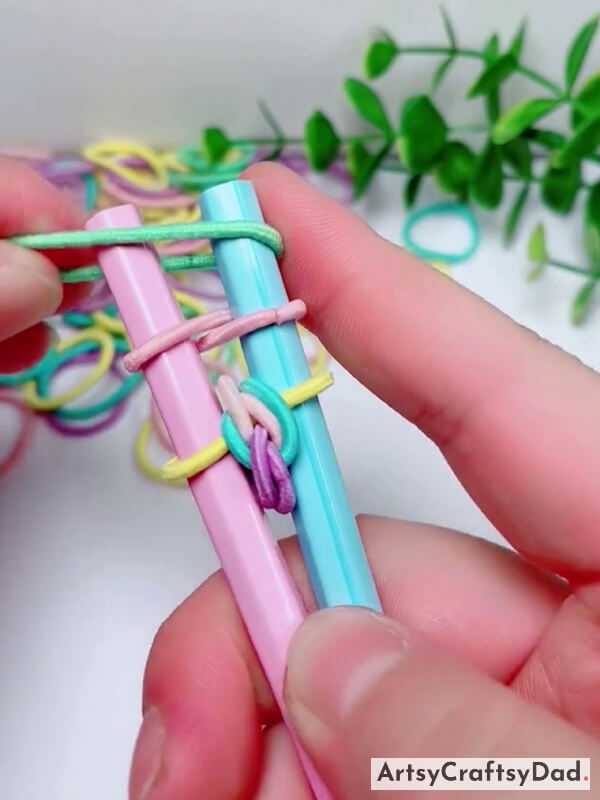
Step #16: Pulling The Bottom Baby Pink Band Over The Green Band
Pull the baby pink band over the top green band & pencils.
Step #17: Pulling Yellow Band Over The Top Green Band
Now, pull the bottom yellow band over the top green band & pencils.
Step #18: Pushing Down Bands On Pencils
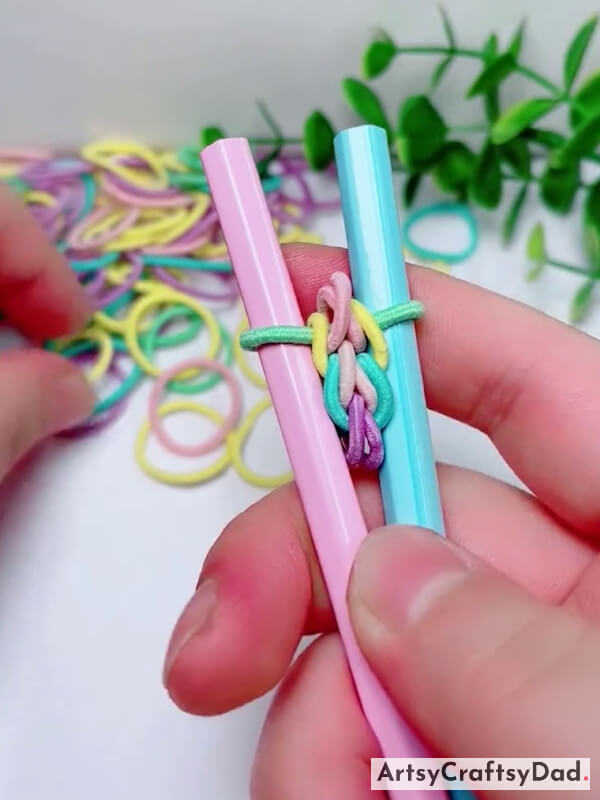
Now, adjust all bands & push the bands in pencils downside to get the space to place other bands.
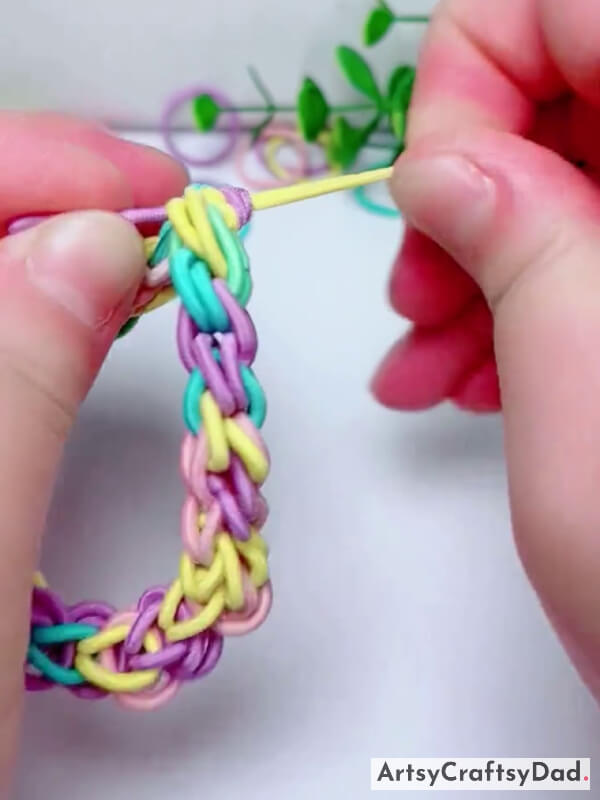
Step #19: Repeating The Process
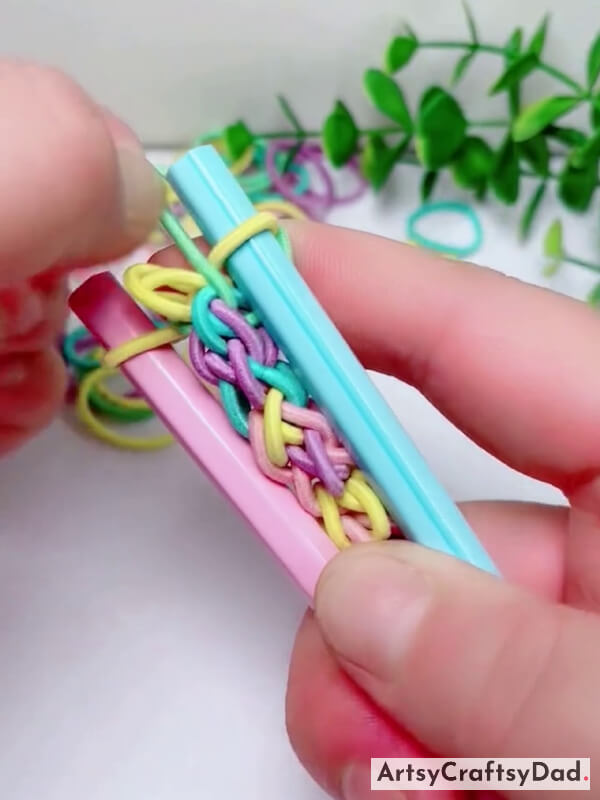
Now, repeat the process & you build a bracelet with a cool pattern.
Step #20: Knotting The Bracelet

Now, we first take the bracelet off the pencils & make a knot at the top end.
Step #21: Attach Both Ends Of Bracelet
Now, Bind both ends of the bracelet by knotting them with each other.
Our Final Image Of Loom Bands Zippy Chain Bracelet Is Ready!
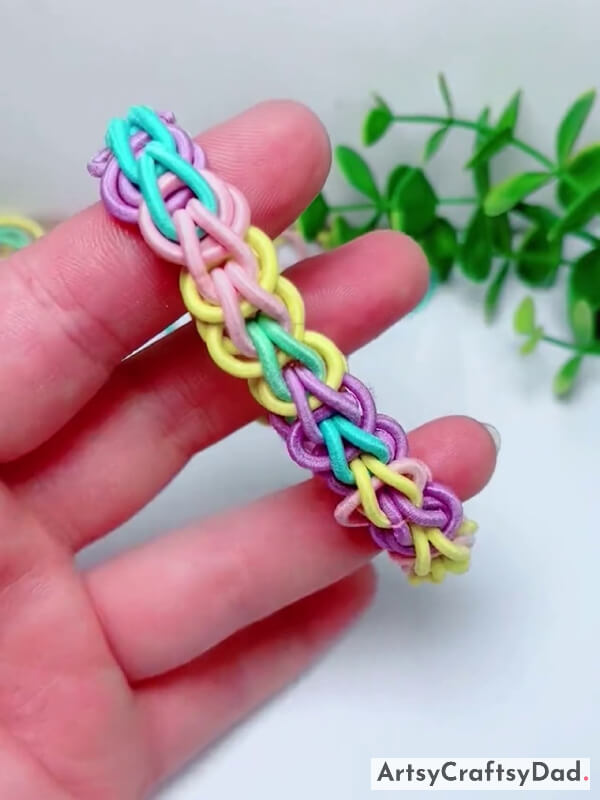
Our beautiful zippy chain bracelet is ready here.
We have completed our zippy chain bracelet. I hope you have enjoyed the process of making this beautiful & cute bracelet. This fun and creative activity allows adults to tap into their artistic side and create unique and personalized bracelets. Whether it’s as a stress reliever or a way to bond with friends and family, making loom bands zippy chain bracelets can be a fun hobby for adults. Please share your thoughts in the comment section that will motivate us to create more stylish bracelets in the future.
Thanks for visiting us!
You Might Also Like This
- How to weave a toy of rubber bands
- How to make a loom flower mat
- Hand embroidery chain Stitch -Step By Step (Tutorial)
- How to Make Thread Pearls “Bracelet” at Home
- How to make a wire wrap pearl flower bracelet

