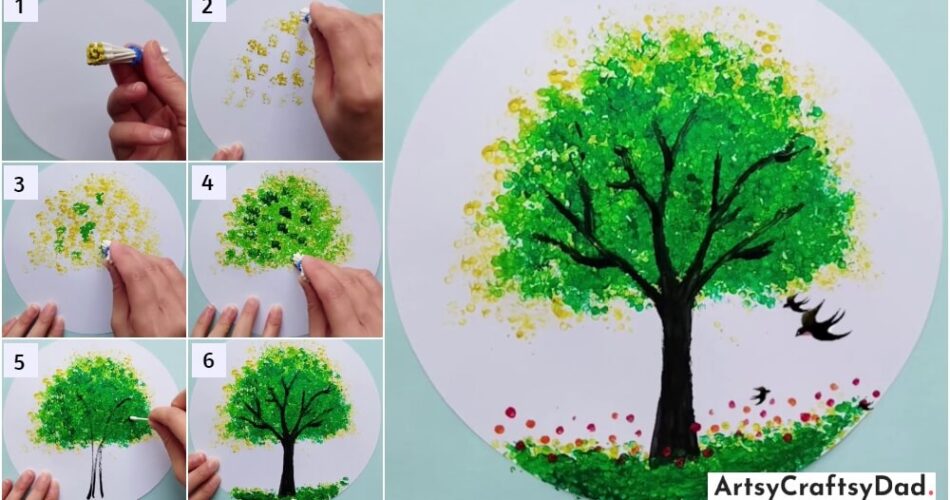
Learn how to create a stunning cotton bud tree painting with this step-by-step tutorial. From selecting the right materials to mastering the technique, this guide will walk you through each stage of the process.
Are you ready to make a painting using cotton buds? This step-by-step tutorial will guide you through the process of creating a beautiful and textured tree painting using cotton buds as your main tool. If you are a beginner then don’t worry, you can make this craft easily without any obstacle. You only need colored paints, craft paper & a bunch of earbuds. So collect all the materials & let’s get started making colorful tree paintings.
Cotton Buds Tree Painting For Kids
Must Read: Cherry Blossom: Cotton Bud Painting Tutorial
Supplies & Tools
- White Craft paper
- Earbud Bundle
- Acrylic Paints (Green, Yellow, Black, Red, Orange)
- Scissors
Tree Painting Instruction
Step #1: Taking A Earbud Bundle
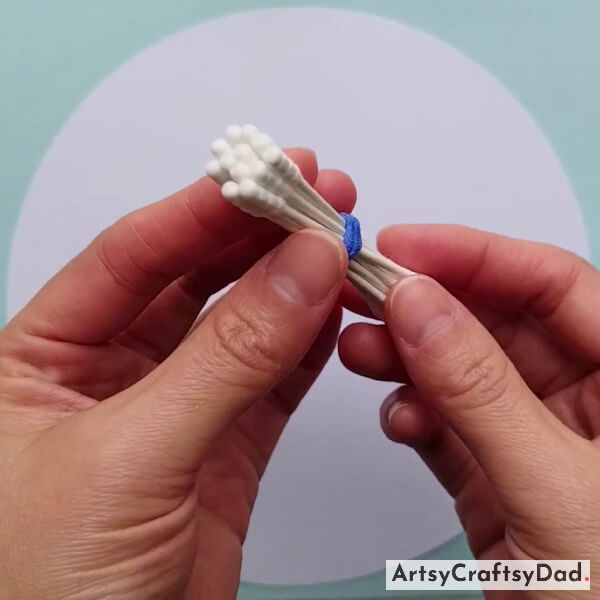
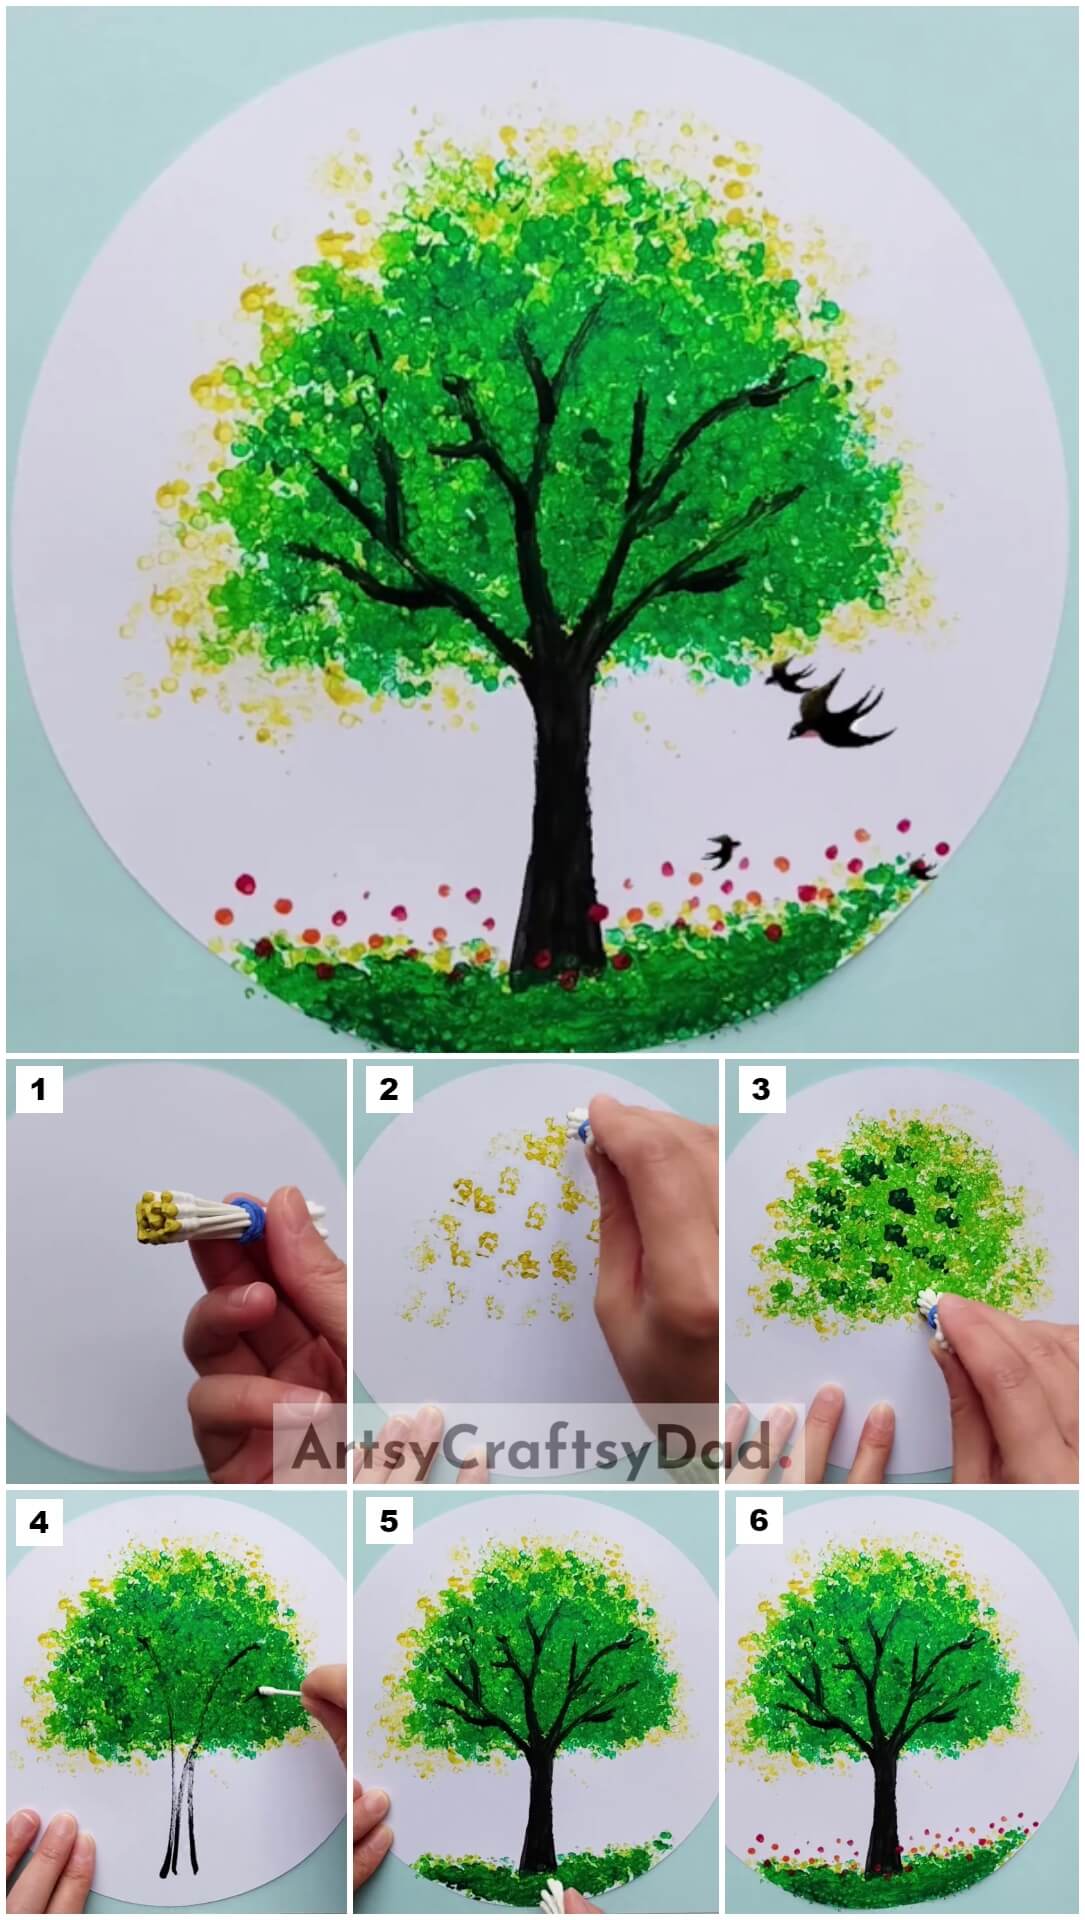
Firstly, take a fresh white craft paper & cut it into a circle using scissors. Then, take a bundle of earbuds.
Step #2: Dipping Earbud Bundle Into Yellow Paint
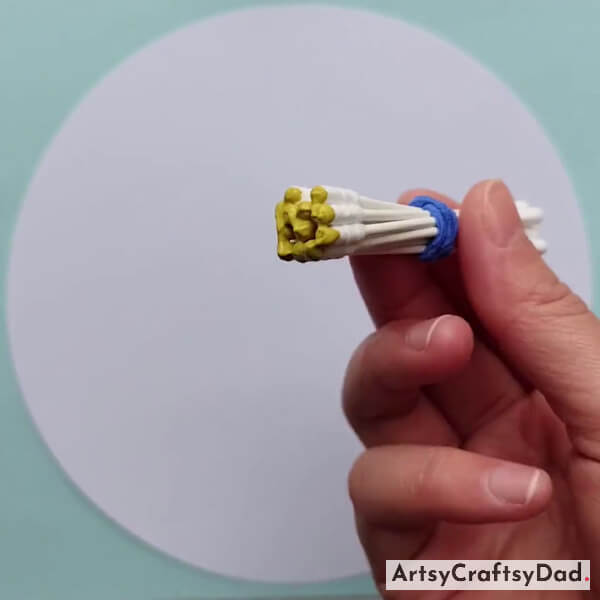
Now, take yellow paint & dip the earbud bundle into it.
Step #3: Making Yellow Leaves
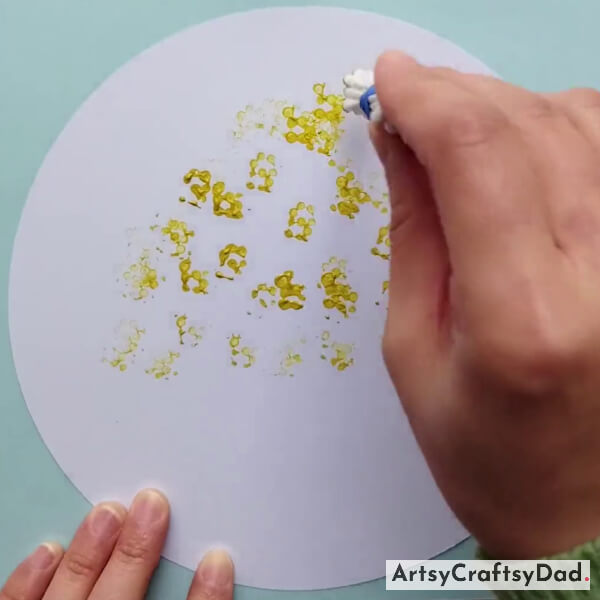
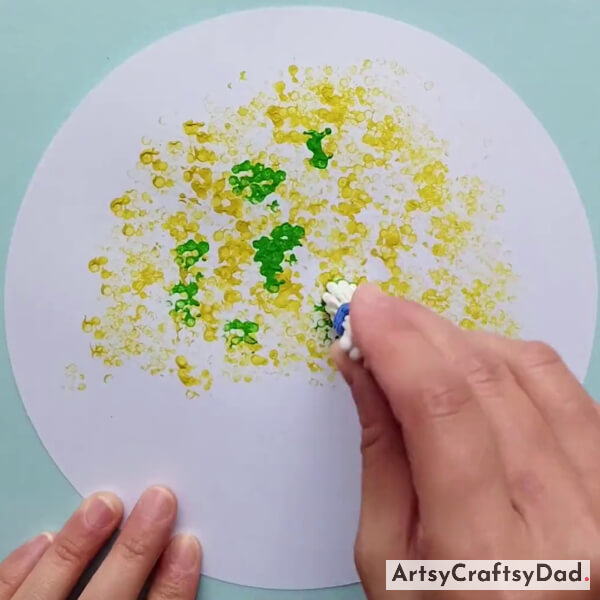
Now, dap the earbud bundle on the white paper to make tree leaves as shown in the above image & leave it to dry.
Step #4: Making Green Leaves
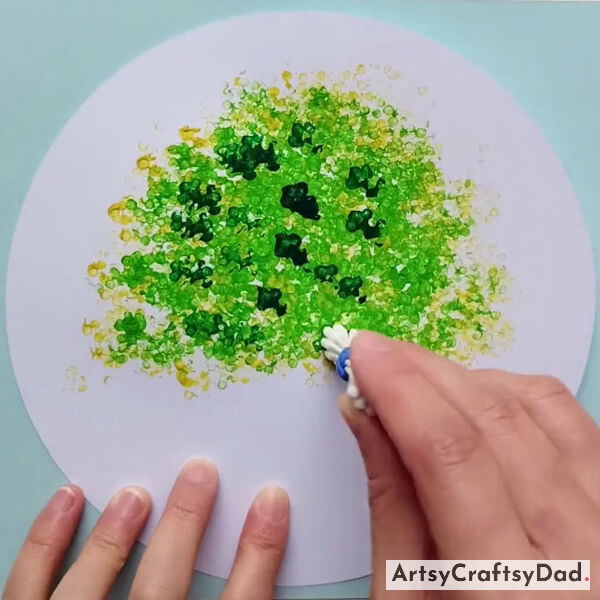
After making the yellow leaves, take another earbud bundle & dip it into the green paint & dap it over the yellow leaves.
Step #5: Making Dark Green Leaves
Take a dark green paint & dip the earbud bundle into it then dap it over the light green leaves one by one.
Step #6: Drawing The Tree Trunk
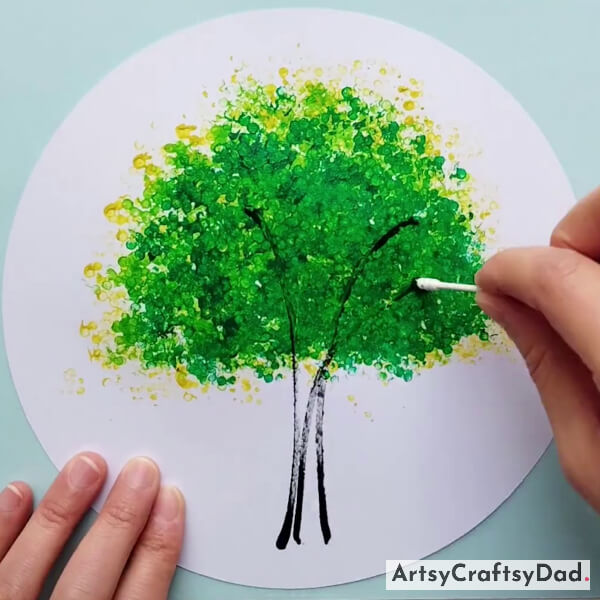
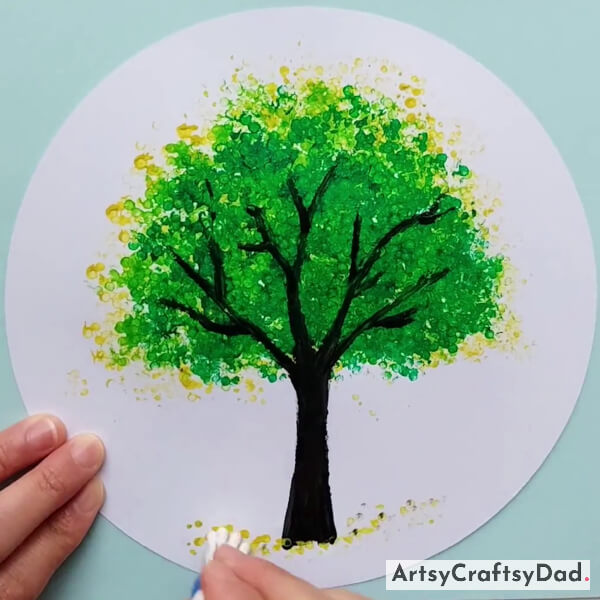
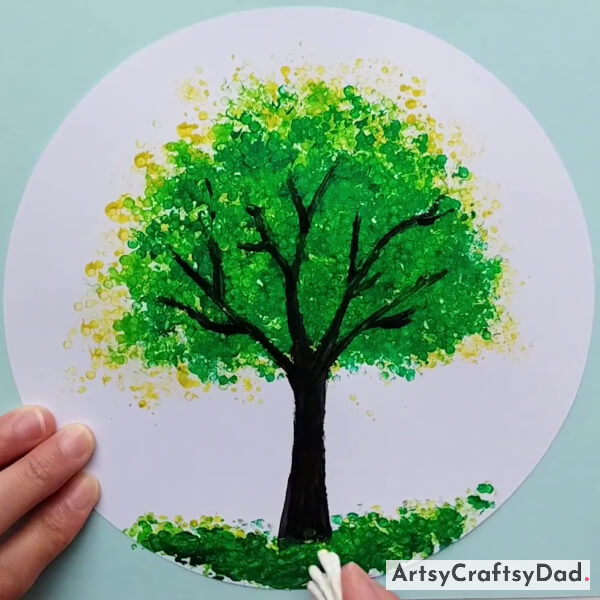
Now, take black paint & dip an earbud into it then draw the tree trunk under the tree as shown in the above image.
Step #7: Draw Fallen Yellow Leaves
Now, dip the earbud bundle into the yellow color & dap it on the lower side of the tree that represents fallen leaves.
Step #8: Drawing A Lawn
Now, again take a new earbud bundle & dip it into the dark green paint & draw a lawn under the tree.
Step #9: Making Some Fallen Flowers
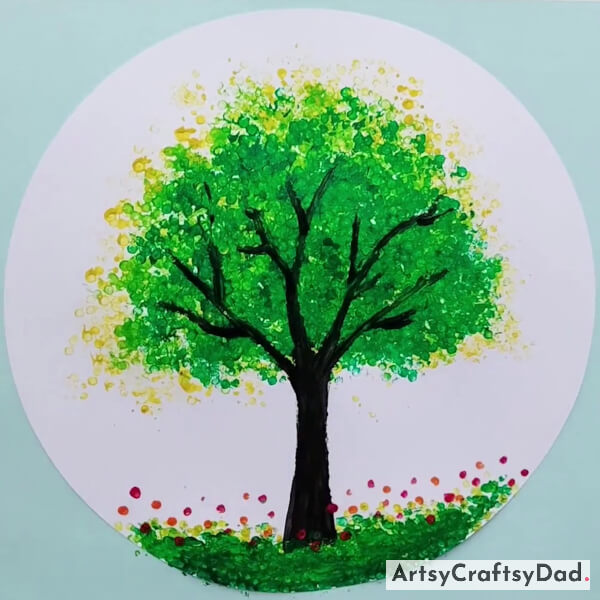
Now, take red, and orange color paint. Then dip an earbud into orange paint, dap it on the upper side of the grass to represent the flower & repeat it to make some more flowers. Now, take red paint & repeat the process to make red flowers.
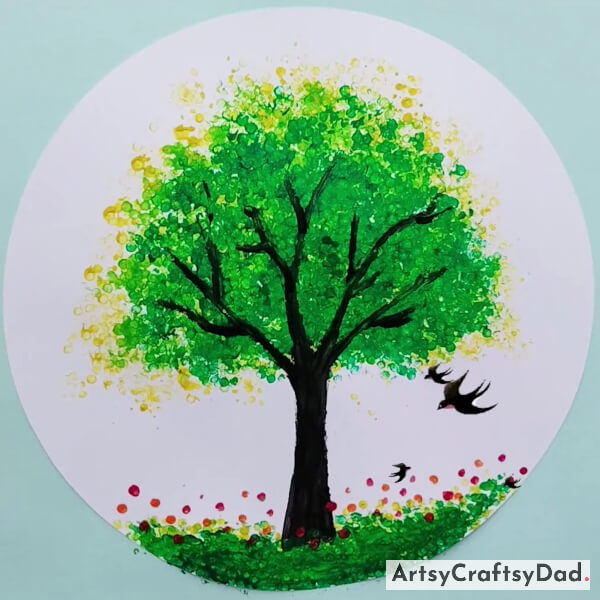
Finally! Our Beautiful Cotton Buds Tree Painting Ended Here!
Complete our painting by drawing some birds under the tree using black paint. If you are looking for creative ideas for painting with an earbuds bundle, you can use all nine steps. our final craft is completed here.
I want to tell you that our painting has ended here. I hope you liked the painting & easily made painting without any obstacles. Hey, if you want to customize this painting according to you then I have an idea. You could use different paints to make tree painting & make some beautiful different types of flowers on the lawn. You could give this piece of art as a gift to your friends. They will feel special by getting this beautiful tree painting you created your own. Please drop your comment in the comment section.
Thank you for visiting our website!
You Might Also Like This
- Cotton Bud Sunflower Garden Step-By-Step Tutorial For Kids
- Shaded Cactuses: Stamp Painting Step-by-Step Tutorial
- Giraffe Face Painting Step-by-Step Tutorial For Kids
- Cherries On Tree Branch: Stamp Painting Tutorial
- Cherry Flowers In Pot Painting Step-by-Step Tutorial
