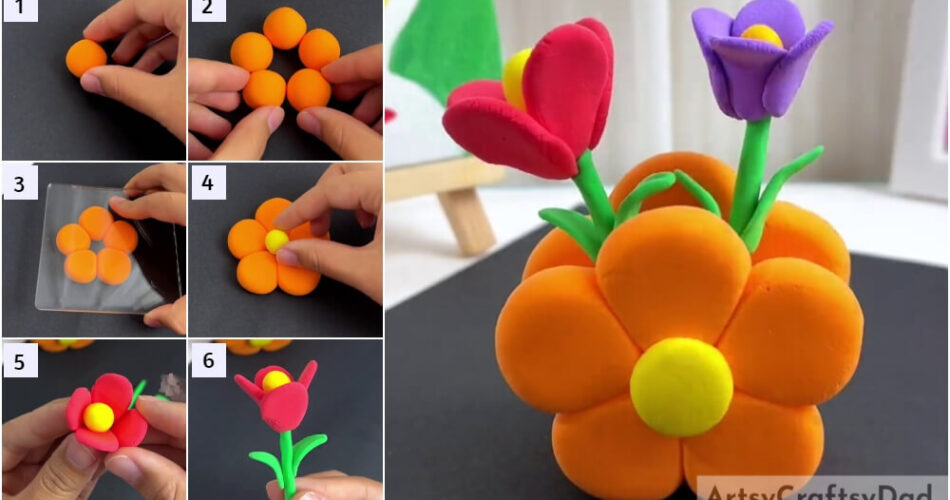
Seriously! You don’t want to miss this one! This step-by-step tutorial is to make a clay flower vase with clay flowers in it! It is so cute!
Dough and mold to make this craft! This will be a fun one for sure! This step-by-step tutorial will guide you in making a cute flower-shaped flower vase with clay flowers in it! Hehe, don’t get confused! See for yourself! This craft is a perfect afternoon activity to do to have a fun and creative time pass! The kids will love to create this clay craft even more as kids already like to play with it!
Adorable Flower Vase Craft Using Clay Tutorial For Beginners

Must Read: Painted Decorative Clay Vase Craft Tutorial
Supplies & Tools
- Colored Super Clay (Purple, Red, Orange, Yellow, And Green)
- Polymer Clay Pressing Tool
Flower Vase Instructions
Step #1: Taking Out Orange Clay
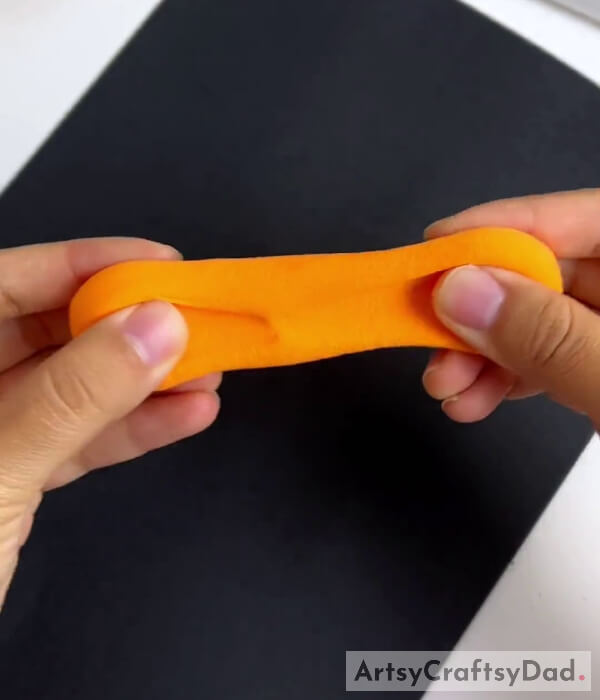
Begin this craft by taking orange-colored super clay. Stretch it to take out a piece from the whole.
Step #2: Making A Clay Ball
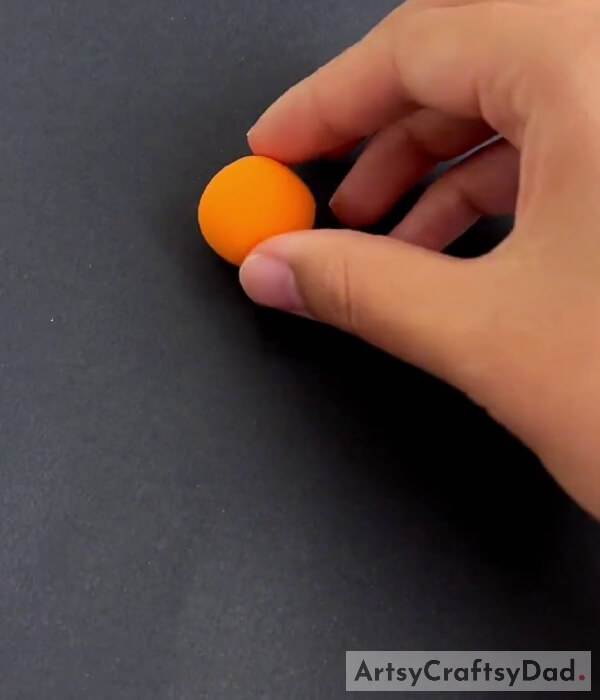
Dough the clay into a clay ball as shown in the image.
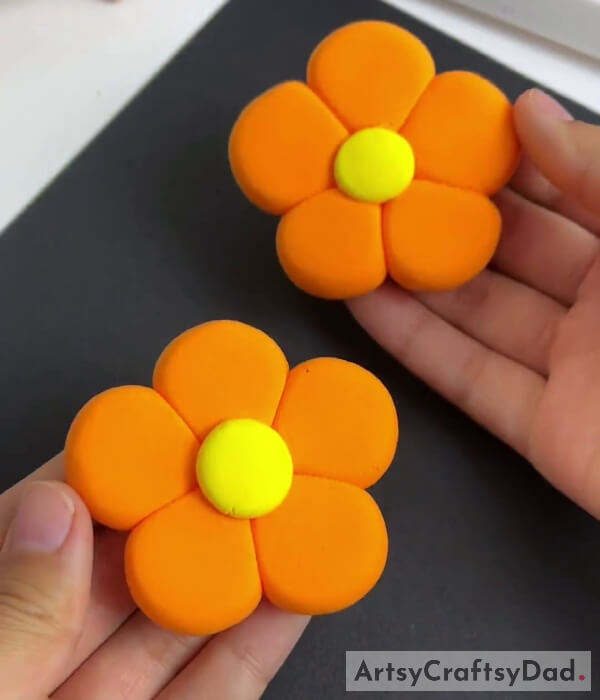
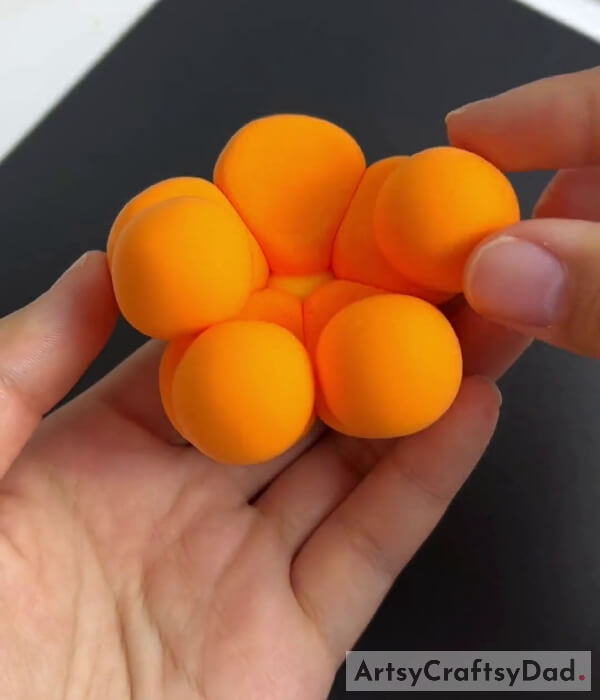
Step #3: Making A Flower
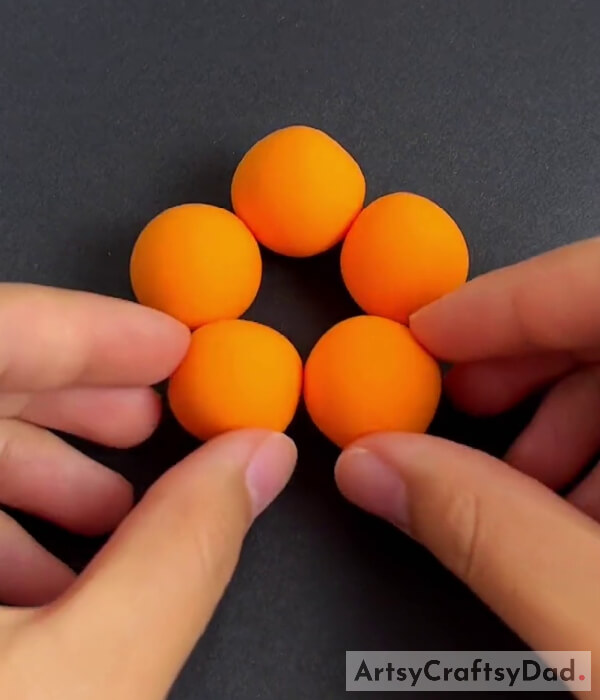
Similarly, make 4 other clay balls and stick them together in a circle to form a flower.
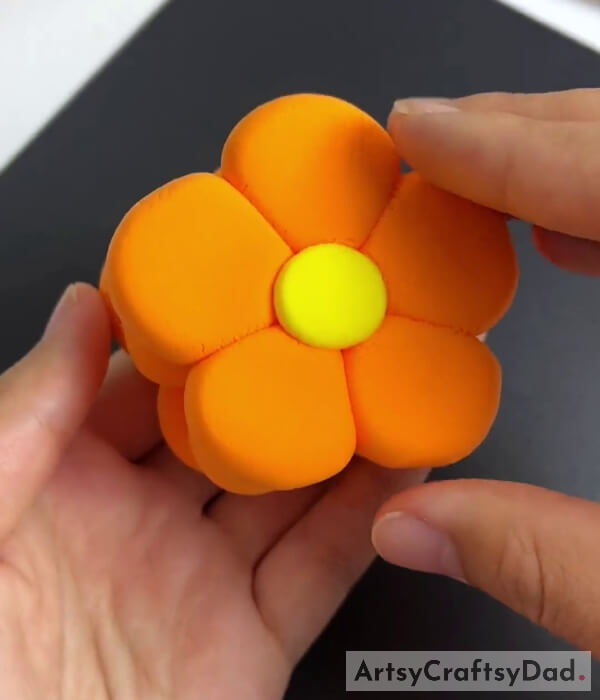
Step #4: Flattening The Flower
Using a polymer clay pressing tool, press to flatten the clay ball flower.
Step #5: Making The Center Of The Flower

Dough a yellow clay ball and place it in the middle of the flower to make the center of it. Press it too to flatten it. This will be a side part of your vase.
Step #6: Making Another Vase Part
Repeating all the above steps, make another flower shaped side part of the vase.
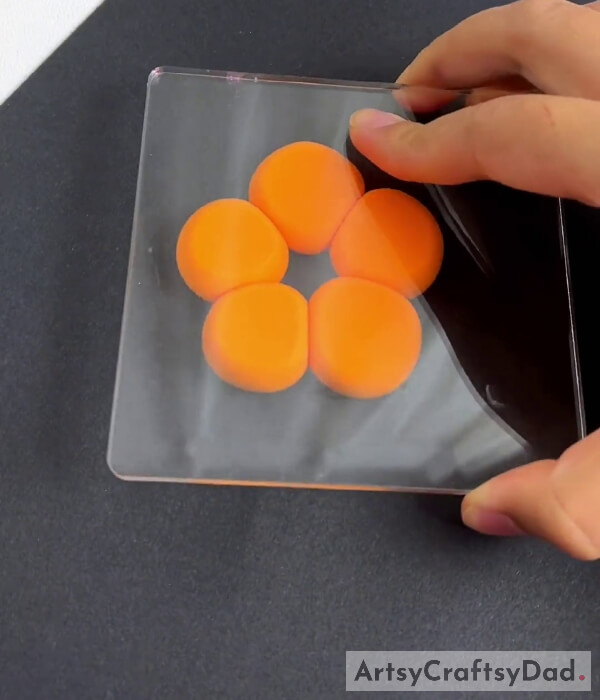
Step #7: Sticking Clay Balls To The Flower
Stick clay balls, at the back of the vase part. Make sure to stick only 4 clay balls and leave the upper petal.
Step #8: Sticking The Other Vase Part
Overlap the other vase part and stick it over the clay balls over the first vase part. This completes your vase.
Step #9: Making A Flower
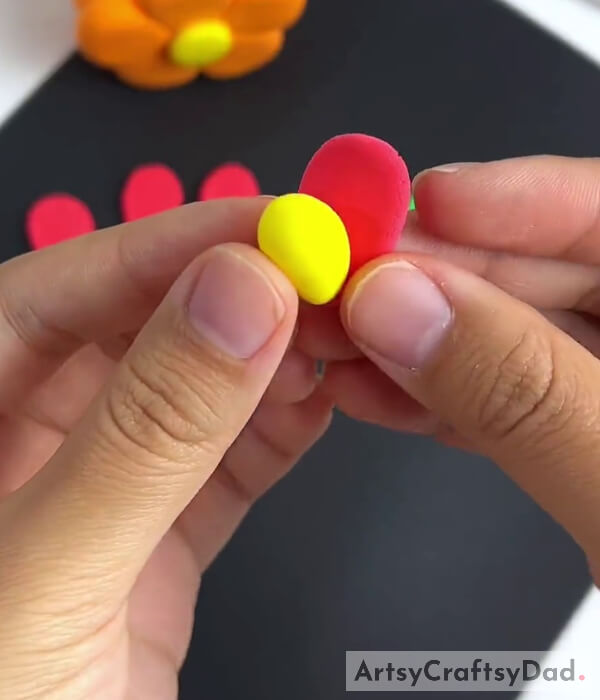
Dough yellow clay into a drop shape and hold it upside down. Now, dough a red clay ball, press to flatten it, and make a petal, stick the petal to the drop shape and bend it outward a little.
Step #10: Completing Making A Flower
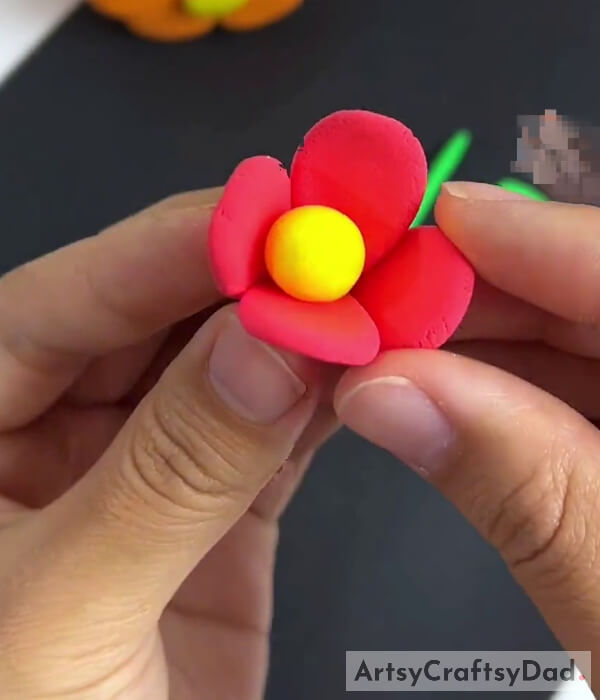
Following the same, make 3 more petals and stick them to the drop shape to make a flower by enclosing the drop shape.
Step #11: Adding Stem To Your Flower
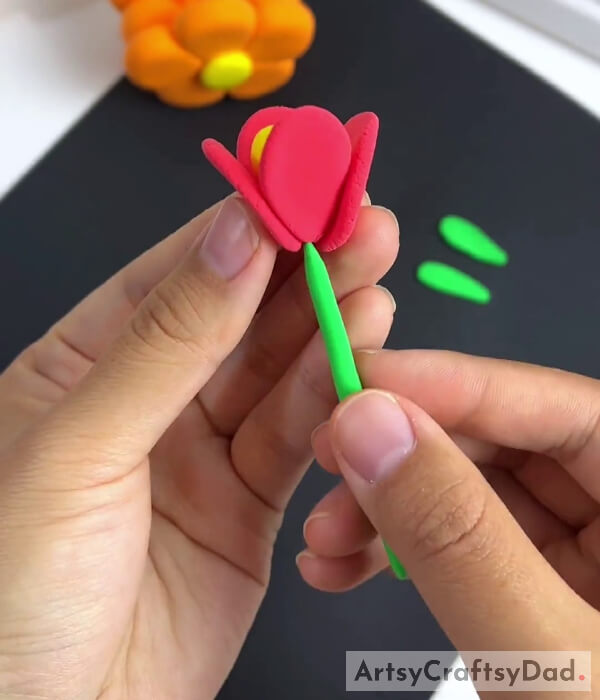
Dough a green clay into a thin and long roll. Stick the roll vertically beneath the flower to make the stem of it.
Step #12: Making Leaves To The Stem
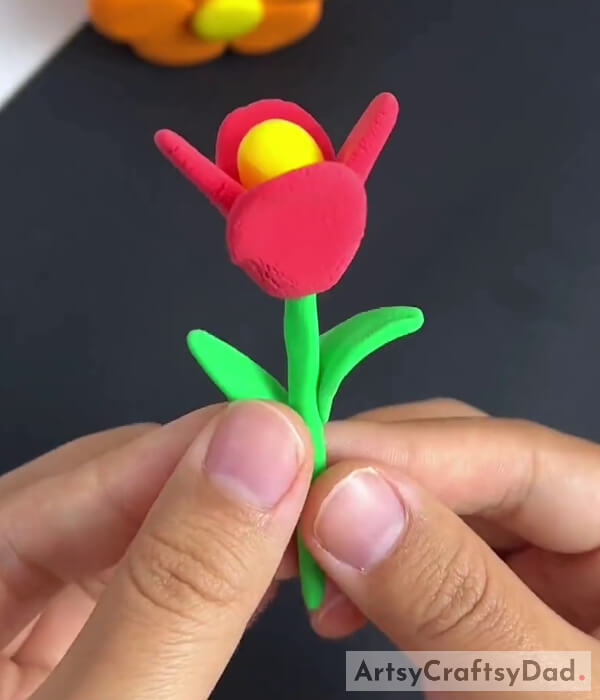
As you make the petals, make leaves, but make sure to keep them longer. Stick these leaves to the stem as shown in the image and bend the top outward.
Step #13: Making Another Flower And Placing In The Vase
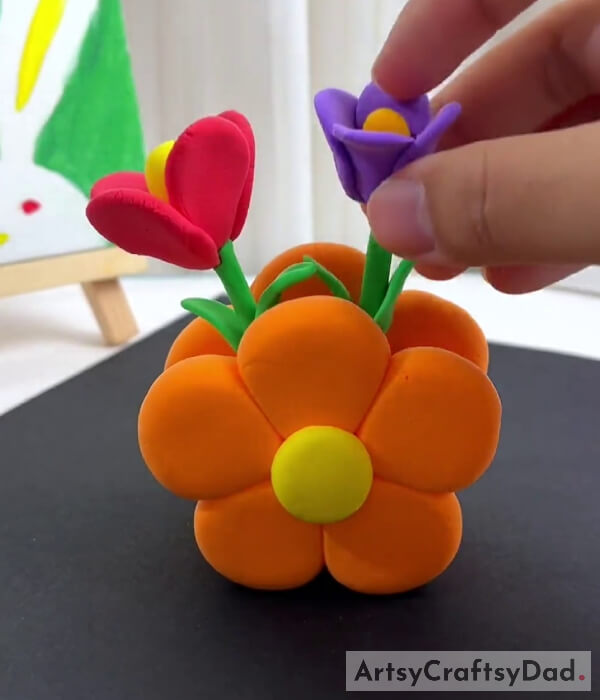
As you made the red flower, make a purple flower too with an orange center of it. Now, put these flowers in your vase.
This Is The Final Look Of Your Clay Flower Vase With Flowers!
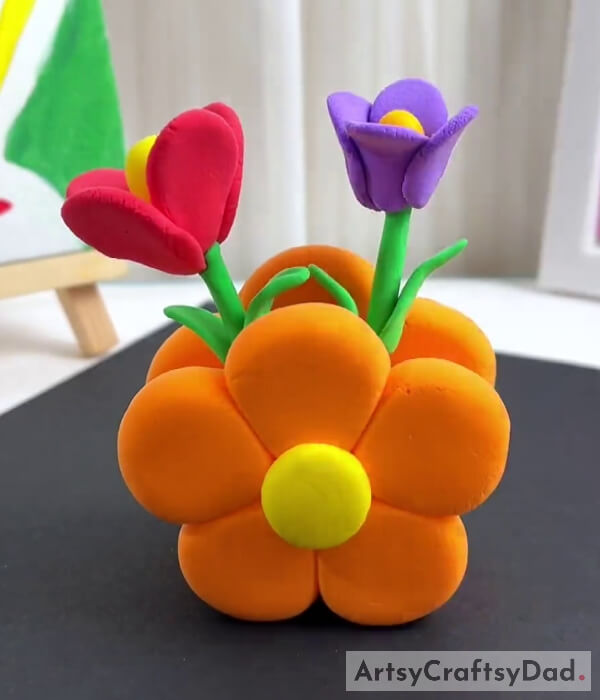
Voila! You have finally made your pretty flower-shaped vase with clay flowers too!
You can now decorate this piece of craftwork in any corner of your home as it will thrive everywhere! You can even use this craft as a gift for your loved one! Receiving such a pretty gift which is handmade too will definitely bring a smile to their faces! You can even customize this craft to make it up to your imagination! The best thing about crafts is you can make them up to your liking! Your imagination is the limit!
We are hoping you lied the article and the description in it! Share it with your friends and family to make it all together and see who can make the best one!
You May Also Like:
- Clay Snails On Leaves Craft Tutorial For Kids
- Clay Heart Leaf Tree Craft Tutorial For Kids
- How to Make Paper Flower Vase – Tutorial
- How to make a Paper Flower Vase – Paper Craft Tutorial
- Clay-Paper Sunflower Garden Craft Tutorial


