Be a designer! Yes, you heard it right! Through this tutorial, you will get to design your clay chicks with tissue! Give them a furry look!
Hola craft lover! Today we will blend the artist within you with a designer! This step-by-step tutorial will guide you in making a craft involving clay chicks covered with furs of tissues! The results will be shocking as the craft will turn out realistic and flawless! The 3D fur over the chicks will make them look eye-catching and different from the regular chick crafts! This craft will result in boosting the kid’s motivation and experience! So, let’s begin!
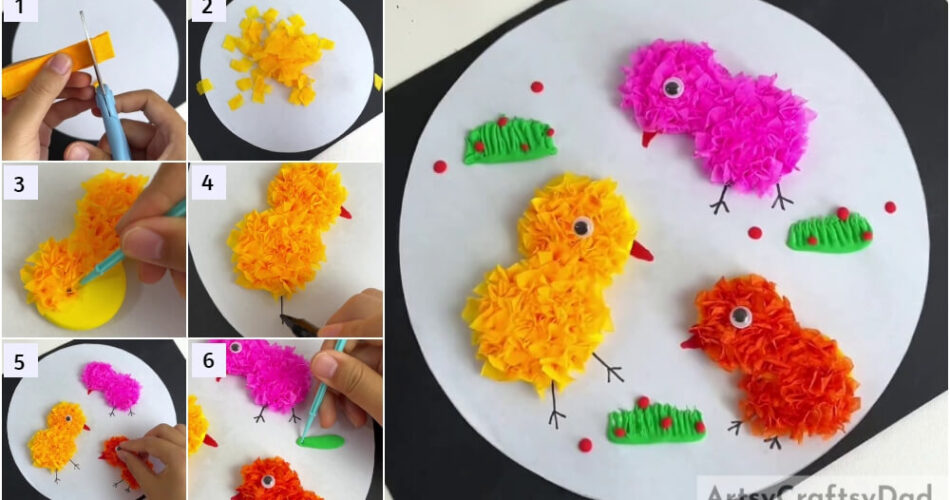
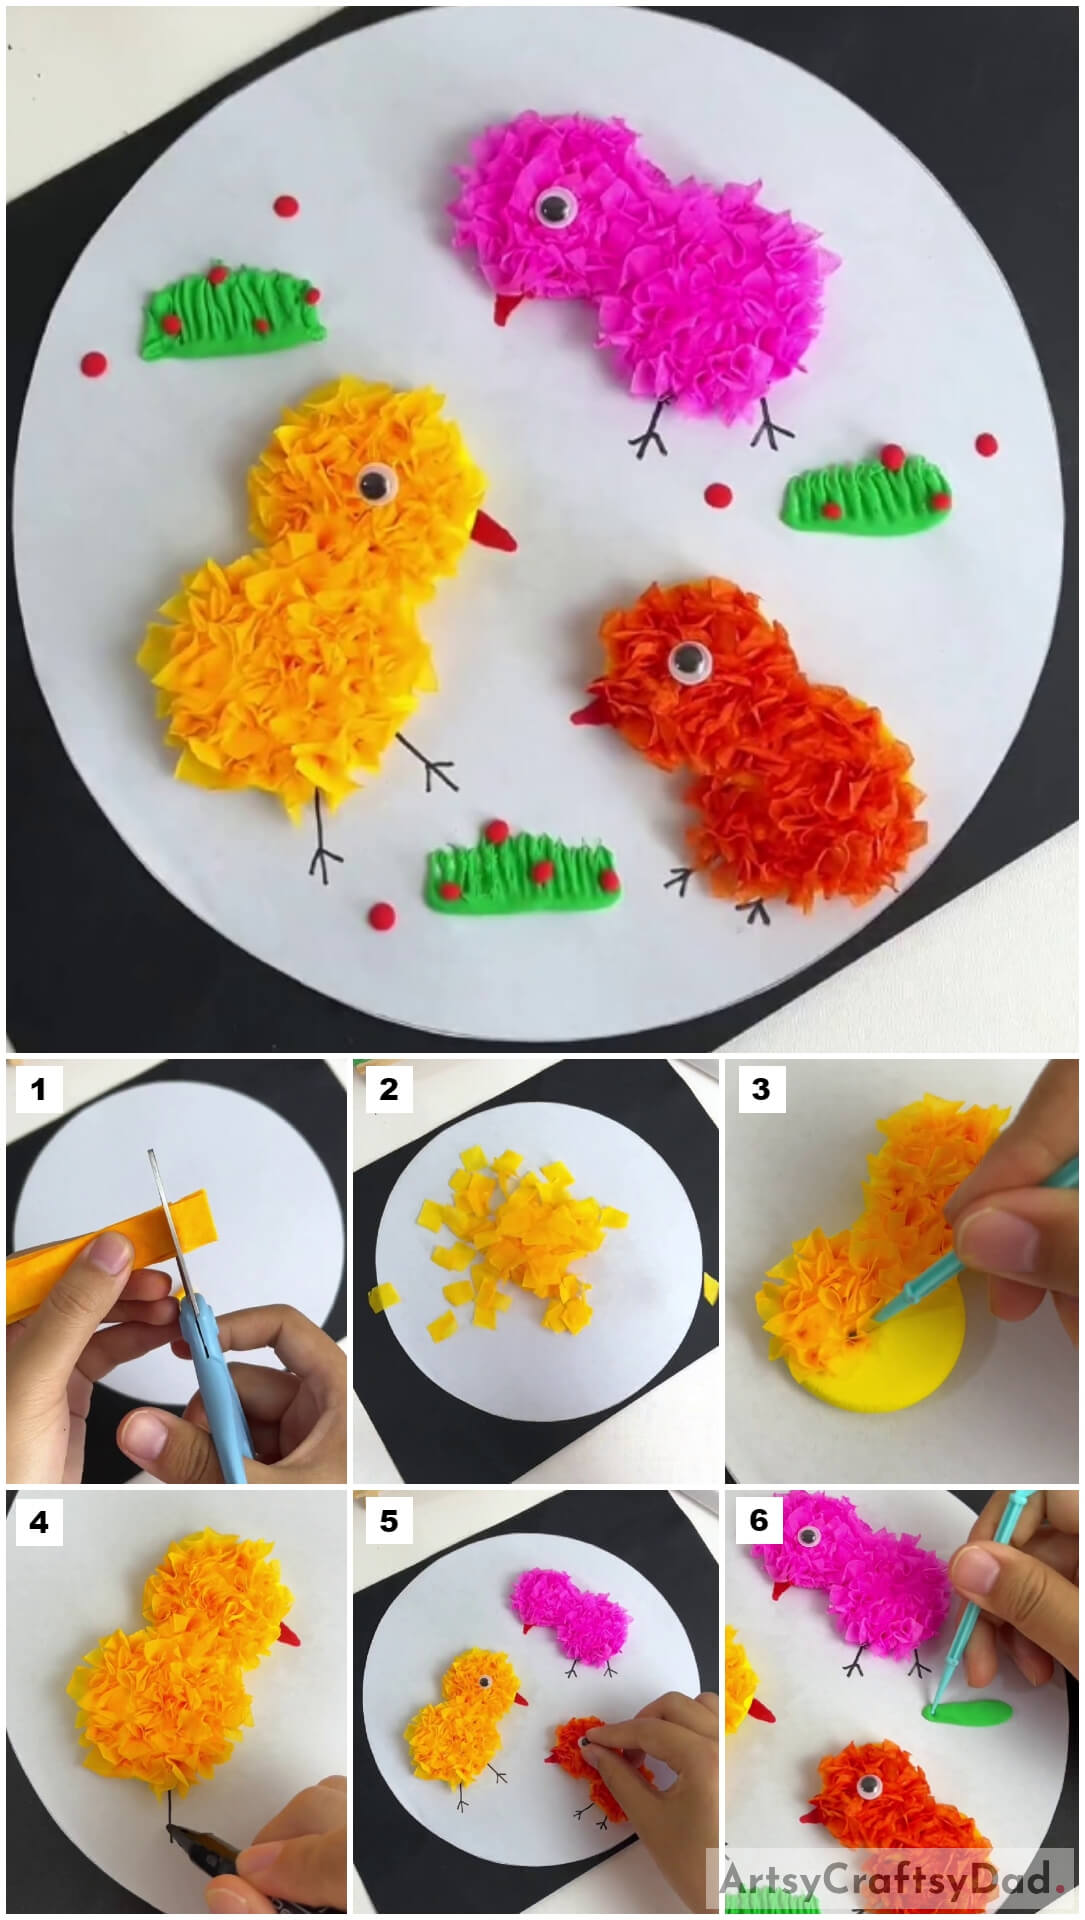
Cute Chicks Craft Using Tissue And Clay Craft Tutorial
Must Read: Polymer Clay Mushroom Tutorial For Kids
Supplies & Tools
- White Circular Paper Sheet
- Tissue Papers
- Highlighter Pens (Pink, Yellow, And Orange)
- Colored Super Clay (Yellow, Orange, Pink, Green, And Red)
- Clay Shaping Tool
- Polymer Clay Pressing Tool
- A Pair Of Scissors
- Googly Eyes
- Glue
- Sketch Pens (Red And Black)
Chicks Craft Instructions
Step #1: Coloring The Tissue
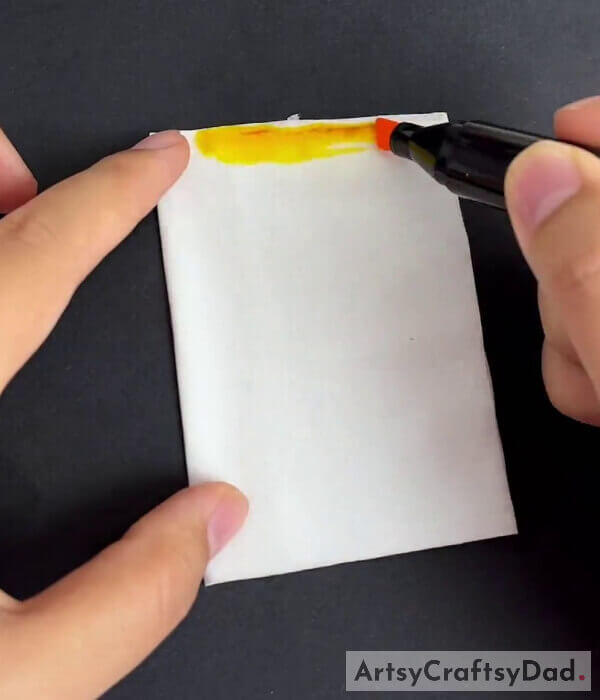
Begin this craft by taking tissue paper and a yellow-colored highlighter and coloring the tissue paper using it.
Step #2: Cutting Tissue Paper Strips
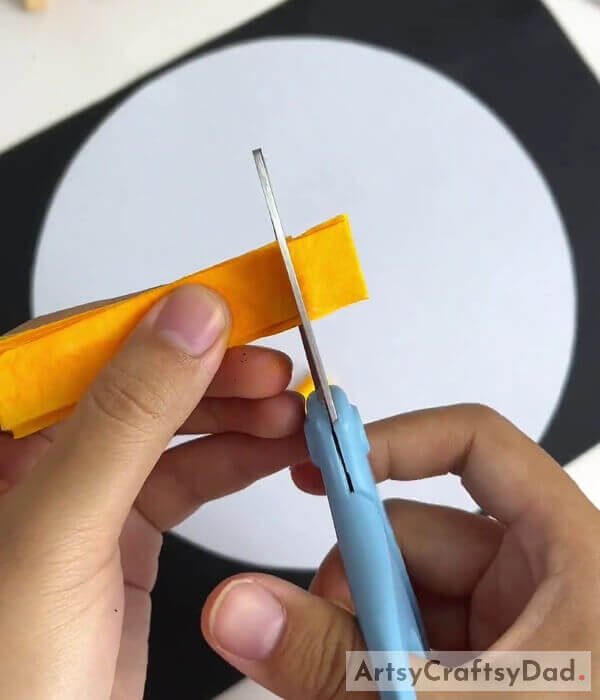
Using scissors, cut the tissue paper into thin strips.
Step #3: Cutting Bits Of The Strips
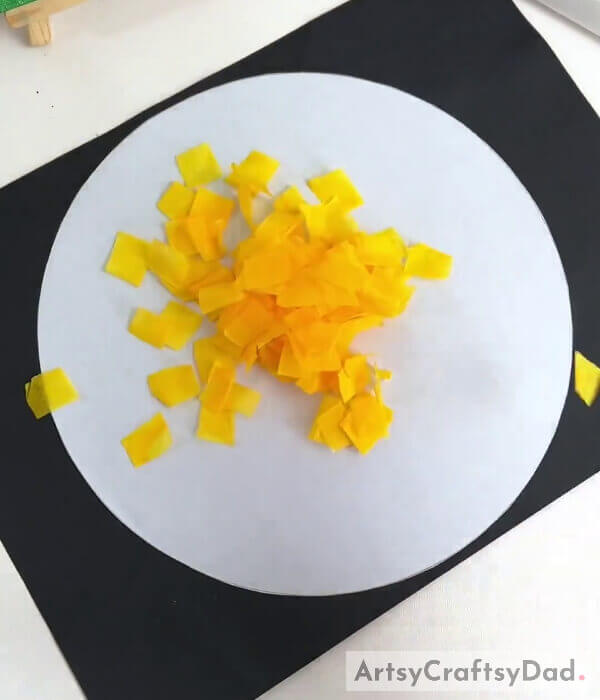
Next, using the scissors, cut the long strips into bits and pieces as shown in the image.
Step #4: Taking Out Yellow Clay
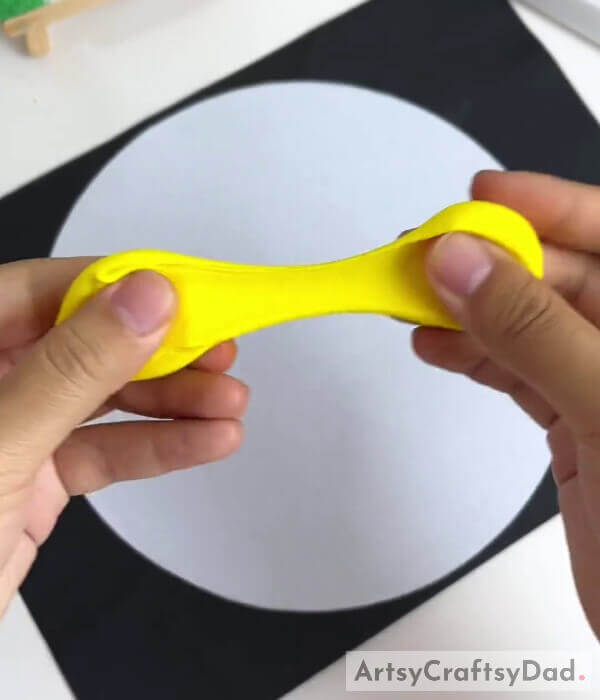
Now, take yellow clay, and stretch to pull out a piece from the whole.
Step #5: Placing The Clay Ball Over The Base
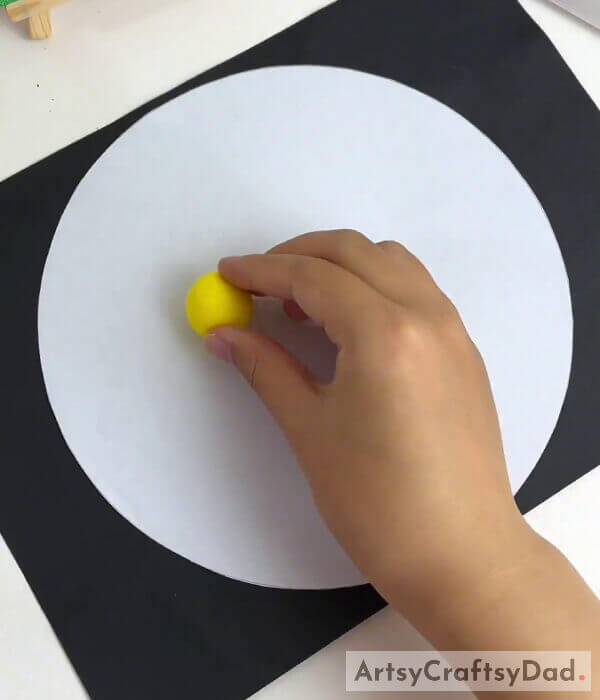
Dough the yellow clay into a ball and place it over a white circular paper sheet which will act as the base for your craft!
Step #6: Flattening The Clay Balls

Make another yellow clay ball relatively bigger than the previous one and place it below the already placed one a little to its left. Now, using a polymer clay pressing tool flatten the clay balls into circles.
Step #7: Pushing In A Tissue Piece
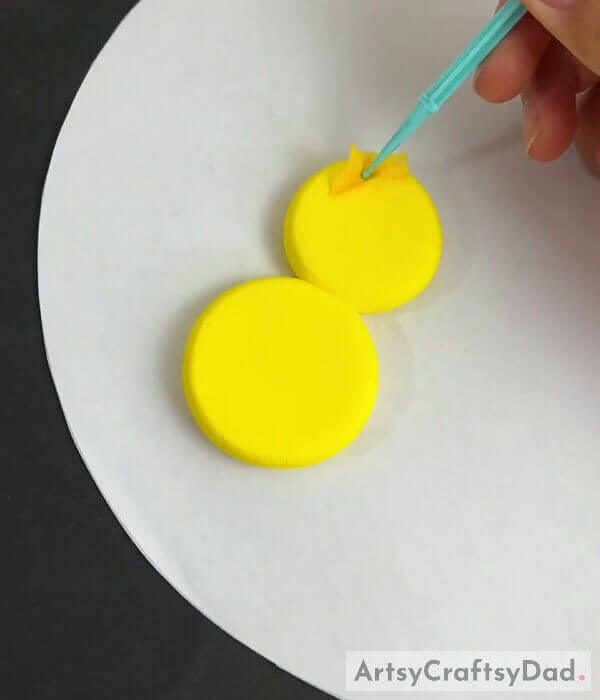
Now, put a tissue piece over the clay circle, and use a clay shaping tool to push it in from its center and get wrinkled paper from the sides of it.
Step #8: Covering The Whole Clay Circle With Wrinkled Tissue Bits
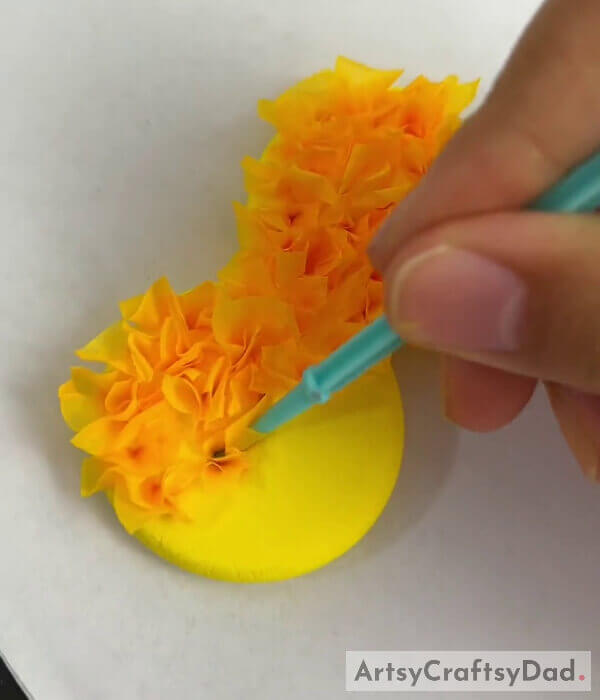
One by one put the tissue pieces on the clay circles and push them in from their center to get the wrinkled paper all over the clay circle. This will be the furry body of the chick.
Step #9: Drawing The Chick’s Beak And Legs
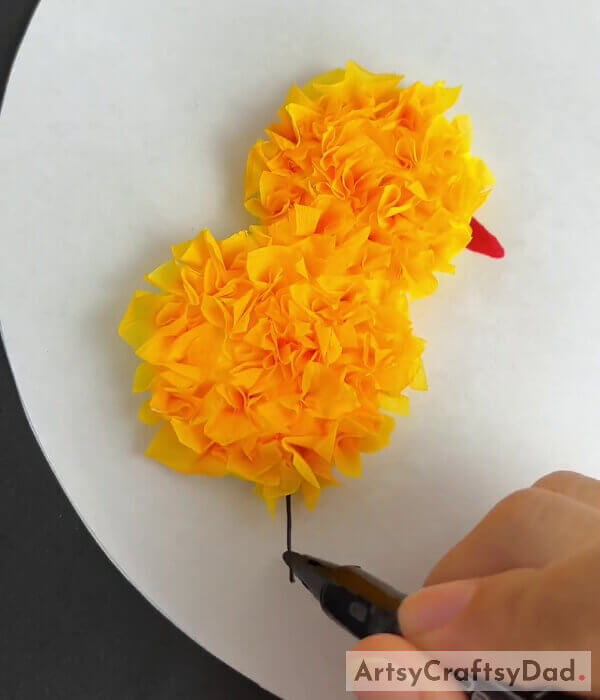
Using a red sketch pen, make a triangular beak on the base and to the face of the chick. Using a black sketch pen, draw its stick-like legs beneath its body.
Step #10: Making More Chicks And Adding Their Eyes
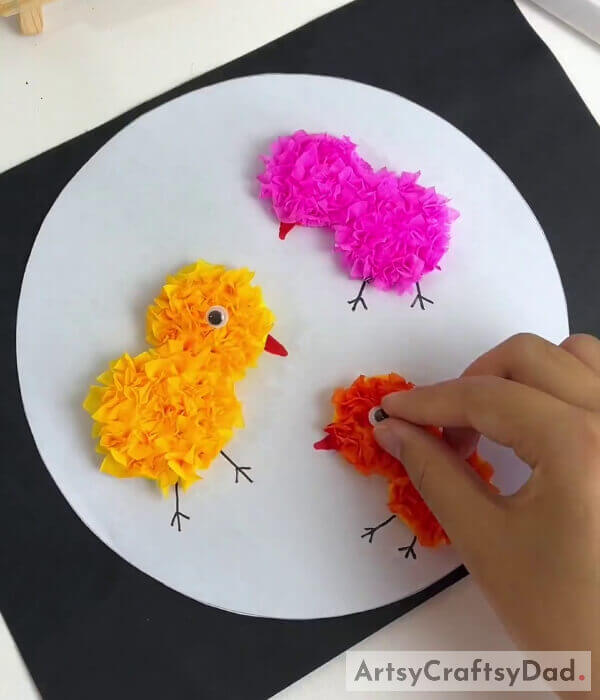
As you made the yellow chick, make an orange and a pink chick too by using the respective colored clay and highlighter on the tissue. Also, make their legs and beak too as shown in the image. For their eyes, paste 1-1 googly eye over the face of the chick beside the beak using glue.
Step #11: Making Grass On the Background
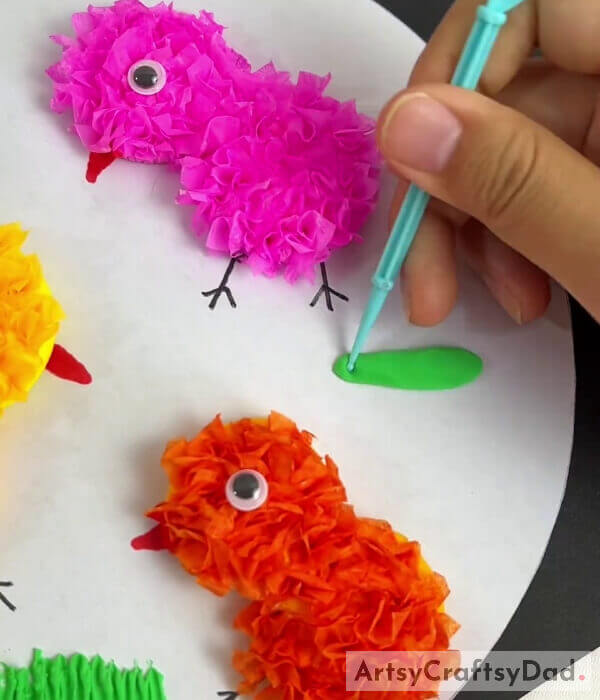
Now, to make the grass, make small clay rolls from green clay and stick these horizontally and randomly over the white base on the spaces between the chicks. Using the clay shaping tool, carve vertical upward strokes over these clay rolls to give them the shape of grass.
This Is The Final Look Of Your Tissue And Clay Chicks!
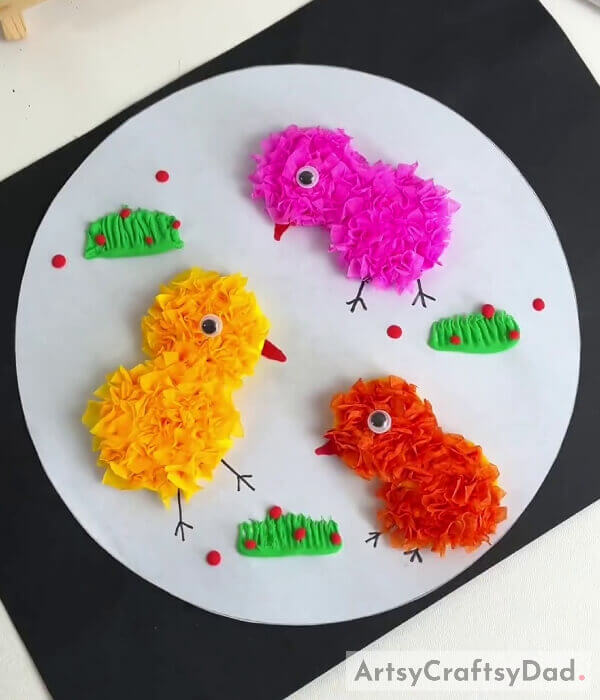
For the last step, make tiny red clay balls and stick them over the grass and nearby base to make them look like the scattered food of chicks. Use the picture for the reference.
Whoa! Look at the stunning results of your craftwork! Your tissue and super clay chicks are ready in no time!
You can now take a minute to admire your creation! The amazing 3D results of the chicks and the grass are definitely eye-catching, as I mentioned before! You can now decorate this craft in your room to flaunt it in front of everyone who passes by! You can even use this clay and tissue technique to make more amazing crafts! Your imagination and creativity are the limits!
We are glad you completed the craft! Tell us the results in the comments section below! We would love to hear from you! Also, don’t forget to give this article a like!
You May Also Like:
- Clay Chicks In Garden Craft Tutorial
- Clay Snails On Leaves Craft Tutorial For Kids
- Clay-Paper Sunflower Garden Craft Tutorial
- Clay Heart Leaf Tree Craft Tutorial For Kids
- Easy Craft Ideas from clay/Plasticine for Easter


