
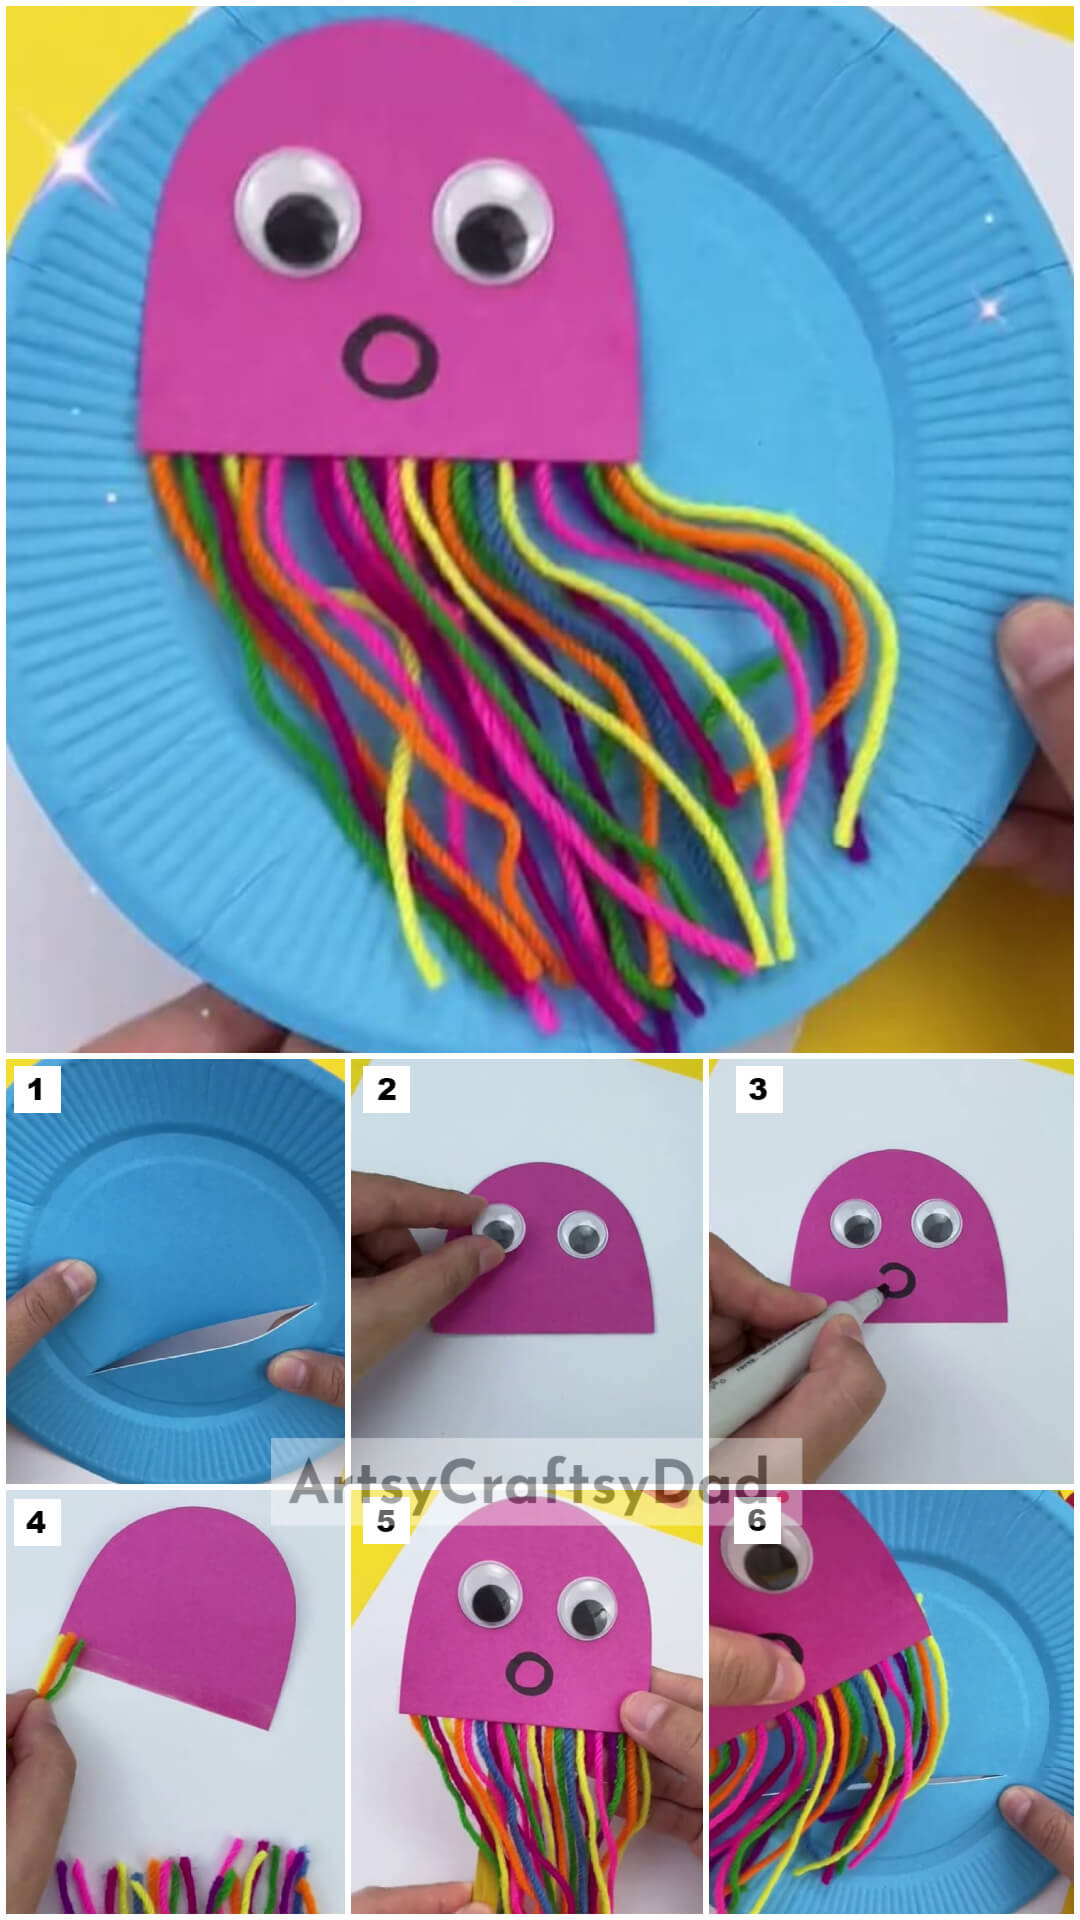
Looking for a fun and creative craft activity? Check out our step-by-step tutorial on how to make a swimming jellyfish paper craft. Dive into the world of imagination and create your mesmerizing jellyfish using simple materials and techniques. Get ready to make a splash with this unique and engaging craft project!
Hey, my little artists! Are you looking to make some wonderful creative swimming jellyfish paper crafts? In this tutorial, we will make an easy step-by-step swimming jellyfish papercraft. Here we need to use paper, paper plates, glue, and scissors to make this beautiful craft. This craft is budget friendly and its process of making simple for kids. They could easily make this craft on their own. In these craft activities, kids can learn how to make other sea animals like this in the future from paper. By regular practice of creative unique crafts, we could develop kid’s interest in creative things like this. So what are you thinking? Let’s start our joyous journey of crafting and making new masterpieces.
Creative Swimming Jellyfish Craft Made With Paper
Must Read: Hand Impression Jellyfish Painting Tutorial
Supplies & Tools
- Colored Paper ( Pink)
- Black Marker
- Glue
- Googly Eyes
- Scissors
- Precise Knife
- Yarn
- Paper Plate
- Popsicle Stick
- Tape
Paper Jellyfish Craft Tutorial
Step #1: Taking a Sky Blue Color Paper Plate
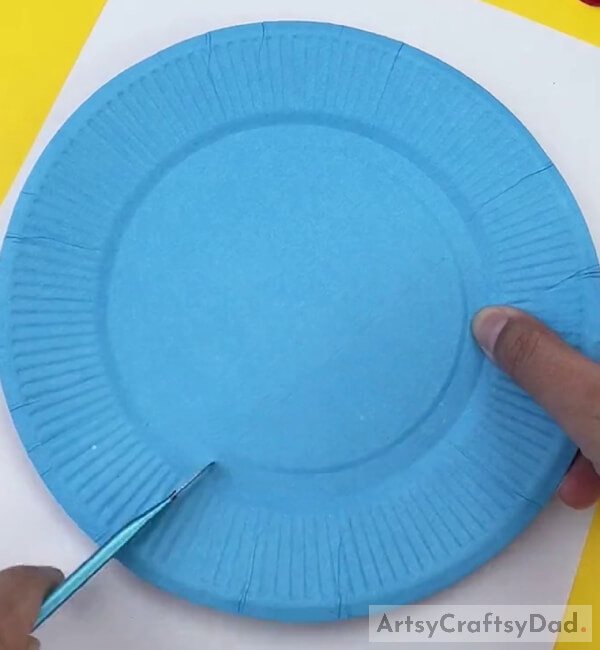
Take a sky-blue paper plate and a precise knife.
Step #2: Cutting the Paper Plate Using Precise Knife
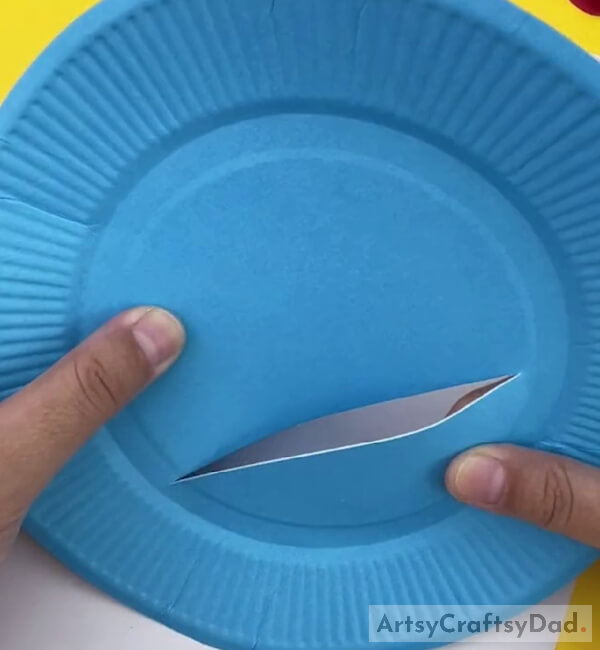
Now make a small cut on a paper plate on the bottom side of the plate with the help of a precise knife as shown in the image.
Step #3: Cutting a Pink Color Paper
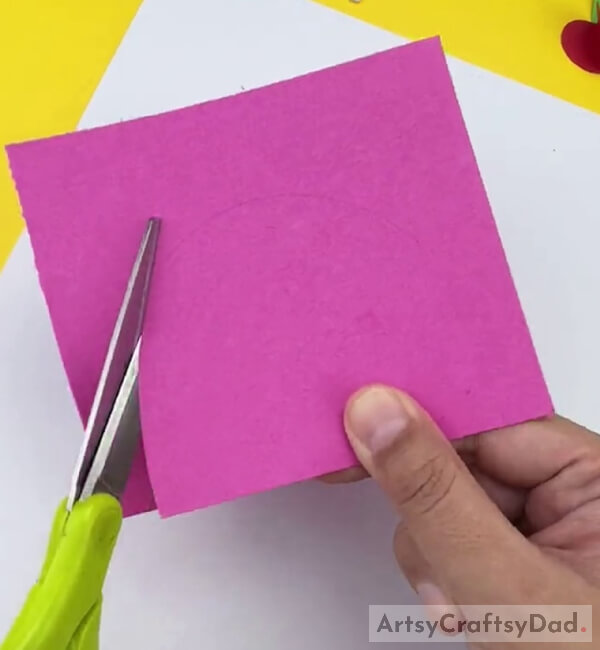
Now take a pink color paper & cut it into a square shape with the help of scissors. Now draw a U shape on it with the help of a pencil and cut it with the help of scissors.
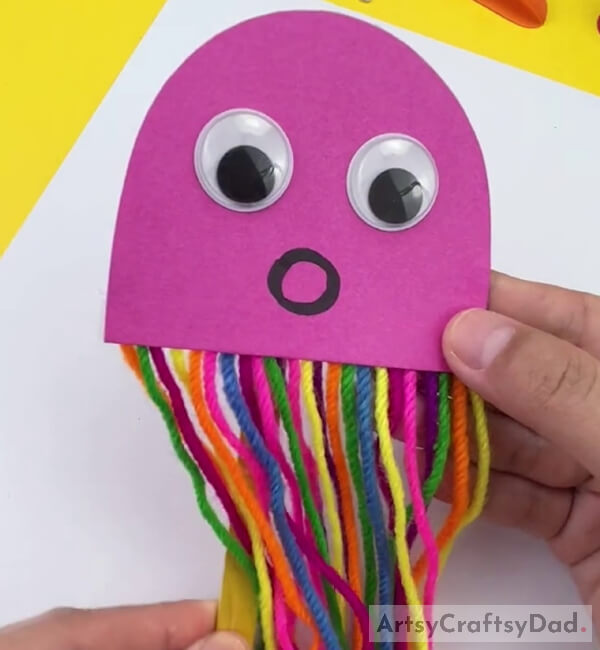
Step #4: Pasting Googly Eyes
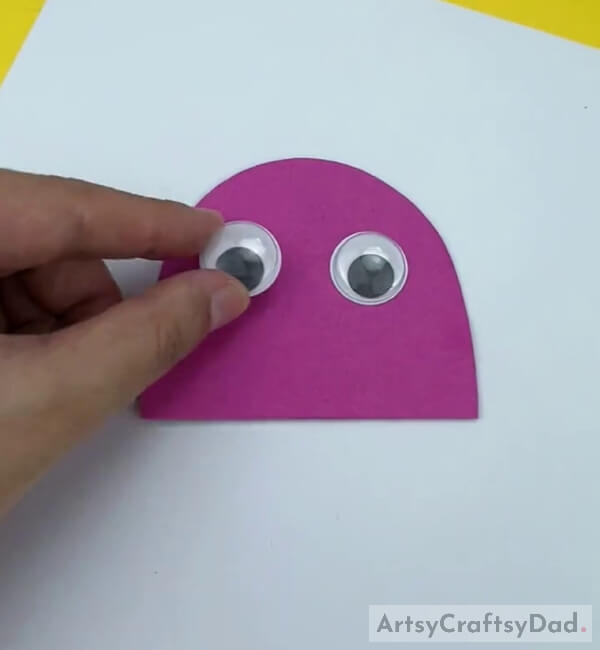
Now take two googly eyes and paste them on the pink paper.
Step #5: Drawing the Mouth of Jellyfish
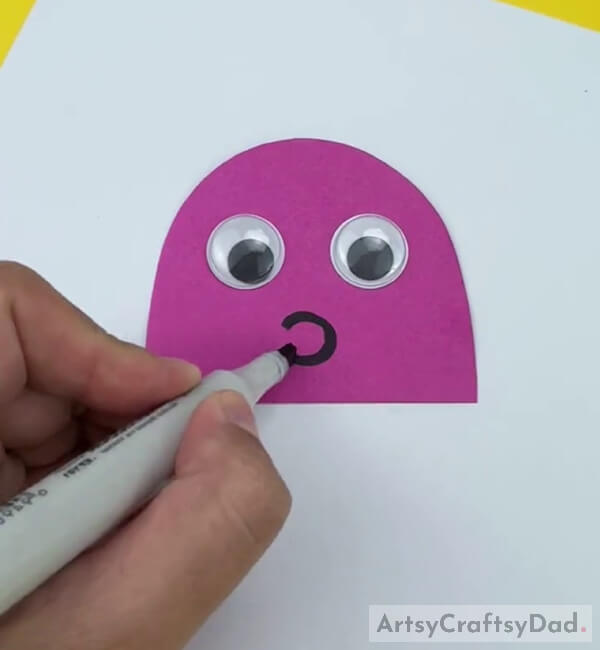
Take a black marker & draw a small circle to make the mouth of a jellyfish.
Step #6: Completing Jellyfish’s Head
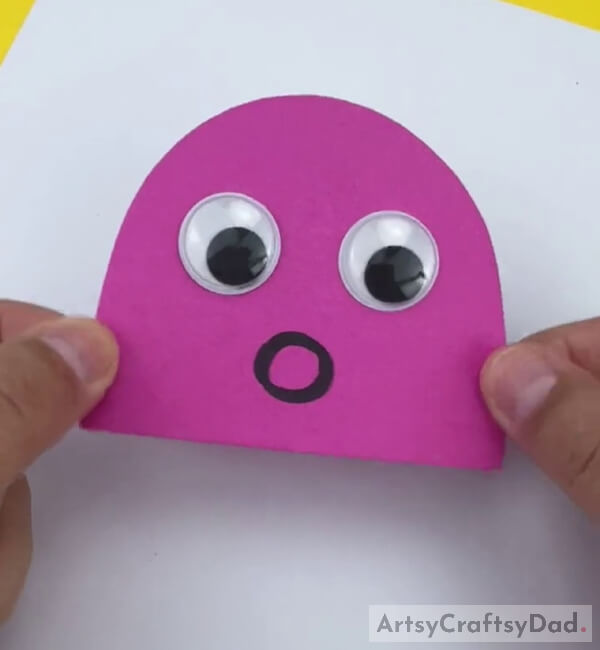
Now, the jellyfish’s head is ready.
Step #7: Pasting Colorful Yarn Pieces
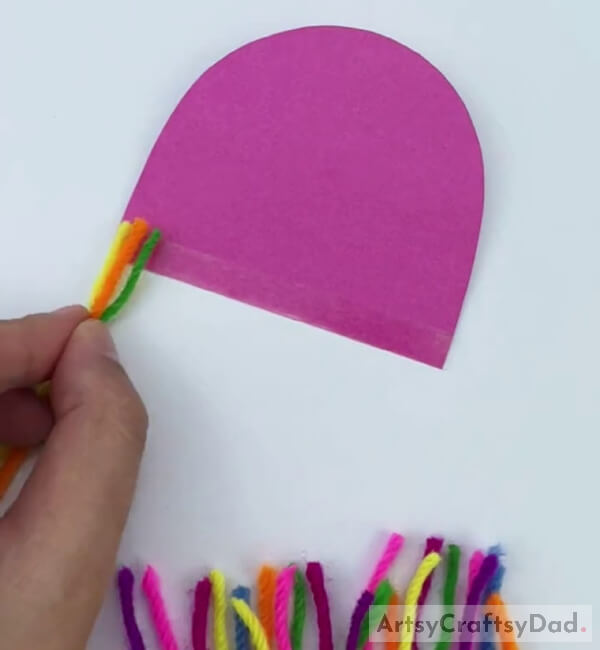
Now take some pieces of yarn of different colors & cut them equally into small pieces with the help of scissors. Now paste those pieces of yarn on the bottom backside of the head of the fish with the help of glue.
Step #8: Pasting More Yarn Pieces
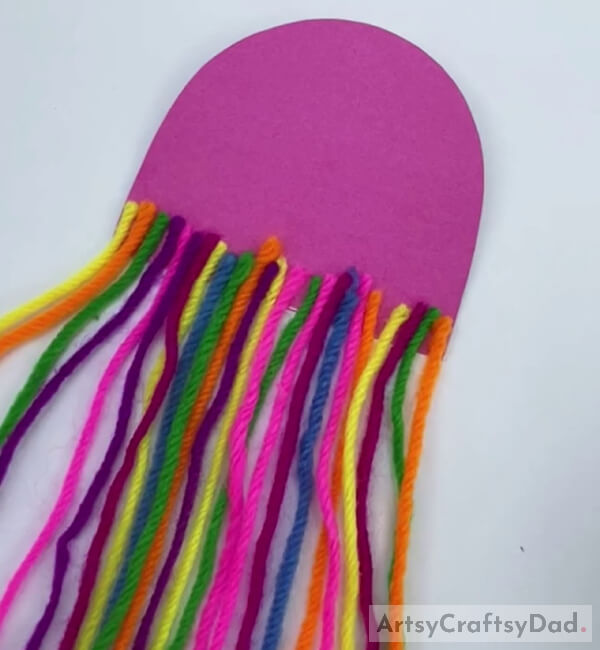
Now paste some more colorful yarn pieces on the backside as shown in the above image.
Step #9: Pasting a Popsicle Stick Behind the Jellyfish’s Head
Now paste a popsicle stick on the backside in the middle of the fish head with the help of tape.
Step #10: Putting Popsicle Stick in the Cut of the Paper Plate
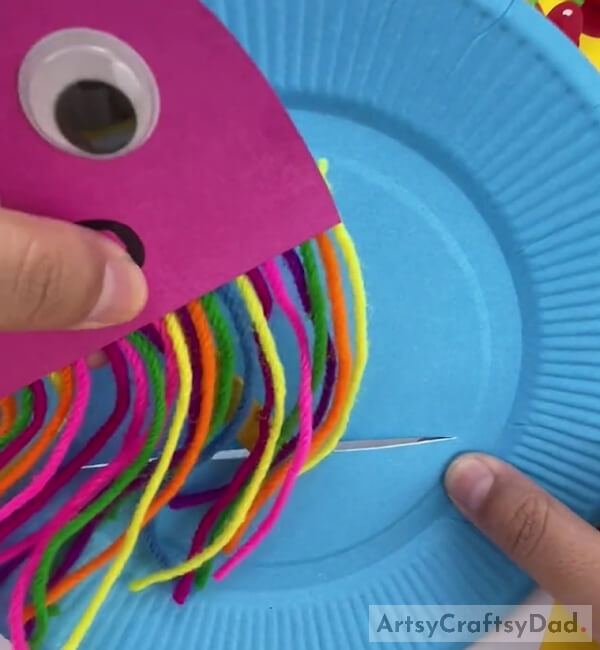
Now put the popsicle stick between the cut mark of the paper plate so that we can move jellyfish over the plate with the help of the stick.
Wow! Our Swimming Jellyfish Paper Craft is Ready!
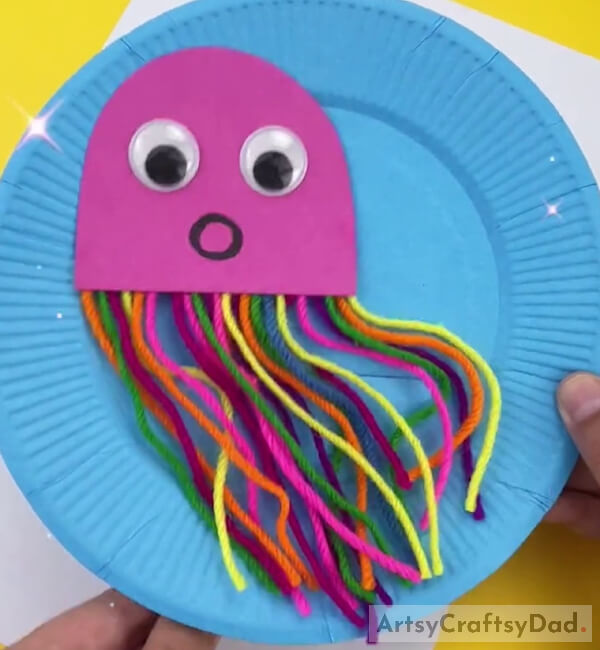
After putting the popsicle stick out of the cut of the paper plate our craft will look like this. Our swimming jellyfish is ready now.
I hope you have enjoyed this creative swimming jellyfish paper craft tutorial. Don’t stop your creativity on this craft. You should try some new crafts and for that, we have a solution. You could visit our other websites where you could see more articles and new ideas on art and crafts. So visit our website and share with your friends and family. You could try new craft articles and surprise your friends and family with your imagination and your interest in the crafty colorful world. Don’t forget to share your feedback in the comment box.
Thanks for your support. Have a good day!
You Might Also Like
- Highly Creative Mehndi Design For Hands – Step By Step (Tutorial)
- Hand Impression Jellyfish Painting Tutorial
- Leaf Fox Craft Step-by-Step Tutorial For Kids
- 20 Beautiful DIY Paper Craft Step-by-Step Tutorials
- How To Make Hexagonal Basket From Paper (Step by Step)


