Looking for a fun and educational activity for your kids? Check out our easy paper dinosaur animal craft tutorial! This step-by-step guide will show you how to create adorable paper dinosaurs that your kids will love. Let their creativity soar as they learn about different types of dinosaurs and develop their crafting skills. Get started today and watch your kids have a roaring good time!
Hey, are you bored and in need of something creative to do for your little ones? Then you are at the right place. It is an easy paper dinosaur animal craft tutorial for kids. Let’s start this easy and fun craft and be ready with your paper, scissors, and glue, and make memories with your child with lots of laughter and fun. Making crafts for kids or engaging them with new crafts with their ideas and according to their thoughts gives their creativity and imagination a new boost and encouragement.
Dinosaur Animal Craft Made With Paper For Kids
Must Read: Leaf Fox Craft Step-by-Step Tutorial For Kids
Supplies & Tools
- Scissors
- Glue
- Colored Papers (Green, Orange, Brown)
- Paper Roll
- Tape
Paper Dinosaur Tutorial
Step #1: Taking a Green And Orange Paper
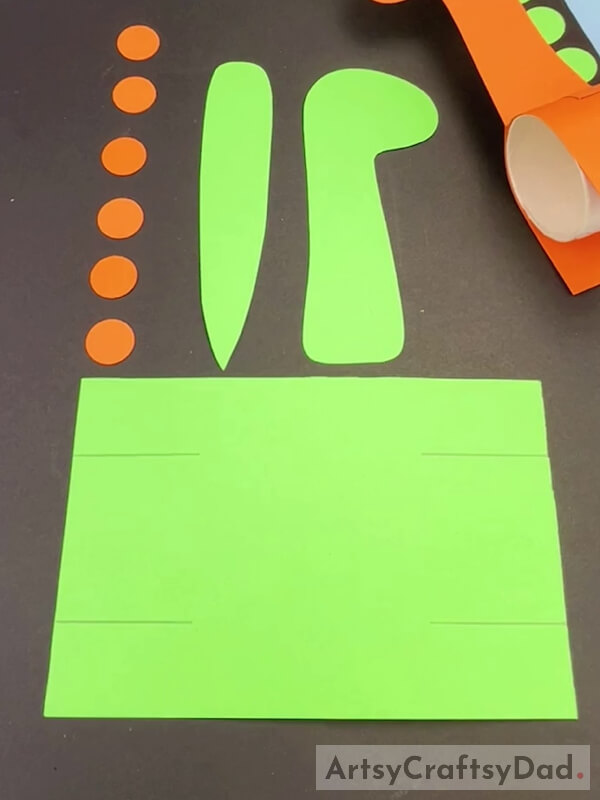
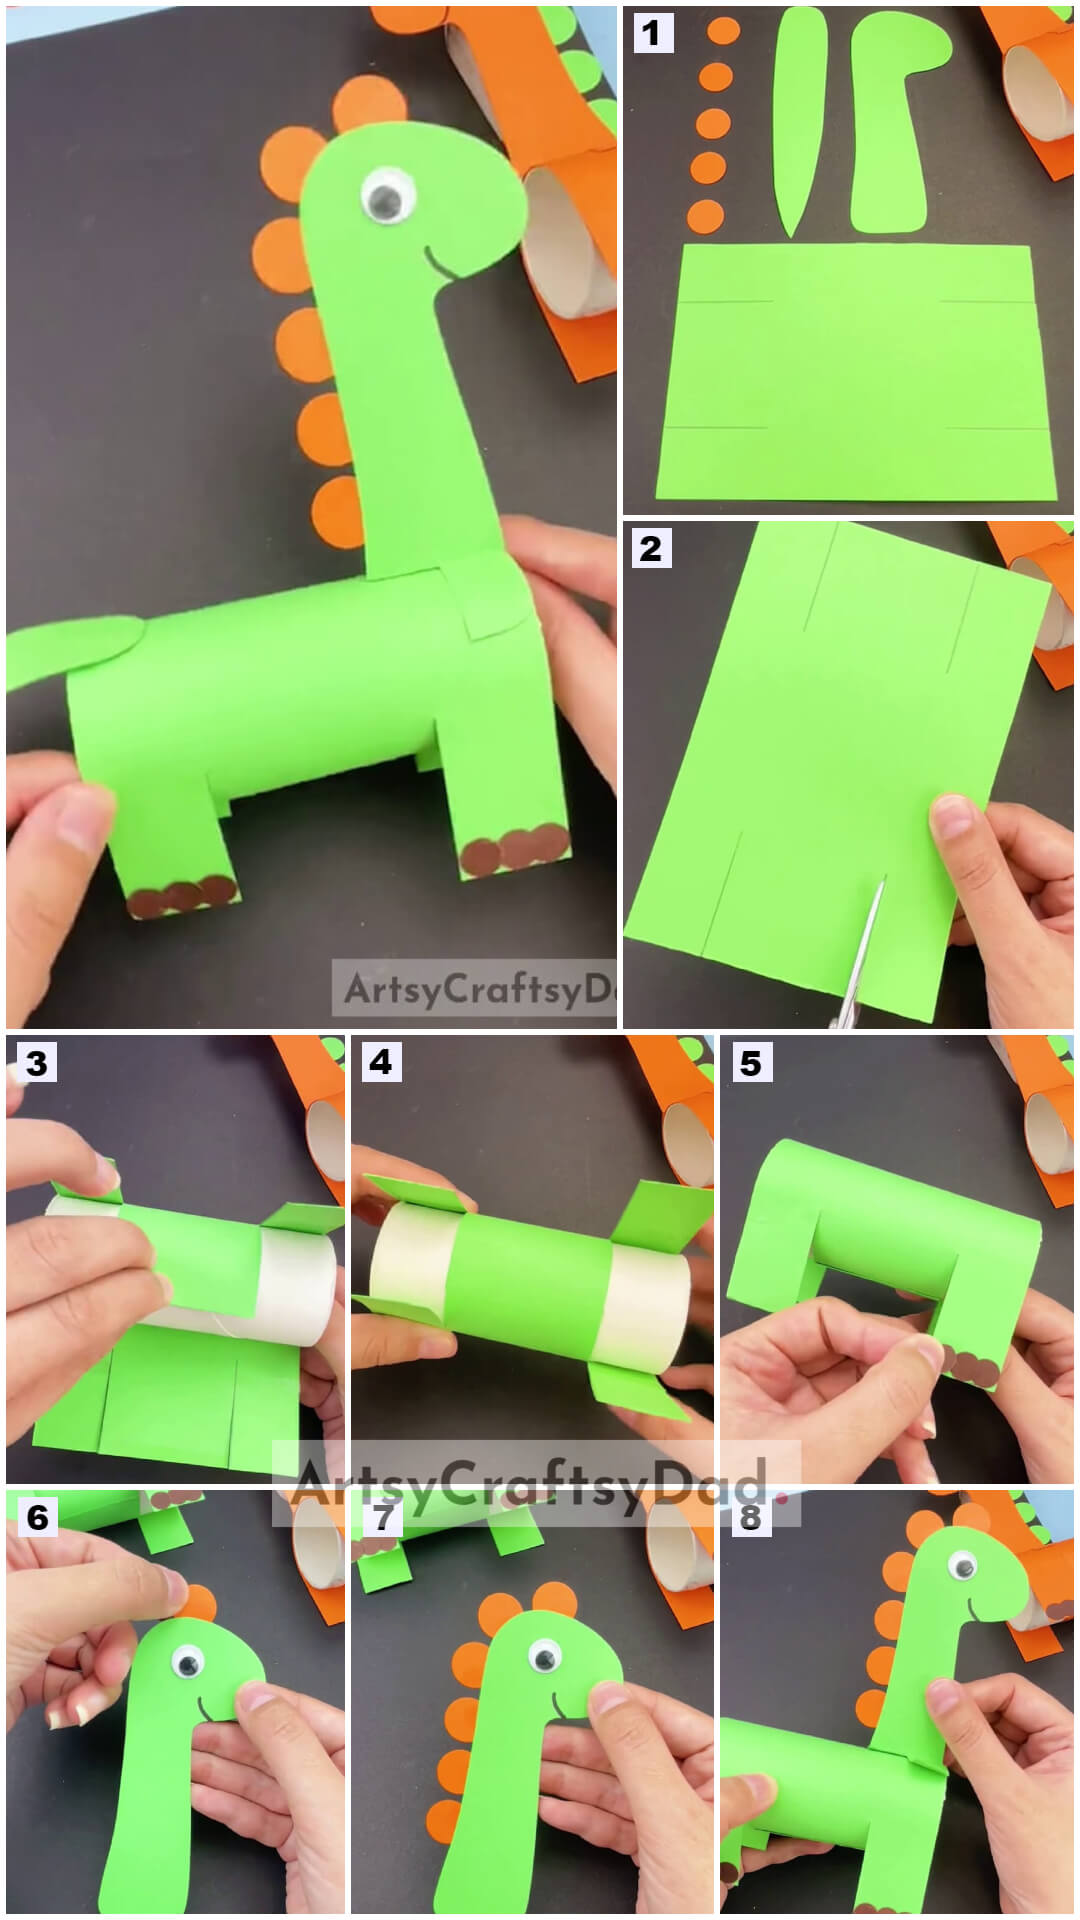
Take a green and orange color paper & cut it into the shape as given in the image above with the scissors. Take another green paper and mark two lines on both sides of the paper with a pencil.
Step #2: Cutting Side Lines Of Green Paper
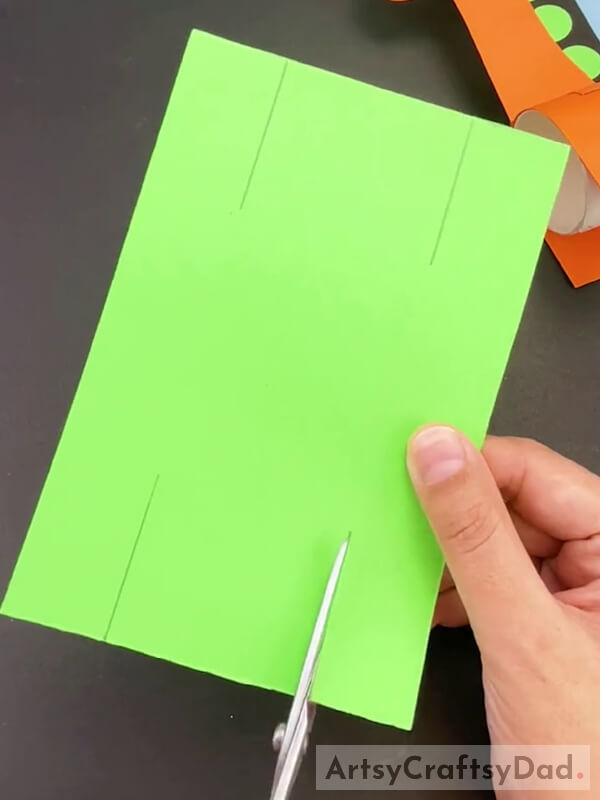
Now make small cuts with scissors on those lines on the side of the paper.
Step #3: Taking Double Sided Tape
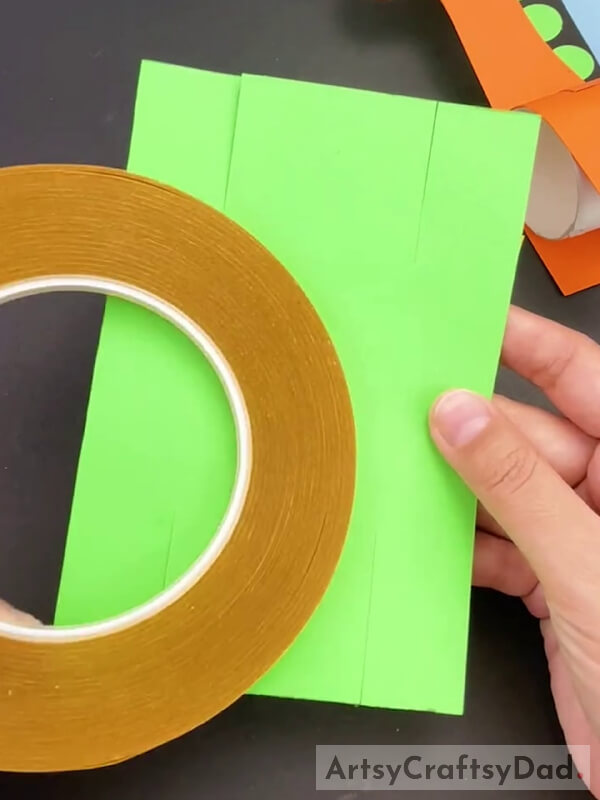
Now grab a double-sided tape.
Step #4: Cutting Tape And Pasting On Green Paper
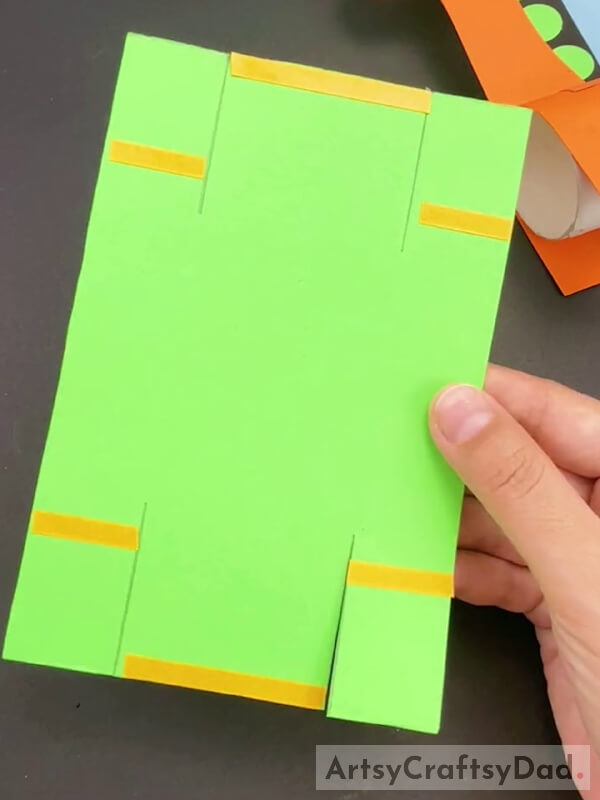
Now cut the tape into small pieces with scissors and stick them on cut part one piece in the middle and two others on the left & right at the bottom and like this on the top side of the square paper as shown in the image.
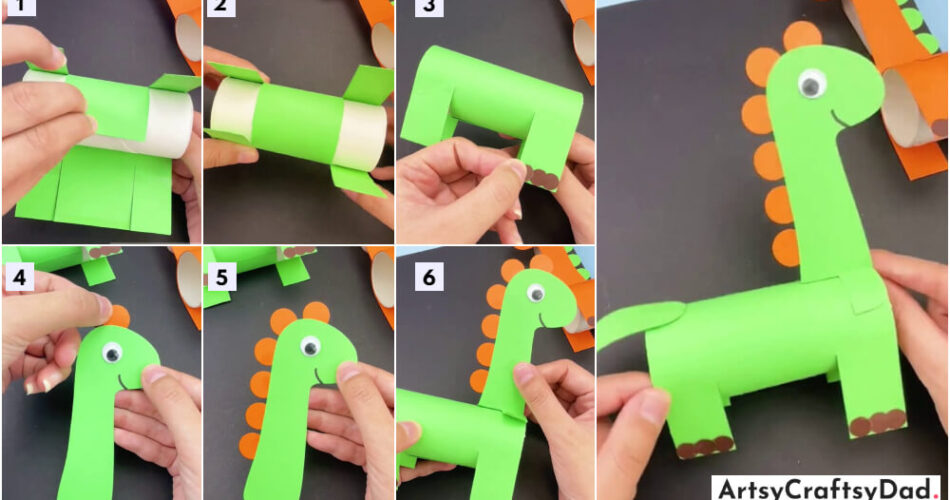
Step #5: Rolling And Pasting Green Paper On Paper Roll
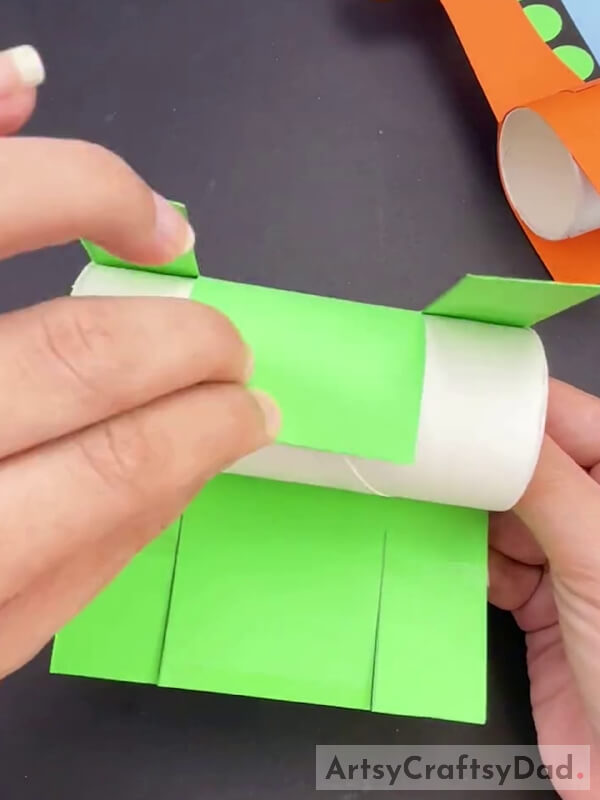
Now take a paper roll & wrap one side of the middle cut part of the green paper around this paper roll.
Step #6: Wrap The Paper Around The Paper Roll
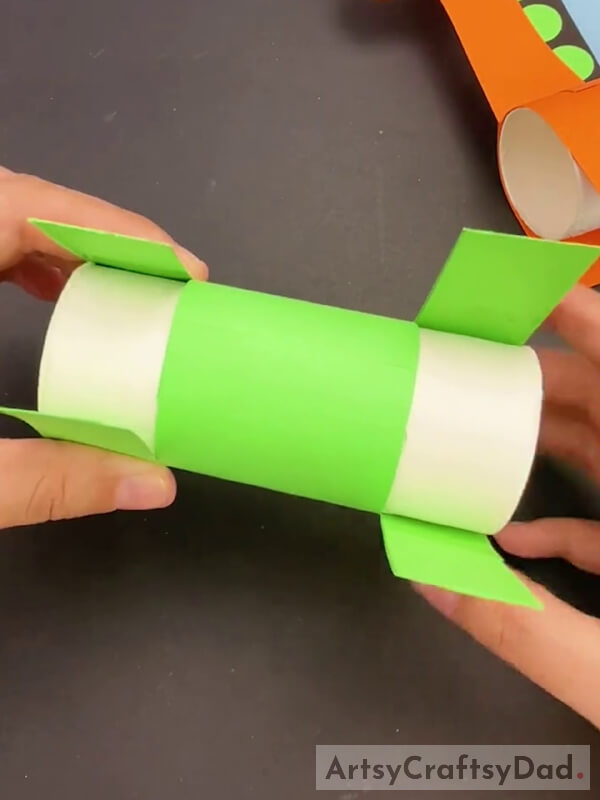
Stick the middle cut part of the green paper around the paper roll from the middle of the paper roll. The other two cut sides are the legs of a dinosaur.
Step #7: Cutting Small Paper Circles And Pasting On Leg

Now cut a piece of brown paper into small circle shapes & paste them on the dinosaur legs.
Step #8: Pasting The Eye
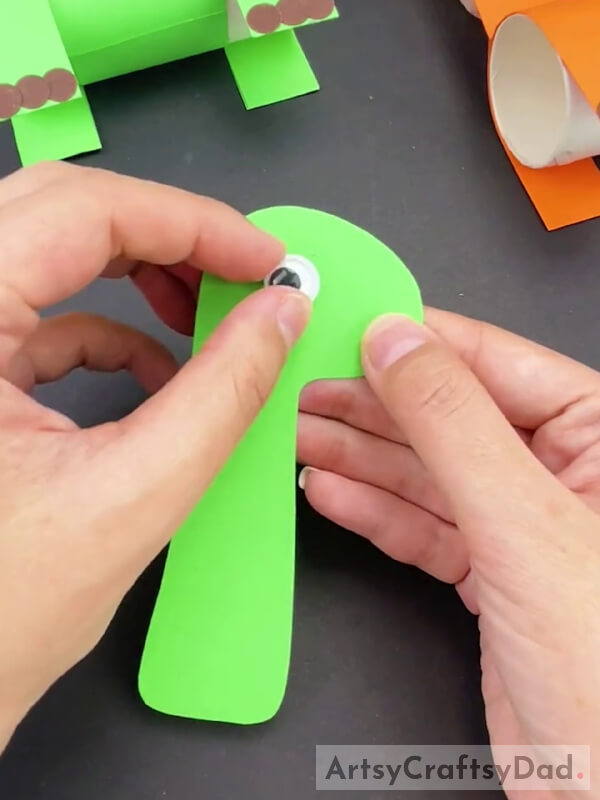
Now take a green paper & draw a dinosaur head with a neck & cut it out with scissors. Take one white paper sheet and cut it into a small circle shape. Now paste the white paper circle on the head of the dinosaur. Now paste eyes on the dinosaur head with the help of glue. Now put a small dot on this white small paper circle with the help of a black marker or a sketch. Or you can paste Google eyes on the dinosaur head.
Step #9: Pasting Small Orange Paper Circle
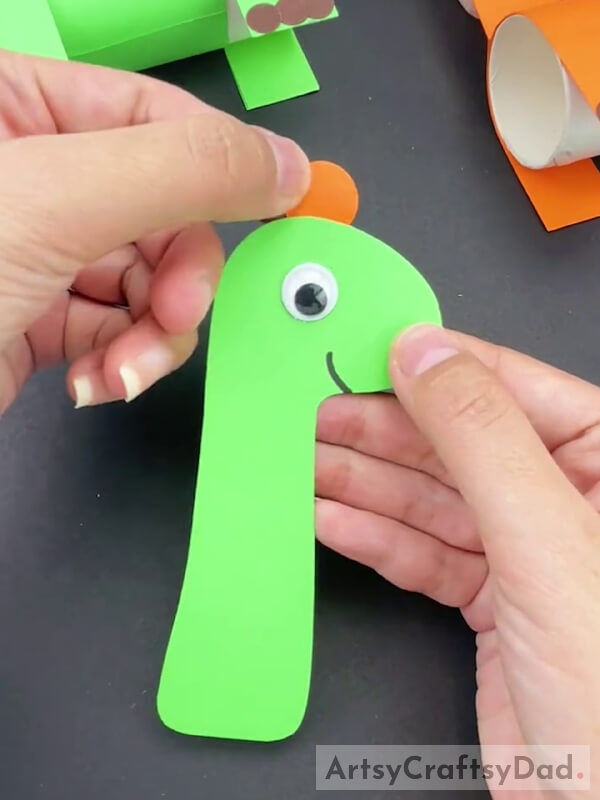
Cut an orange color paper into a small circle shape to make spikes of dinosaurs. Now paste it on the top of the head of the dinosaur. Make a curvy line for the mouth of the dinosaur with the help of a black marker or sketch.
Step #10: Pasting Spikes On Dinosaur Head
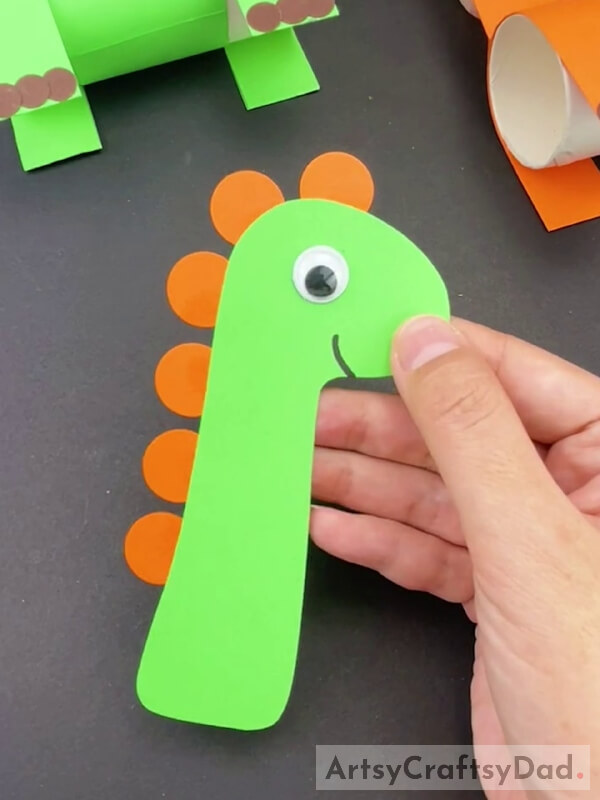
Cut an orange color paper into 6 small circle shapes with scissors & paste spikes on the dinosaur head using glue.
Step #11: Cutting Dinosaur Neck And Fold It Towards Above
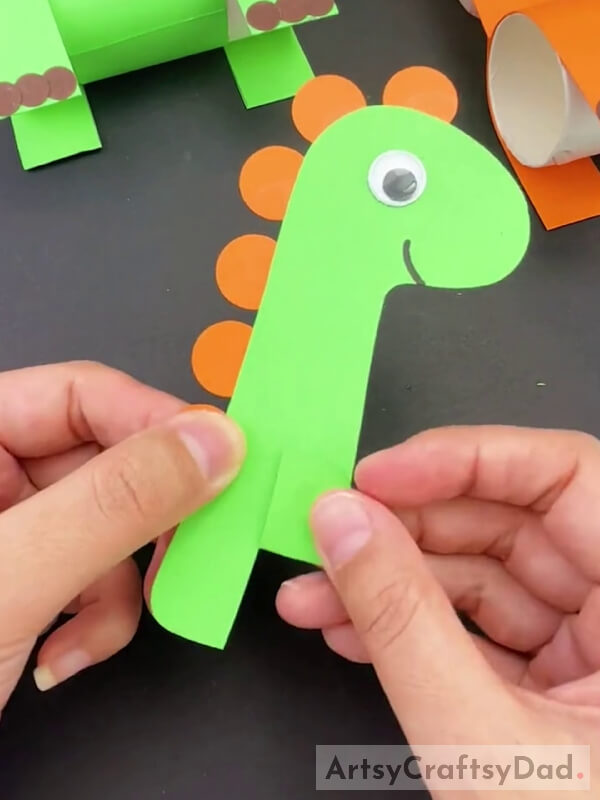
Now make a small cut to the dinosaur neck from the bottom side with scissors & fold one cut of the right side towards the above direction.
Step #12: Cutting Green Paper Into Thin Strip
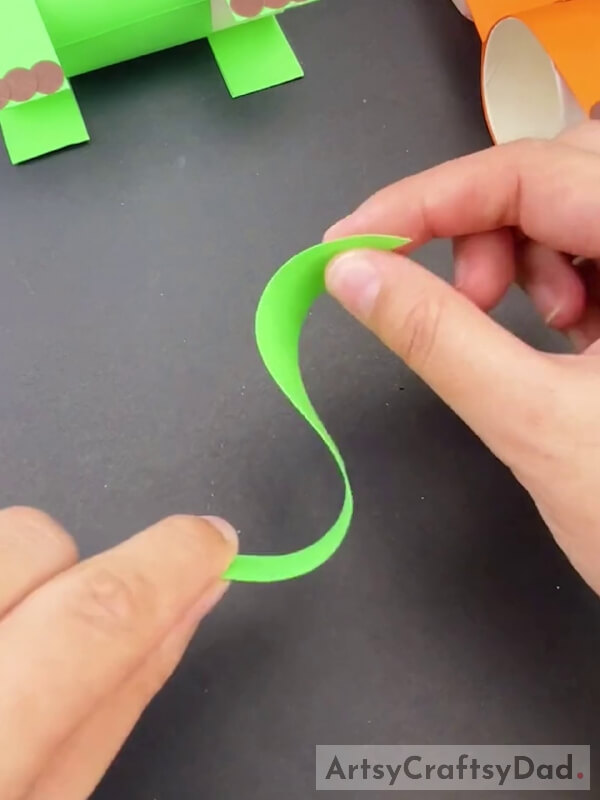
Cut a thin strip of green paper with scissors.
Step #13: Pasting Dinosaur head on Paper Roll
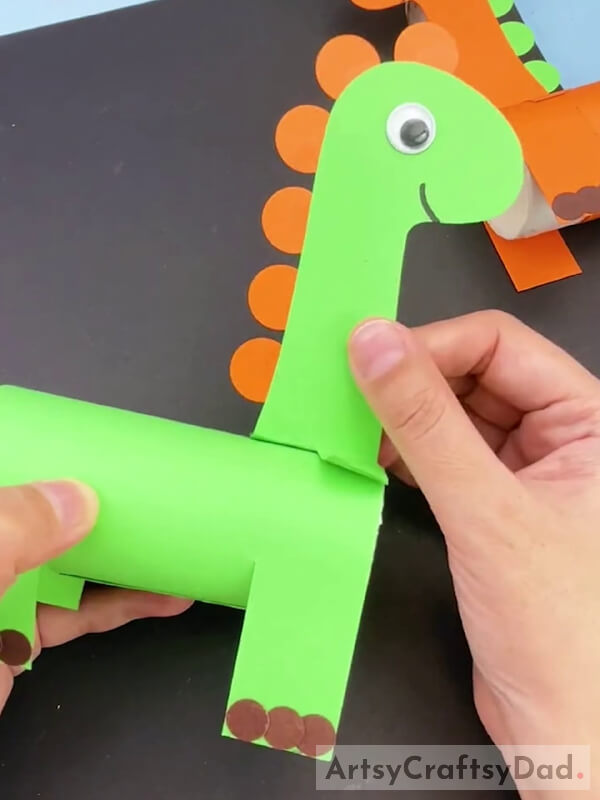
Paste the head of a dinosaur on a paper roll of the dinosaur by using glue.
Step #14: Pasting Tail For Dinosaur
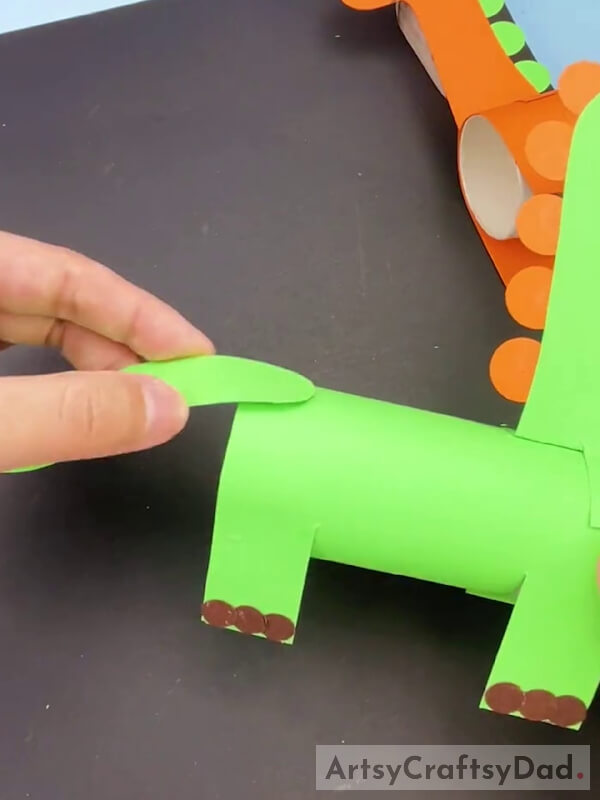
Take that thin strip of green paper and paste it at the end of the paper roll to make a dinosaur tail with the help of glue.
Hurry! Our Paper Dinosaur Is Now Ready!
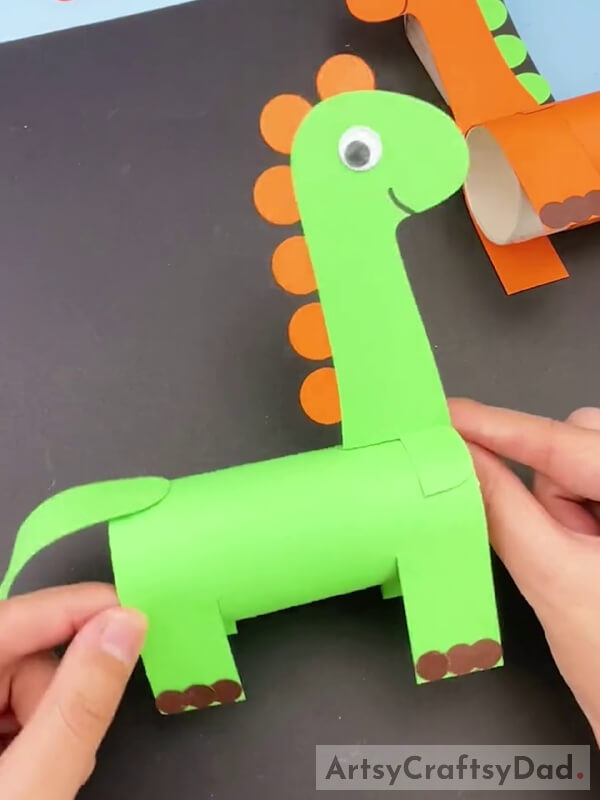
Now our paper dinosaur animal craft is ready.
Hurry, we have made a beautiful easy paper Dinosaur animal craft. I hope you have enjoyed this adventurous journey of making this masterpiece. So do not stop yourself on this craft just keep experimenting with more new craft and encourage yourself for new ideas. Also, you could share this craft with your friends and family. So just make a competition with your friends and check who will make the best craft. You could customize this craft as you want by making some designs and drawings. Share our website as much as you can. Keep visiting us for new crafts in the future. Don’t forget to give your feedback in the comment box that will motivate us for future wonderful crafts.
Thank you for visiting us!
You Might Also Like
- Giraffe Face Painting Step-by-Step Tutorial For Kids
- Cotton Bud Sunflower Garden Step-By-Step Tutorial For Kids
- 20 Beautiful DIY Paper Craft Step-by-Step Tutorials
- Paper Origami Sofa Craft Tutorial For Kids
- DIY Paper Crafts: Easy Paper Magic Gift Box – Step by step


