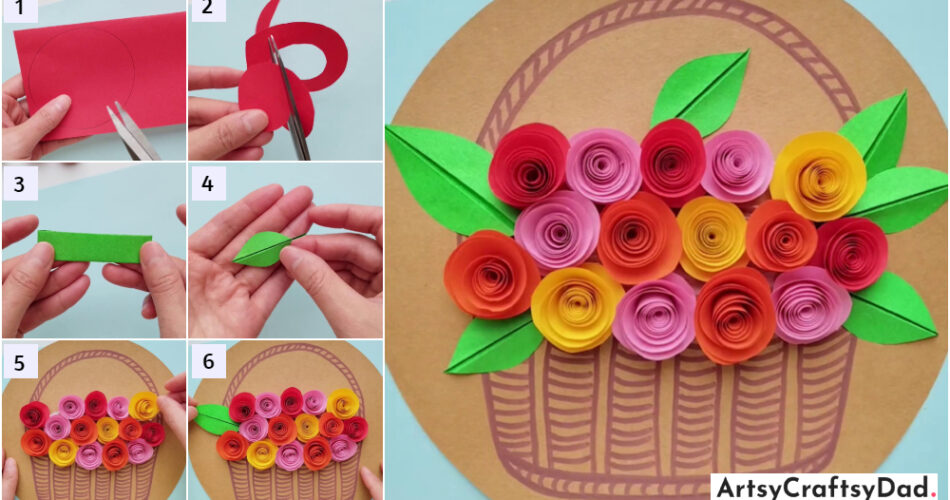
Learn how to create a fun and colorful paper flower basket with your kids using this easy tutorial. Perfect for a rainy day activity or a special gift for a loved one, this craft project is sure to bring a smile to everyone’s face.
Looking for a fun and creative craft project for kids? Look no further than this colorful paper flower basket tutorial! This easy-to-follow guide will show you and your little ones how to make a beautiful basket filled with vibrant paper flowers. Not only is this craft a great way to keep kids entertained, but it also allows them to explore their creativity and develop their fine motor skills. Get ready to bring a burst of color into your home with this charming paper flower basket craft!
Colorful Flower Basket Paper Craft
Must Read: Recycled Flower Basket: Fruit Foam Net & Plastic Bottle Craft Tutorial
Supplies & Tools
- Scissors
- Craft Paper (Red, Pink, Orange, Yellow, Green, Brown)
- Glue
- Brown Colored Marker
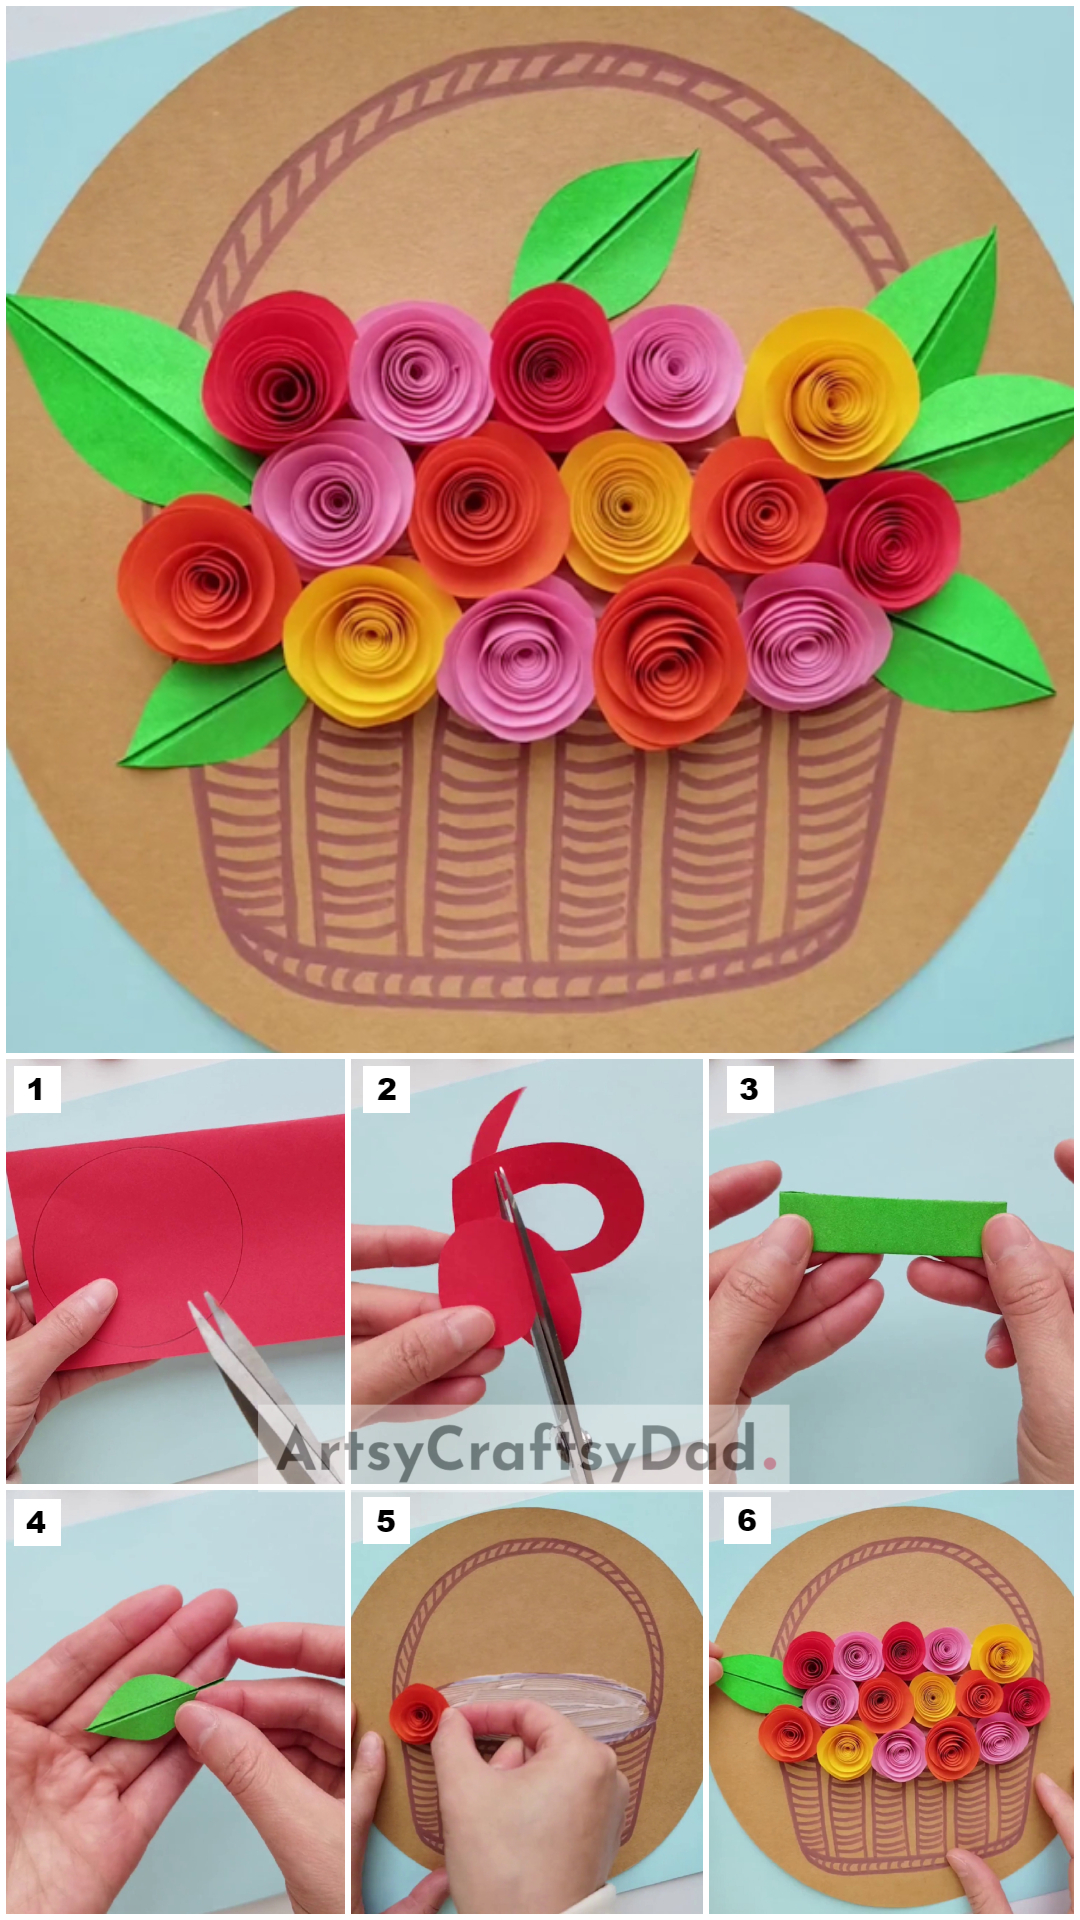
Flower Basket Craft Procedure
Step #1: Drawing A Basket

Take a brown color craft paper & cut it into a circle & start drawing a basket using a brown sketch pen.
Step #2: Completing Basket Drawing

Here, complete the basket drawing.
Step #3: Drawing A Circle

Take a red craft paper & draw a circle using a brown marker & then cut out that circle using scissors.
Step #4: Cutting Circle Into A Spiral Shape
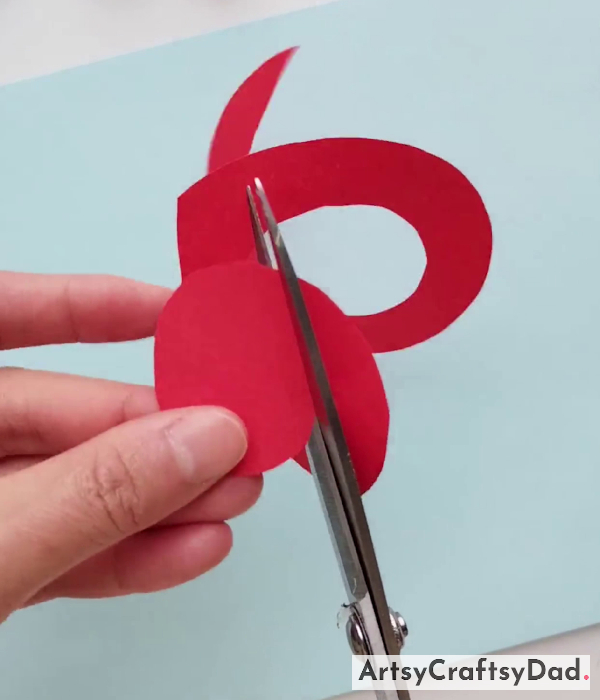
After that cut the circle into a strap that looks like a spiral shape.
Step #5: Rolling Spiral Paper
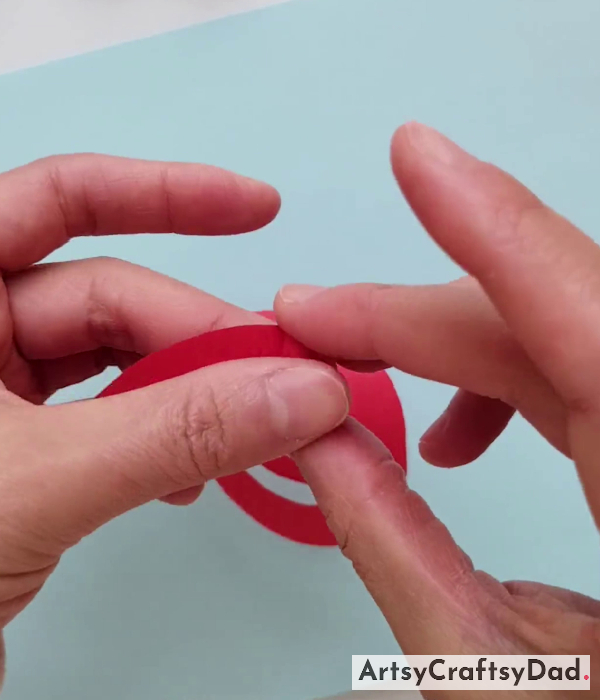
Now, roll the spiral paper to form a flower.
Step #6: Making Flower

Continue rolling spiral paper, we get a flower shape that looks the same as in the above image.
Step #7: Making Creases
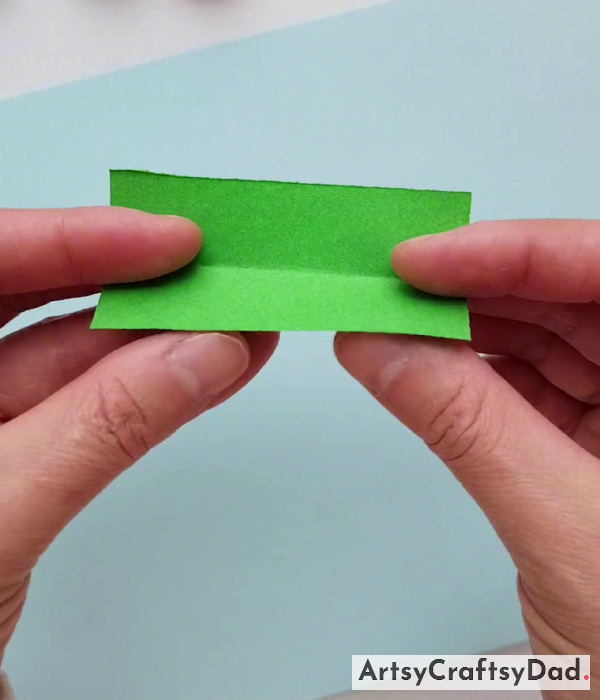
Take a piece of green craft paper & cut it into a rectangle shape & fold it horizontally in half to form creases, then again unfold the paper.
Step #8: Folding Paper Horizontally Half Again

Now, again fold the paper horizontally in half.
Step #9: Cutting Paper

Cut the paper diagonally from the bottom left corner in the leaf shape.
Step #10: Making Leaf

Here, we get a leaf shape after cutting the paper.
Step #11: Completing Making Leaf

Here, we get a complete leaf shape as shown in the above image.
Step #12: Applying Glue

Now, take the brown paper on which we drew a basket & apply some glue on the basket’s upper part.
Step #13: Pasting Flower

Now, take an orange paper craft and make a flower in the same manner that we made in the above steps. After that paste the orange flower on the top left side of the basket as shown in the image.
Step #14: Pasting More Flowers
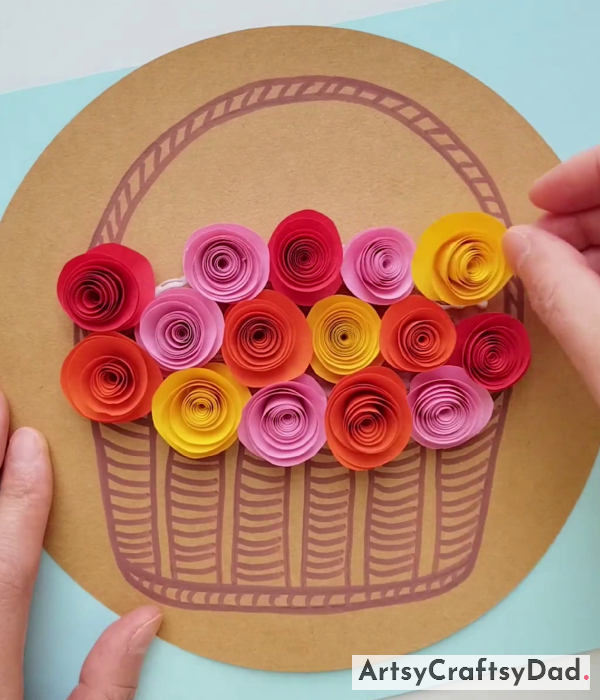
Take yellow, pink, orange, and red craft papers & make 4 orange, 3 red, 3 yellow, and 5 pink flowers & paste them in the same manner as shown above.
Step #15: Pasting Leaf
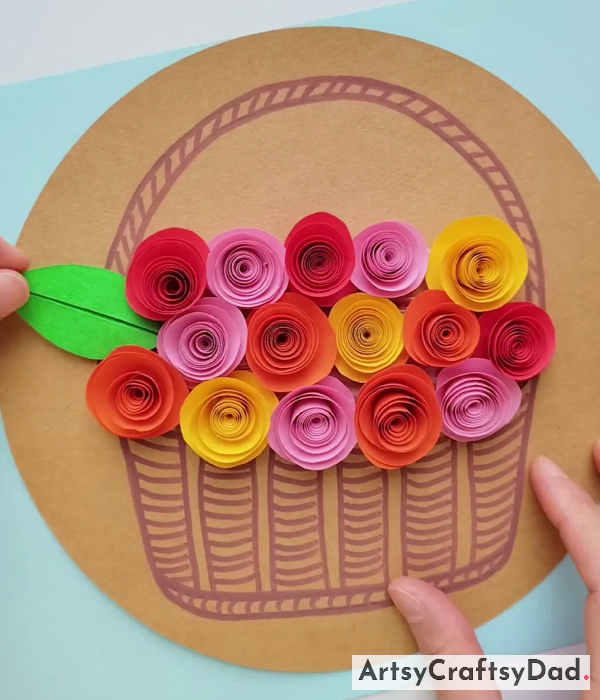
Paste the leaf on the left side of the basket between the orange & red flowers.
Colorful Paper Flower Basket Craft Is Achieved!

Complete the craft by making 5 more leaves using the same process & paste them on the basket.
Our craft is ended here. Yes, we have created this beautiful craft with our own hands. I know you are excited to show this amazing craft to your friends & want to see their reaction to this masterpiece. So, don’t stop going & show this to your friends & share their reaction with us & share your feedback on this craft in the comment section. If you want to make some other type of crafts then go to our other websites.
Thank you for visiting us! Have a nice day!
You Might Also Like This
- Colorful Hedgehog Paper Craft Tutorial For Kids
- Tiny Woven Basket: Wool & Paper Cup Craft Tutorial
- Colorful Sheep In Field Paper Craft Tutorial
- Paper Flower Bouquet Artwork Craft Tutorial For Kids
- Paper Flower Garden Craft Tutorial For Kids


