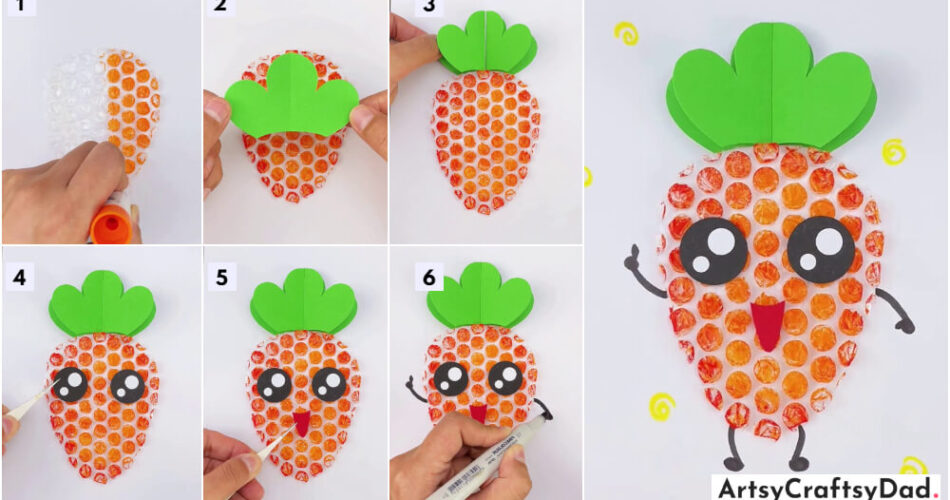
Learn how to create stunning carrot art using bubble wrap with this step-by-step tutorial. This fun and creative activity is perfect for kids and adults alike. Follow along as we guide you through the process of painting and printing with bubble wrap to create unique and colorful carrot designs. Get inspired and let your imagination run wild with this exciting art project.
Hello, my creative friends. Welcome to this step-by-step tutorial on creating bubble wrap carrot art! This fun and creative activity is perfect for both kids and adults who want to explore their artistic side uniquely. With just a few simple materials and a little bit of imagination, you’ll be able to create beautiful carrot-themed artwork using bubble wrap as your main tool. Whether you’re a beginner or an experienced artist, this tutorial will guide you through each step of the process, helping you to create stunning and textured carrot art that you can proudly display or give as a thoughtful gift. So, let’s grab our materials and get ready to have some artistic fun with bubble wrap carrot art!
Bubble Wrap Carrot Art Activity For Kids
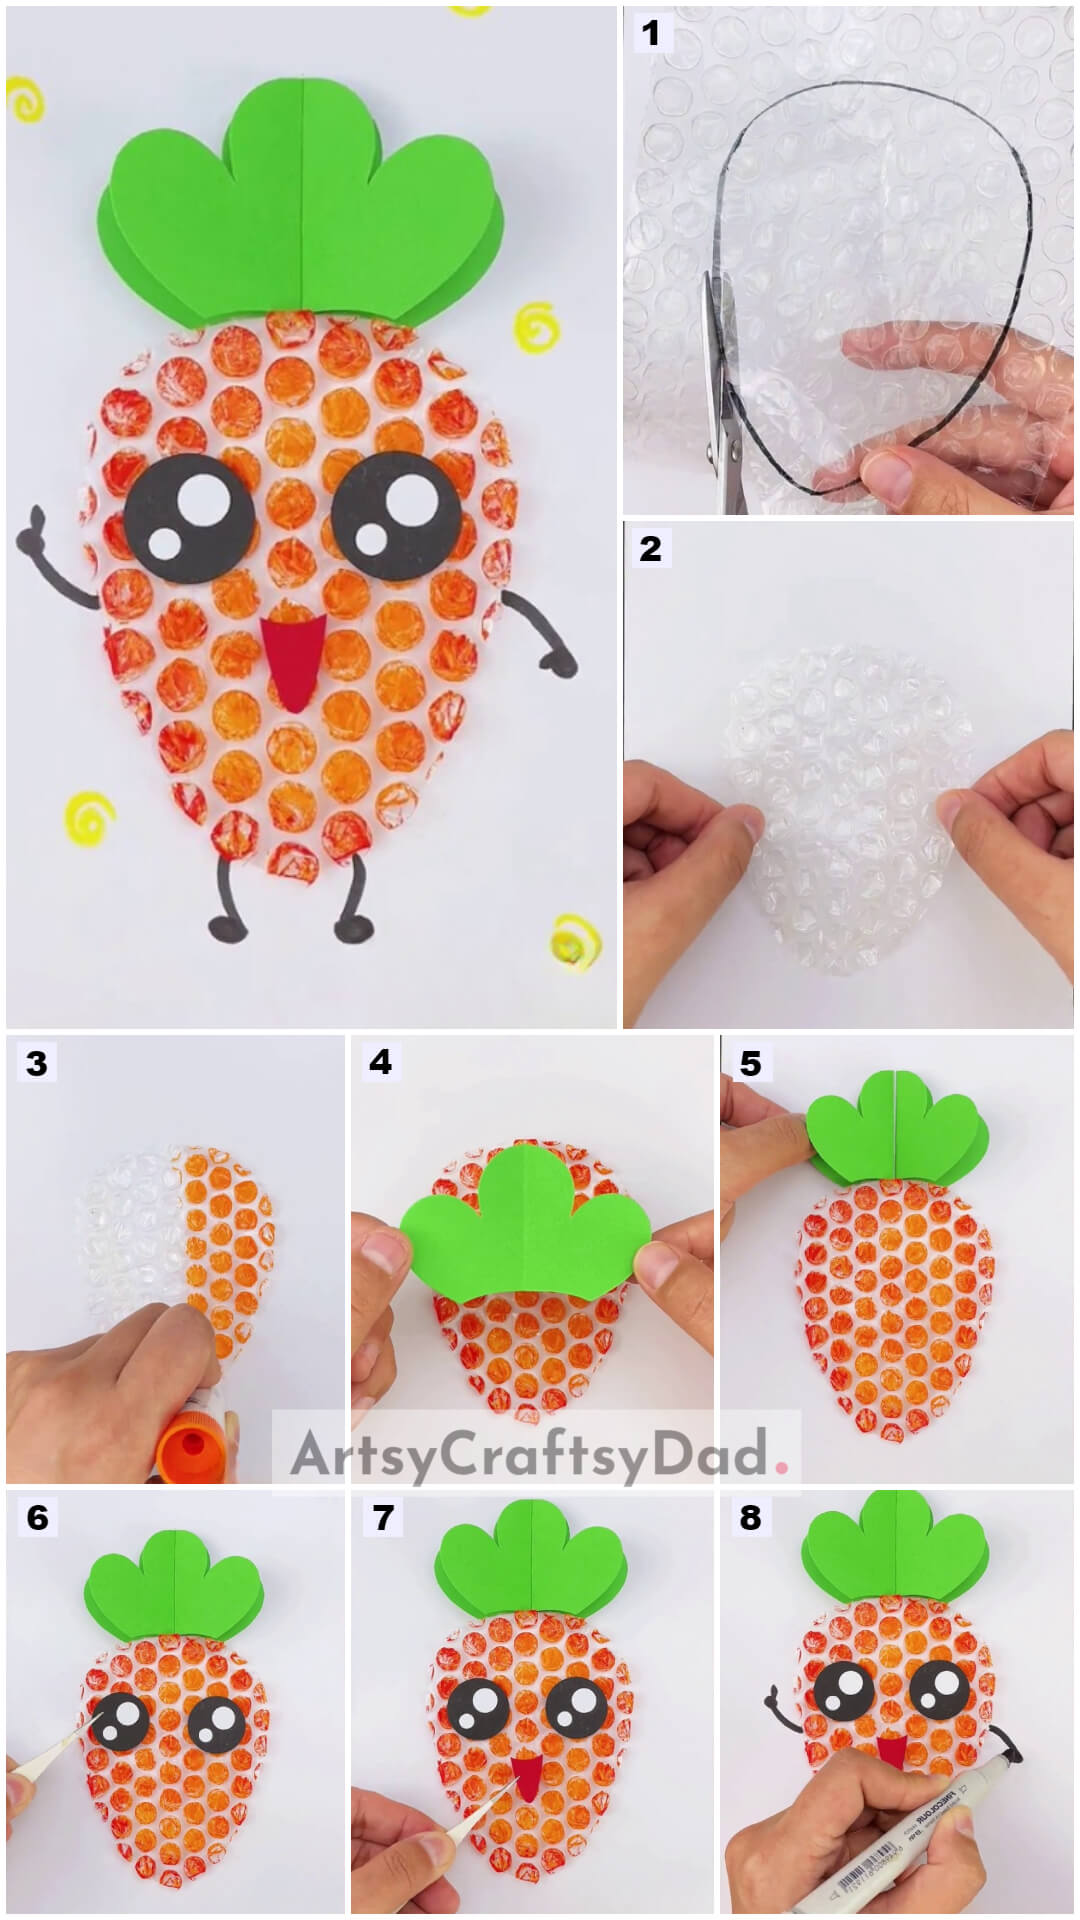
Must Read: Bubble Wrap Carrot Artwork Craft Tutorial For Kids
Supplies & Tools
- Colored Paper (Green, Red, Black And White)
- Bubble Wrap
- Scissors
- Glue
- Black Marker
- Sketch Pen (Red & Yellow)
Bubble Wrap Carrot Art Activity Tutorial
Step #1: Drawing & Cutting Bubble Wrap in Carrot Shape
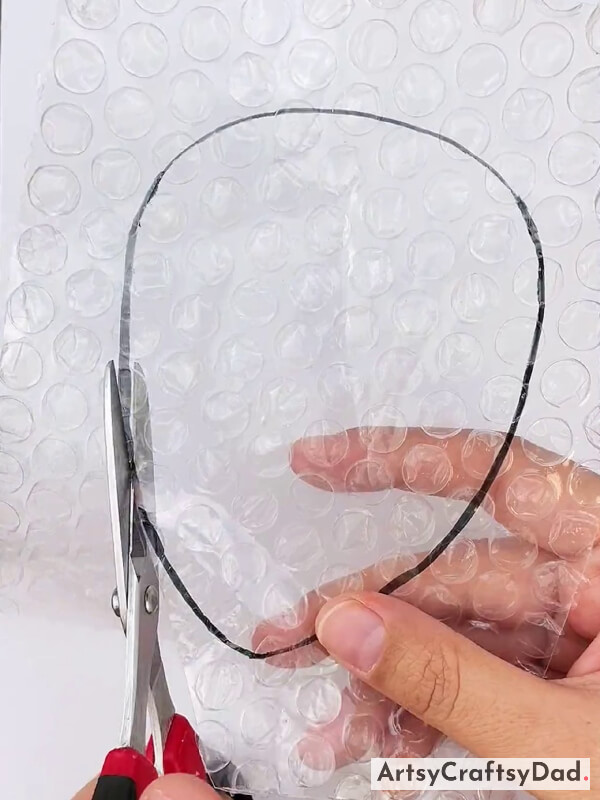
Take a piece of bubble wrap. Now draw a carrot shape on bubble wrap with the help of a black sketch & cut it out with the help of scissors.
Step #2: Pasting Carrot Bubble Wrap
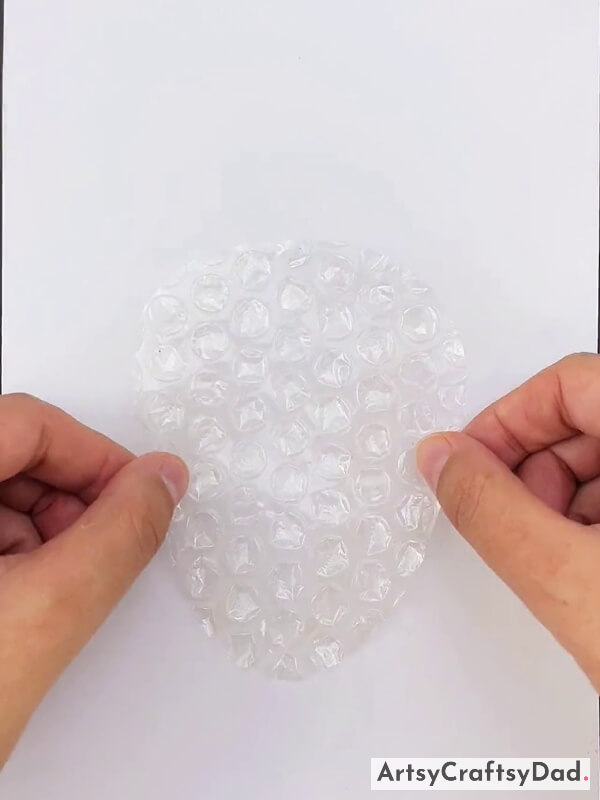
Paste the carrot-shaped bubble wrap over the white color sheet.
Step #3: Coloring Half Bubble Wrap with Orange Color Sketch
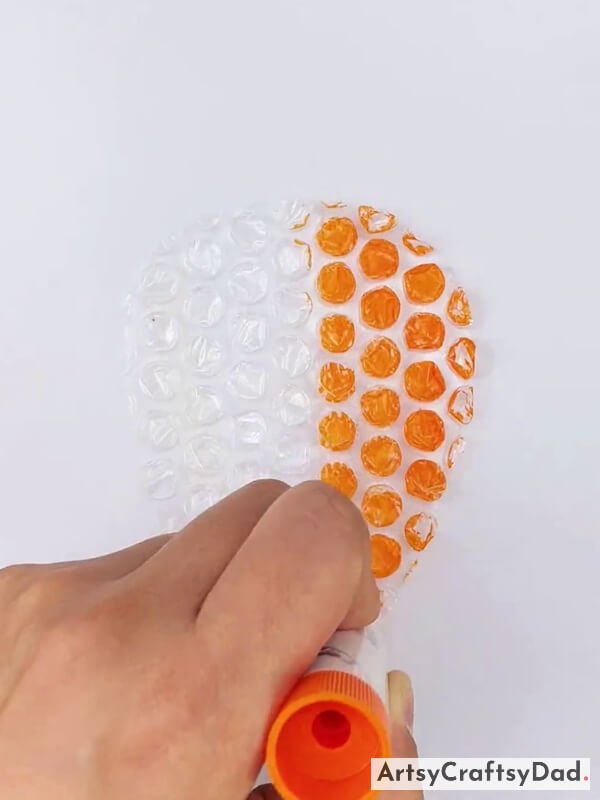
color the carrot bubble wrap in half portion using the orange sketch color
Step #4: Coloring Other Half Bubble Wrap with red Sketch
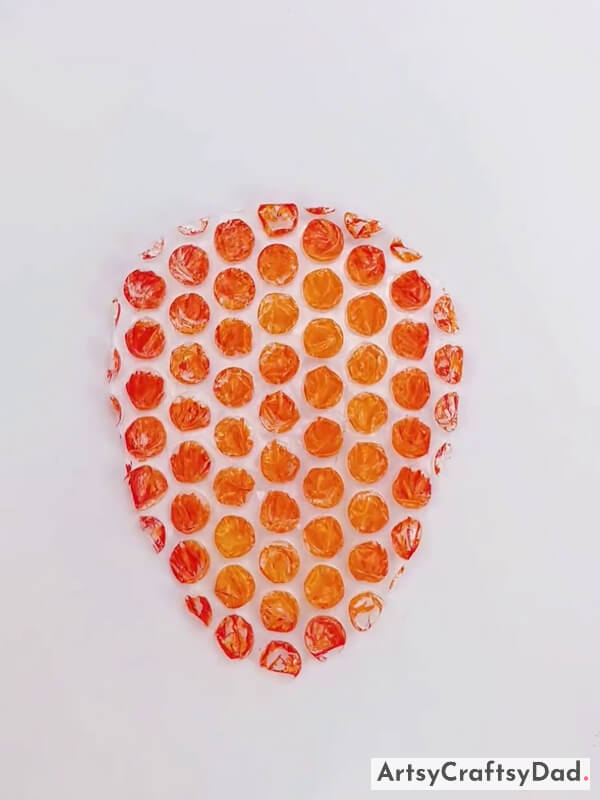
color the other half of the bubble wrap carrot with a red color sketch or marker.
Step #5: Making Paper Stem of Carrot
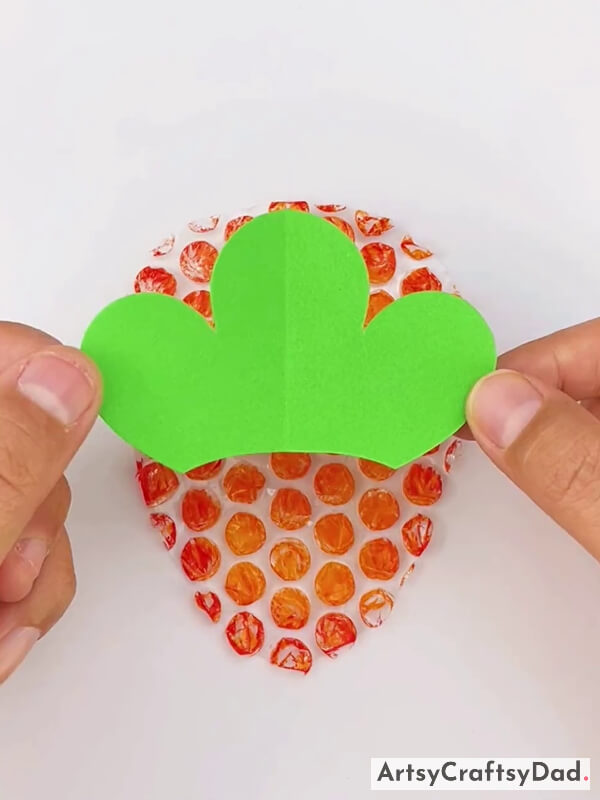
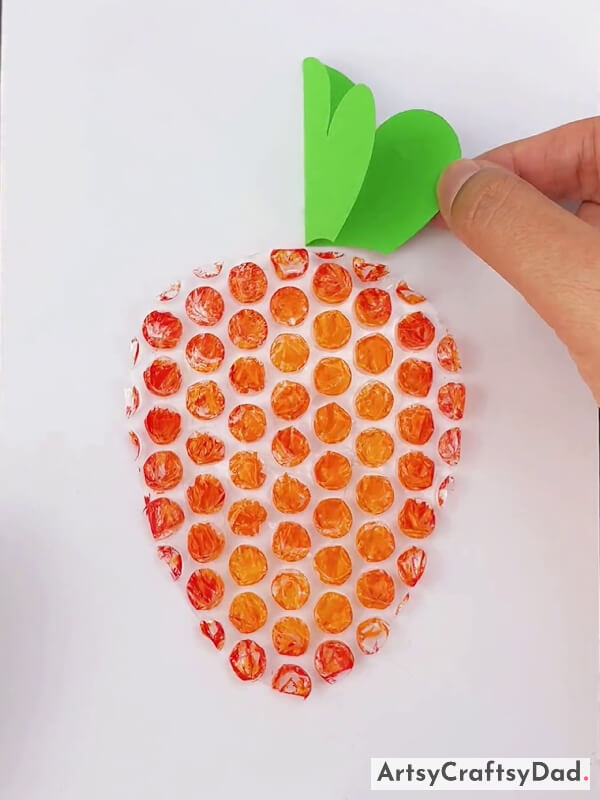
Take a piece of green colored paper and draw the shape of the stem. Then cut out the shape of the stem from green color paper and fold it in half.
Step #6: Pasting Paper Stem in Half
Now paste one folded side of the stem on the top of the carrot on the right side with the help of glue.
Step #7: Pasting One More Paper Stem
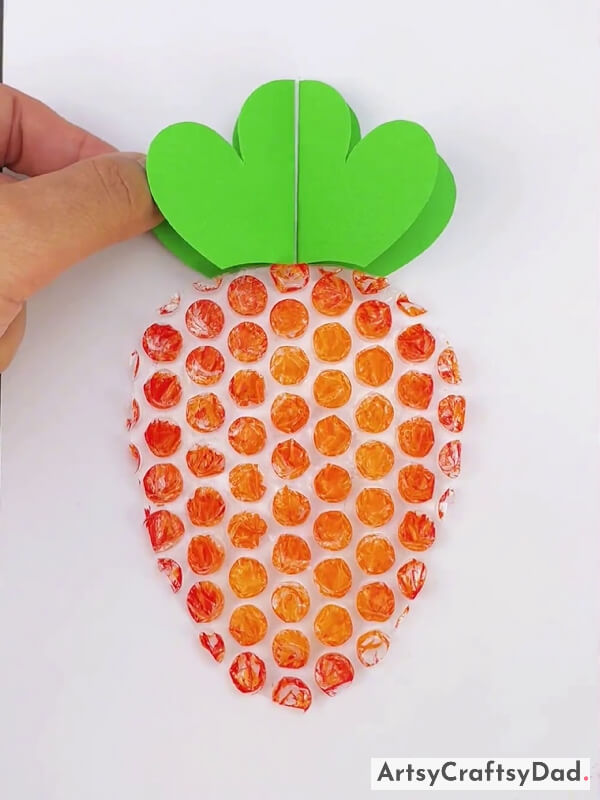
Paste another stem folded part on the left side over the top of the carrot.
Step #8: Pasting Eyes
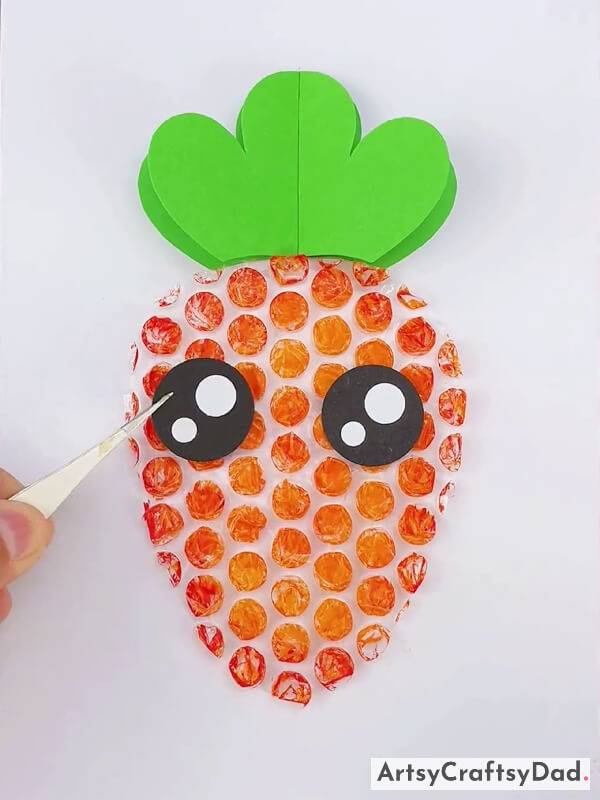
Take a black paper & cut it into two equal-sized circles with the help of scissors. Now paste it on the carrot. Cut two small & large circles from white paper and paste them on the black circle.
Step #9: Making Mouth
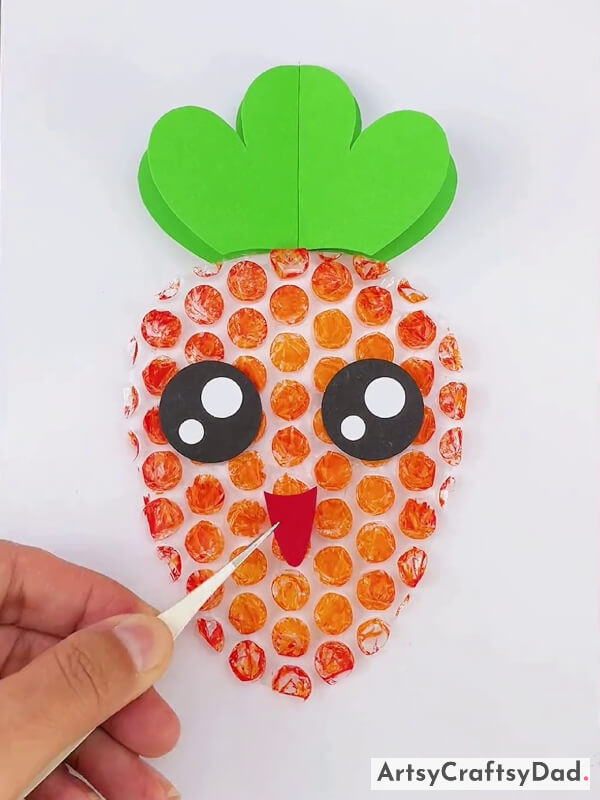
Grab a piece of red paper and cut it into the shape of a mouth then paste it on the carrot under the eyes.
Step #10: Drawing Hands Of Bubble Wrap Carrot
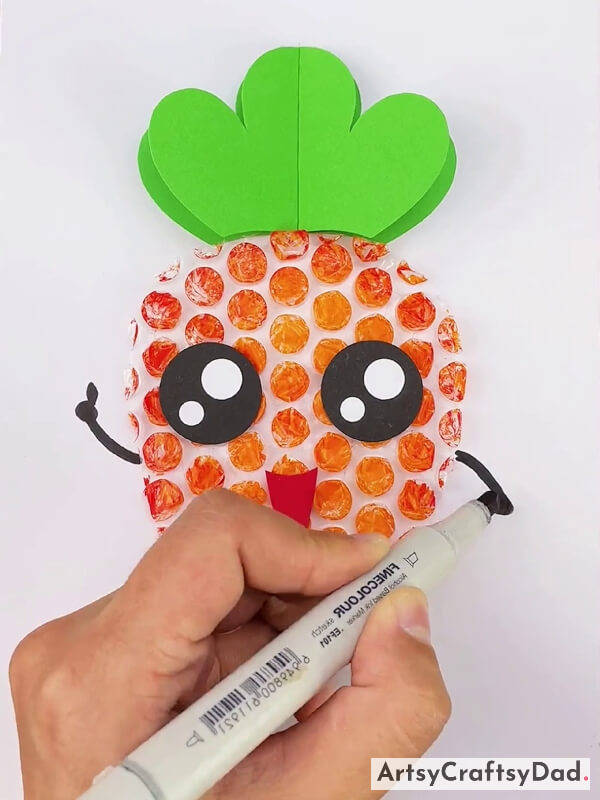
Take a black marker or sketch and draw little hands on the left & right side of the bubble wrap carrot.
Yahoo! Our Bubble Wrap Carrot Craft Is Ready!
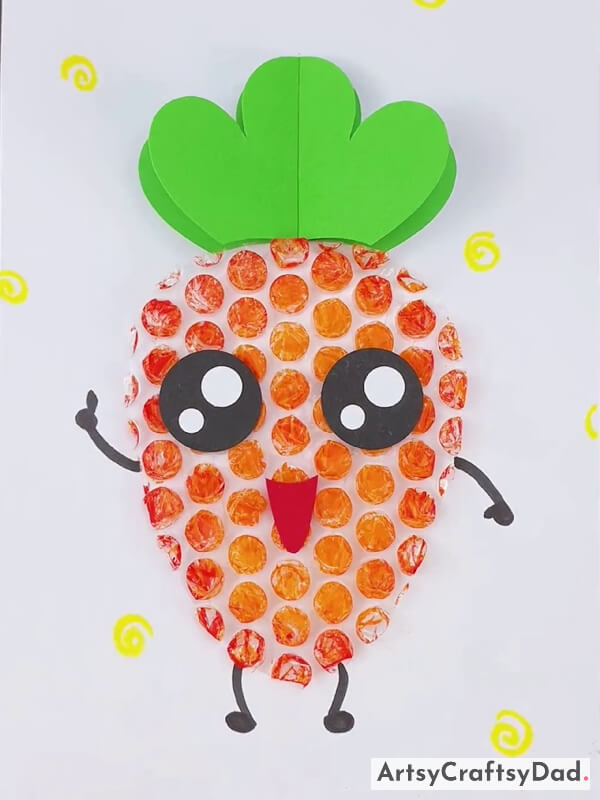
Use a yellow color sketch & draw little spiral shapes over the white color sheet. Look at the final masterpiece of bubble wrap carrot craft.
Tadda, our adventure journey of making bubble wrap carrot art activity is complete. Not only does this activity encourage fine motor skills and creativity, but it also allows children to explore different art techniques and experiment with colors. Whether it’s for a classroom activity or a rainy day at home, this bubble wrap carrot art activity is sure to bring joy and excitement to children of all ages. So, gather your materials and get ready to make some more masterpieces & show your creativity to the world. Don’t forget to share our website with your family & your close ones. Please drop some feedback in the comment section because we love to hear your thoughts on our crafts & also you can share your new ideas with us for future crafts.
Thanks for visiting us! Have a nice day!
You May Also Like
- Bubble Wrap Pomegranate Artwork Tutorial
- Bubble Wrap Crocodile Artwork Craft Tutorial
- Bubble Wrap Snowman Painting Craft Tutorial For Kids
- Bubble Wrap Pomegranates Craft Tutorial For Beginners
- Hand Outline Carrot Drawing And Clay Craft Tutorial
