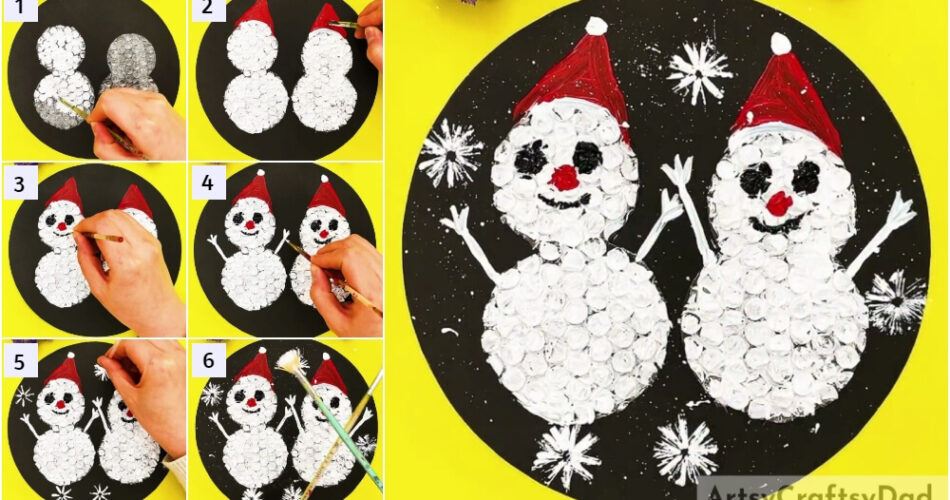
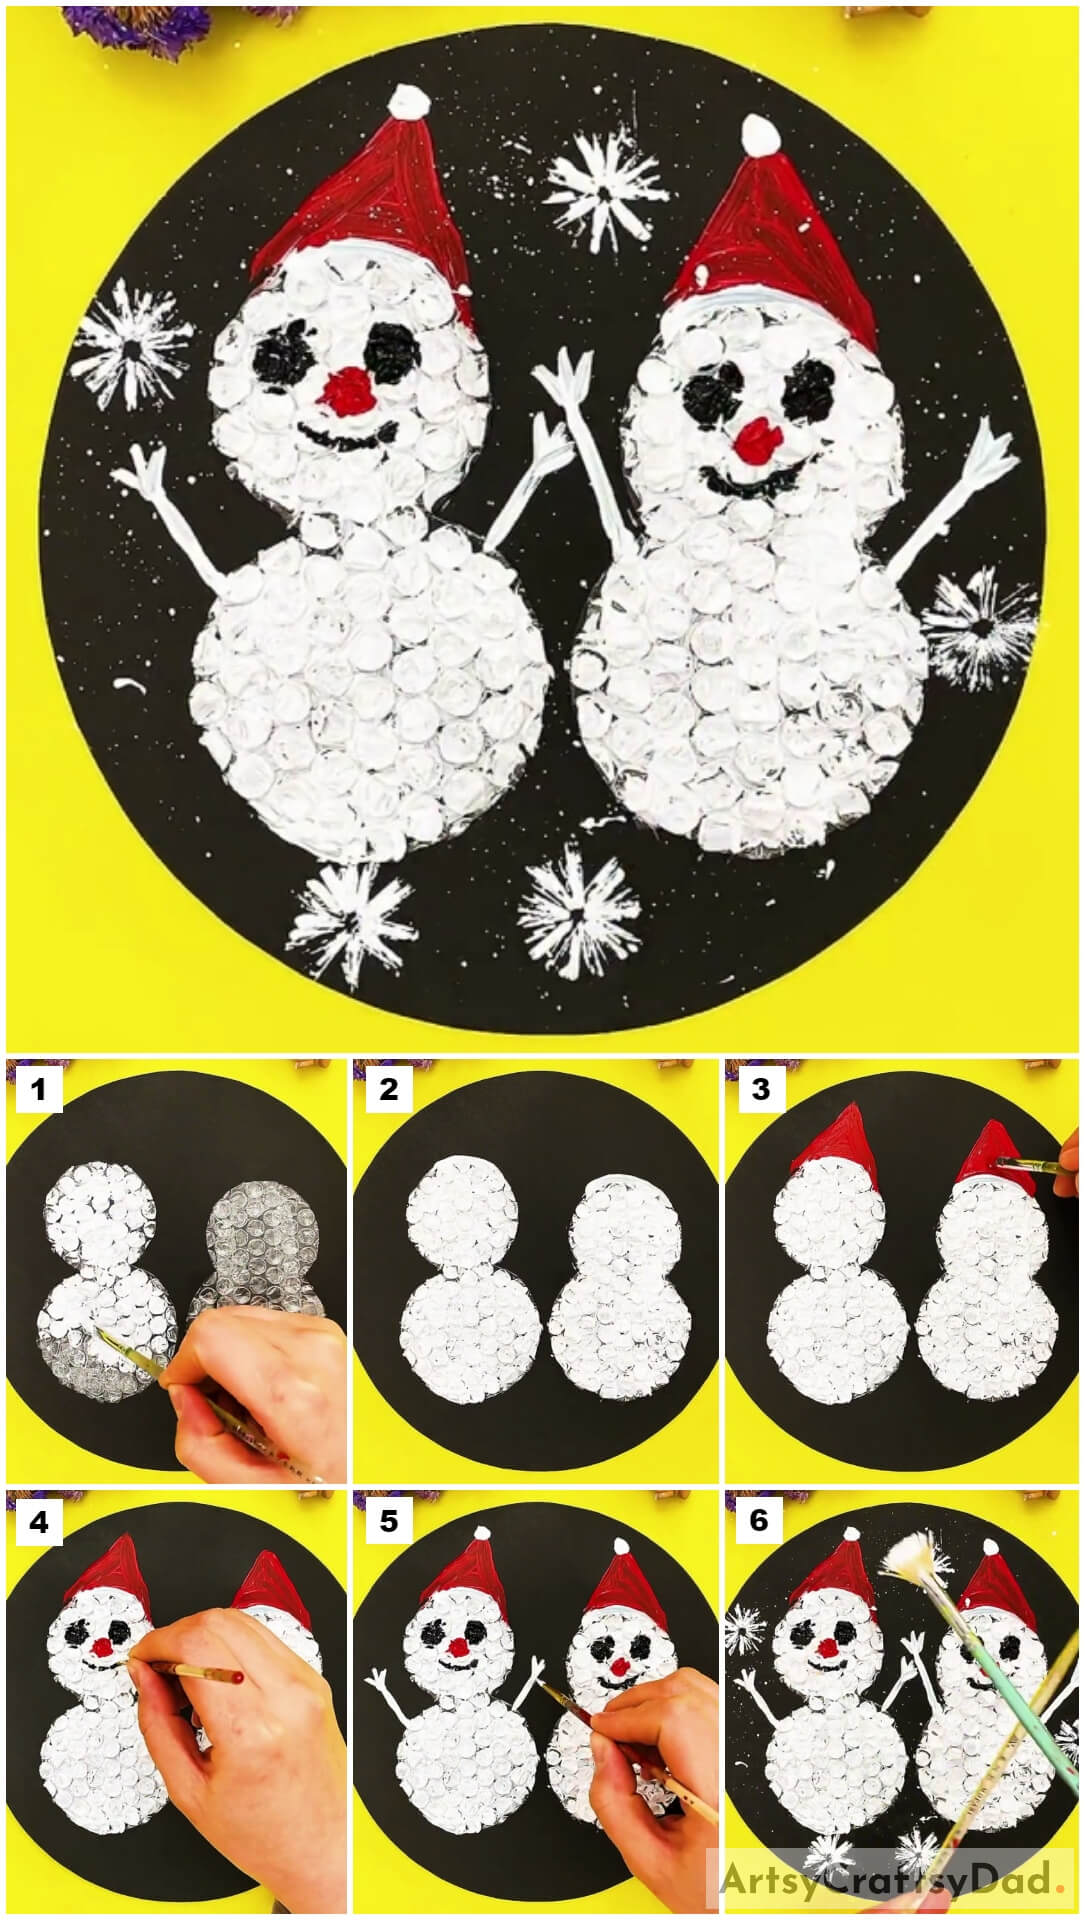
Say hi to your own snowman brothers! This step-by-step tutorial will guide you to make your snowman craft on paper using bubble wrap!
Hello and welcome to this craft tutorial! What is the most exciting thing on a snowy day? Yes, you guessed it right! Snowmen! Get the feels of the winter season through this craft! This craft is perfect for any season if you are missing the snowmen! This craft will only require the most basic craft supplies that you already have at home and some bubble wrap, that’s all! You will create this craft in just the blink of an eye with our step-by-step guidance! Let’s roll!
Snowman Painting Craft Using Bubble Wrap Tutorial For Kids
Must Read: How To Knit “Snowman” at Home
Supplies & Tools:
- Black Circular Paper Sheet
- Scissors
- Double-sided Tape
- Bubble Wrap
- Paintbrush
- Cotton Earbud
- Paint Colors (White, Red, And Black)
Snowman Painting Craft
Step 1: Pasting Snowmen Cutouts
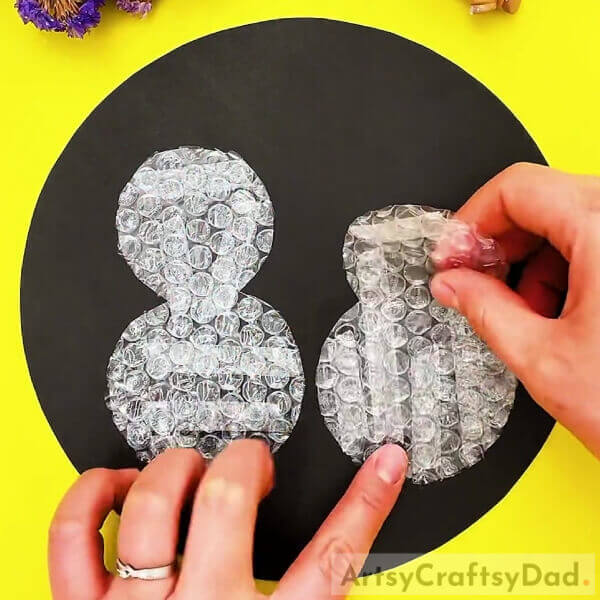
Begin this craft by taking a black circular paper sheet as the base for the craft and a bubble wrap. Using scissors, cut out 2 snowman shapes from the bubble wrap and use double-sided tape to paste them onto the base side by side.
Step 2: Painting The Snowman
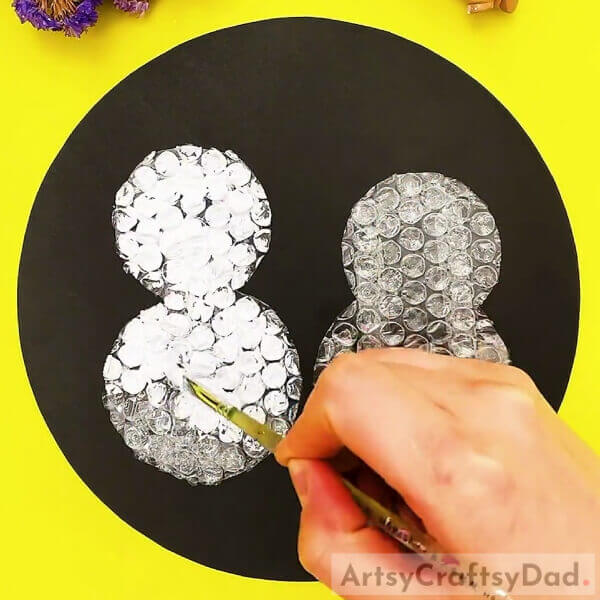
Dip a paintbrush into white paint and start painting the left snowman cut out.
Step 3: Completing Painting The Snowmen
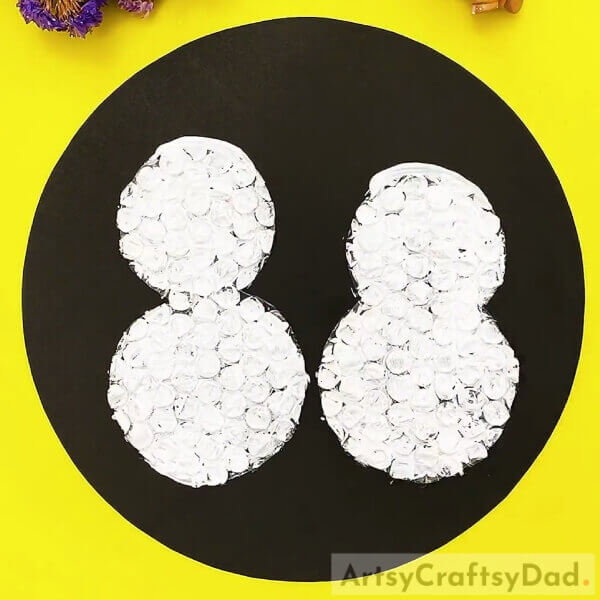
Continuing painting the snowmen until they both are fully covered with white paint.
Step 4: Making Hats On The Snowmen
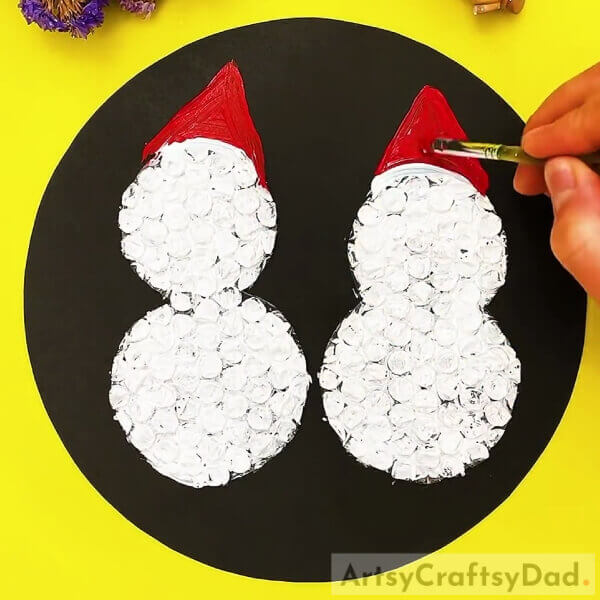
Dip the paintbrush in red paint make conical hats above their heads on the base and paint the inner part of the hat with the same paintbrush.
Step 5: Making Eyes Of The Snowmen
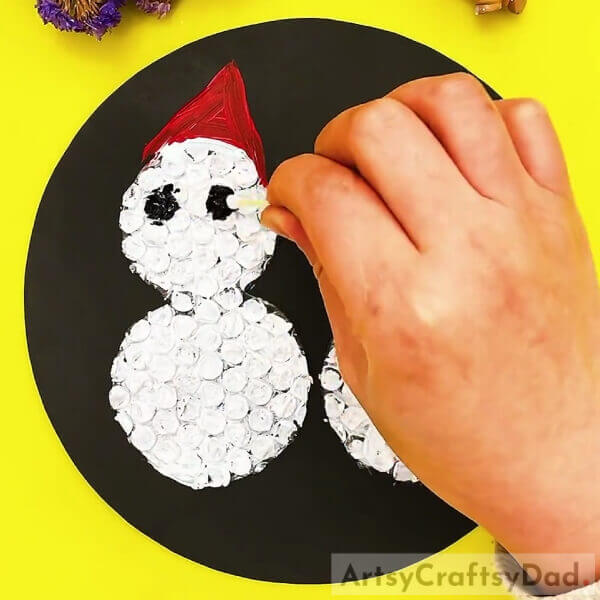
Dip a cotton earbud into black paint and make dots over the snowmen’s faces as eyes side by side.
Step 6: Making Nose And Smile On The Snowmen
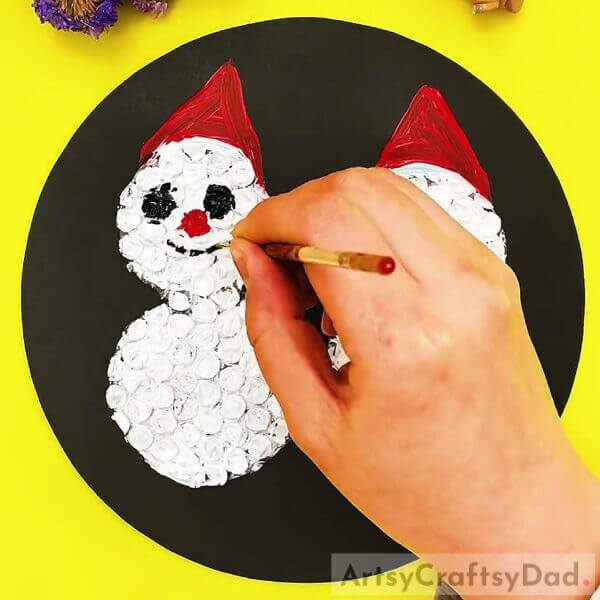
Dip the cotton earbud into red paint and dab it below and in between the eyes to make the nose of the snowmen. Also, dip the paintbrush into black paint and make a curvy smile below the nose on the faces of the snowmen.
Step 7: Making Hands Of The Snowmen
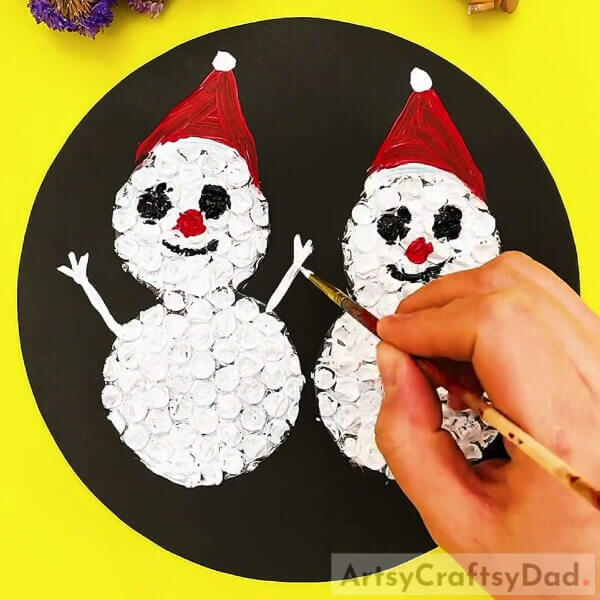
Dip the paintbrush into white paint and make the wooden straight hands of the snowmen on their sides over the base. Also, make a circle over their hats as shown in the image.
Step 8: Making Snowflakes
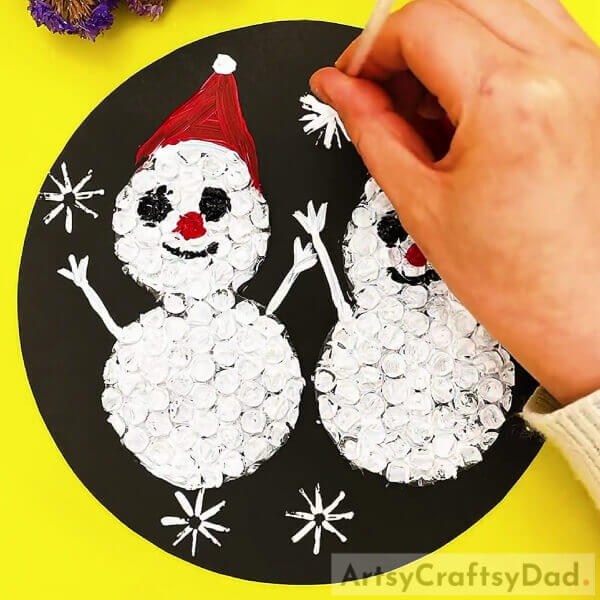
Dip a star stamp in white paint and dab it over the base randomly to make the snowflakes fall.
Step 9: Sprinkling Paint Drops
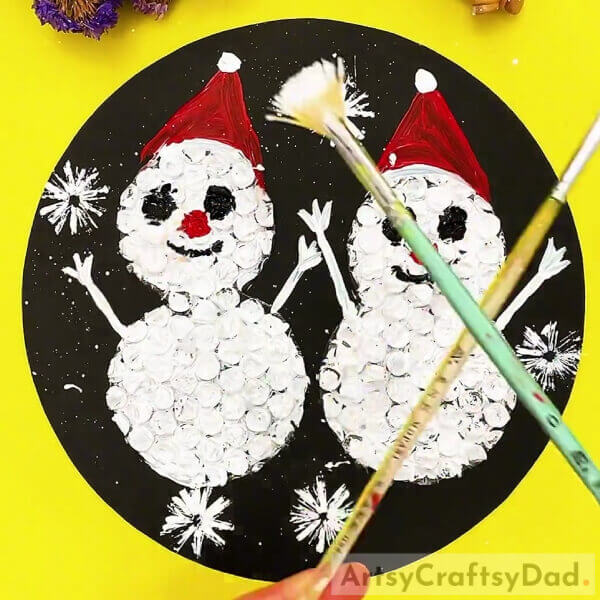
Drip the paintbrush into white paint and gently tap it over the other paintbrush to sprinkle some paint on the craft.
This Is The Final Look Of Your Bubble Wrap Snowmen!
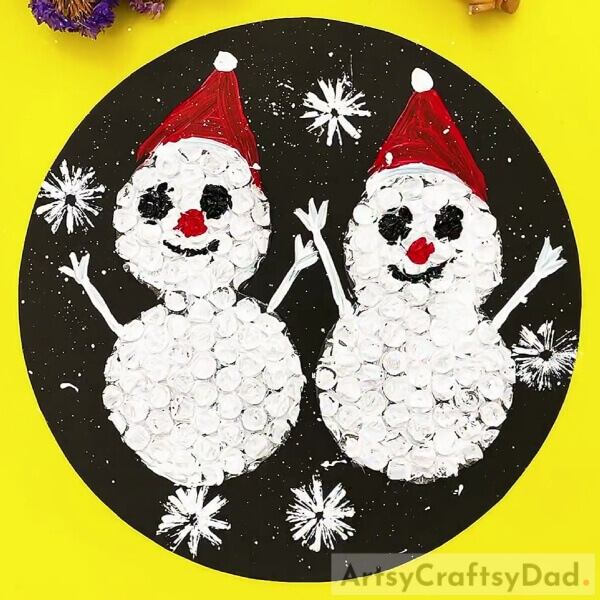
Congratulations! You have finally succeeded in making your bubble wrap happy snowmen brothers!
You can now decorate your creation in your room to get the feels of winter fun just by looking at it! This craft will also be suited as a school craft project! I’m sure your teacher will definitely love it and will admire it! See the whole class getting envious of you being your teacher’s favorite! To make it more unique, customize it as per your imagination and creativity!
Show us your crafts in the comments section below! Also, don’t forget to give this article a like! This will keep us encouraged to keep bringing such crafts for you!
Thank you for visiting the website!
You May Also Like:
- How To Make Snowman From Cotton (Step by Step Tutorial)
- FR*Set4_10* Clay Snails On Leaves Craft For Kids
- Easy Paper Plate Snowman – Winter Crafts for Kids
- Christmas Tree Ornament – Button Felt Snowman (Tutorial)
- Balloon Stamping Painting Ideas
