Your kids will definitely eat up the carrots on their plates by making this craft! This tutorial will help you to make a bubble wrap carrot!
If your child has a hard time eating carrots, try this craft! We will show you how to make it step-by-step! This craft can also be used as a fun learning activity for younger kids in school and at home as well! They will be interested in learning about carrots and their benefits, and then they’ll be more likely to eat them when you serve them! This craft is a great way to encourage healthy eating! Grab the bubble wrap and easy art and craft supplies to make it with us!
Simple Bubble Wrap Carrot Artwork Craft For Kids
Must Read: Wistera Finger Painting Artwork Tutorial For Kids
Supplies & Tools
- Circular Cardboard
- Paintbrush
- Sketch Pens (Orange And Green)
- Black Marker
- Bubble Wrap
- Glue
- Toothbrush
- Paint Colors (Orange, Green, And Light Green)
- Googly Eyes
- Colored Sheets (Red, Green, And White)
- Scissors
- White Ink Pen
Bubble Wrap Craft Instructions
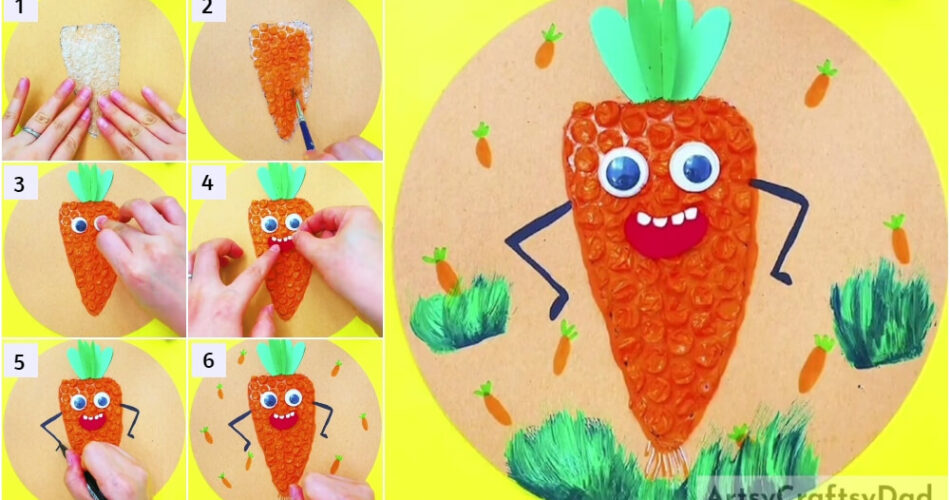
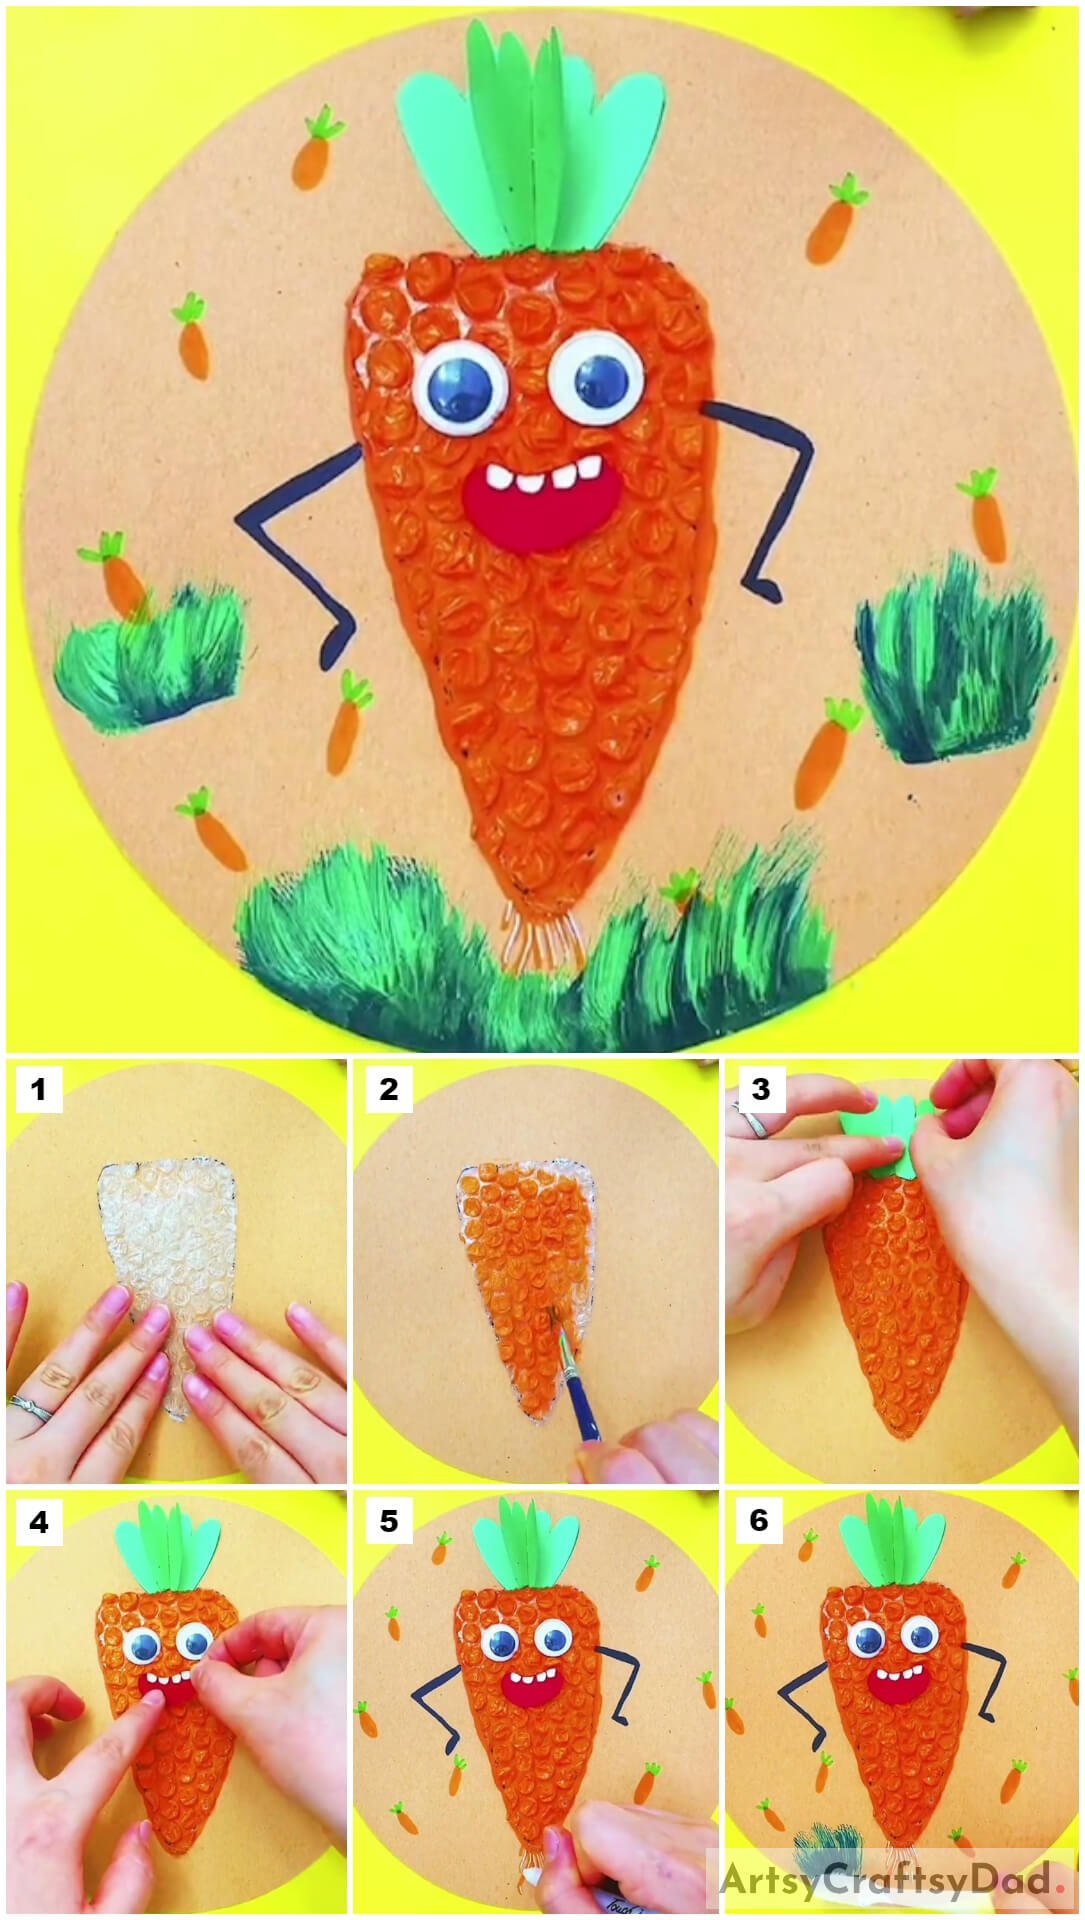
Step #1: Pasting A Bubble Wrap Carrot Cutout
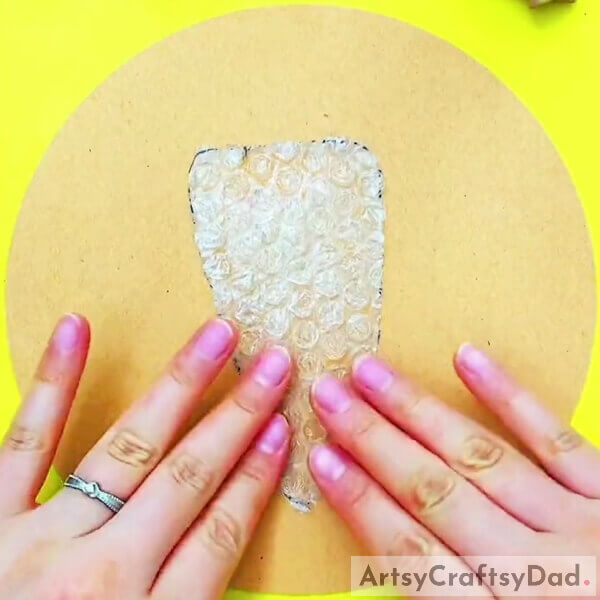
Begin this craft by taking a circular cardboard as the base for this craft and a bubble wrap. Pop the bubbles of the bubble wrap and using a black marker, make a carrot shape over it and using scissors, cut it out. Paste the carrot cut out over the base in the center using glue.
Step #2: Painting The Carrot Cutout
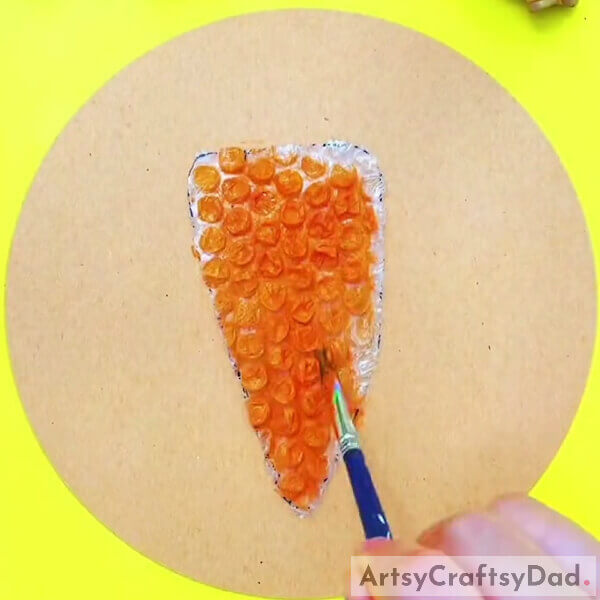
Dip a paintbrush into orange paint and paint over the carrot cut out whole as shown in the image.
Step #3: Making The Stem Of The Carrot
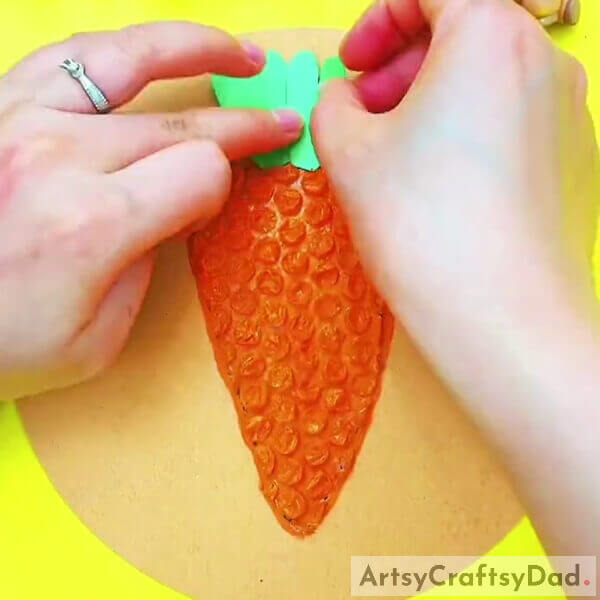
Take a sheet of green paper, fold it in half, and cut out 2 long and thin heart shapes from it from the folded side. Then cut the end of the folded hearts. These cutouts will be the stem of the carrot. Paste one side of the folded stems above the carrot, both side-by-side using glue. Keep the other side open and hanging out. See the image for reference.
Step #4: Pasting Googly Eyes
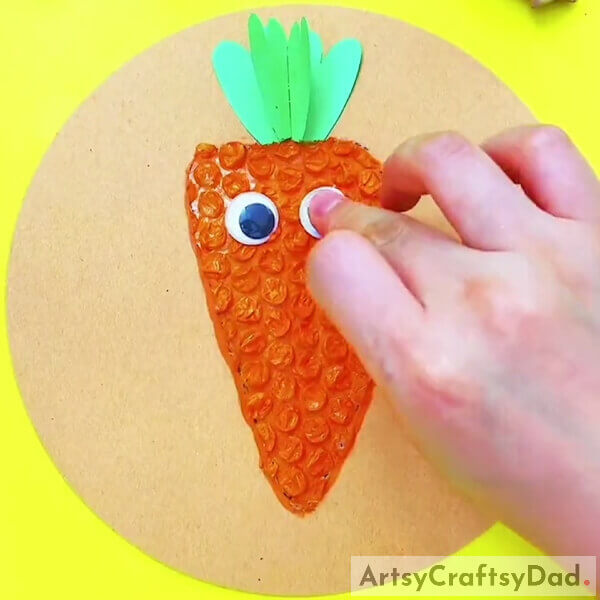
Paste 2 googly eyes over the carrot side by side using glue as shown in the image.
Step #5: Pasting Mouth Of Your Carrot
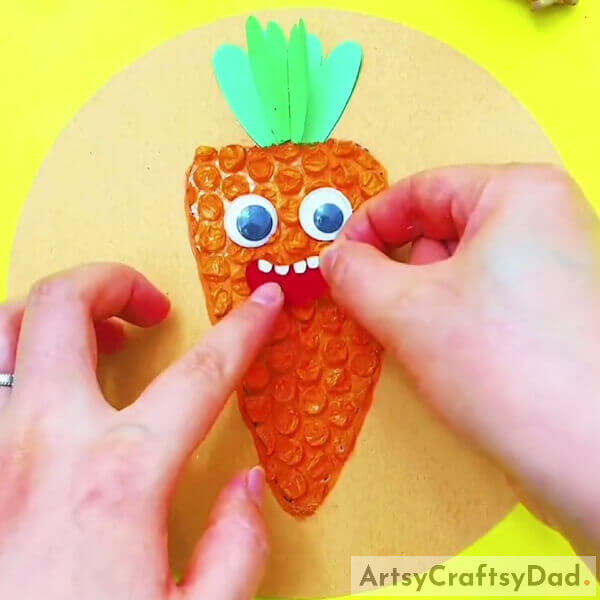
Cut out a curvy mouth from a red paper sheet using scissors. Also, cut out blunt teeth from a white paper sheet and paste them on the top boundary of the mouth using glue. Paste the mouth over the carrot below and between the eyes using glue as shown in the image.
Step #6: Making Hands Of The Carrot
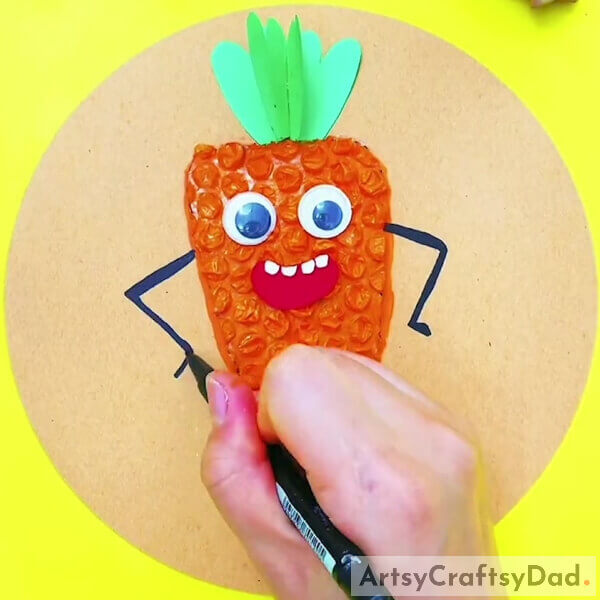
Using a black marker, make the stick-like hands of the carrot on both sides of it, over the base. See the image for reference.
Step #7: Drawing Tiny Carrots
Using an orange sketch pen, draw a tiny carrot on the base randomly tilted, and make its stem over it using the green sketch pen. See the image for reference.
Step #8: Making More Tiny Carrots
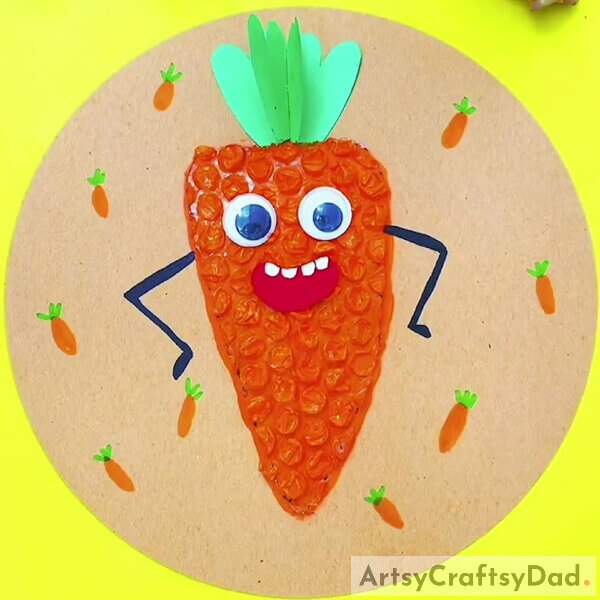
Following the same, make more and more tiny carrots on the base randomly as shown in the image.
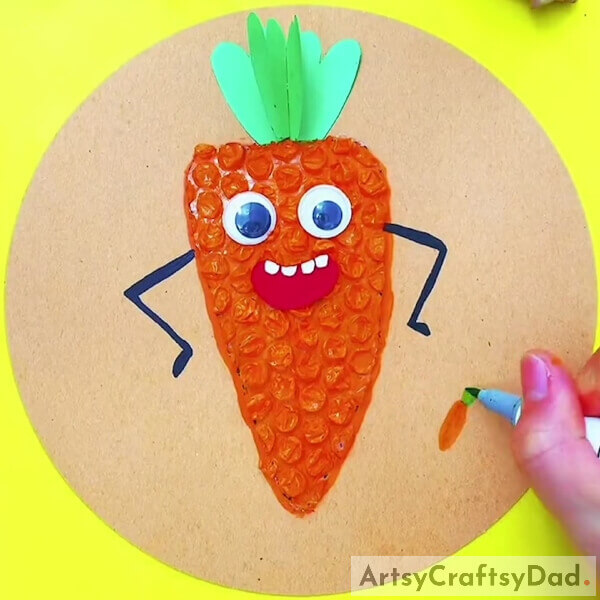
Step #9: Making Roots Of The Carrot
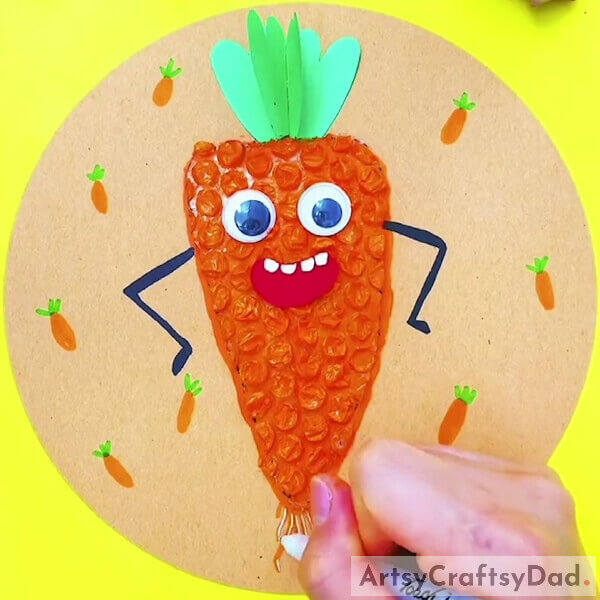
Using the orange sketch pen, make wavy and small roots beneath the carrot and highlight them using a white ink pen to make them look shiny.
Step #10: Making Ground Below The Carrot

Dip a toothbrush into green paint and make strokes over the bottom of the base in an upward direction to make the grassy ground below the carrot.
This Is The Final Look Of Your Bubble Wrap Carrot Final
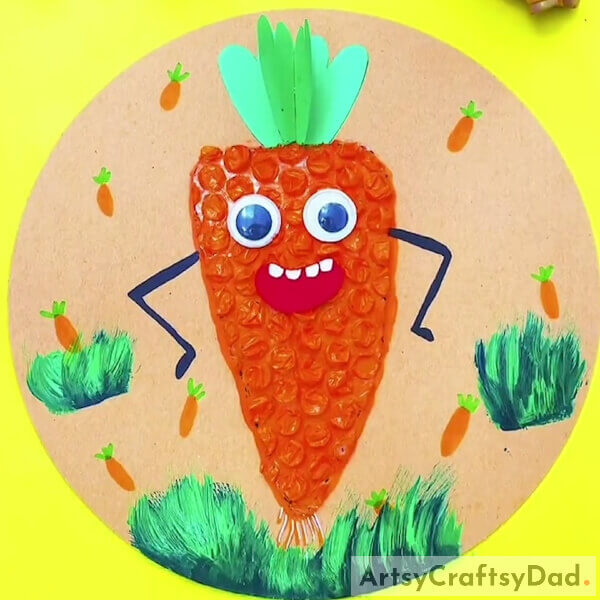
For the last step, make the grass on the sides of the base and then shade the grass and the ground by making strokes of light green painted toothbrush strokes. See the image for reference.
Tada! Your carrot is very happy to be made by you!
You can now decorate this craft in your room to remind yourself every day to eat healthy and stay happy! You can make more vegetables using this hack! This craft is perfect to make as a recycled one! What is more amazing than creating something out of mere waste that even turns out useful!? This craft-making can be a classroom activity for the kiddos to help them drive their motor skills and even learn the benefits of eating veggies!
Hope you liked the craft! Share it with your buddies! Also, tell us about your crafting journey in the comments section below! We would love to hear from you!
You May Also Like
- Bubble Wrap Snowman Painting Craft Tutorial For Kids
- Bubble Wrap Pomegranates Craft Tutorial For Beginners
- Hand Outline Carrot Drawing And Clay Craft Tutorial
- Clay Circles Tree Artwork Craft Tutorial For Kids
- Hanging Plant Pot Artwork Craft Tutorial


