Looking for a fun and educational craft activity for your kids? Try the Fruit Foam Net Fish Craft Tutorial! This tutorial will guide you through the steps of creating adorable fish using fruit foam nets. It’s a great way to encourage creativity and fine motor skills in children.
Are you looking for a fun and creative craft project to do with your kids? Look no further than the Fruit Foam Net Fish Craft Tutorial! This tutorial will guide you and your children through the process of transforming a simple foam net into an adorable and colorful fish. Not only is this craft easy and enjoyable, but it also encourages the use of recycled materials by repurposing fruit foam nets. Get ready to dive into a world of imagination and creativity with this exciting craft project that is sure to keep your little ones entertained for hours.
DIY Fish Craft Using Fruit Foam Net
Must Read: Fish Underwater View: Fruit Foam Net & Clay Craft Tutorial
Supplies & Tools
- Scissors
- Fruit Foam Net
- White Construction Paper
- Two Pairs Of Googly Eyes
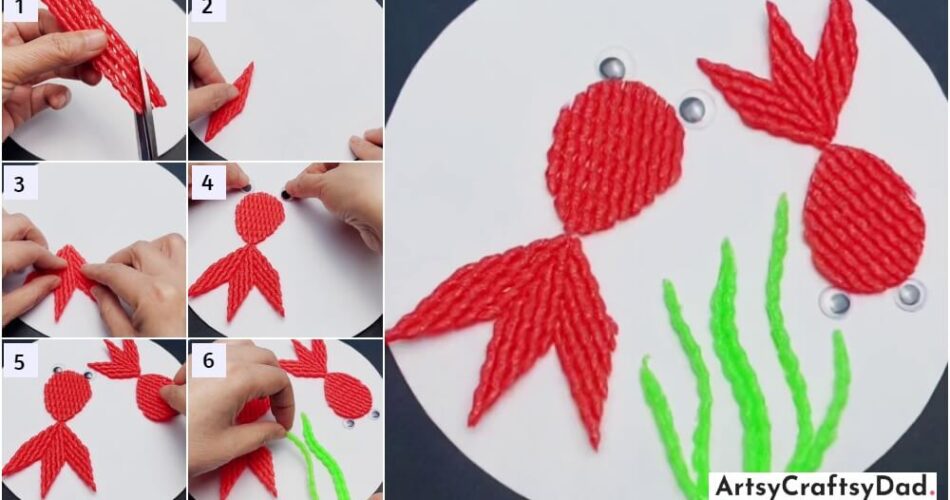
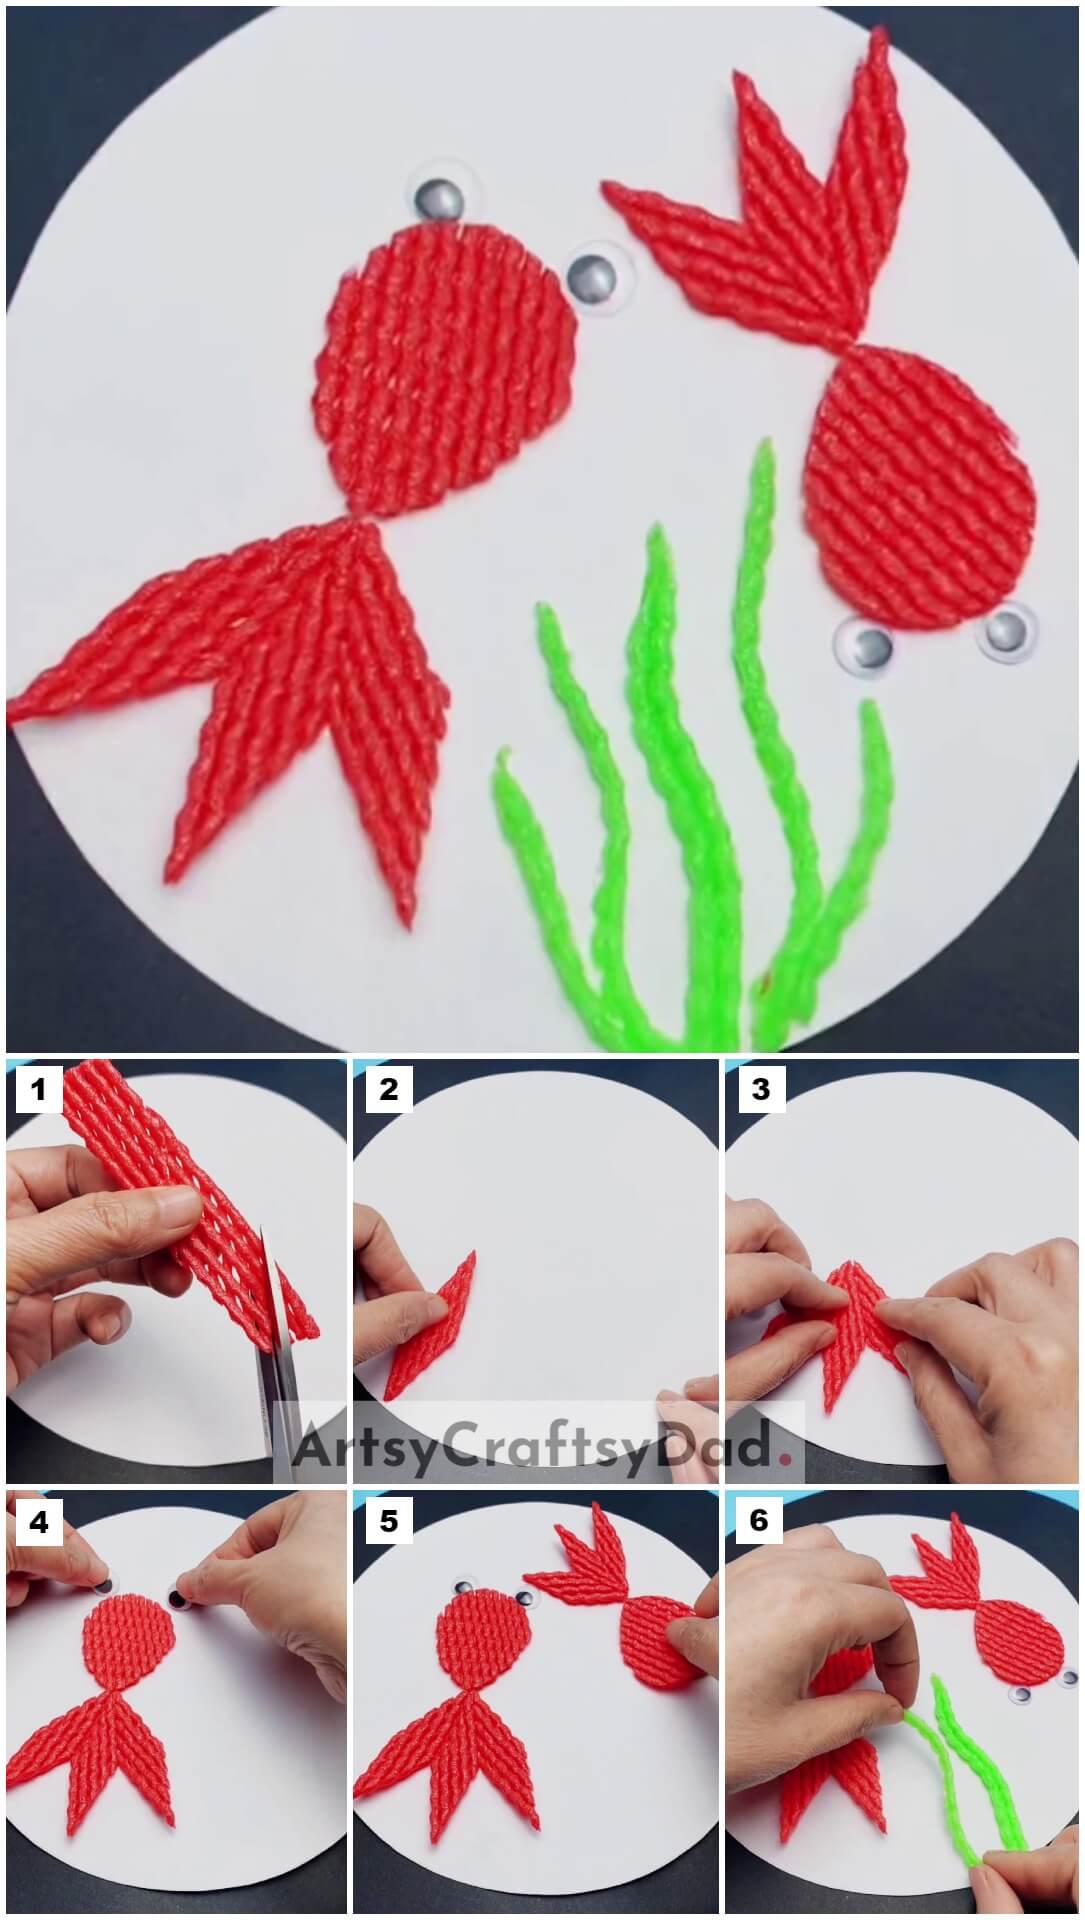
Fish Craft Procedure
Step #1: Cutting A Fruit Foam
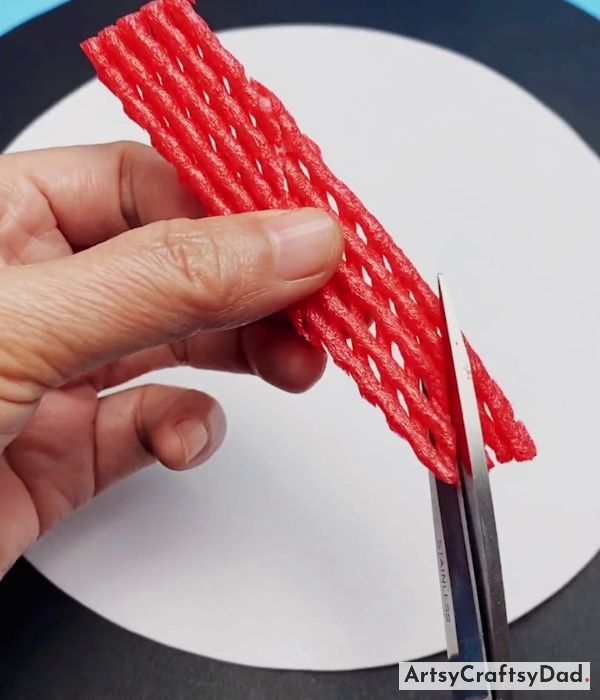
Take a white construction paper & cut it out into a circle using scissors & use it as a craft base. Now, take a piece of fruit foam net & cut it into a rectangle strip & make a diagonal cut on the lower end of the fruit foam.
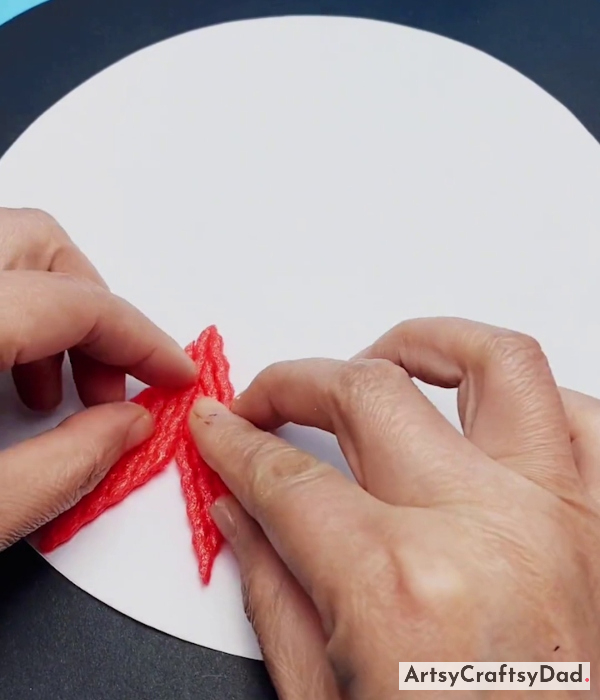
Step #2: Pasting The Fruit Foam On A White Sheet
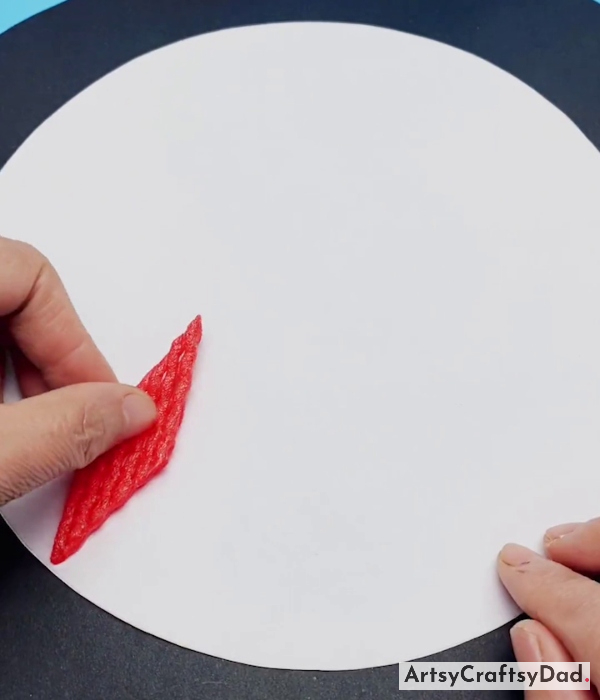
Now, cut the fruit foam into a rhombus shape like the tail of the fish shown in the above figure & paste it on the left lower side of the white craft base using glue.
Step #3: Adding Another Rhombus Shape
By following the same process make one more rhombus shape & paste it near the first one.
Step #4: Pasting One More Rhombus Shape
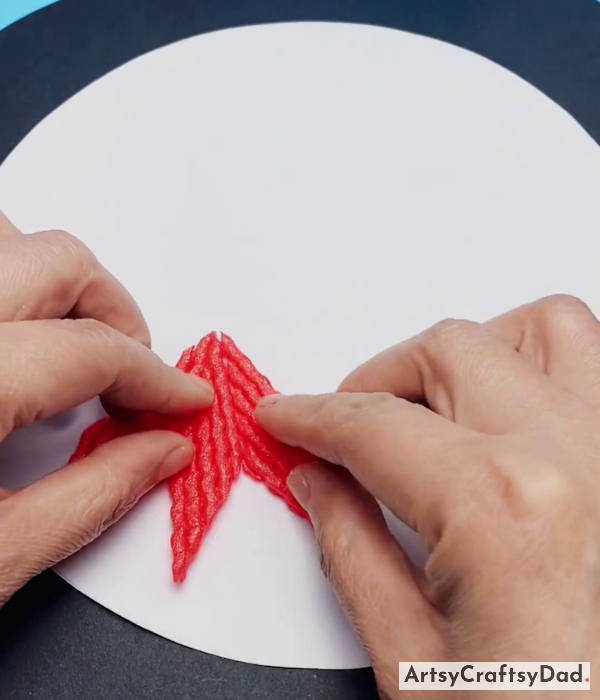
Paste one more rhombus shape to complete the fishtail.
Step #5: Pasting The Fish Body Cutout
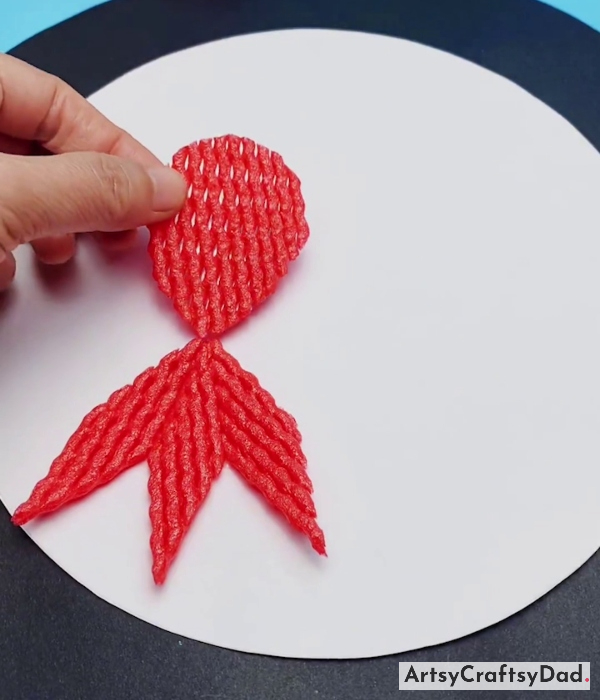
Take a piece of fruit foam net & cut it out into an oval shape & paste it on the top of the tail as a fish body.
Step #6: Pasting Googly Eyes
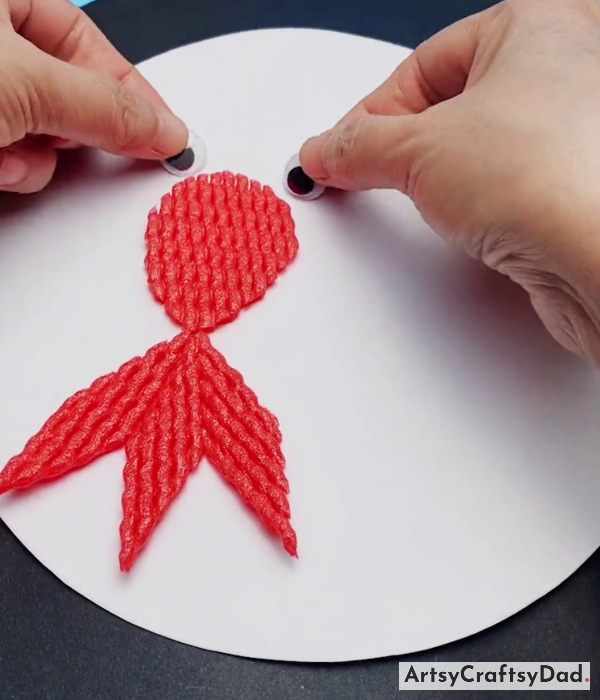
Take googly eyes & paste them on the top end of the fish’s face.
Step #7: Pasting Tail Of The Other Fish
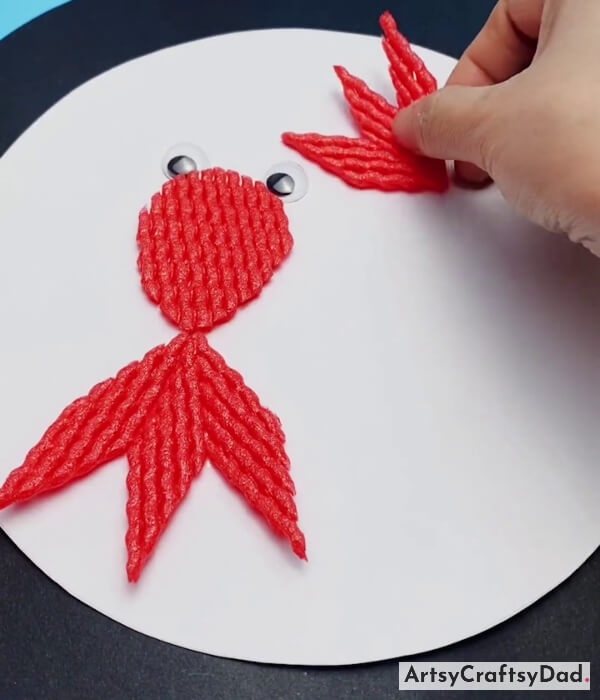
Follow the same process & paste the tail for another fish as shown in the image.
Step #8: Pasting Body Cutout
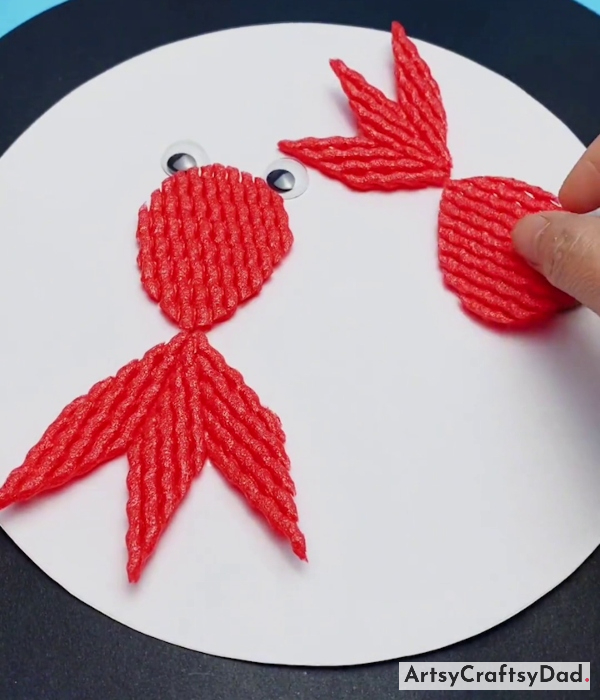
Paste the fish’s body in the same manner as we mentioned in the above steps.
Step #9: Making Water Plants Using Green Fruit Foam
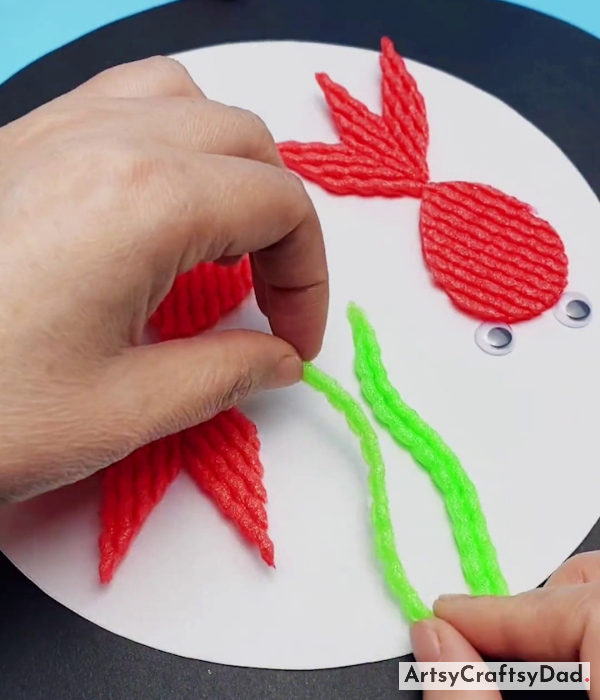
Take two googly eyes & paste them in the same manner as we did for the first fish. Take a green fruit foam & cut it into three strips & paste them on a white base as water plants.
Hurrah! Fruit Foam Fish Craft Tutorial Is Ready!
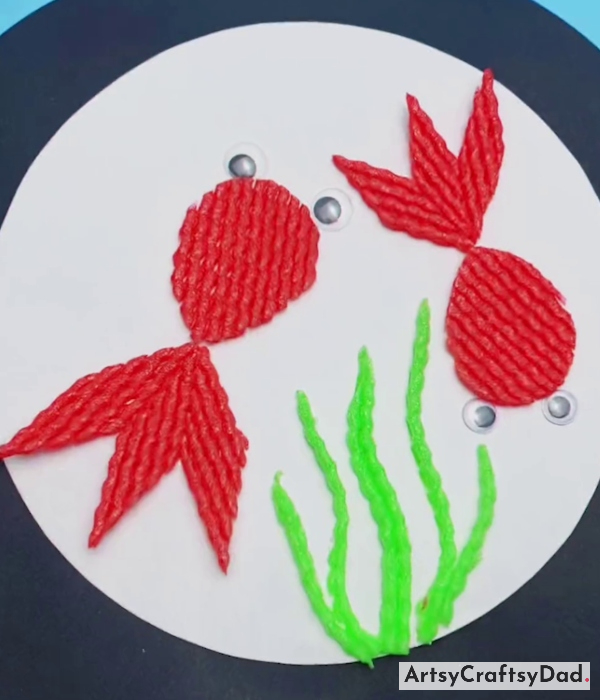
Now, complete the fish craft by cutting some more strips & pasting them near the other water pants.
This fruit foam net fish craft is completed here.
I hope you like this beautiful craft from waste material of no use. This craft also teaches children about the importance of recycling and reusing materials. By using fruit foam nets to create colorful and unique fish, children can explore their artistic abilities while also learning about the significance of protecting our environment. This craft tutorial is a fantastic way to keep children entertained and educated, making it a great option for parents and teachers alike. Please share your feedback in the comment section & let us know what you think about our craft. If you want to create something new then I have an idea. You could make some other sea creatures & animals like panda & other decorating things like flower pot etc. Please share our website with your friends & family.
Thanks for choosing us!
You might Also Like This
- Fruit Foam Net Flower Pot Craft Hack Tutorial
- Purple Fruit Foam Net Flowers Decor Craft Tutorial
- Lavender Artificial Flowers: Fruit Foam Net Craft Tutorial
- Fruit Foam Net Pink Flower Decor Craft Tutorial
- Fruit Foam Net Apple Craft Tutorial For Kindergartners


