Did you know that you can make strawberries out of a fruit foam? Well, you definitely can, and they will look lovely sitting on a table, in a vase.
This is a Fruit Foam Net Strawberry Model Craft Step-by-step Tutorial. It is apt for kids of ages around five and above. It makes a really good beginner craft item as kids will learn to make something different from a fruit foam. This is also a wonderful best out-of-waste craft activity. The material requirement is very minimal and so is the time that it requires. It will enable the kids to visualize the possibilities of what more they can create.
Easy Fruit Foam Net Strawberry Model Craft
Must Read: Clay Flower Pot Model Craft Tutorial For Kids
Tools & Supplies
- Three Fruit Foams Of Red Color (Or Any Color)
- Green-Colored Textured Chart Paper Or A Craft Paper or A Sheet.
- A Pair Of Scissors
- A Glue
- A Thread
- A Very Thin, Dark Green Colored Wire Or A Stick Or A String
- A Pencil
Foam Net Strawberry Instructions
Step #1: Take Three Fruit Foams
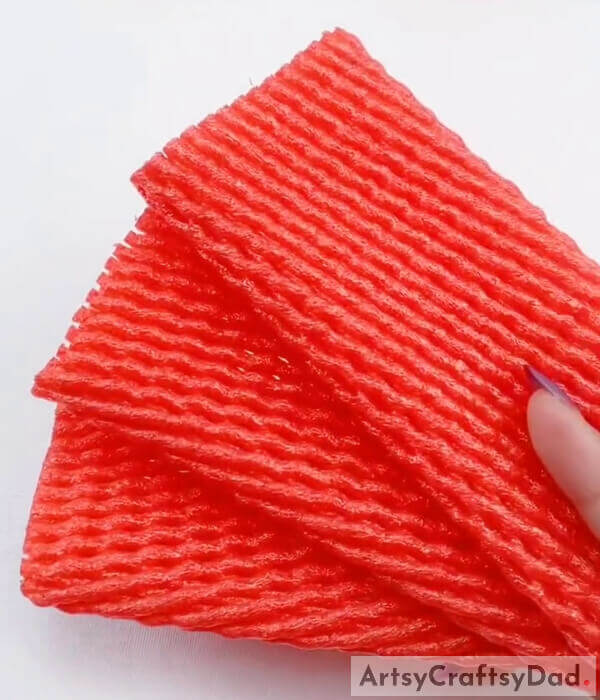
To get started, the first material that you need is three fruit foams. Here, red color is used, you can choose any color that you like.
Step #2: Grab A Pair Of Scissors Now
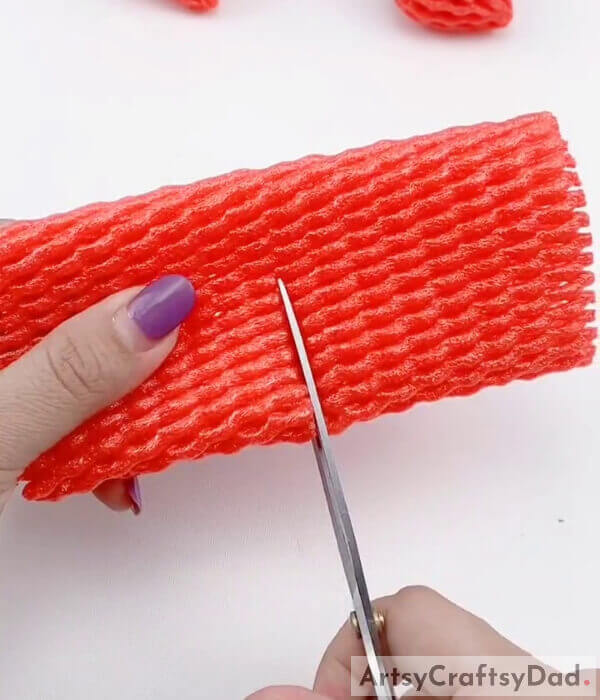
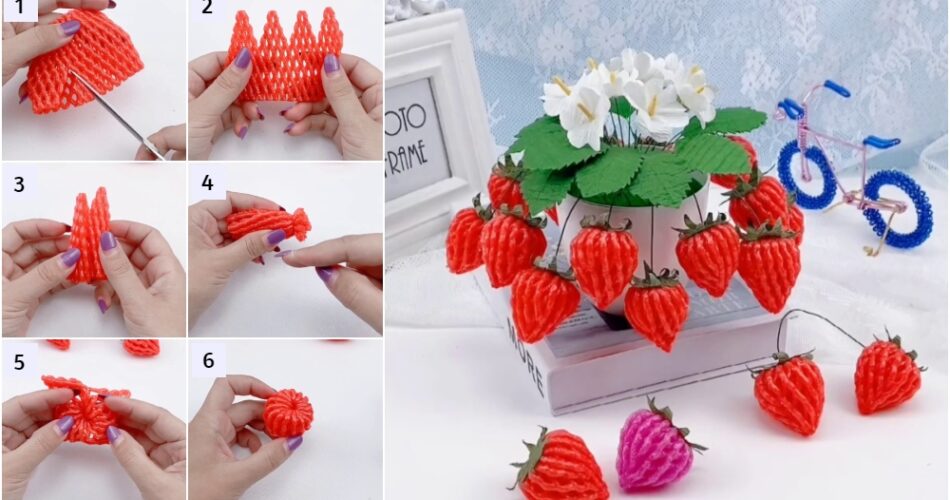
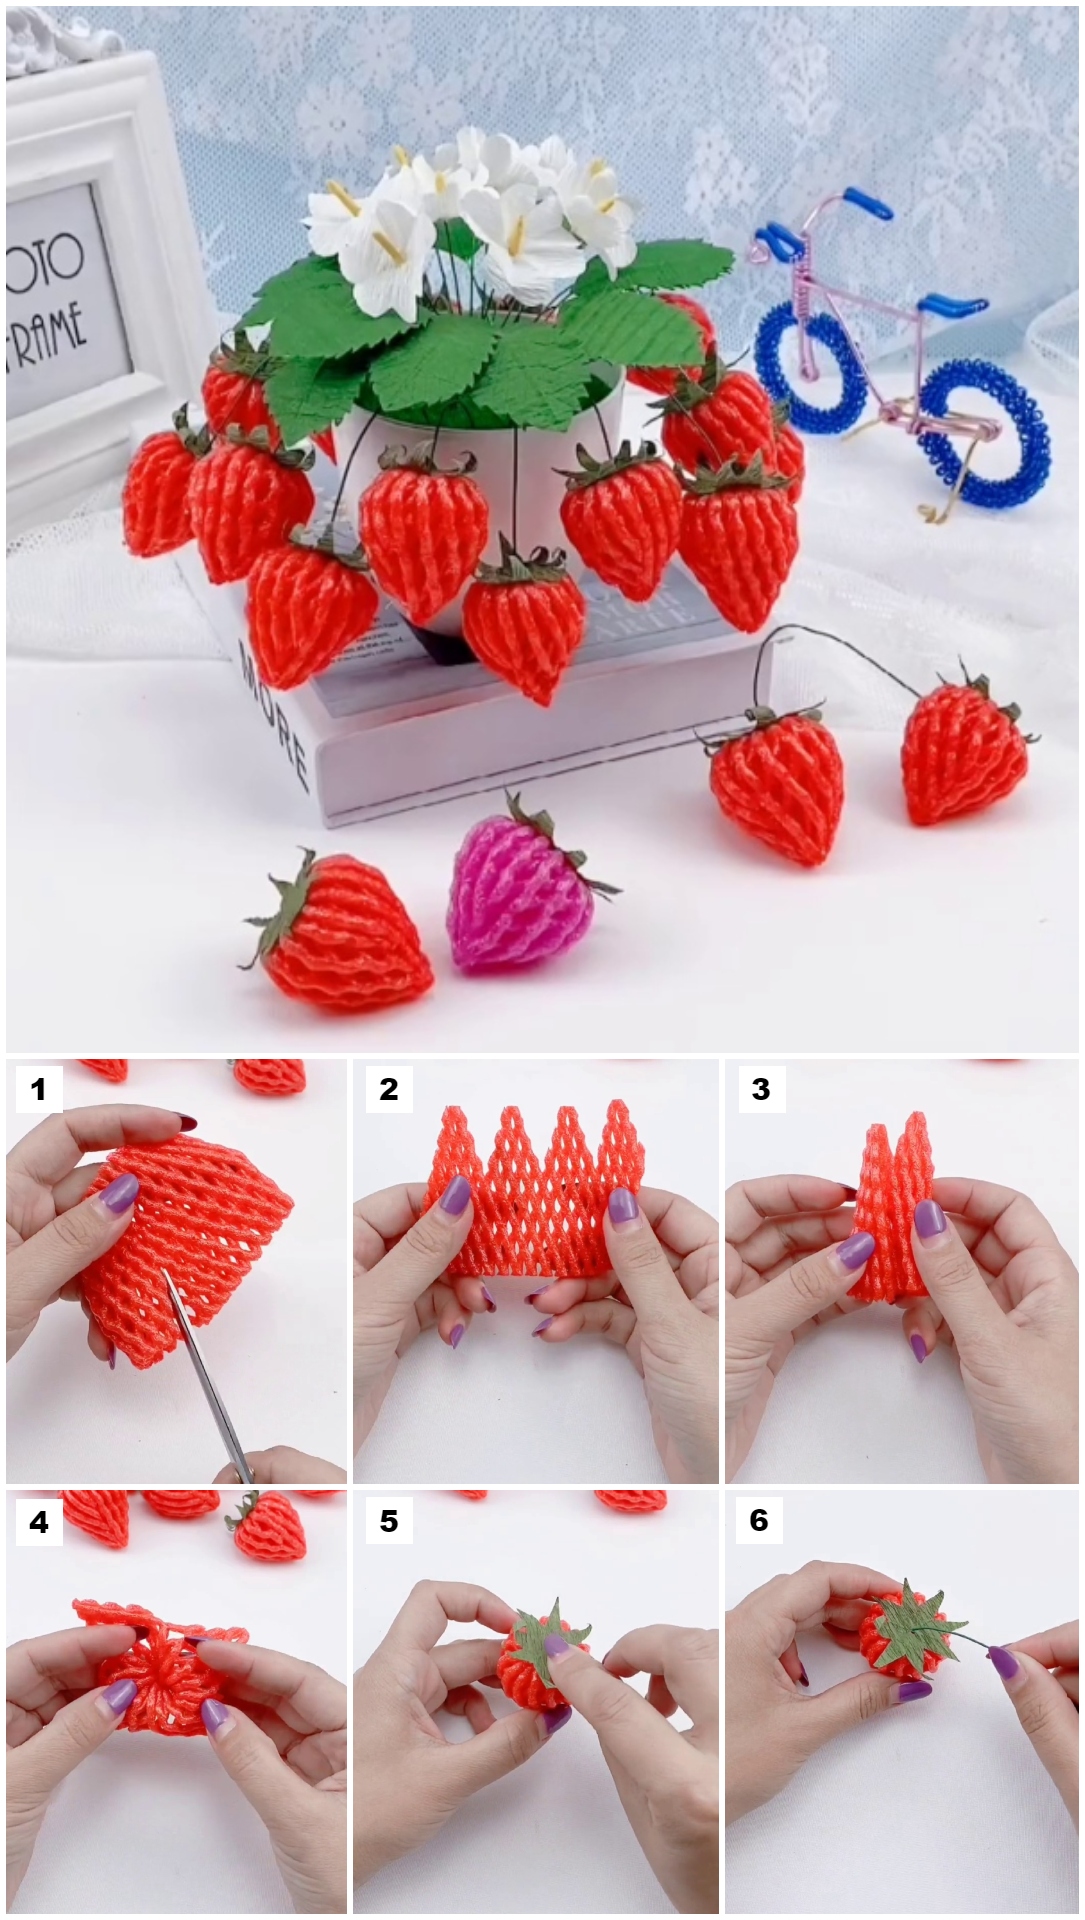
Take a pair of scissors. Using that, cut the fruit foam into halves. Refer to the image above.
Step #3: Make A Small, Diagonal, Cut Using A Pair Of Scissors
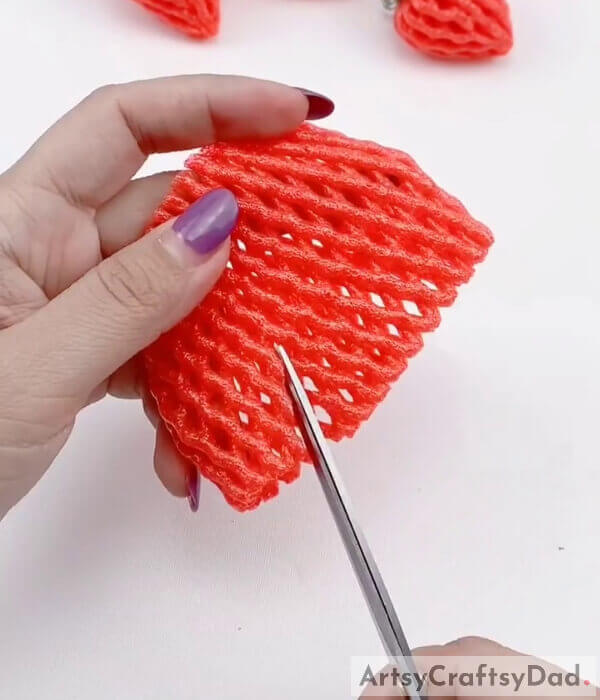
Make a slightly diagonal cut through a pair of scissors. Make a small cut, around one-third of the area.
Step #4: Make A V-Shaped Cut
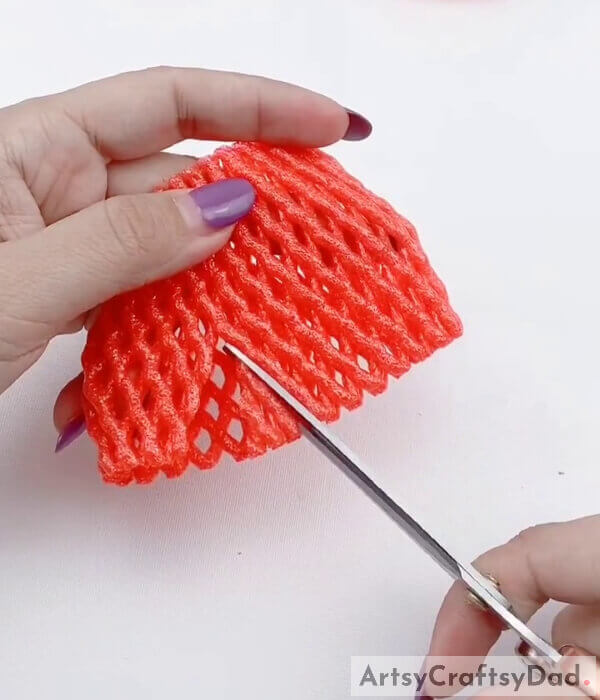
Make another cut, diagonal and opposite. It must look like a triangle or a V. Take the help of the above image.
Step #5: Cut It Similarly. It Will Look Like A Crown
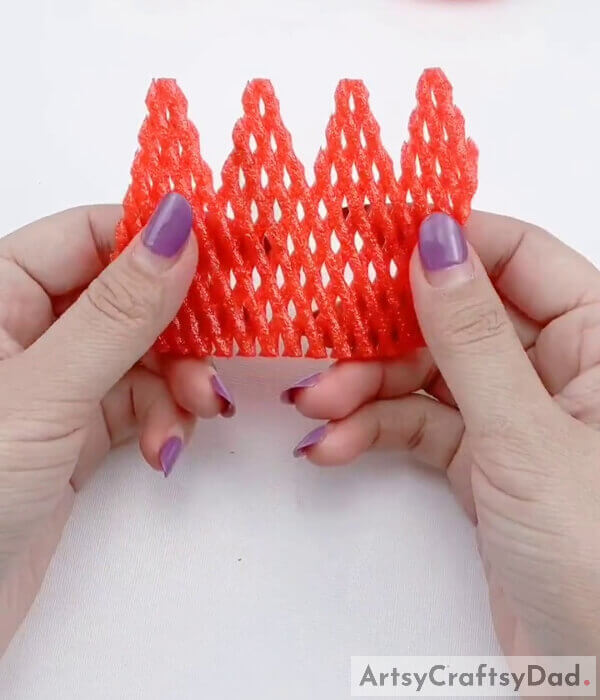
Cut the same way, following a chain. You will see a crown at the end, just like in the image above.
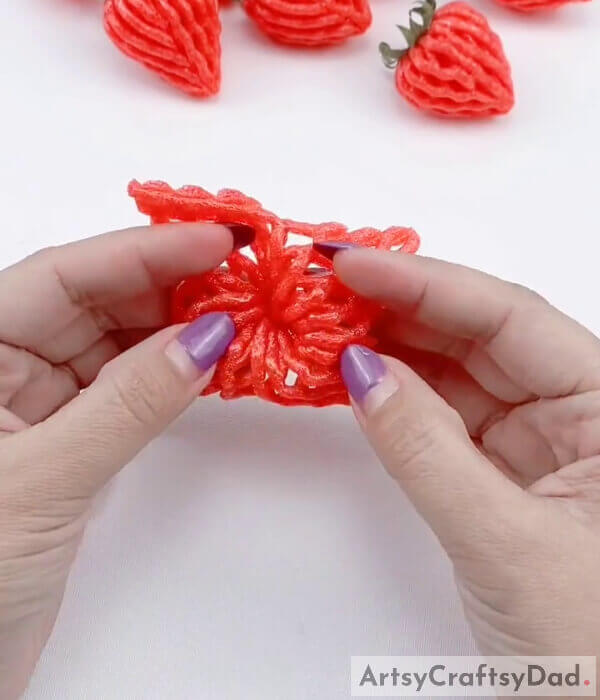
Step #6: Wrap It Within Itself
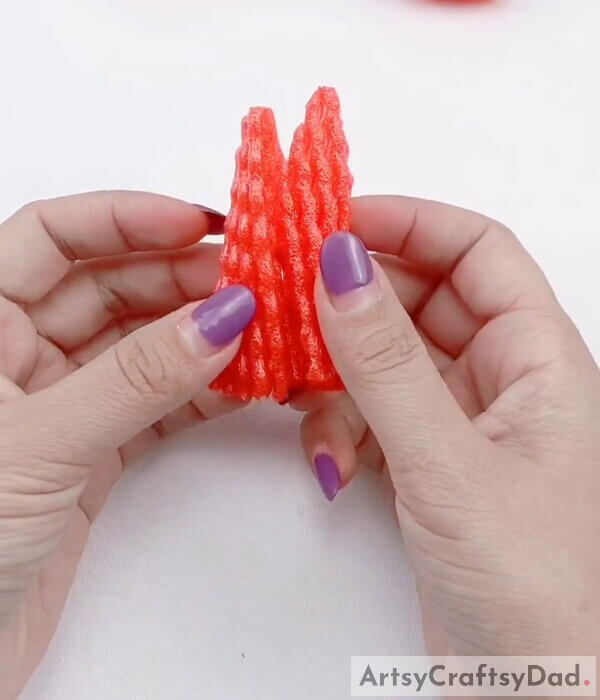
Wrap the foam on the inside, in a spiral.
Step #7: Tie A Thread Around The Pointed Edges
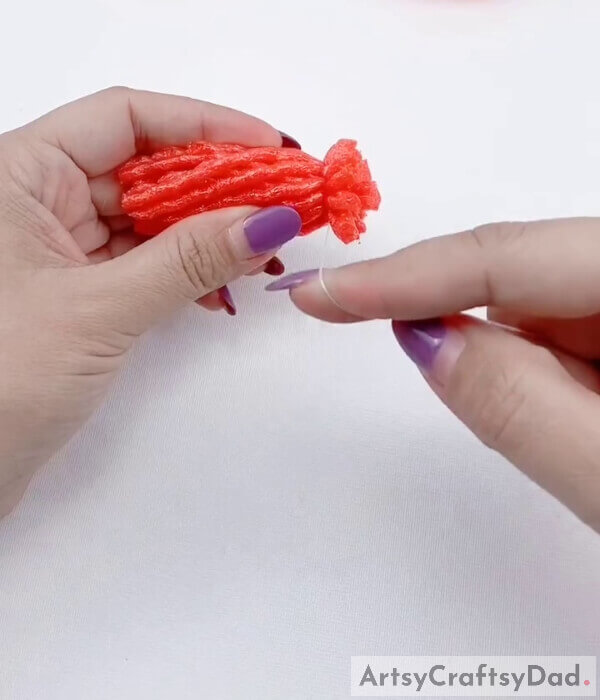
Take a thread and tie it around that triangle, with pointed edges of the crown-like shape.
Step #8: Turn It Upside Down In This Step
After tying the thread tightly, turn it upside down. Do it carefully. You do not want to break it.
Step #9: Completely Turn It Upside Down
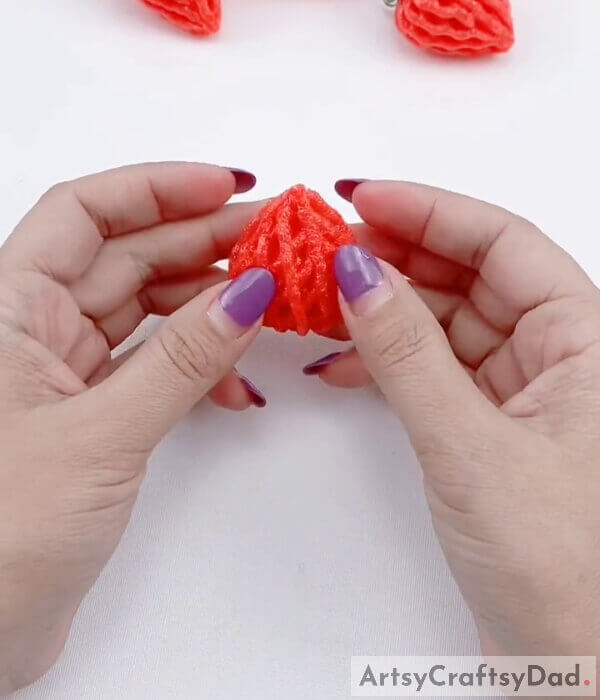
Turn it upside down give it a little shape and finish with your fingers. It should look like a pyramid, just as in the image above.
Step #10: Adjust The Surface, And Flat Portion A Bit
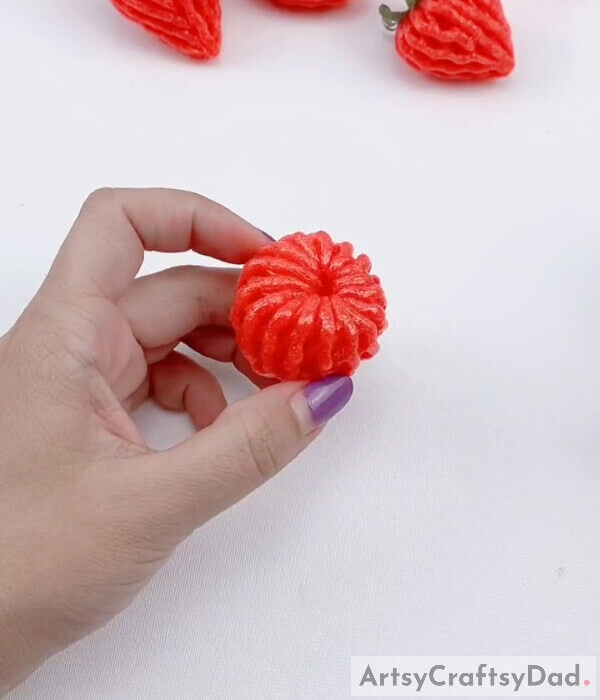
Keep your eyes on the surface part. That is the flat part of the pyramid. Make sure the fruit foam is not broken or coming out from anywhere; it is fixed.
Step #11: Cut Out And Paste The Green, Leafy Part On The Top
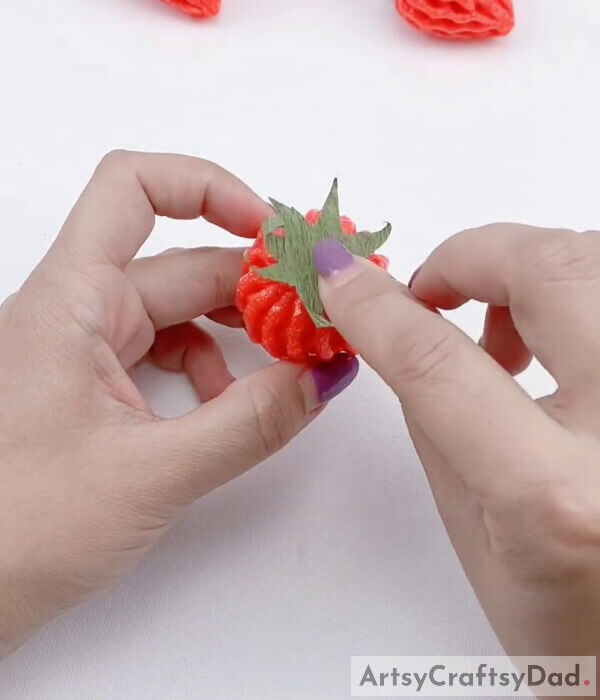
Take a green, textured sheet of paper or a chart paper. Draw this star-like shape, just as in the above image, and cut it out using a pair of scissors. Using glue, stick it on the top of the flat surface to complete the strawberry.
Step #12: Add The Stem To Finish The Last Step
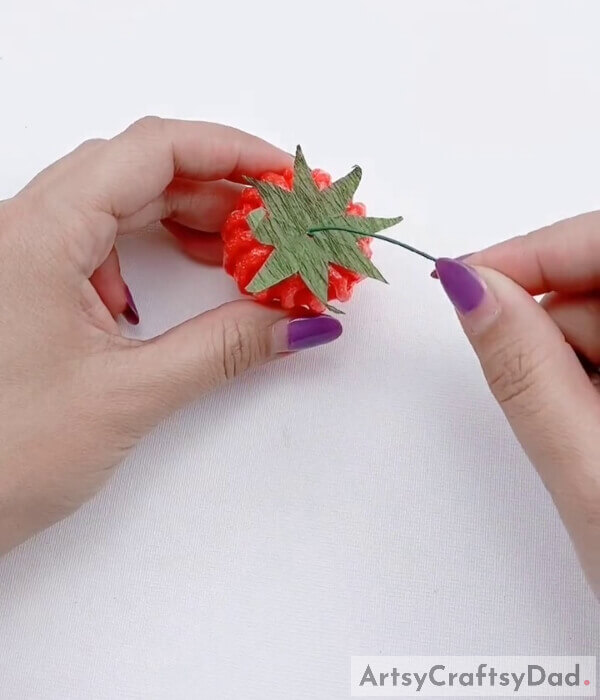
Take a very thin, dark green colored wire or stick or string; something that is similar to the reference image presented above. Insert it in the middle of the leafy part. So it carefully and slowly so that you do not end up tearing the sheet from with the leaf is created. This was the last step. You will have your strawberry now.
Final Image: Look! This Is The Final View Of The Strawberries Made Out Of Fruit Foam
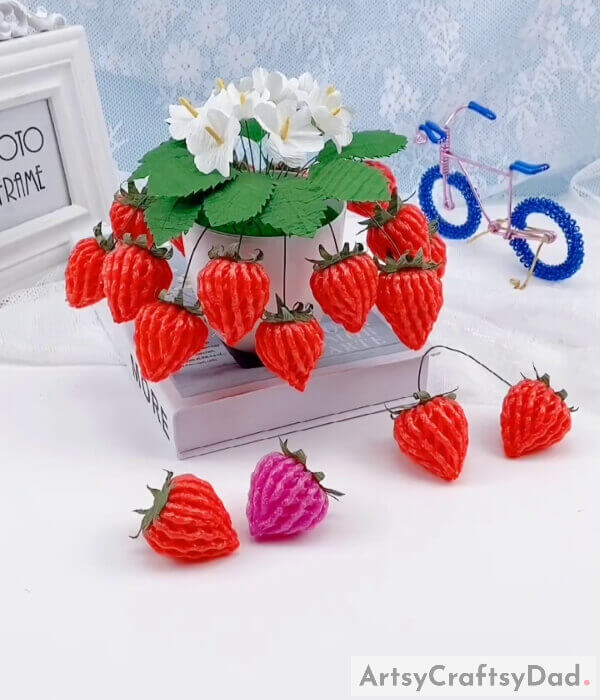
Well, this is the final look. This tutorial taught you to make one single strawberry. Now you can make multiple of these. It will also allow and enable you to practice and improve. You can definitely use these as items of decoration, as done in the above image. You can also make strawberries of different colors and sizes, like the pink one in the image. So, you have a lot of options to be creative using the same technique.
Thank you for your time and support.
You May Also Like
- Fruit Foam Net Pineapple Model Craft Tutorial
- Fruit Foam Net Apple Craft Tutorial For Kindergartners
- Fish Underwater View: Fruit Foam Net & Clay Craft Tutorial
- Recycled Flower Basket: Fruit Foam Net & Plastic Bottle Craft Tutorial
- Autumn Trees: Fruit Foam Net Hack Artwork Tutorial


