Looking for a fun and creative Christmas activity for kids? Learn how to make a heart-shaped paper Christmas tree with this easy tutorial. Engage your child’s imagination and fine motor skills while creating a festive decoration for the holiday season.
The holiday season is a time for creative crafts and festive decorations. One popular DIY project that is perfect for children is making a heart-shaped paper Christmas tree. This tutorial provides step-by-step instructions on how to create a charming and unique holiday decoration using simple materials. Not only is this activity a fun way to spend time with your kids, but it also allows them to showcase their artistic skills and add a personal touch to your home’s festive ambiance. So, gather your supplies and get ready to embark on a joyful crafting adventure with your little ones!
Cute Heart Shape Christmas Tree Using Paper
Must Read: Clay Heart Leaf Tree Craft Tutorial For Kids
Supplies & Tools
- Scissors
- Craft Papers (Green, Brown, yellow, White, Black)
- Colored Clay (Yellow, Red, Orange, Blue)
- Colored Sketch Pens ( Sky-Blue, Red, White)
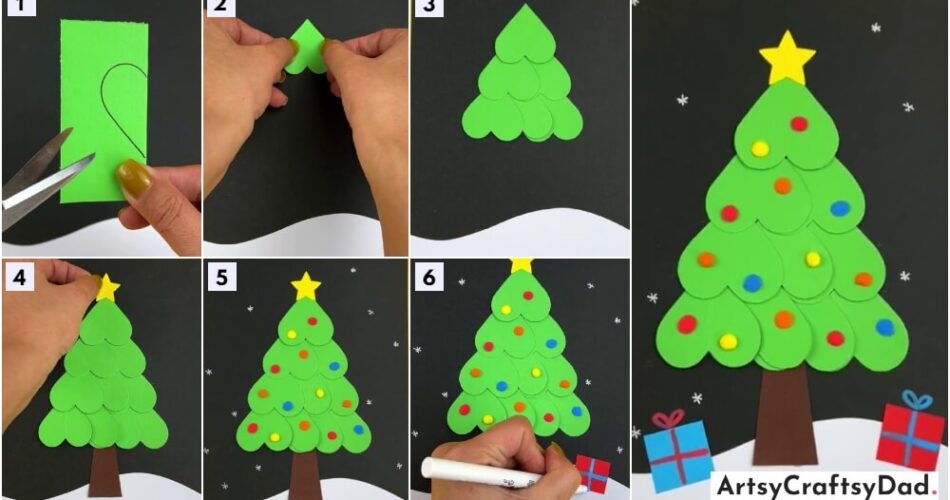
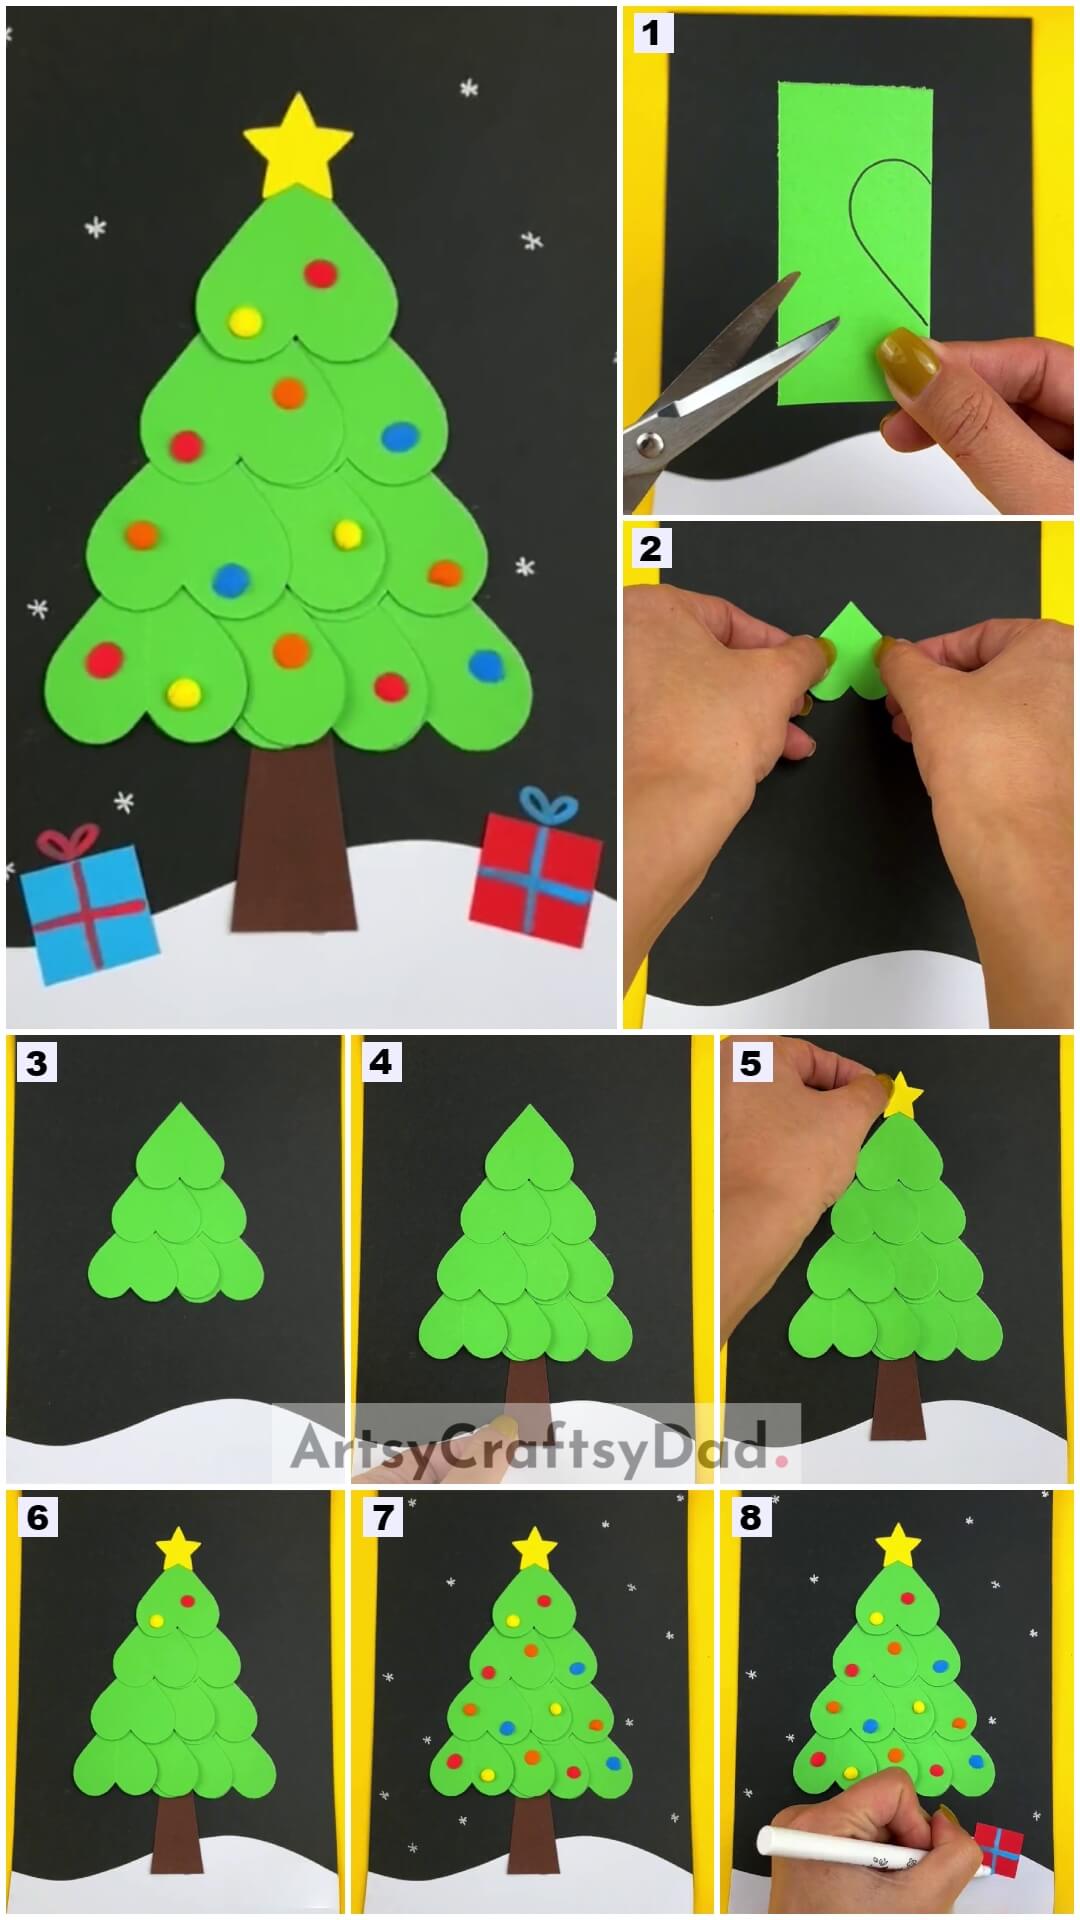
Heart Shape Christmas Tree Instruction
Step #1: Making Base Of Craft

Take a black craft paper, and cut it into a big rectangular shape, this will serve as our craft base.
Cut a white-colored craft paper into the shape shown above and paste it at the lower side on the black color base as the snow.
Step #2: Folding The Green Paper To Make Creases
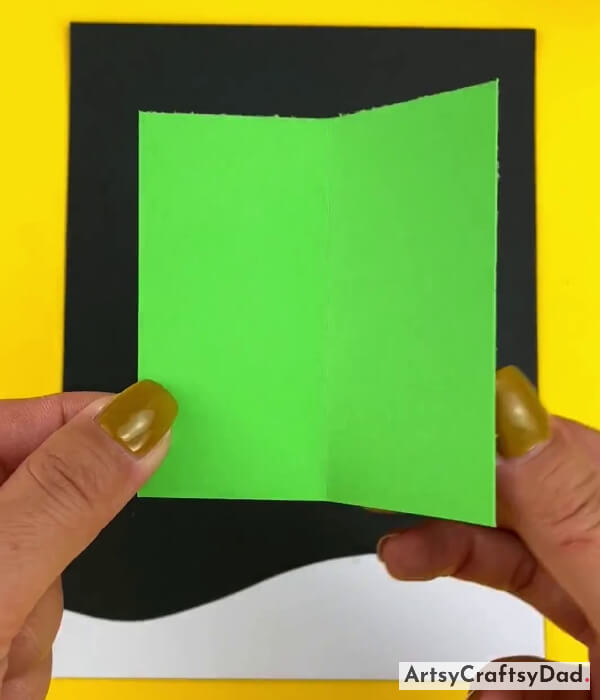
Take a piece of green craft paper and cut it into a square & fold it in half at the center to make creases.
Step #3: Drawing A Half Heart Shape On Half Folded Paper
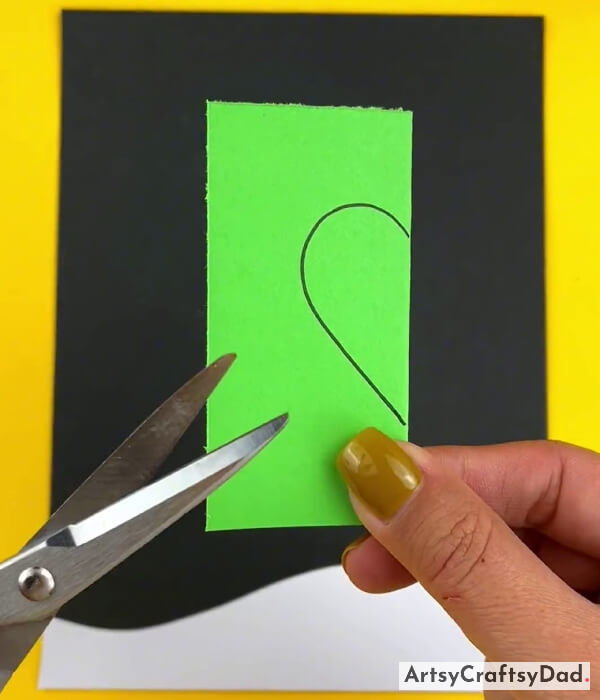
After folding the paper, draw a half-heart shape on it by using a black marker & cut out its outline use it as a Christmas tree leaf.
Step #4: Start Making Christmas Tree
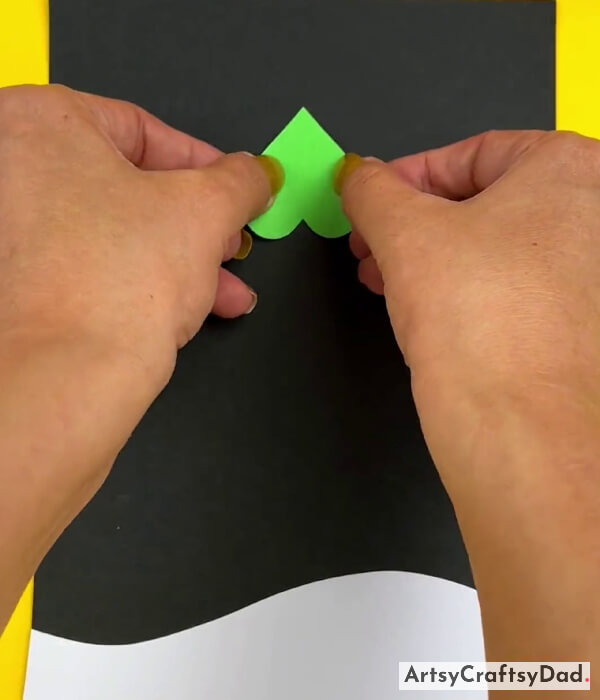
After cutting the leaf, start making the Christmas tree by pasting the leaf at the top of the black craft base. This forms the first layer of the tree.
Step #5: Making The Second Layer Of Tree
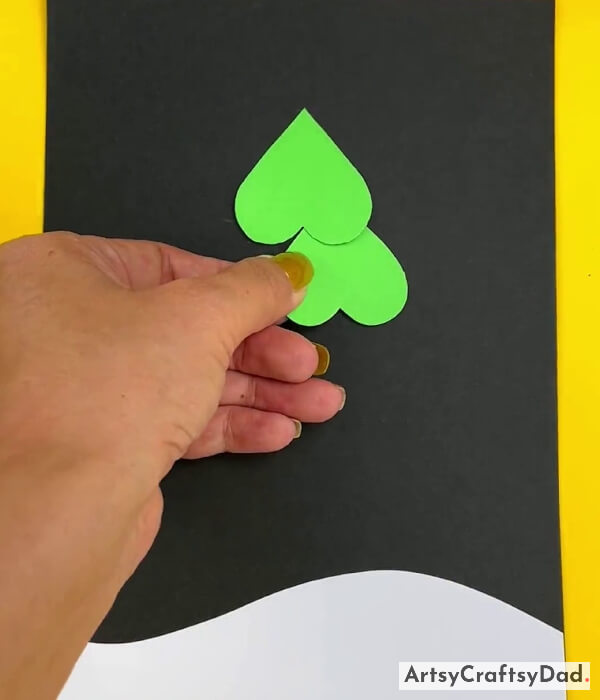
After pasting one leaf in the first layer, now paste two leaves in the second layer just below the first layer.
Step #6: Completing the Second Layer
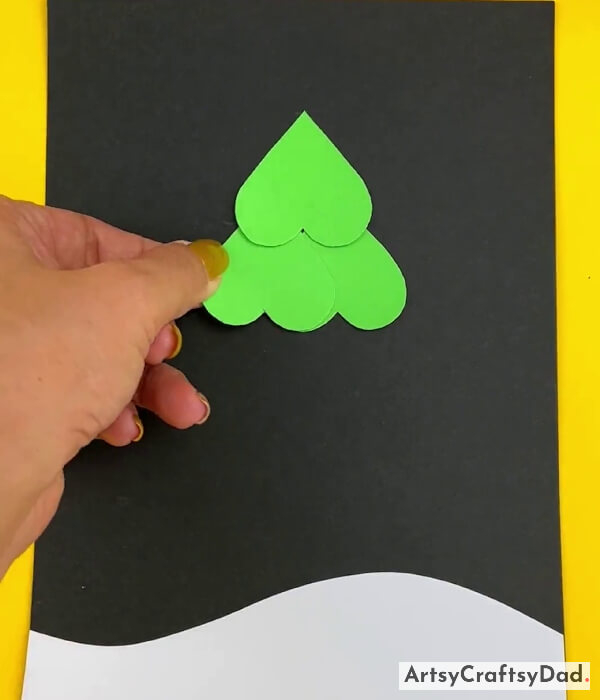
Pasting the second leaf of the second layer.
Step #7: Completing Of Third Layer
Now, create the third layer of the tree by adding three leaves Under the second layer.
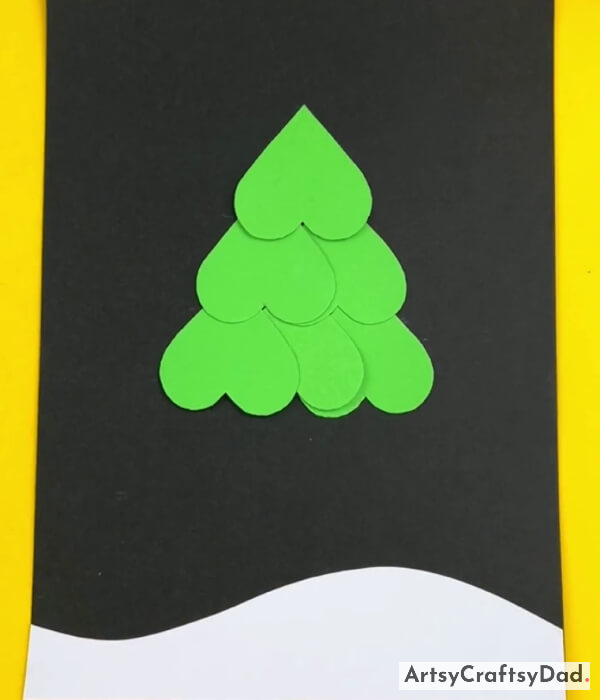
Step #8: Completing The Last Layer
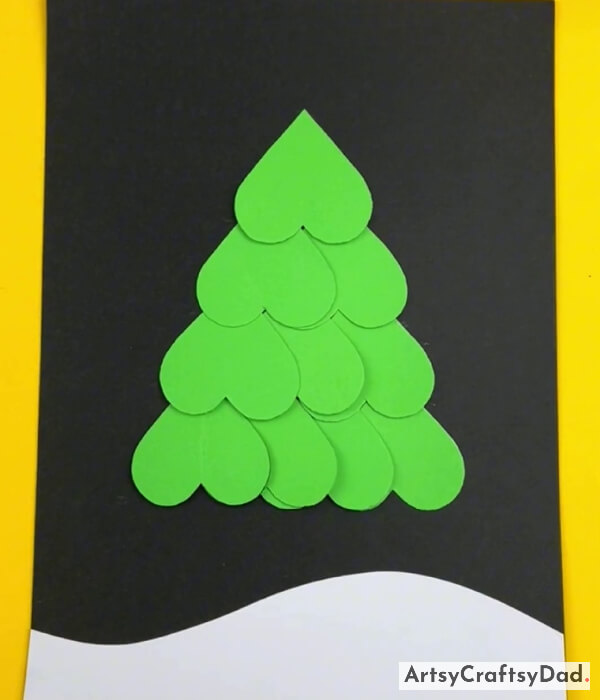
After the third layer, create the fourth and final layer of the tree by pasting four leaves in it.
Step #9: Making Trunk Of Tree
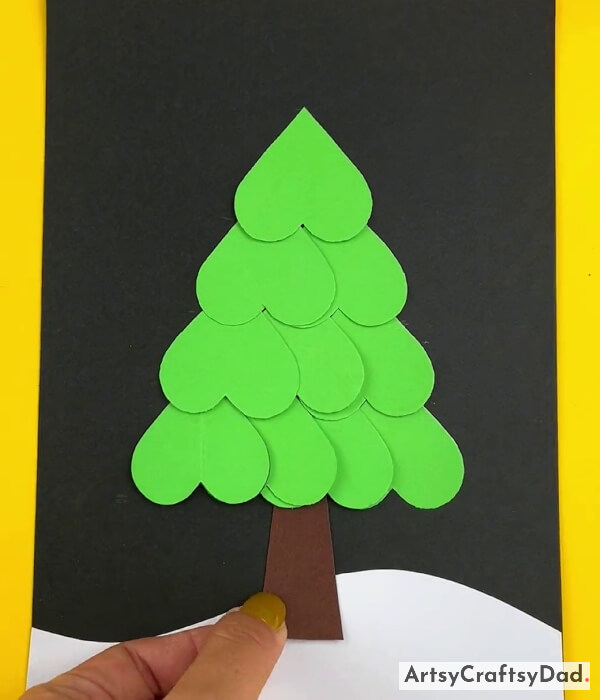
Take brown craft paper, draw a thick tree trunk part on it, cut it out, and paste it below the tree on the snow.
Step #10: Working With Christmas Tree Star
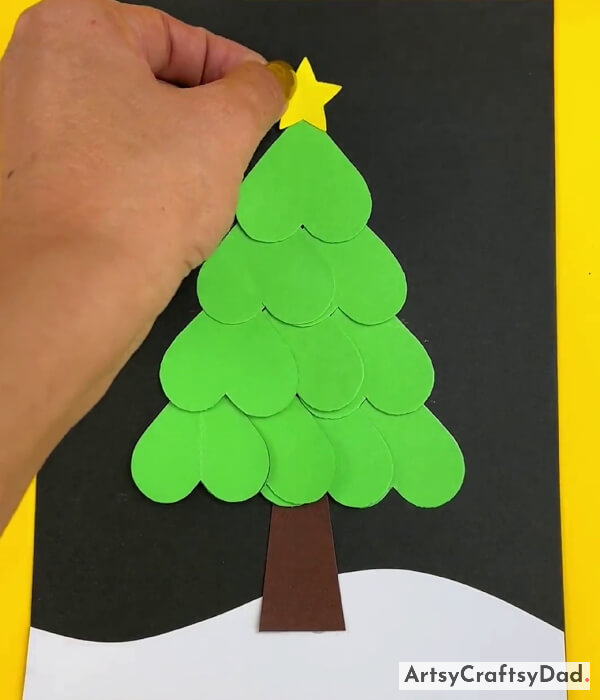
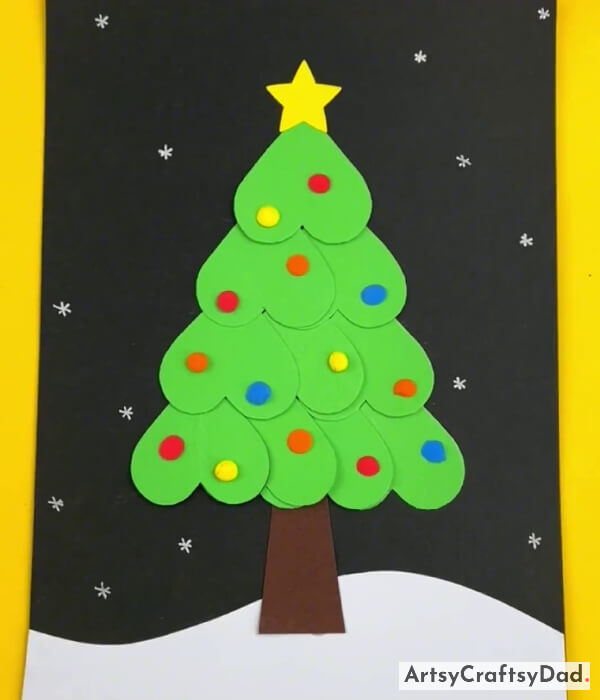
On yellow craft paper, cut it out into a star shape, and paste it at the top of the tree.
Step #11: Decorating The Tree Leaves
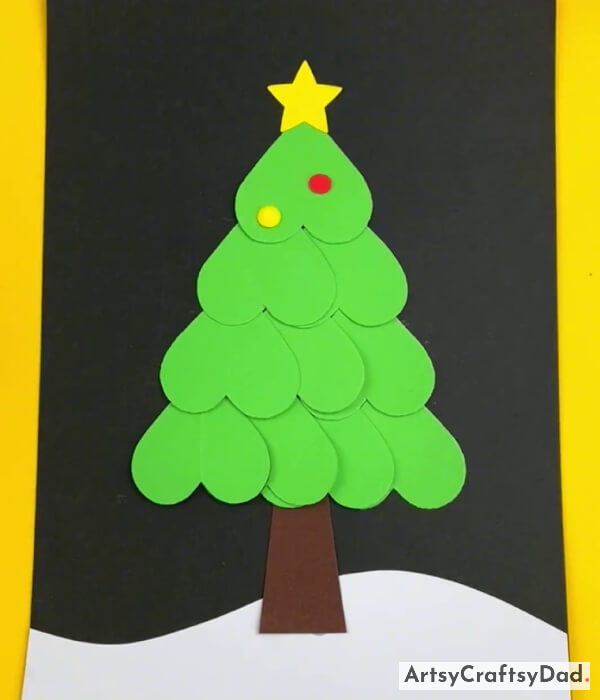
Now, create tiny circles on different colored paper, cut them out, and paste them on the tree to enhance its beauty.
Step #12: Decorating The Complete Tree

Take yellow, blue, orange, and red color clay & make some tiny circles & paste them on the Christmas tree to decorate the entire tree.
Step #13: Add Some Detailing On The Black Craft Base
With a white color sketch pen, draw some star shape for detailing of the tree.
Step #14: Making Paper Gifts
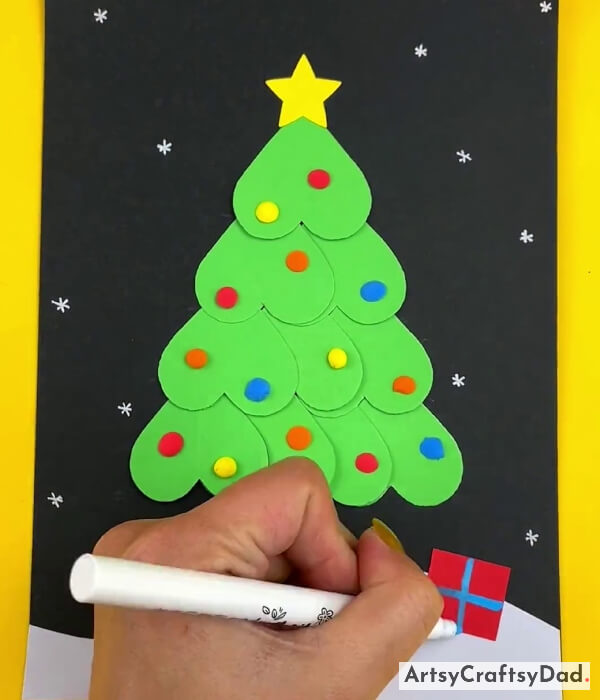
On red color paper, draw a square box, cut it out, and paste it at the bottom right side of the tree on the snow. Further, use a sky-blue color sketch pen to add a festive and gift-like design to the gift box.
Finally, Your Heart Shaped Christmas Tree Craft Is Ready!
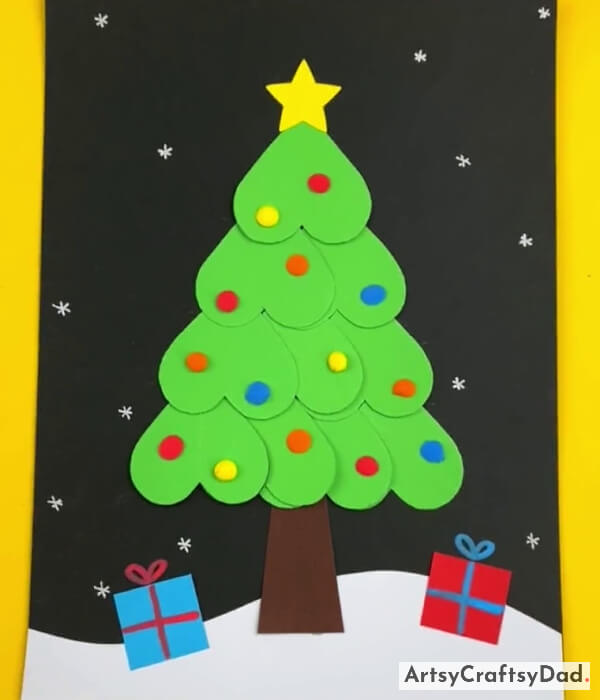
Now, draw a bow shape on the gift box & complete the craft by pasting a blue color gift on the left side of the tree & take a red sketch pen & follow the same process as we did for the first gift.
Finally, our hearty-shaped paper Christmas tree beautiful paper craft is completed. Not only does it teach children about the significance of Christmas trees, but it also allows them to express their artistic abilities. By following the step-by-step instructions, children can create their own unique and personalized Christmas tree decorations. Don’t miss to share your thoughts in the comment section.
Thanks for showing your trust by visiting our website! Have a nice day!
You Might Also Like This
- DIY Christmas tree balls made of paper
- Christmas Tree Ornament – Button Felt Snowman (Tutorial)
- How to Transform Plastic Bottles Into a Christmas Tree (Tutorial)
- How to make a woolen Christmas Tree with a star (Tutorial)
- DIY Crafts: Birdhouses with corks Christmas tree (Tutorial)


