Looking for a fun and easy Christmas craft for kids? Check out our simple paper Christmas tree craft tutorial. This step-by-step guide will show you how to create a beautiful paper Christmas tree using basic materials. Get creative with different colors and patterns to make each tree unique.
Are you looking for a fun and easy holiday craft to keep your kids entertained? In this tutorial, we will show you how to make a simple paper Christmas tree that your little ones will love creating. This craft requires minimal materials and can be completed in just a few simple steps. Not only will your children enjoy the process of making their own Christmas decorations. So, grab your supplies and get ready to make this festive and delightful craft project!
Beautiful Christmas Tree Craft Using Paper Tutorial
Must Read: Christmas tree decoration craft (Tutorial)
Supplies & Tools
- Scissors
- Colored Craft Papers (Green, Red, Black, Pink, Sky-Blue, Orange, Yellow, Black, White, Brown)
- Colored Clay (Yellow, Red, Blue)
- Colored Sketch Pens (Sky-Blue, Pink)
Paper Christmas Tree Procedure
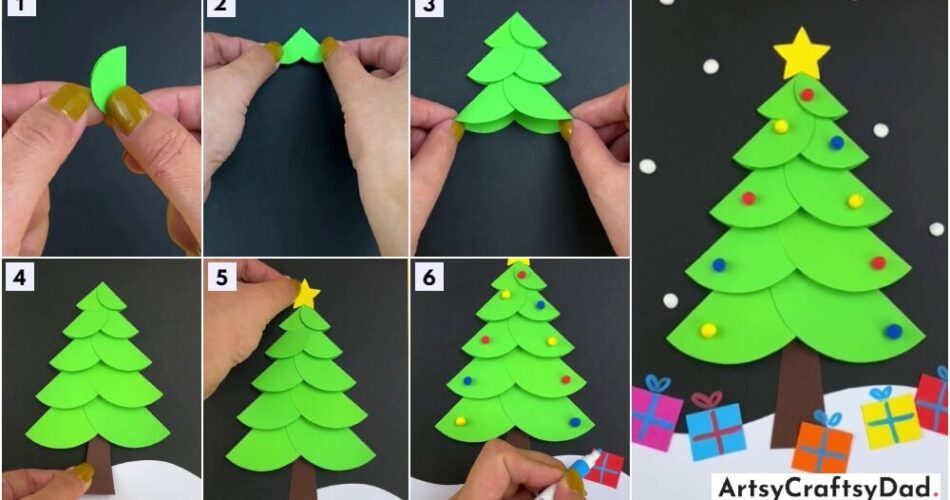
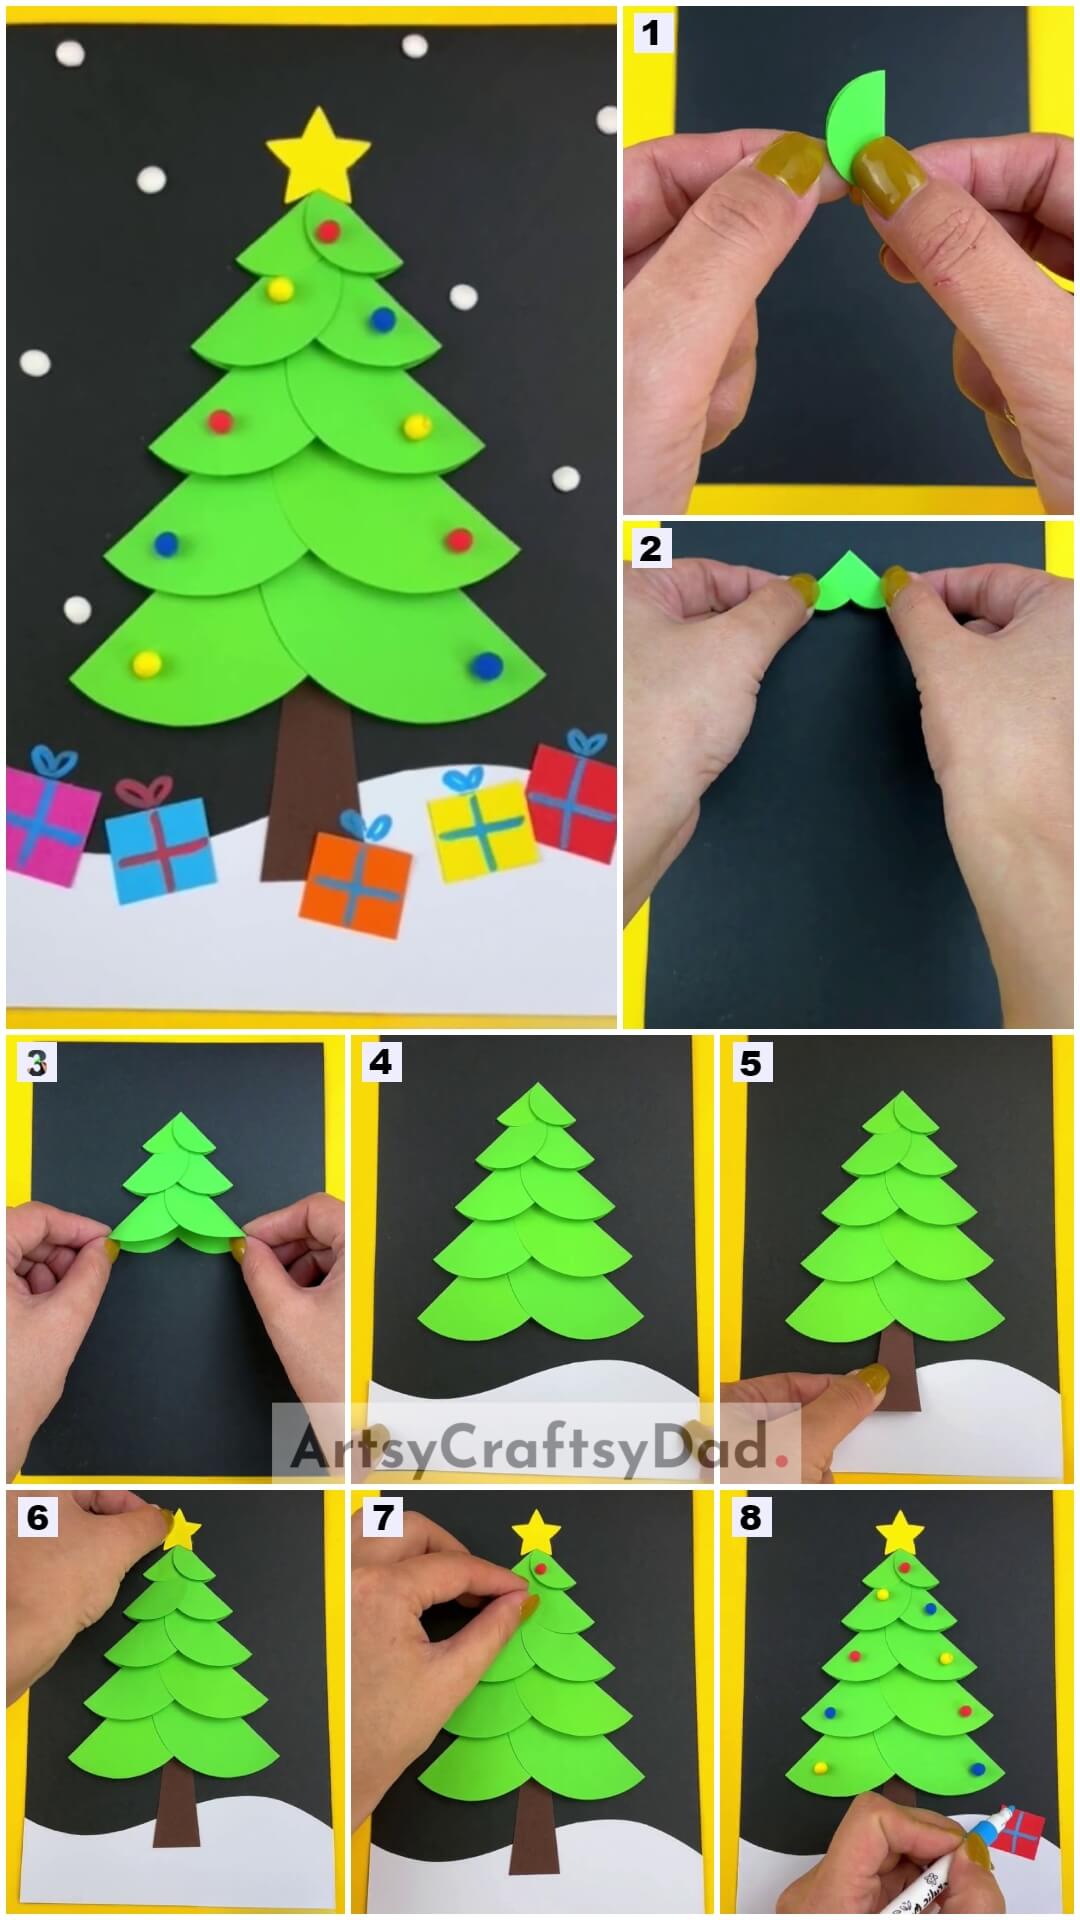
Step #1: Taking A Small Green Paper Circle & Fold It
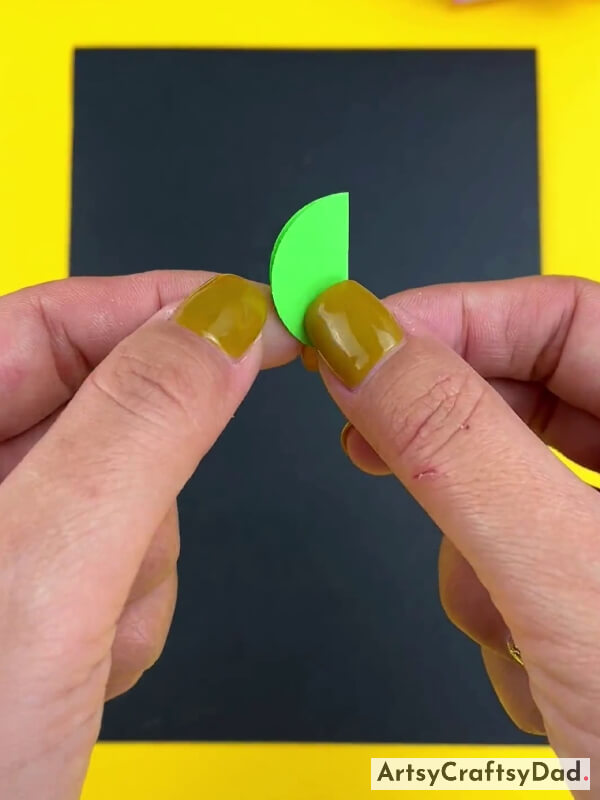
Take a black craft paper & cut it into a rectangle shape by using scissors & use it as the craft base. Now, take a piece of green craft paper & cut it into a little circle & fold it into half from the center same as shown in the above image.
Step #2: Pasting Two Half Folded Circles To Create A Heart Shape
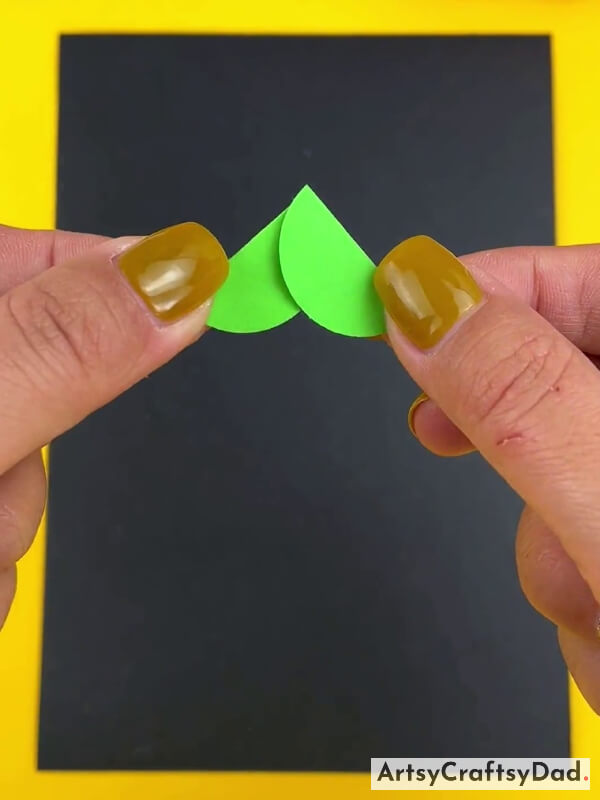
Make one more circle & fold it by following the same process. Then join both folded circles with each other to make a heart shape.
Step #3: Pasting The Heart Shape On A Black Sheet
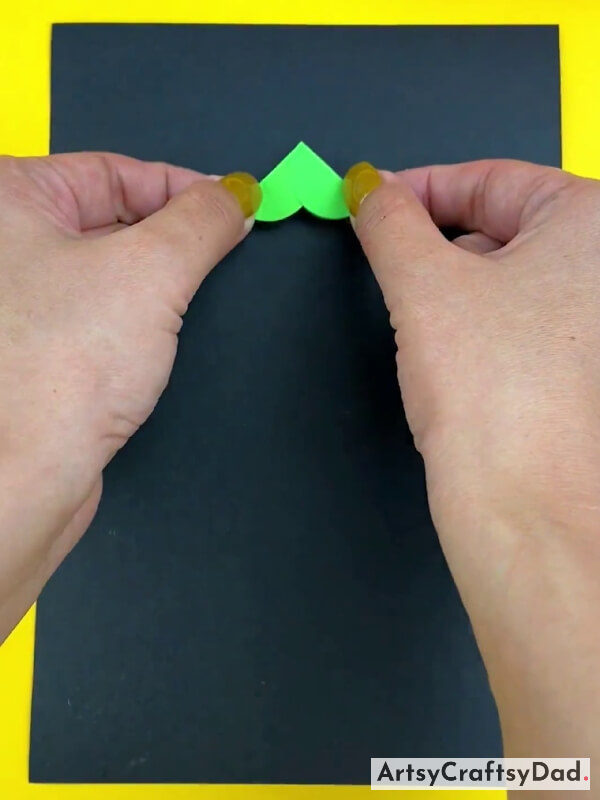
Now, paste the heart shape on the upper middle side of the black paper by using glue.
Step #4: Pasting One More Larger Heart Shape Than Previous One
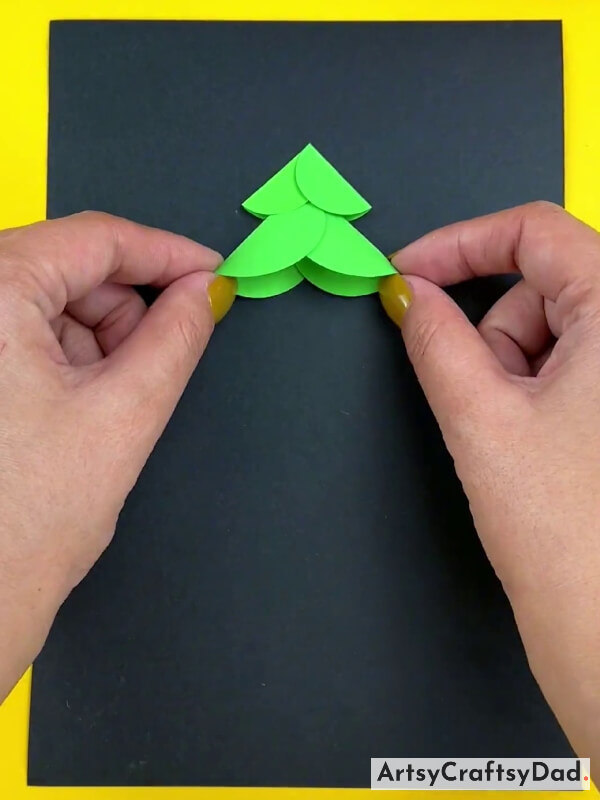
Follow the same process & make 2nd heart shape but it should be bigger than the first heart shape & paste it by inserting the top part of the heart under the first heart as shown in the above image.
Step #5: Pasting One More Larger Heart Shape Than Previous One
Make 3rd heart shape bigger than the previous one & paste it under the 2nd heart by following the same process.
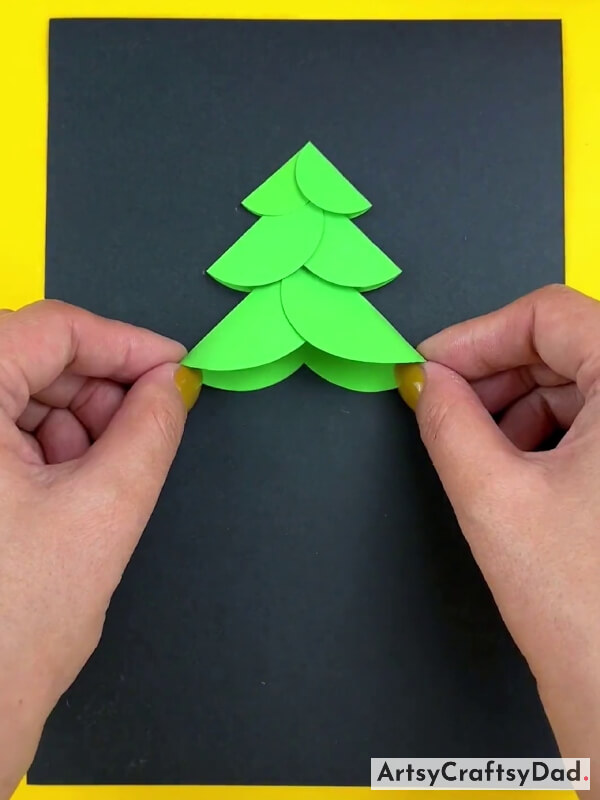
Step #6: Pasting One More Larger Heart Than The Previous One
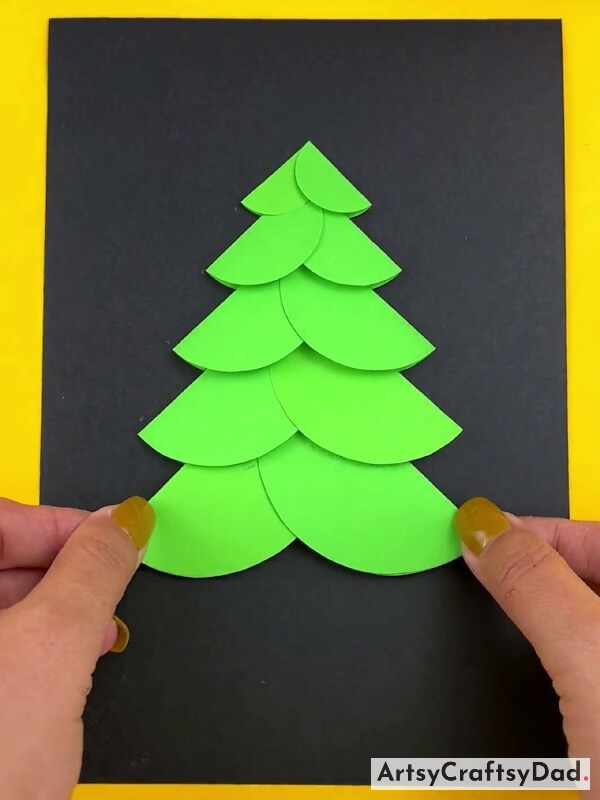
Repeat the same process & make the 4th & 5th heart shapes & paste them in the same manner.
Step #7: Pasting A White Craft Paper For Making Snow
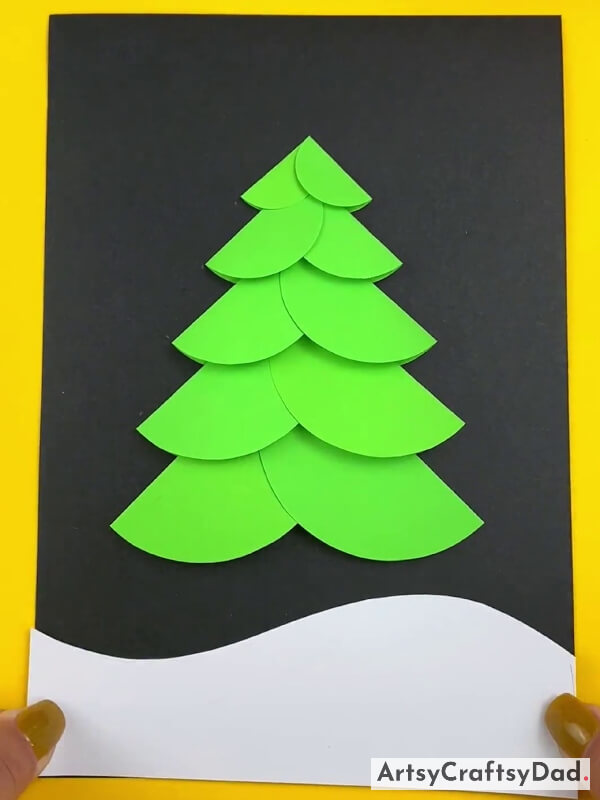
Take a piece of white craft paper & cut it into a curvy shape for making the snow & paste it on the lower end of the craft base.
Step #8: Making Trunk Of The Tree
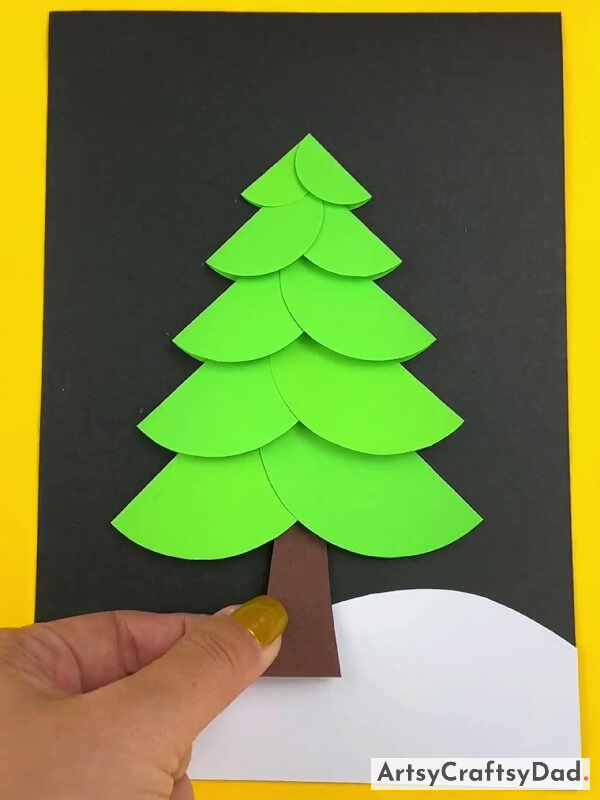
Take a piece of brown paper & cut it into a strip that should be thin from the top & thick towards the end & use it as the tree trunk part & paste it under the tree.
Step #9: Pasting A Star
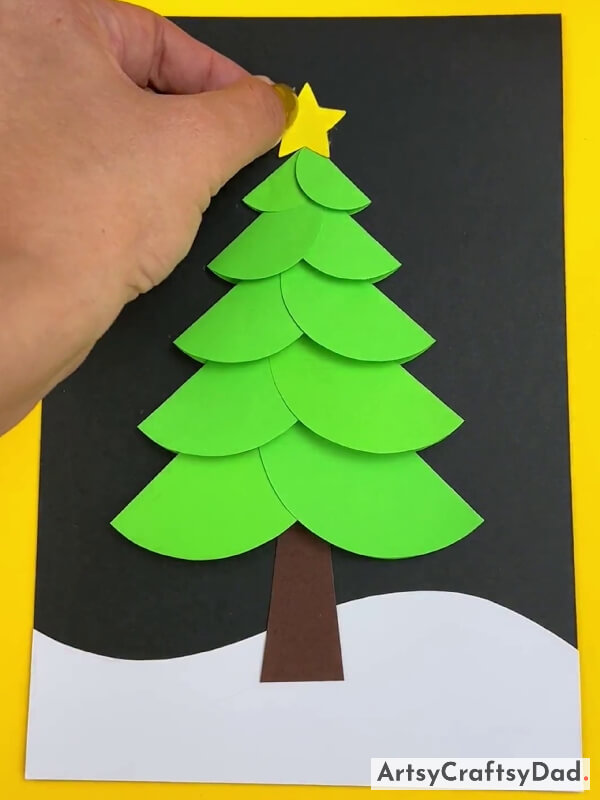
Take a yellow paper & cut it into a star shape then paste it on the top of the Christmas tree.
Step #10: Adding A Tiny Clay Ball For Decoration
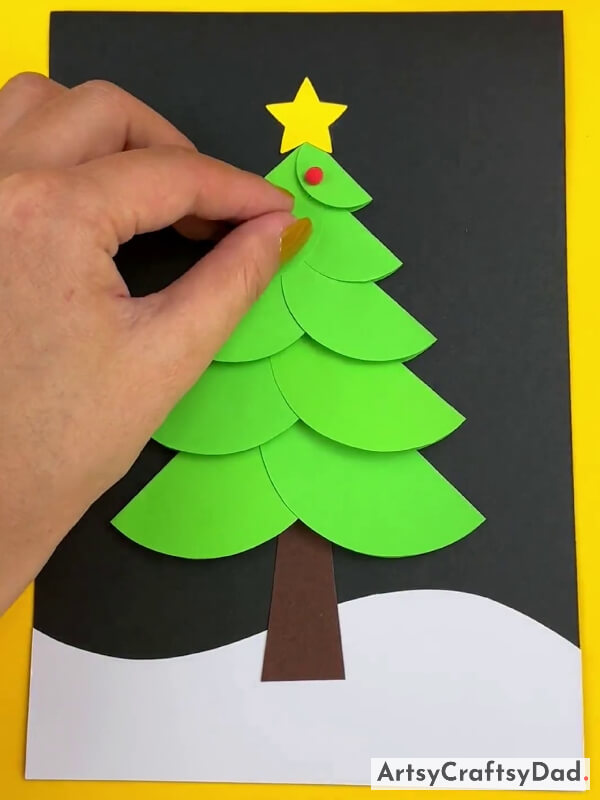
Take a red clay & make a tiny ball & paste it on the Christmas tree.
Step #11: Pasting Some More Different Color Tiny Balls
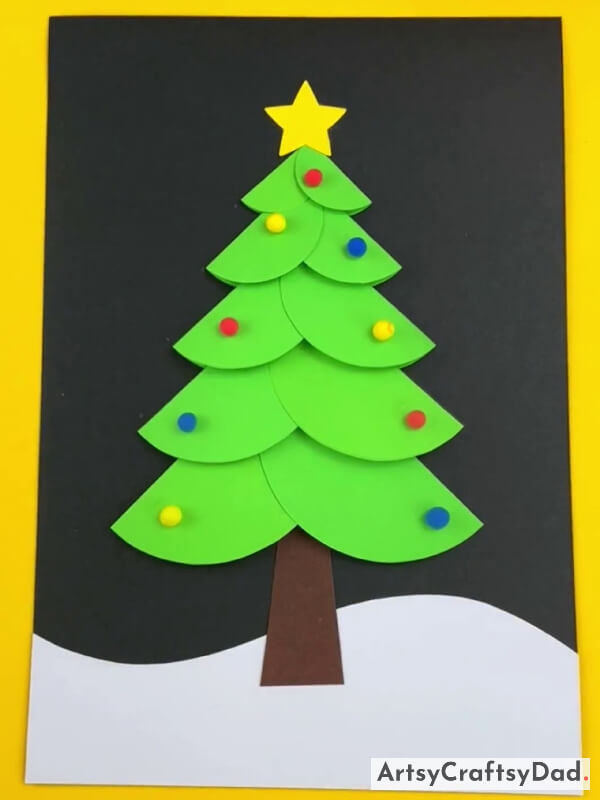
Take yellow, blue, and red clay & make some more tiny balls & paste them one by one by the same process.
Step #12: Making Gift
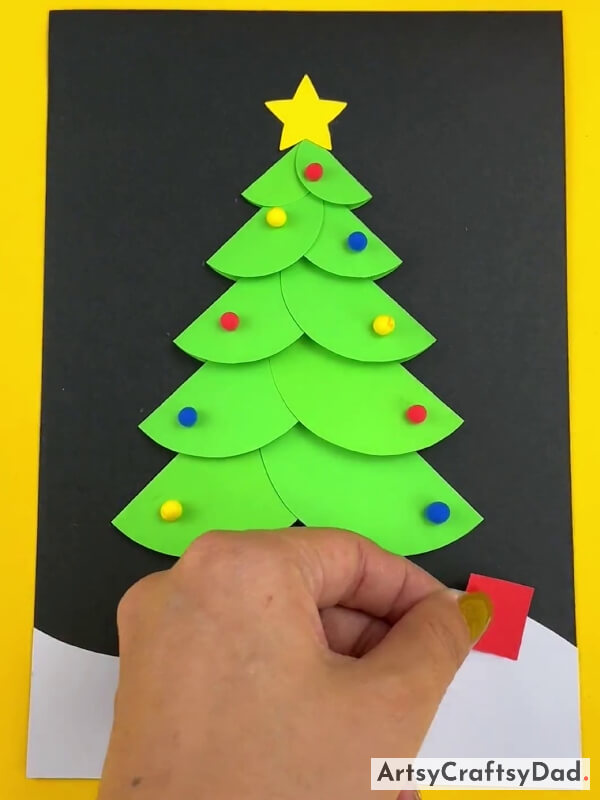
Take a red color craft paper & cut it into a square for the gift then paste it on the snow’s right side.
Step #13: Drawing ‘+’ Sign
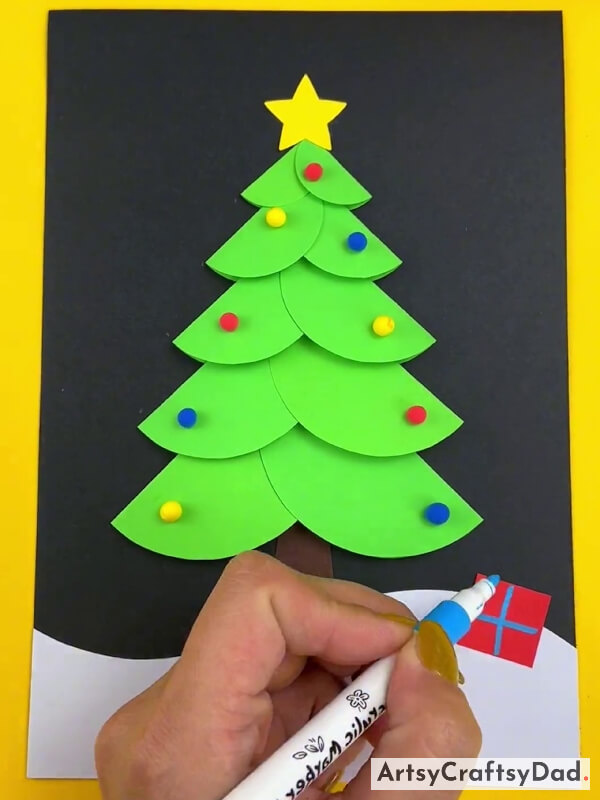
Take a blue sketch pen & draw a plus sign “+” on the gift.
Step #14: Adding Some More Different Colored Gifts
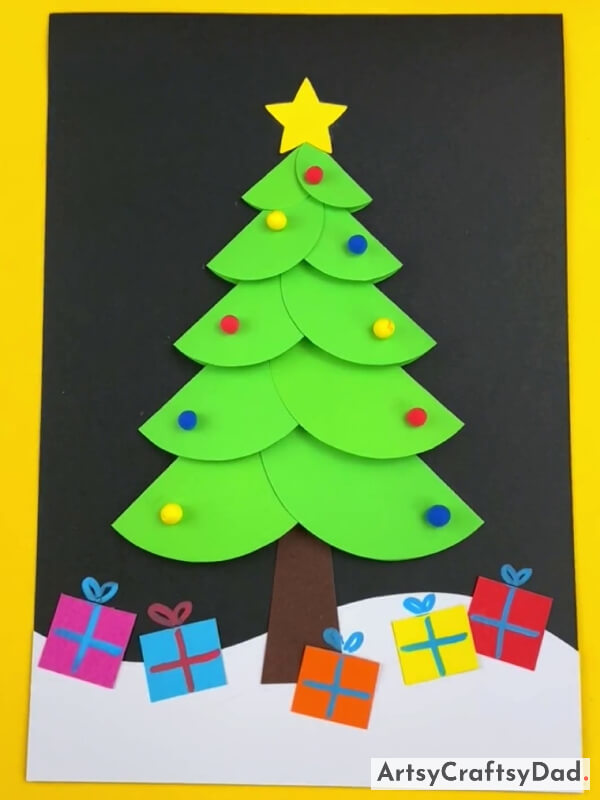
Draw a bow on the top of the red gift. Take pink, blue, orange, and yellow craft paper & cut them into square shapes paste them on the upper side of the snow & add some detailing by following the same process that we did to make the first gift.
Wow, Paper Christmas Tree Craft Is Ready!
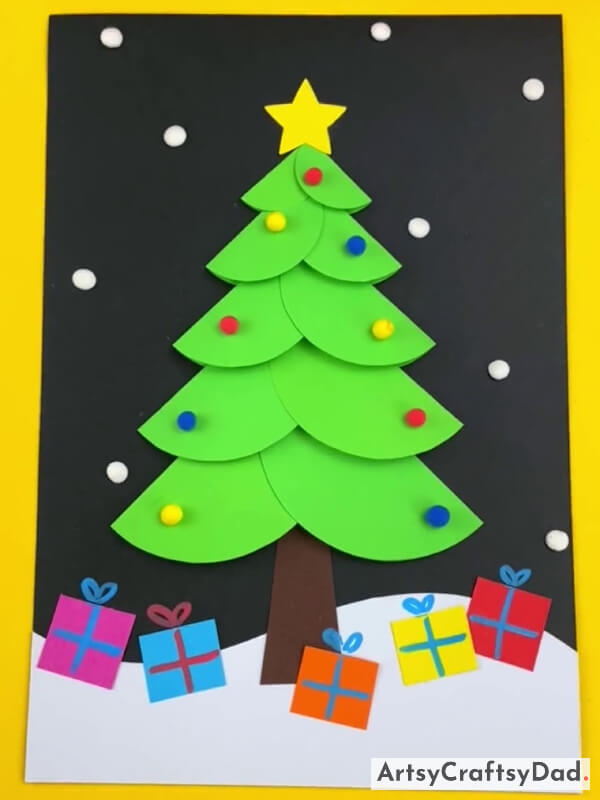
Complete this craft by pasting some little white clay balls to the craft base. Our Christmas craft is completed.
Now, we have to stop here because our beautiful craft is completed. I hope you enjoyed the process. This craft tutorial provides a delightful opportunity for kids to engage in holiday-themed art and craft, while also promoting a sense of accomplishment and pride in their work. You could show off this craft to your family & friends. They will be happy to see your hard work. Don’t miss to drop your feedback in the comment section. Have a nice day!
Thanks for choosing us!
You Might Also Like This
- How to Transform Plastic Bottles Into a Christmas Tree (Tutorial)
- How to make a woolen Christmas Tree with a star (Tutorial)
- DIY Crafts: Birdhouses with corks Christmas tree (Tutorial)
- Simple Paper Tearing Flowers Craft Tutorial
- Paper And Clay Tree Craft Tutorial For Beginners


