Learn how to create a cute and festive paper snowman using cotton buds with this easy DIY tutorial. Perfect for holiday decorations or as a fun craft activity for kids. Follow the step-by-step instructions and bring some winter charm to your home this season.
Creating DIY crafts is a fun and creative way to spend your free time. In this tutorial, we will show you step-by-step how to make a charming snowman using cotton buds. This simple and inexpensive craft is perfect for both kids and adults. It will surely add a touch of festive cheer to your home decor. So, let’s ready to enjoy this winter season by making a paper snowman by using cotton buds, paper, stem, and clay.
Snowman Paper Craft Using Cotton Buds
Must Read: Handprint Snowman Artwork Tutorial For Kids
Supplies & Tools
- Construction Paper (Blue)
- Colored Craft Papers (Red, White)
- Scissors
- Glue
- Color Sketch Pens (Orange, Red)
- Colored Clay (Red, White, Green)
- Plant Stems
- Googly Eyes
Snowman Craft Instructions
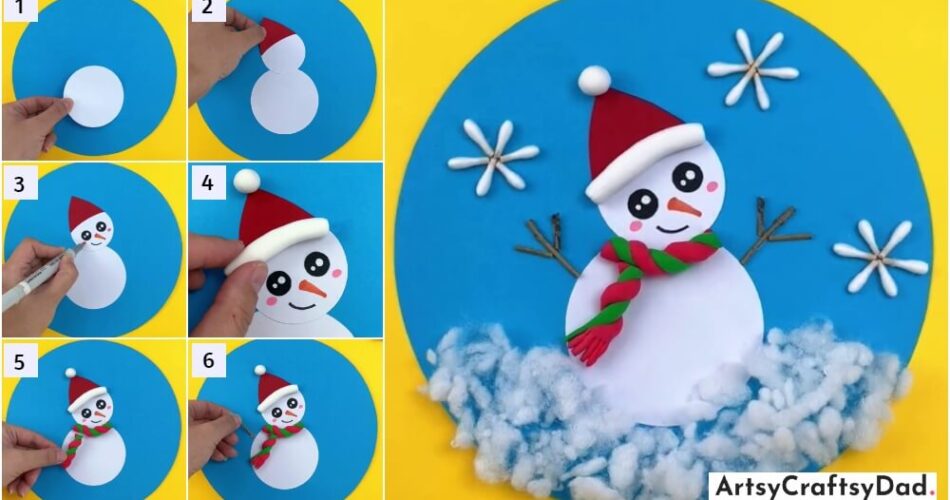
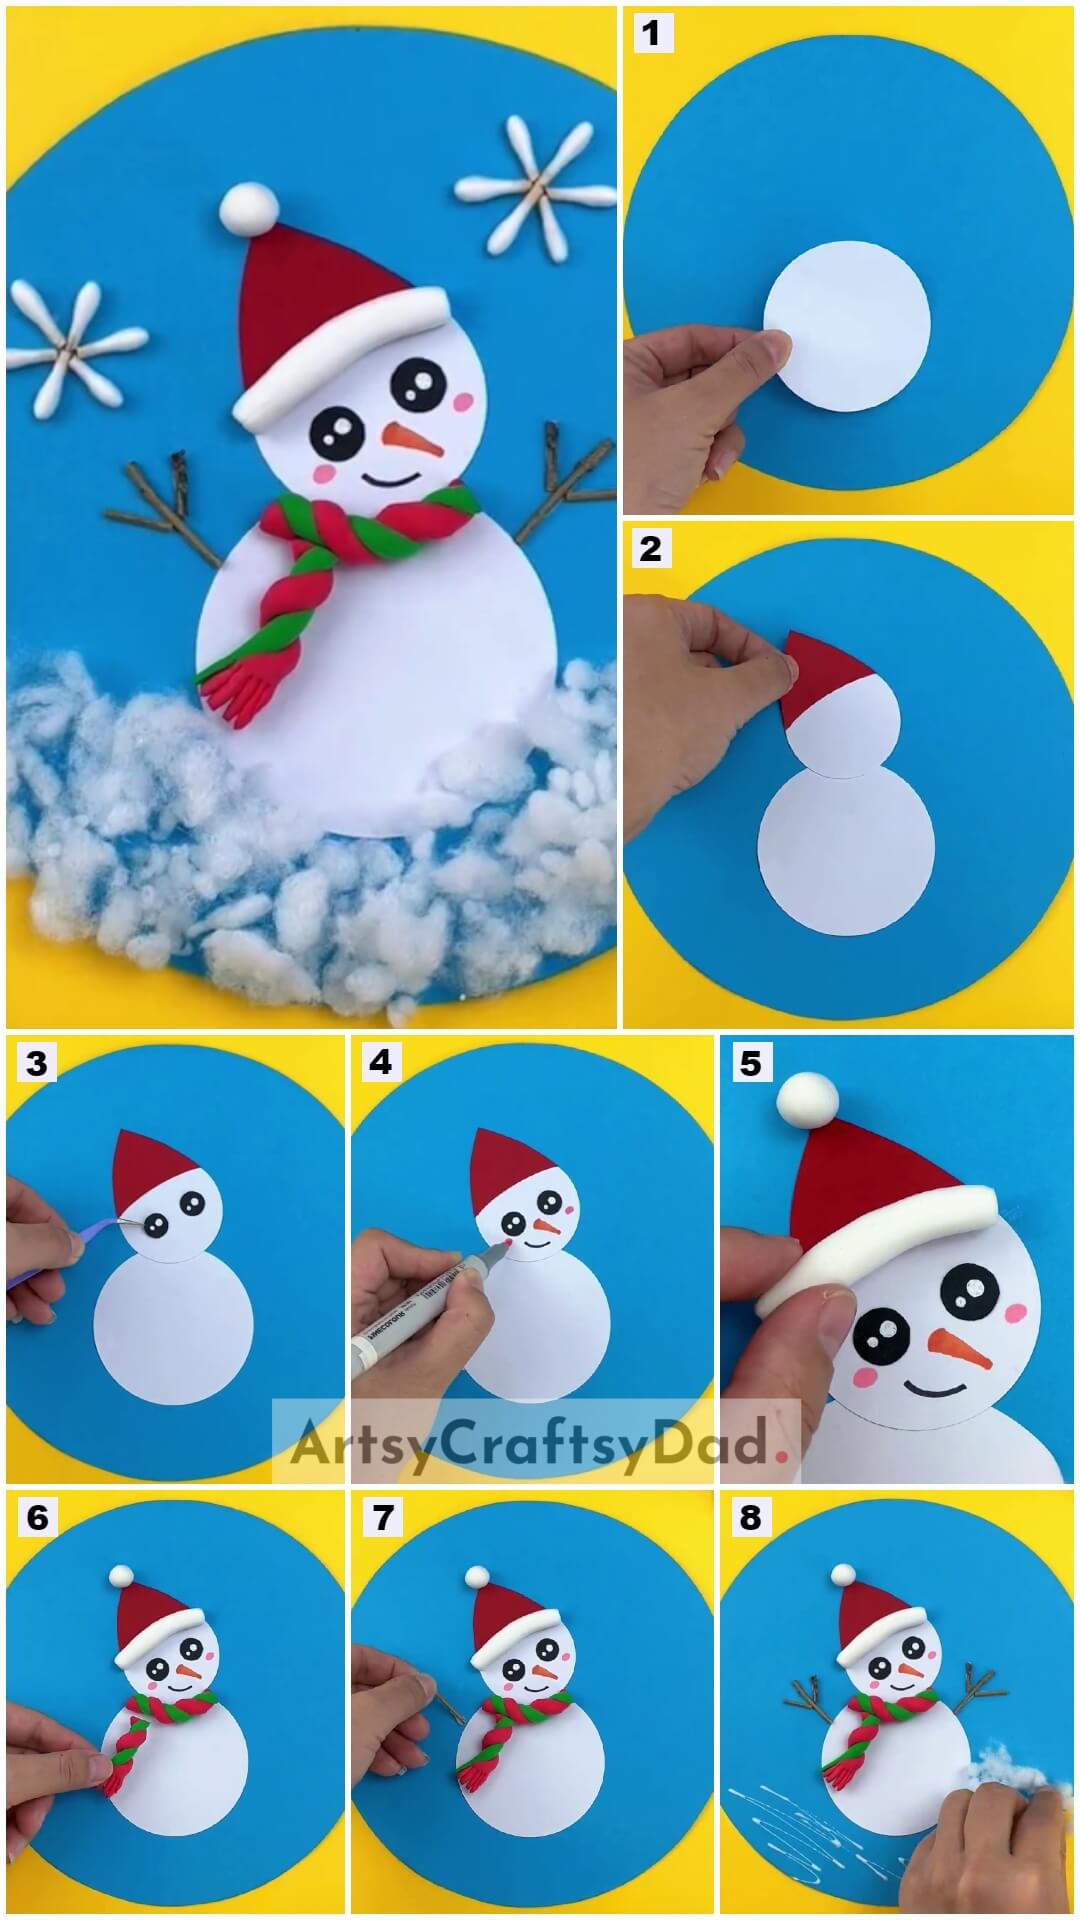
Step #1: Making Big Circle
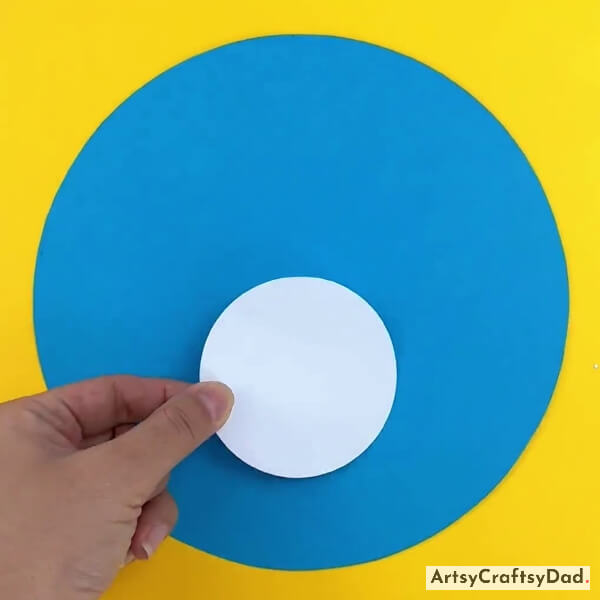
Take a blue color construction paper & cut it into a big circle by using scissors & use it as a base. Now take a piece of white craft paper & cut it into a circle for the snowman body & paste it on the lower side of the blue paper base by using glue.
Step #2: Making Small Circle
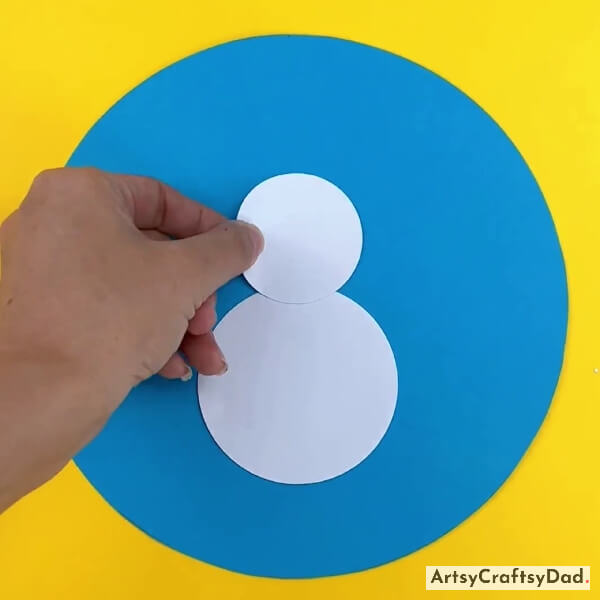
Now again cut white craft paper into a circle for the face of the snowman but it should be smaller than the previous one & paste it on the top of the snowman’s body.
Step #3: Making Hat
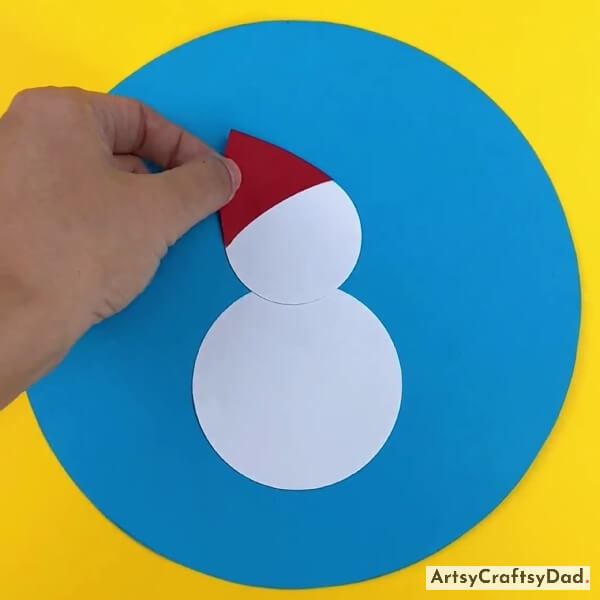
Take a red craft paper & cut it into a cone shape for a snowman hat & paste it on his head.
Step #4: Pasting Eyes
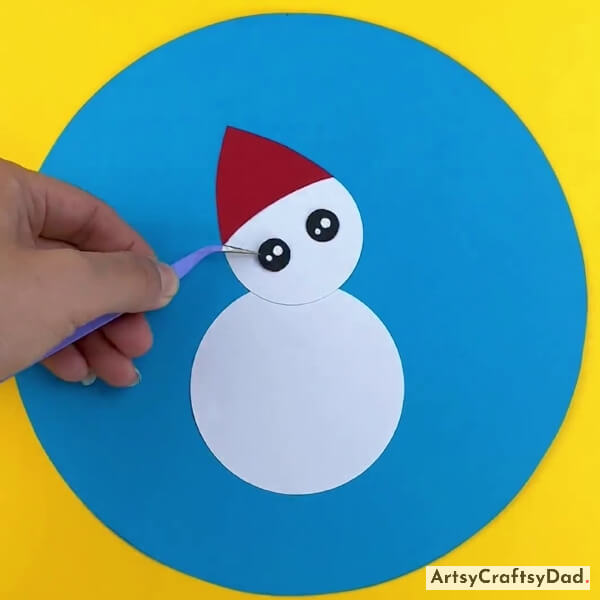
Take two googly eyes & paste them on the snowman’s face.
Step #5: Drawing Nose

Take an orange sketch pen & draw a nose on the snowman’s face.
Step #6: Drawing Blushing On Chicks
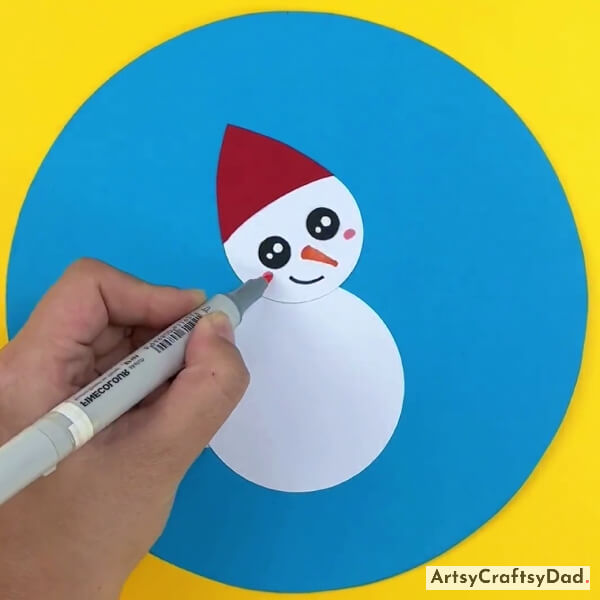
Take a red sketch pen & draw two little dots on his chicks for blushing.
Step #7: Making Clay Ball For Hat
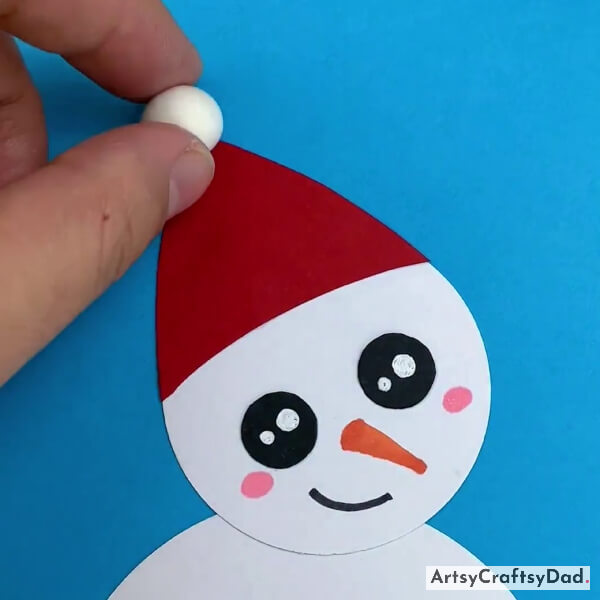
Take a small piece of white clay & make a little ball from it & paste it on the top of the hat.
Step #8: Pasting Border Of Hat
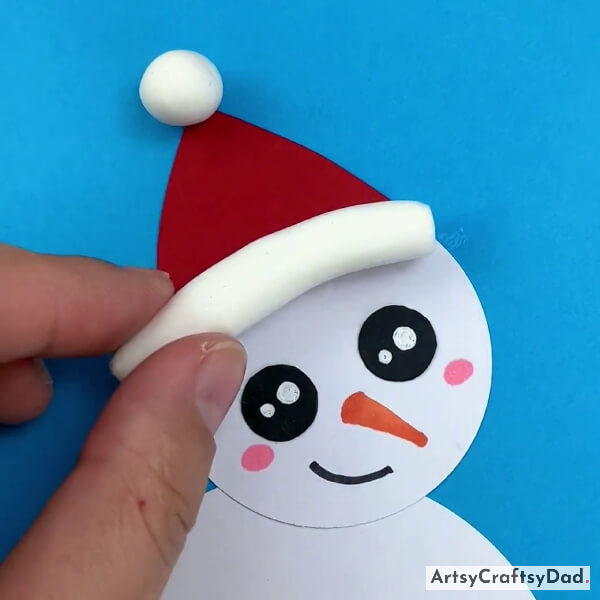
Again take a small piece of white clay & roll it to make a line & paste it on the hat for the hat border.
Step #9: Making Two Different Clay Sticks
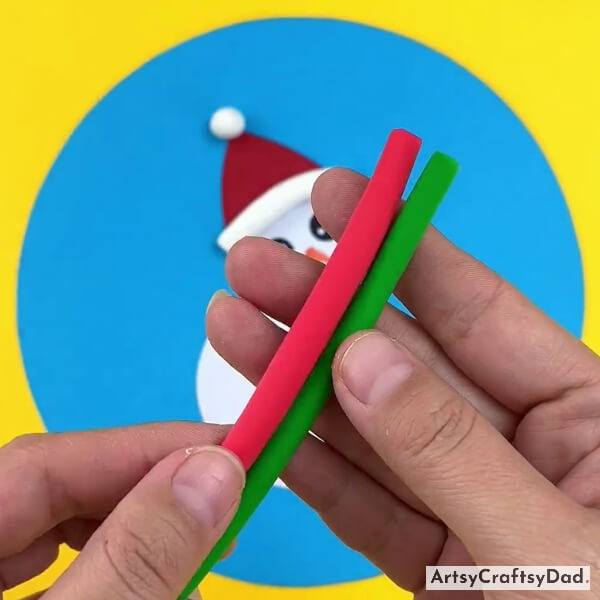
Take red & green clay & roll them one by one & make two clay sticks.
Step #10: Twisting Both Sticks With Each Other
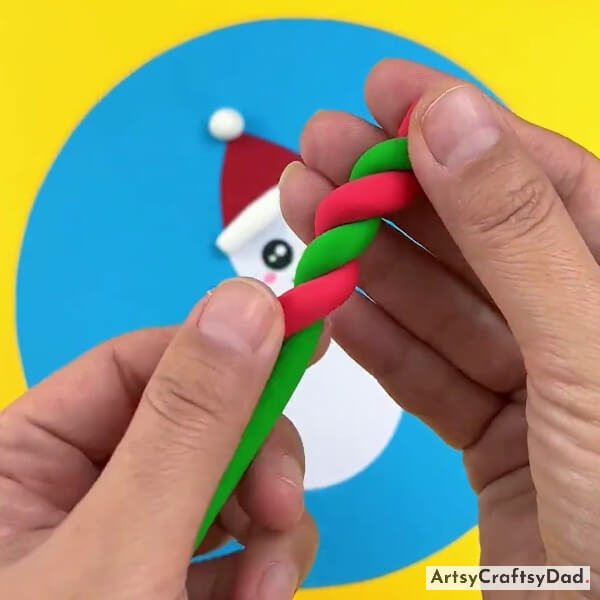
Now, take both red & green clay sticks & put the sticks together, and twist them together to form the dual muffler.
Step #11: Making Muffler

Now, paste the muffler around the neckline of the snowman.
Step #12: Pasting Muffler
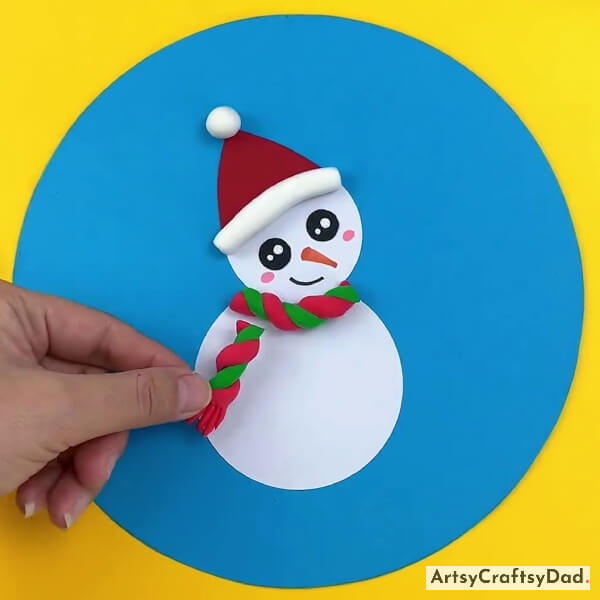
Now, paste the muffler hanging part.
Step #13: Applying Glue
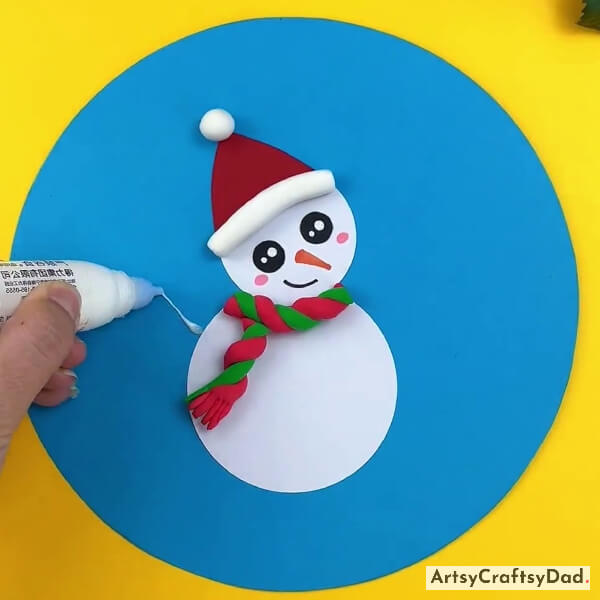
Apply glue on the left side to stick the hand.
Step #14: Pasting Hands
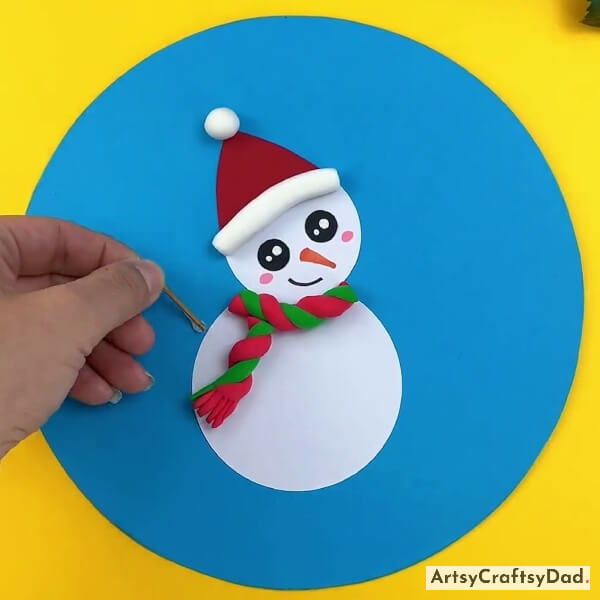
Take a tree stem & paste it on the left side for the snowman hand.
Step #15: Pasting Both Hands
Now, paste another hand.
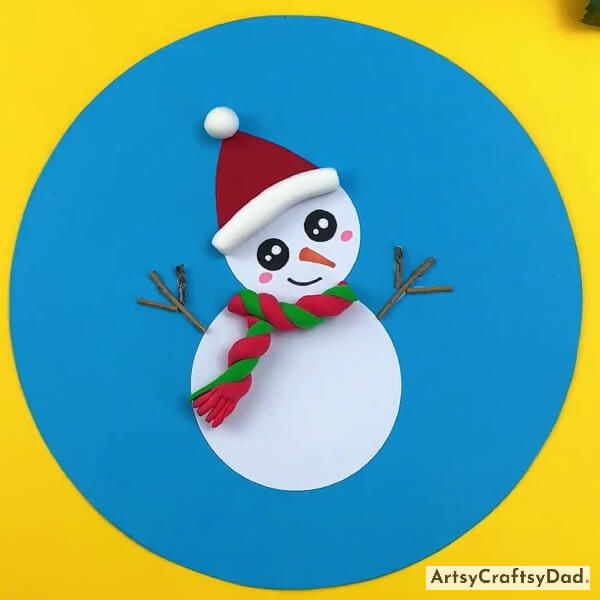
Step #16: Applying Glue
Apply glue on the lower side of the blue base.
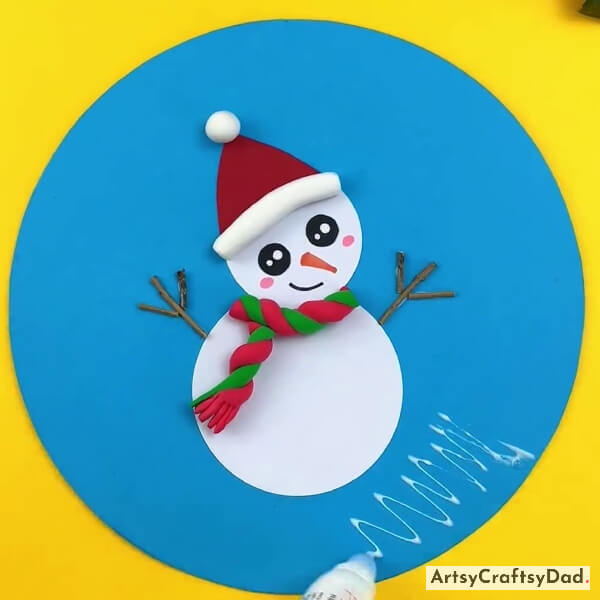
Step #17: Pasting Cotton As A Snow
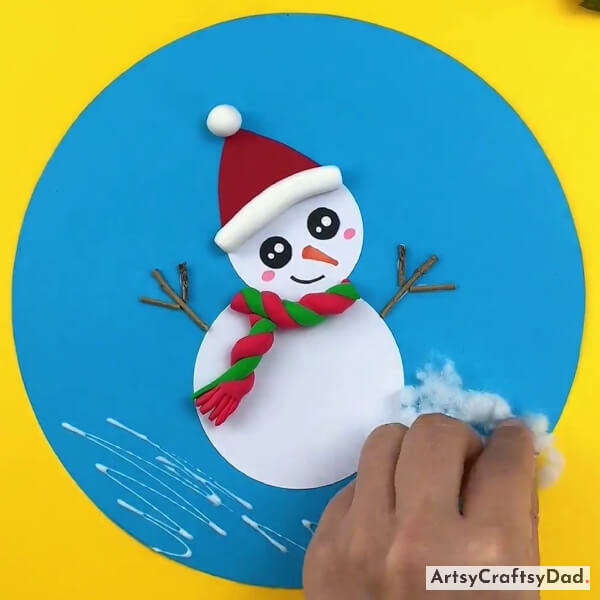
Take some pieces of cotton & paste them on the lower right side on the blue base.
Step #18: Pasting Cotton Under The Snowman
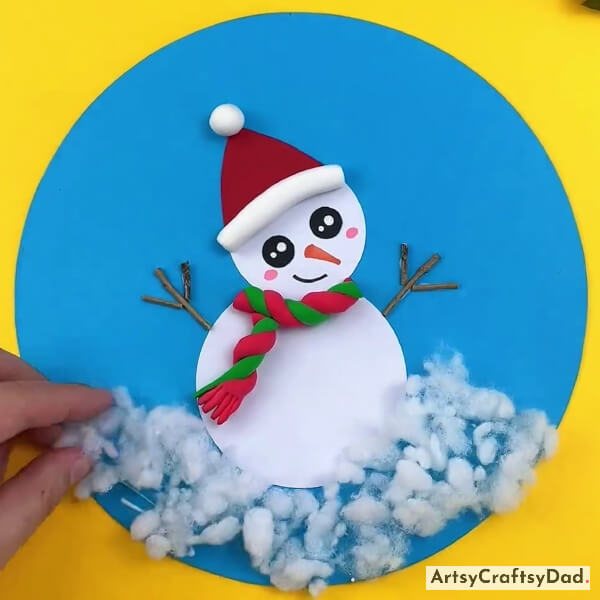
Paste some more pieces of cotton under the snowman.
Our Diy Paper Snowman Craft Is Ready To Shine!

Take some cotton buds & use them to make snowflake shapes as shown in the above image. Now, our snowman craft is ready.
Hurry, finally, we have made an attractive snowman craft. Anyone can easily create this adorable snowman & use it to decorate their home. Not only is this craft affordable and accessible, but it also allows individuals to tap into their artistic skills and showcase their creativity. Whether it is for a holiday decoration or a school project, this tutorial provides a simple yet enjoyable way to make a festive snowman with everyday materials. You could also visit our other websites and explore other winter-themed crafts. Don’t forget to drop your comment in the comment section.
Thank you for visiting our site.
You Might Also Like
- How to make a flower vase using cotton buds
- How to make a wall hanging using cotton buds
- How To Make Snowman From Cotton (Step-by-Step Tutorial)
- Bubble Wrap Snowman Painting Craft Tutorial For Kids
- Easy Paper Plate Snowman – Winter Crafts for Kids


