
Learn how to create adorable clay cherries with this fun art and craft tutorial for kids. This step-by-step guide will show you how to mold and paint your miniature fruits using clay. Perfect for a rainy day activity or a creative project, these clay cherries are sure to impress. Let your child’s imagination soar with this engaging and hands-on craft project.
Hey, do you want to create a clay cherries craft? If yes, then you are at the right place. This tutorial is perfect for children of all ages who love to explore their artistic side & always remain excited to create something new. In this tutorial, we will create a clay cherry craft by following step-by-step all the instructions. Your little ones will be able to create their adorable clay cherries in no time. Not only will this activity provide hours of entertainment, but it will also help develop their fine motor skills and creativity. For this cherry craft, you need to take clay, paper, and colored sketch pens. So just ready to enjoy the process of cherry craft with your little ones.
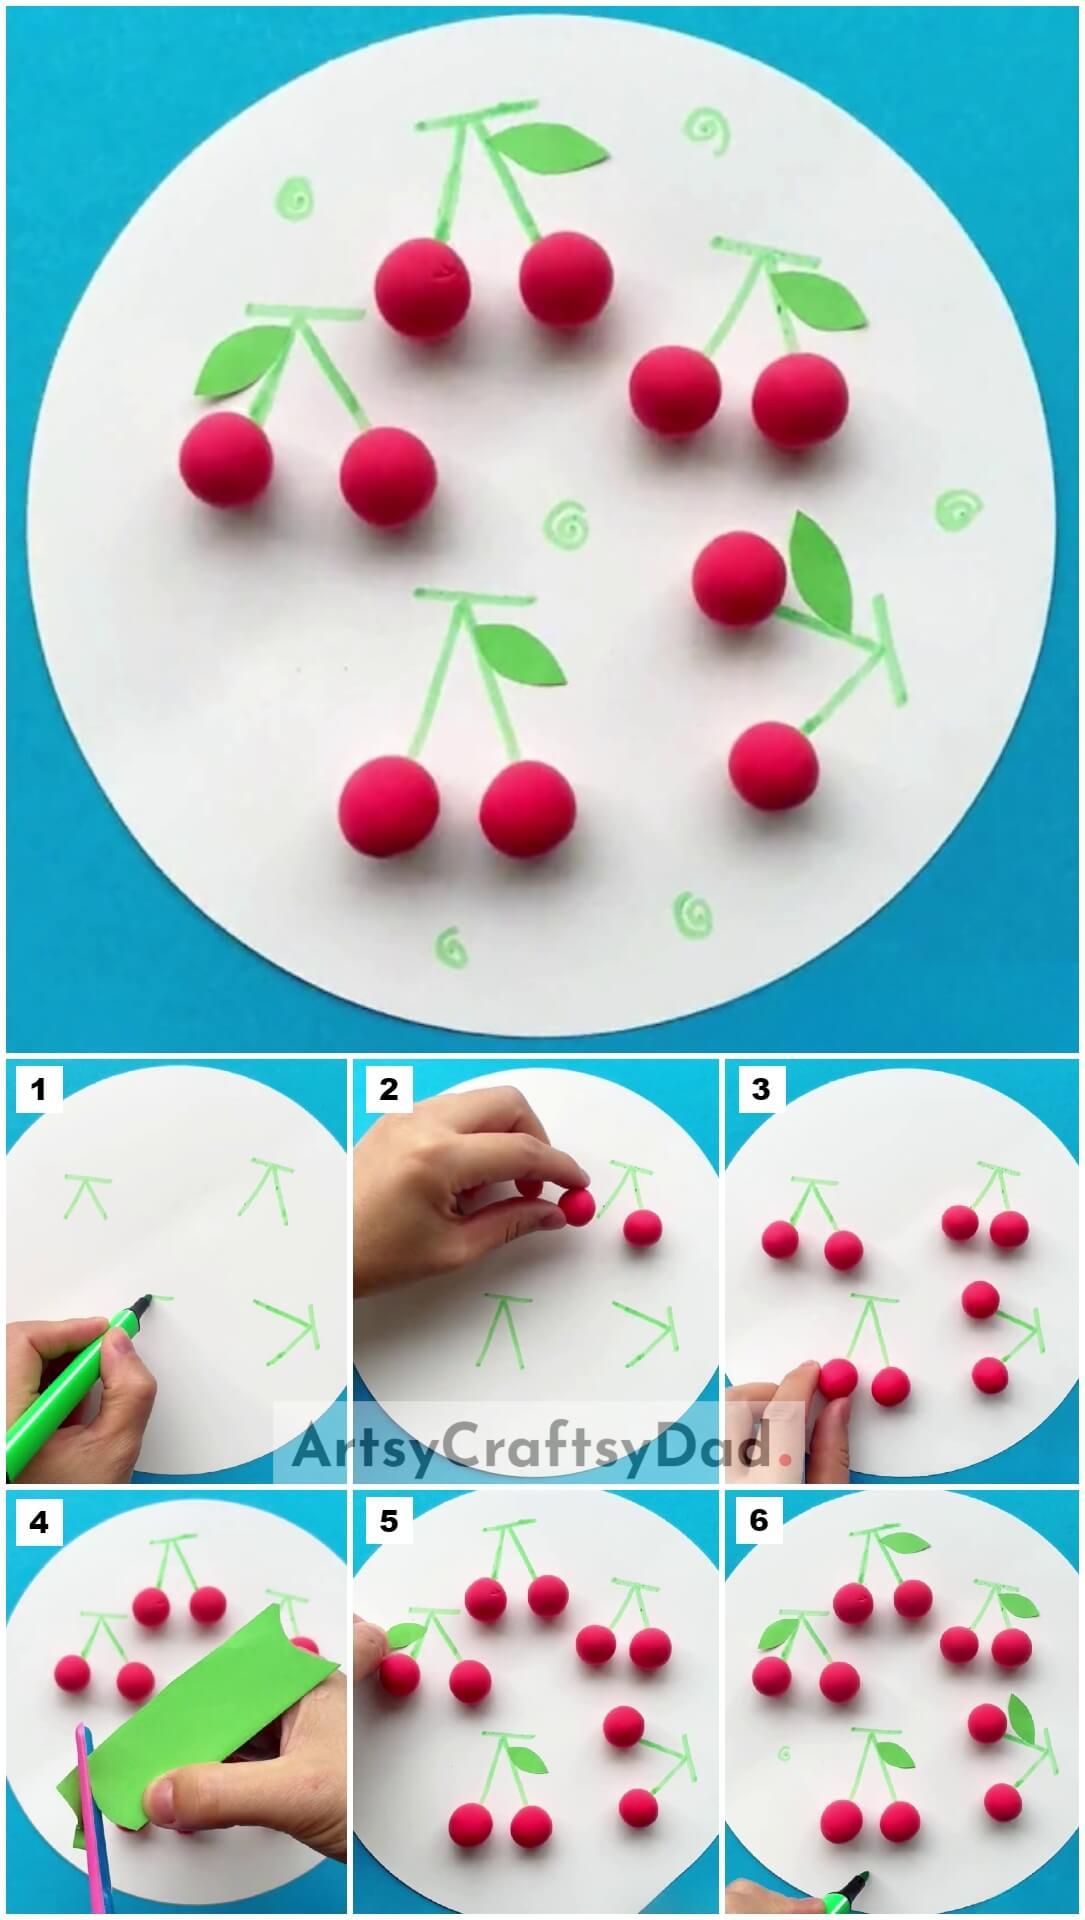
Beautiful Cherries Clay Craft Tutorial
Must Read: Clay Ladybugs In Field Artwork Craft Tutorial For Kids
Supplies & Tools
- Colored Clay (Red)
- White Construction Papers
- Glue
- Scissors
- Colored Sketch Pens (Green)
- Green A4 Size Paper
Cherries Art & Craft Instruction
Step #1: Drawing Cherry Stems
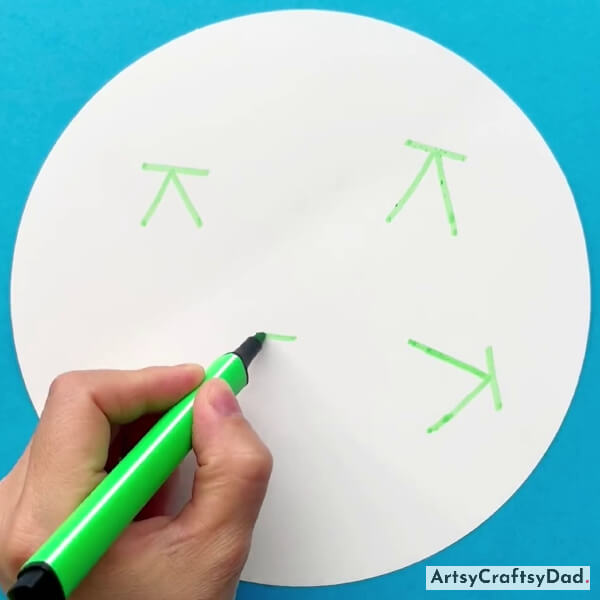
Take a white construction paper & cut it into a circle shape & use it as a base. Take a green color sketch pen & draw some cherry stems on the white paper circle.
Step #2: Making Clay Cherries
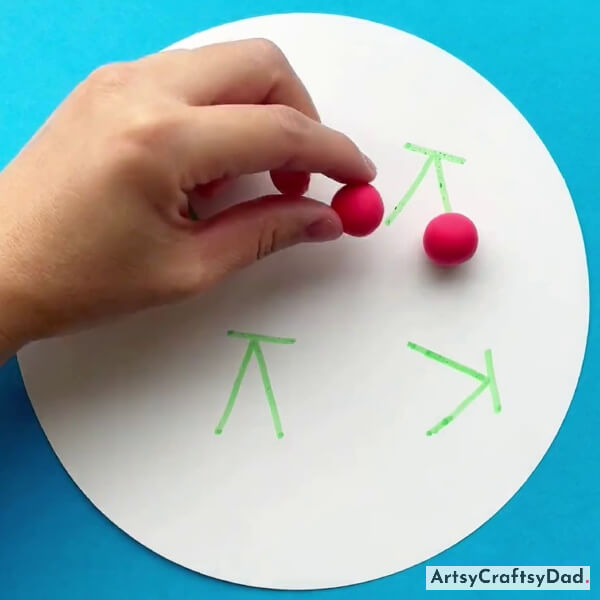
Take a piece of red clay & make two similar-sized circles & paste them on the top right side of stem branches by using glue.
Step #3: Pasting All Cherries
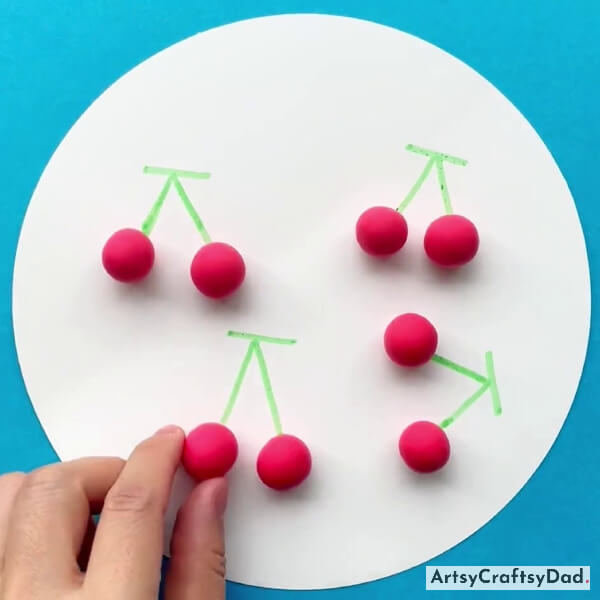
Make some more cherries by following the same process as we did in the previous step & paste them all as shown in the above image.
Step #4: Cutting Leaves
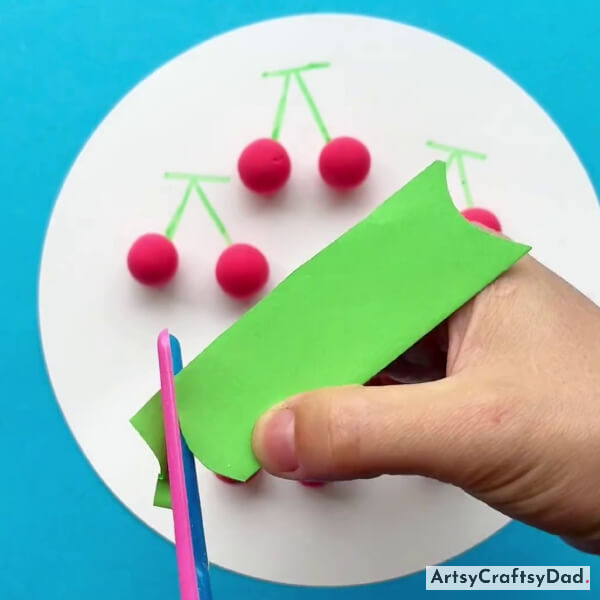
Take a green color A4 size paper & cut it into a small size leaf.
Step #5: Pasting Leaf
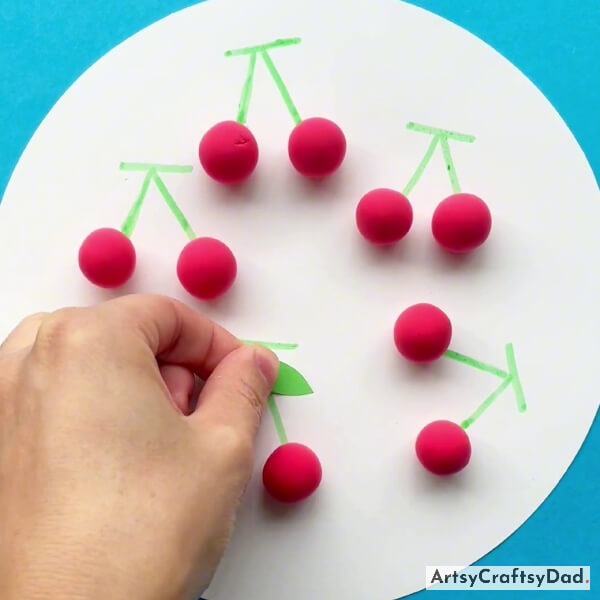
Now, paste the leaf around the branch.
Step #6: Pasting One More Leaf
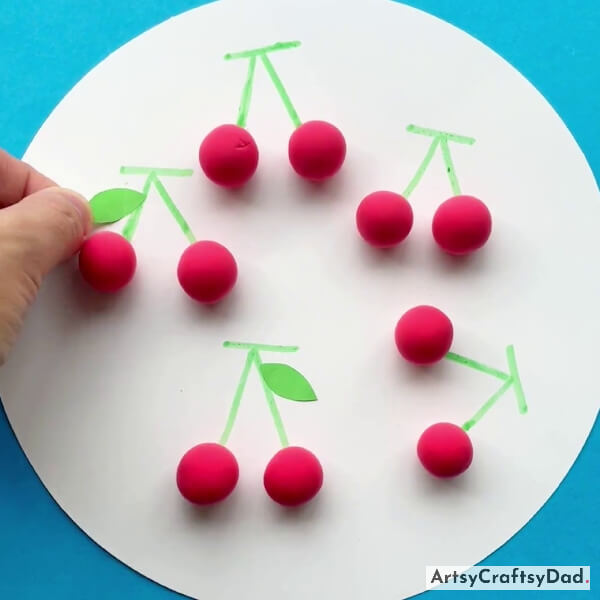
Paste one more leaf on the other stem branch.
Step #7: Drawing Spirals
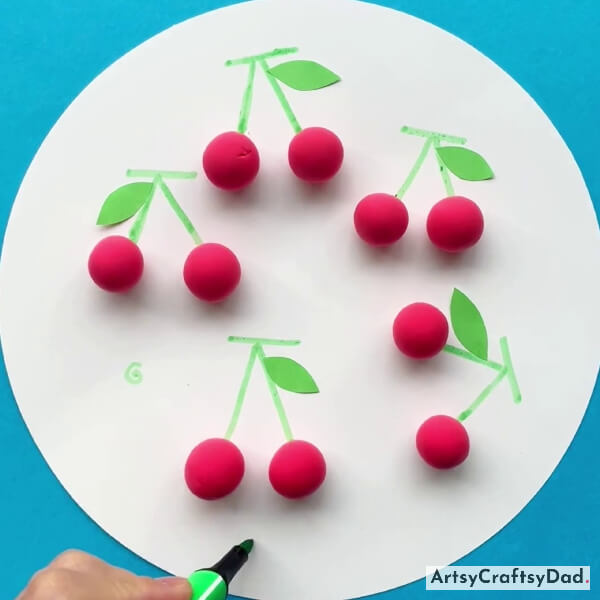
Here, paste some more leaves on the stem branches. After that take a green sketch pen & draw a spiral shape on the white paper circle.
Finally! Our Clay Cherries Art & Craft Is Ready Now!
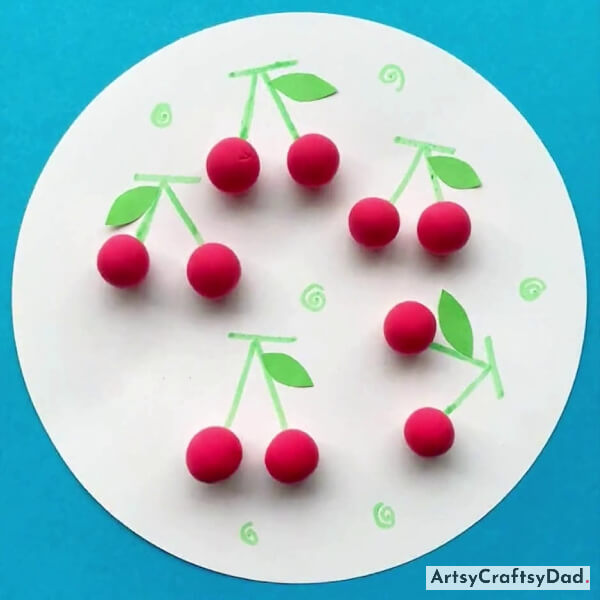
This is the final look of our clay cherry craft.
Tadda, your clay cherries art & craft is completed now. Whether they are making clay cherries or experimenting with different colors and shapes, this tutorial provides an engaging and educational experience. It is a wonderful way for kids to spend their time, creating beautiful and unique clay creations that they can be proud of. You could show your cherry craft to your friends & family. I’m sure they will be proud of you & feel good to see that you are doing something new & different from your regular activity. Don’t miss to share your thoughts about this craft & also if you want to share some new ideas for other crafts then don’t hesitate please share them with us. We will be happy to listen to your ideas. Please share our website with your friends & family.
Thanks for visiting our website!
You Might Also Like
- Clay Flower Pot Model Craft Tutorial For Kids
- Clay Circles Landscape Craft Tutorial For Kids
- Seed Germinating Clay Craft Tutorial For Kids
- White Clay Flowers Craft Tutorial For Kids
- Clay Circles Tree Artwork Craft Tutorial For Kids


