Looking for a fun and creative garden craft tutorial? Check out our step-by-step guide on how to make Peanut Shell Giraffes & Leaves! This unique and adorable craft project is perfect for both kids and adults alike. With easy-to-follow instructions and minimal materials required, you’ll have your very own giraffe and leaf decorations in no time.
Welcome to our Peanut Shell Giraffes & Leaves Garden Craft Tutorial! If you’re looking for a fun and creative way to engage your little ones in nature-inspired crafts, then you’ve come to the right place. In this tutorial, we will guide you through the process of creating adorable giraffes using peanut shells and decorating them with vibrant leaves. Not only will this activity foster their imagination and fine motor skills, but it will also allow them to appreciate the beauty of nature. So, gather your peanut shells, leaves, and craft supplies, and let’s get started on this exciting adventure!
Giraffes Craft by Using Peanut Shell & Leaves For Kids
Must Read: Hen With Chicks: Artificial Grass & Peanut Shell Craft Tutorial
Supplies & Tools
- Scissors
- White Construction Paper
- Peanut Shells
- Leaves (Yellow, Green)
- Colored Marker Or Sketch Pens (Yellow, Black)
- Googly Eyes (Two Pairs)
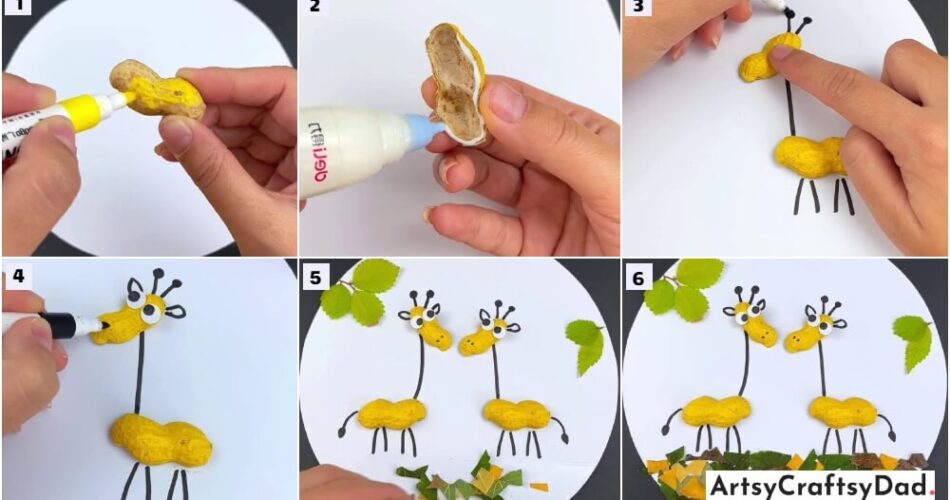
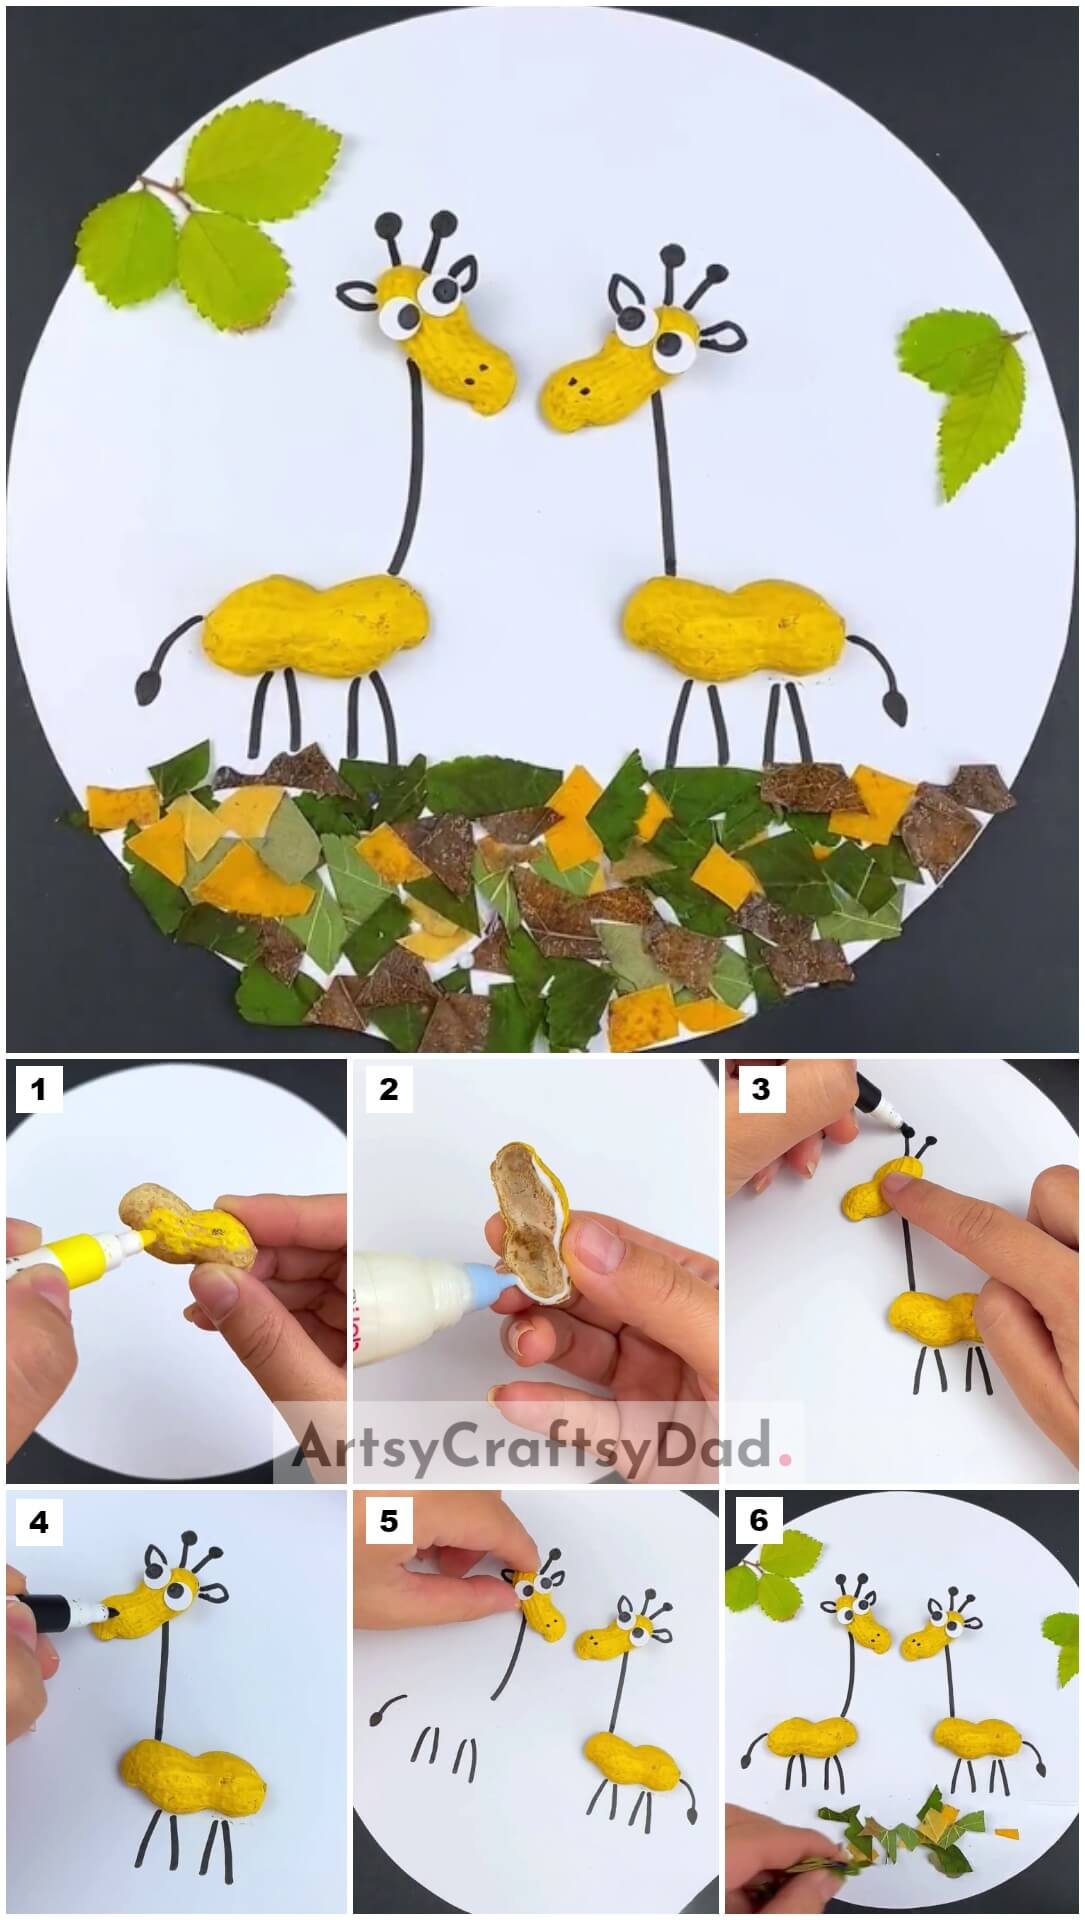
Peanut Shell Giraffes Procedure
Step #1: Taking Peanut Shell

Take a white construction paper, draw a large circle on it, and carefully cut it out with scissors. This circle will serve as the base for our craft project.
Take a peanut shell that is not broken or cracked.
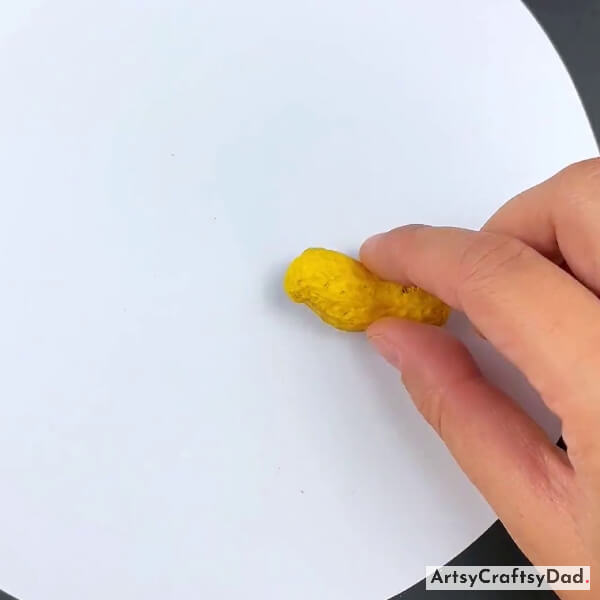
Step #2: Coloring Peanut Shell
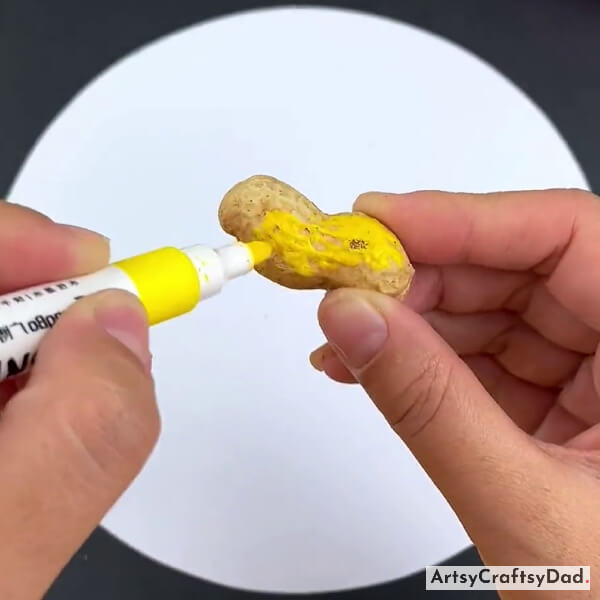
Take a yellow color marker and start coloring the shell.
Step #3: Complete Coloring Peanut Shell
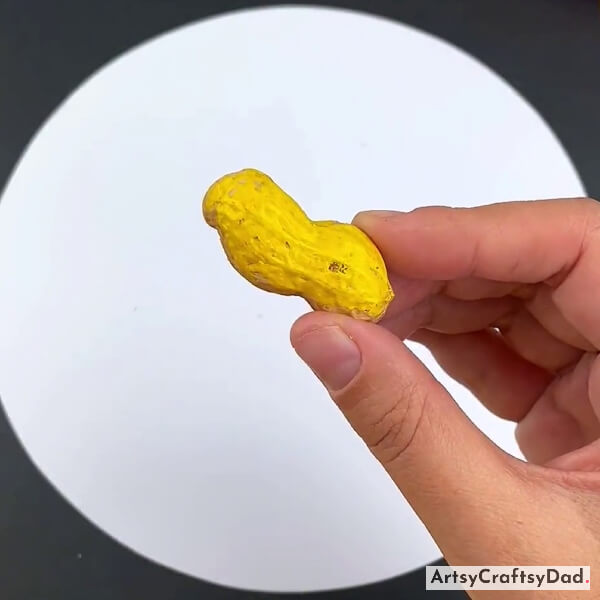
Completely color the peanut shell & make sure not to leave any empty patches or spaces on the peanut shell.
Step #4: Taking More Peanut Shells
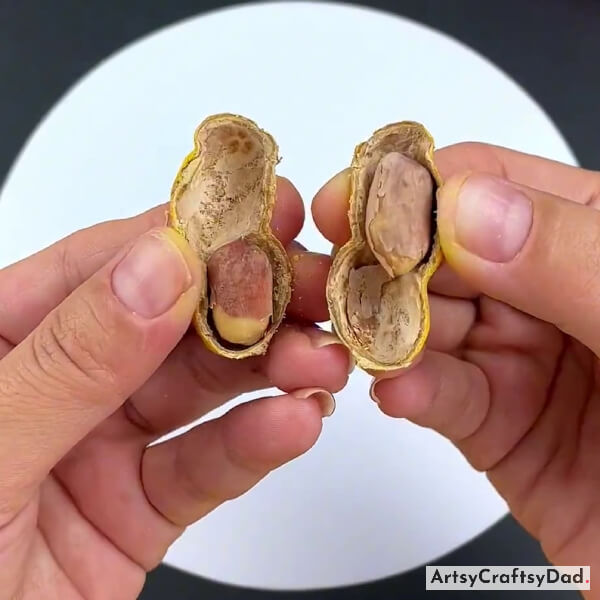
After that, take one more peanut and remove the nuts from it.
Step #5: Applying Glue
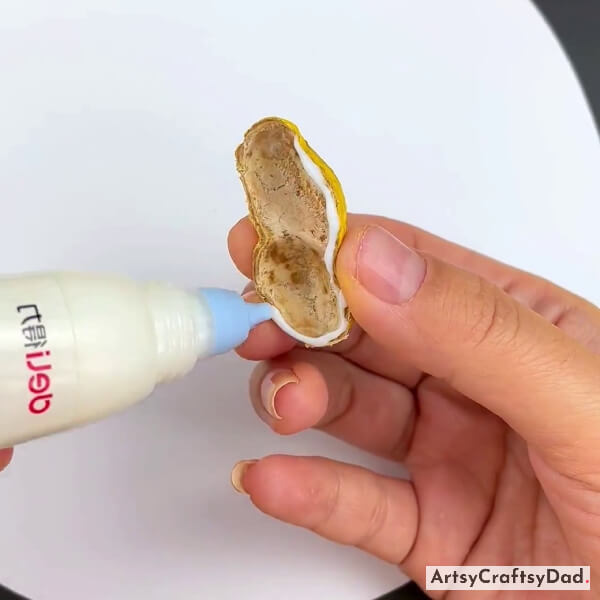
Take the shells that are colored yellow and apply glue to their bottoms.
Step #6: Making Giraffe’s body
After applying glue, paste this shell horizontally as the body of the giraffe at the bottom right side of the sheet.
Step #7: Drawing Neck Of Giraffe
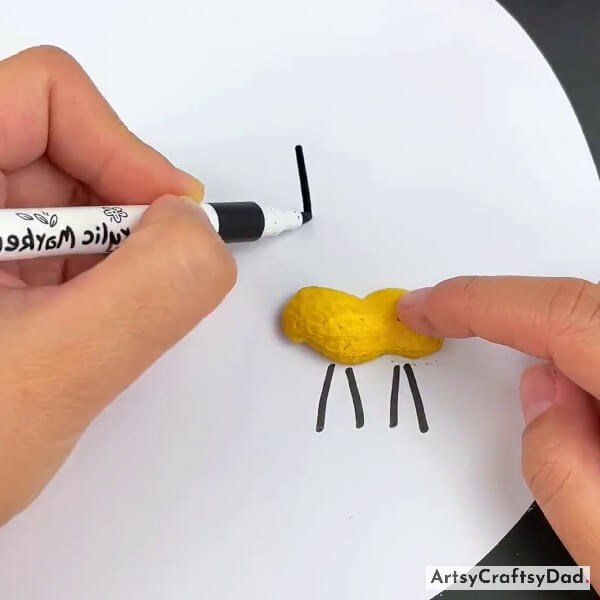
Take a black color marker and draw the legs and neck of the giraffe.
Step #8: Making Face
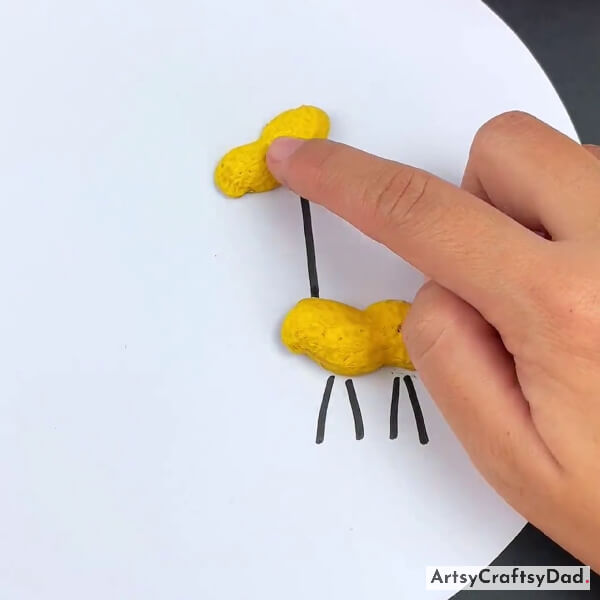
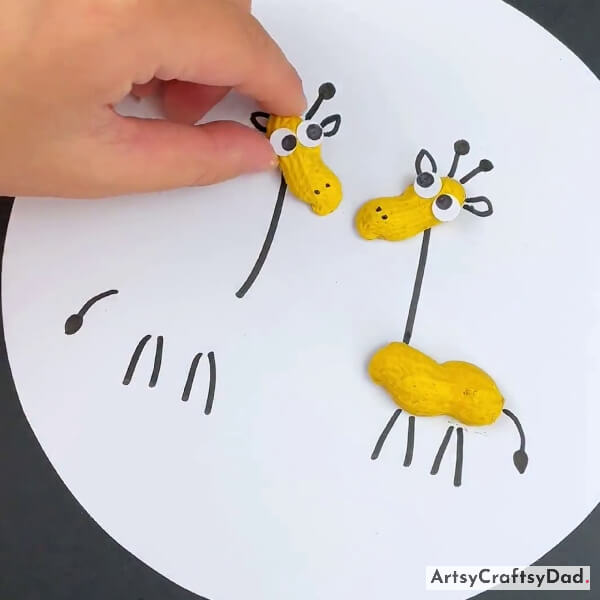
Paste another peanut shell over the neck to represent the face of the giraffe, as shown above.
Step #9: Drawing Horns
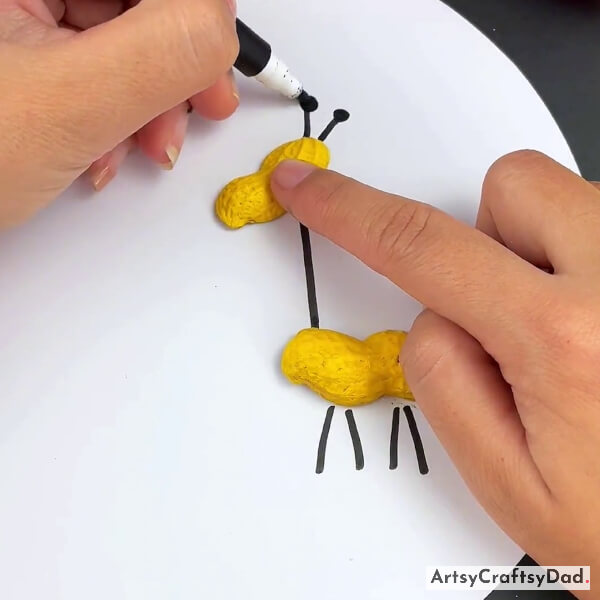
With a black marker, draw the horns of the giraffe over his head.
Step #10: Pasting Googly Eyes
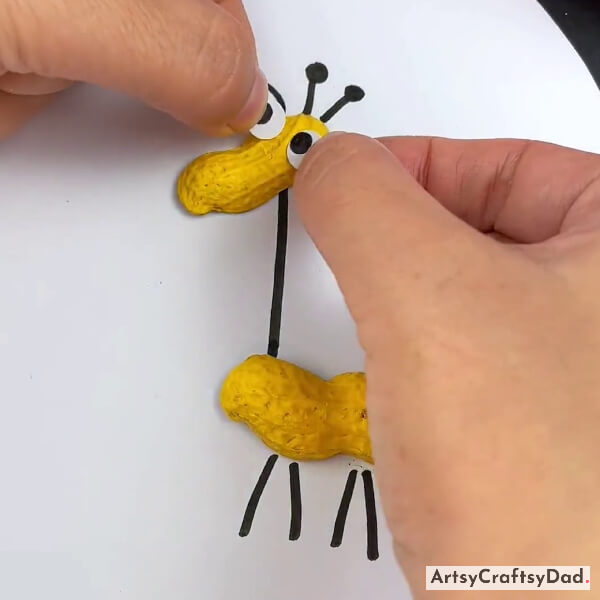
Take googly eyes and paste them on the giraffe’s face.
Step #11: Drawing Nose
After pasting the eyes, use a black marker to draw the nose and ears of the giraffe.
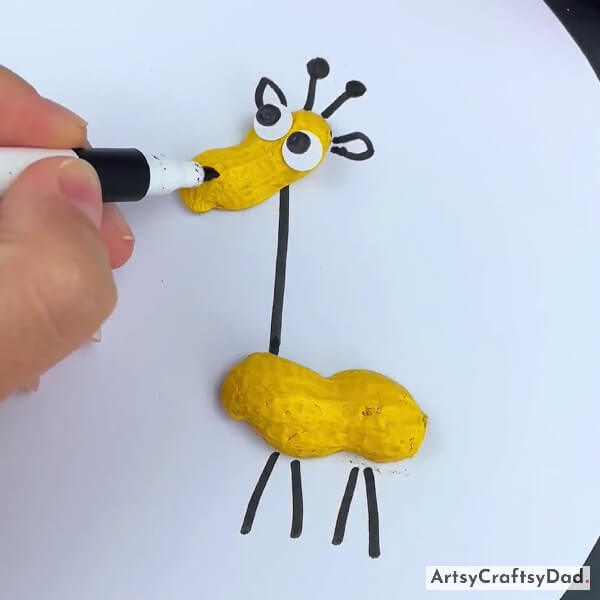
Step #12: Making Another Giraffe Face
Our first giraffe is ready after drawing its tail. Now, follow the same process & make another giraffe face & other body parts in the same manner.
Step #13: Making Giraffe’s Body
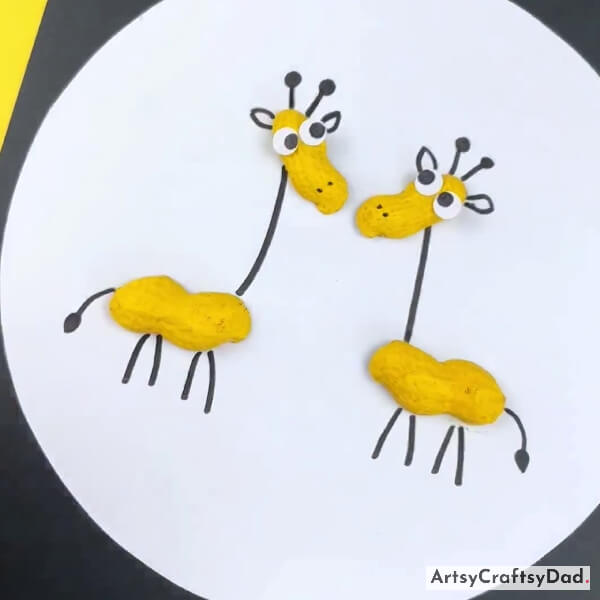
Paste one yellow-colored shell horizontally as the body of the giraffe.
Step #14: Pasting Green, Yellow Leaves
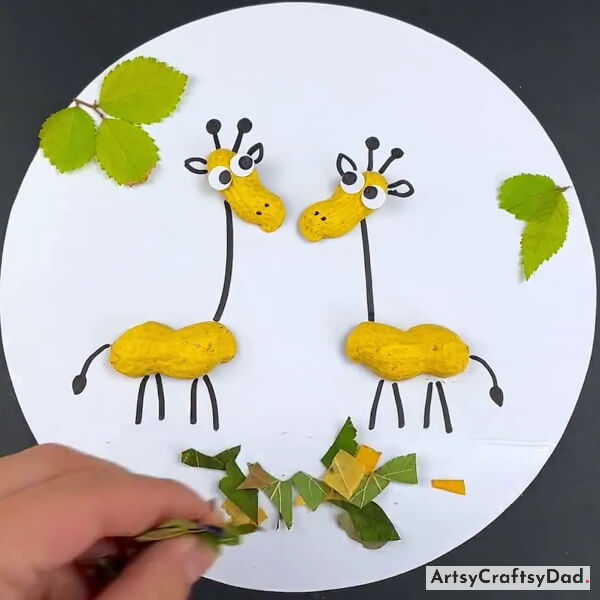
Take some real green and yellow tree leaves, cut them into small pieces, and paste them under the giraffes to give a garden look. Also, paste some leaves on the top left & right side of the giraffes.
Peanut Shell Giraffes Craft Is Completed!

After doing all the steps our final craft is ready.
Our peanut shell giraffes & leaves garden crafts are finished here. This craft allows us to repurpose materials that would otherwise be discarded. This craft kids will learn how to make these adorable crafts, using peanut shells and leaves, which can be found in abundance in nature. By engaging in this craft, we not only foster our artistic skills but also promote environmental consciousness. Please share your feedback in the comment section so that we can find your thoughts about this craft. If you want to explore more craft then visit our other websites.
Thanks for choosing us!
You Might Also like this
- Deer Landscape: Walnut Shell & Leaves Craft Tutorial
- Fallen Leaves Bird Craft Tutorial With Garden View
- Pistachio Shell Lily Garden With Clay Craft
- Walnut Shell Reindeer Craft Tutorial For Kids
- Pistachio Shell Corn Craft Tutorial Using Paper

