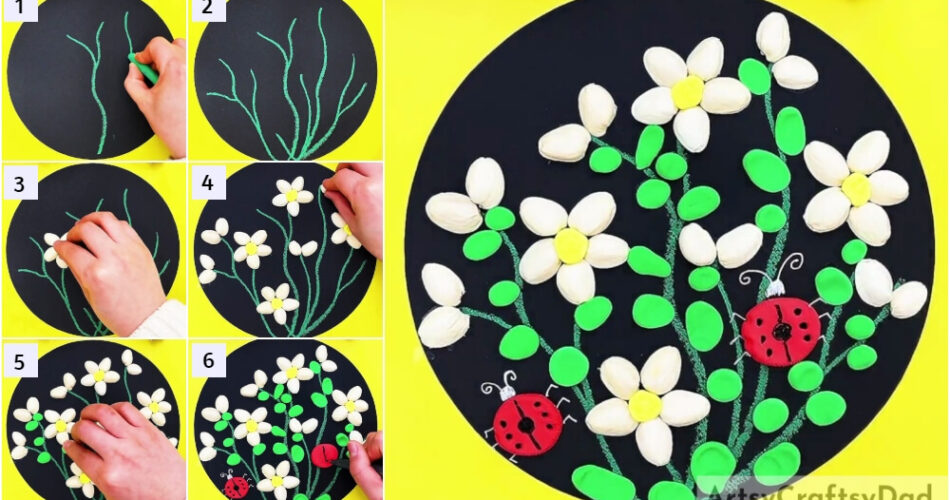
Make a lily garden! Uh-uh, not the actual one, a craft instead! This step-by-step tutorial will guide you to make it with pistachio shells!
We are back with another budget-friendly recycled craft for your kiddos! Today, this tutorial is on making a tiny and pretty lily garden using mere waste, pistachio shells! Isn’t it amazing? Creating crafts using waste! This craft will definitely be a fun activity to do in the boring time while learning too! This craft will also help your kiddos learn about the importance of recycling and will help to drive their motor skills and creativity! Let’s make it!
Making Lily Garden With Pistachio Shell And Clay Craft
Must Read: How to make pista shell wall decoration – step by step
Supplies & Tools:
- Black Circular Paper Sheet
- Pistachio Shells
- Glue
- Colored Clay (Yellow, Green, And Red)
- Green Colored Oil Pastel
- Black Marker
- White Ink Pen
Lily Garden From Pistachio Shell And Clay
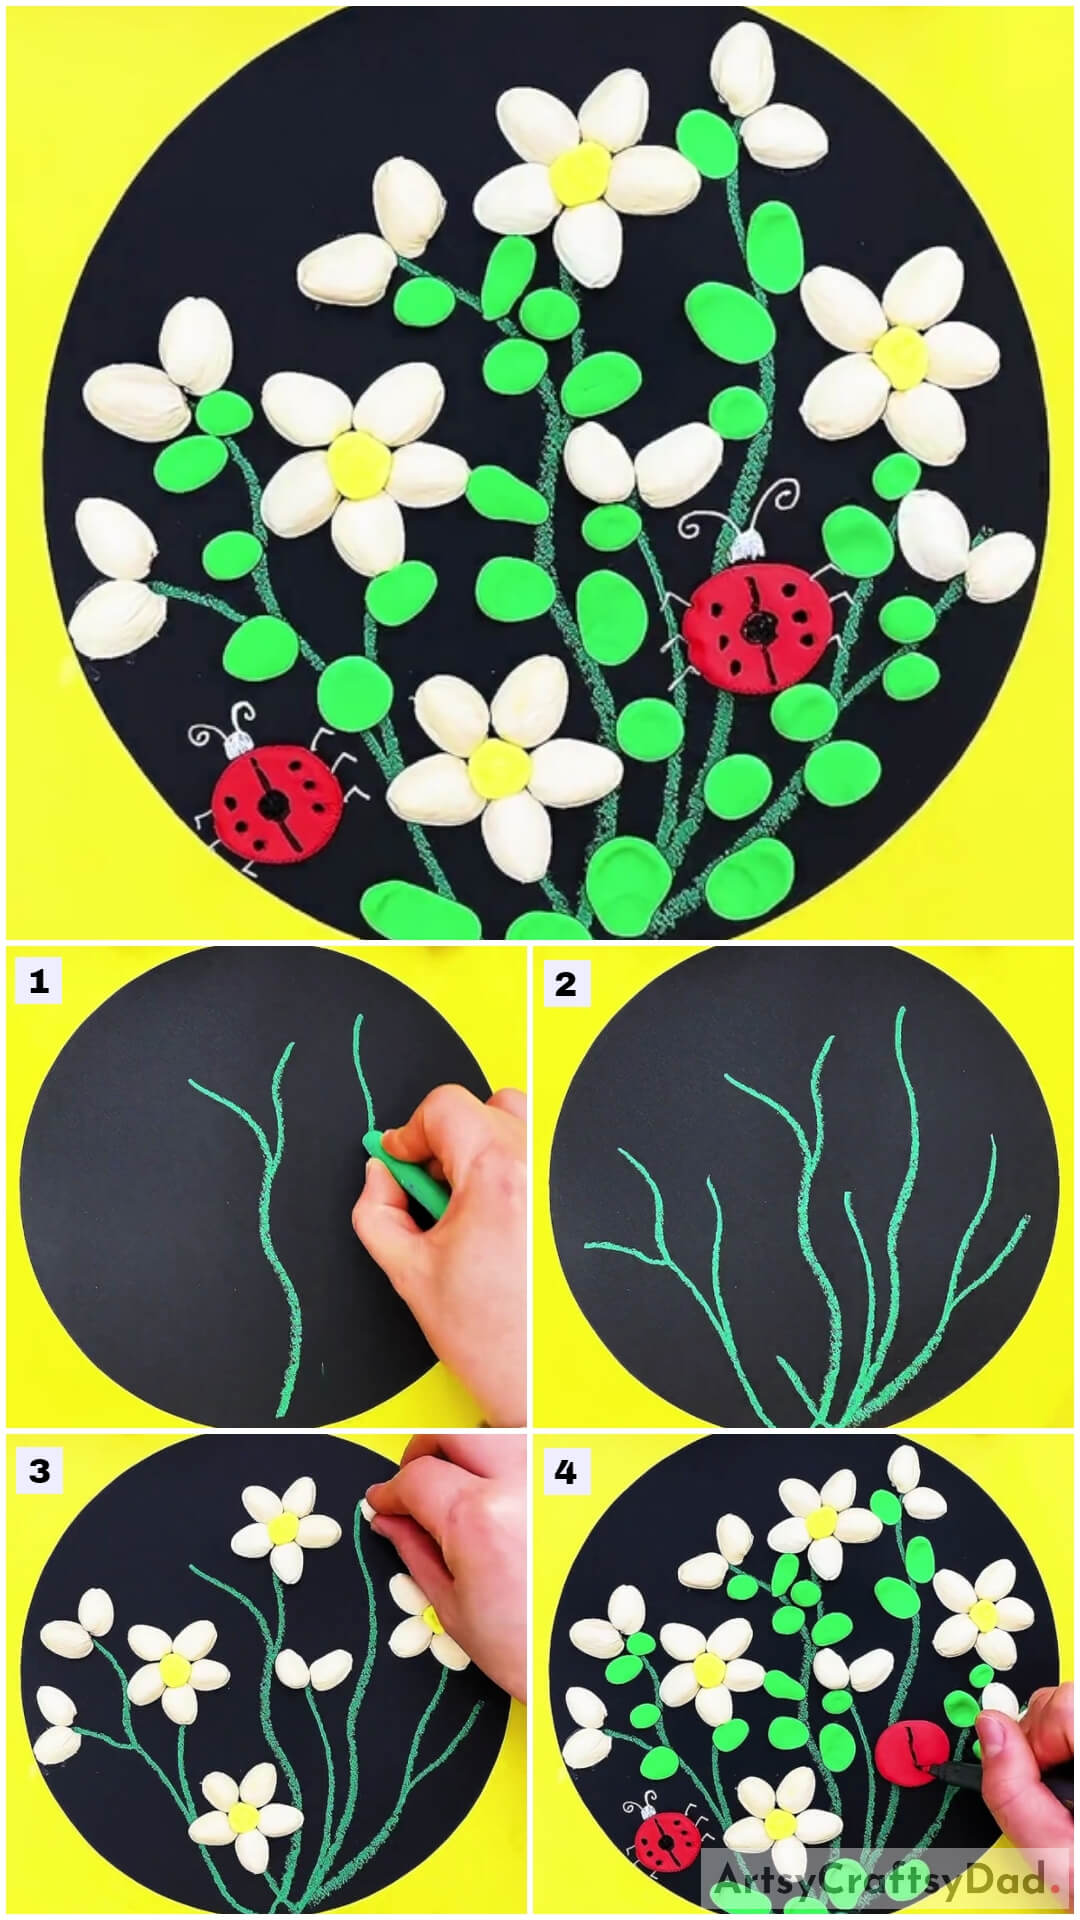
Step #1: Drawing Flower Stems
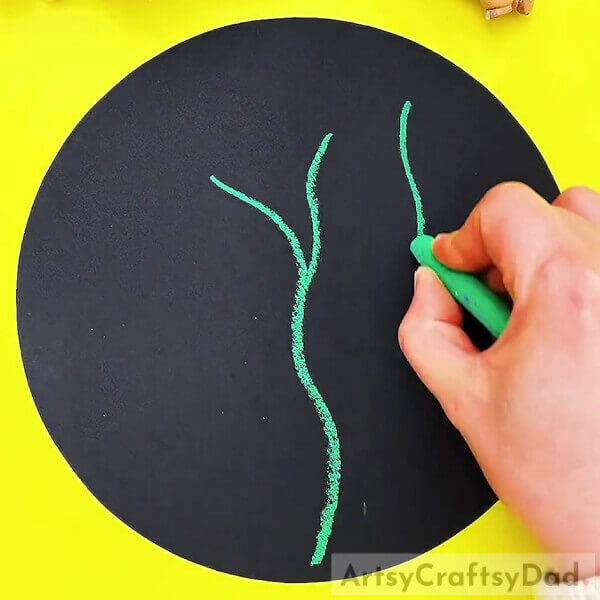
Begin this drawing by taking a black circular paper sheet as the base of this artwork and a green-colored oil pastel. Using the color, draw wavy stems over the base.
Step #2: Completing Making Flower Stems
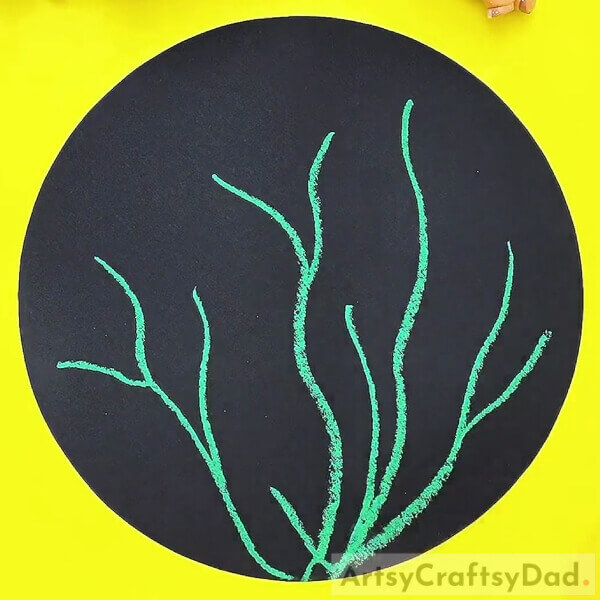
Draw the wavy flower stems of random sizes over the base and connect them all together in the middle-bottom of the base as shown in the image.
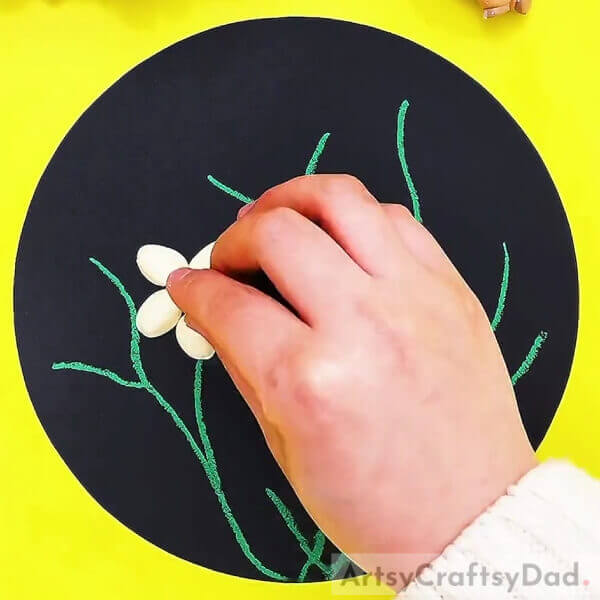
Step #3: Sticking Pistachio Shell Flower Petals
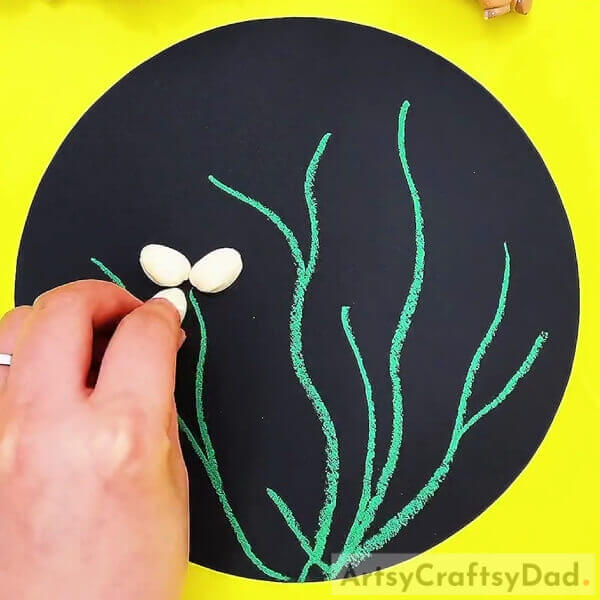
Take the pistachio shells and using glue paste them onto the base above the end of the stems in a circular format to make a 5-petaled flower.
Step #4: Making The Center Of The Flower
Dough a yellow clay ball and stick it in the middle of the flower to make its center.
Step #5: Making More Flowers And Flower Buds
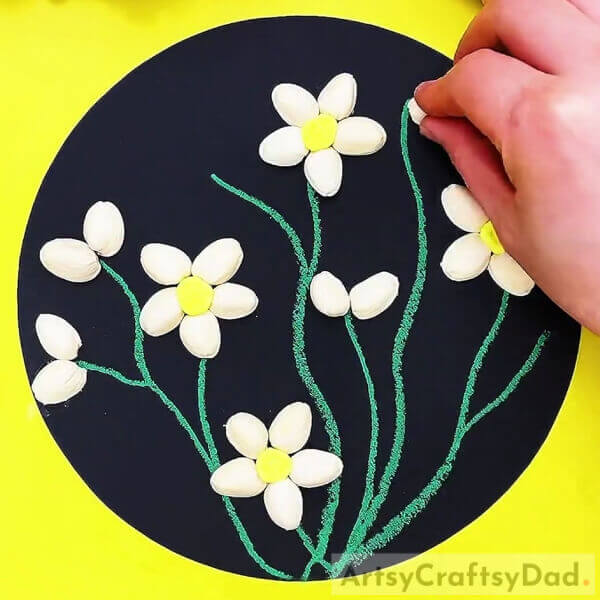
As you made the flower previously, make 3 more flowers on the base at the end of the stems randomly, and also make the flower buds by sticking 2-2 pistachio shells together at the end of the remaining stems using glue.
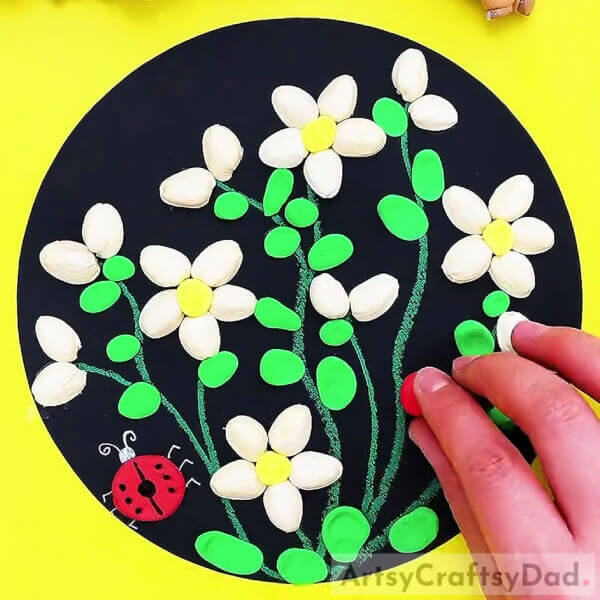
Step #6: Making Leaves To The Stems
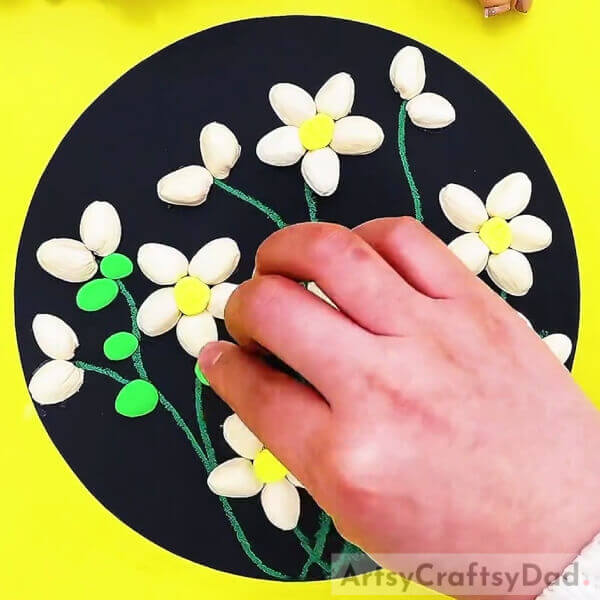
Take small green clay pieces and stick them onto the base of the stems randomly and press them to flatten them and make the leaves to the stems.
Step #7: Making Ladybug
Dough a red clay ball and place it over the base, press it to flatten it, and make the body of the ladybug.
Step #8: Detailing The Ladybug
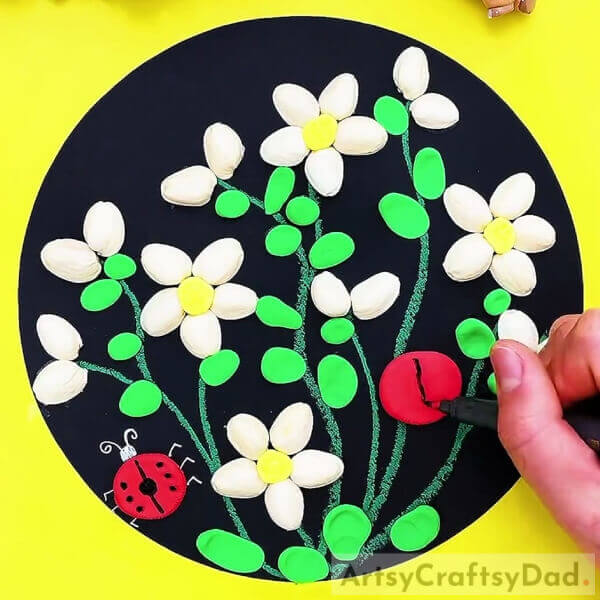
Using a black marker, draw the middle line of the ladybug over the red circle. Make a circle in the middle of the line and also 3-3 dots on both sides of the ladybug’s body as shown in the image.
This Is The Final Look Of Your Pistachio Shell Flower Garden!
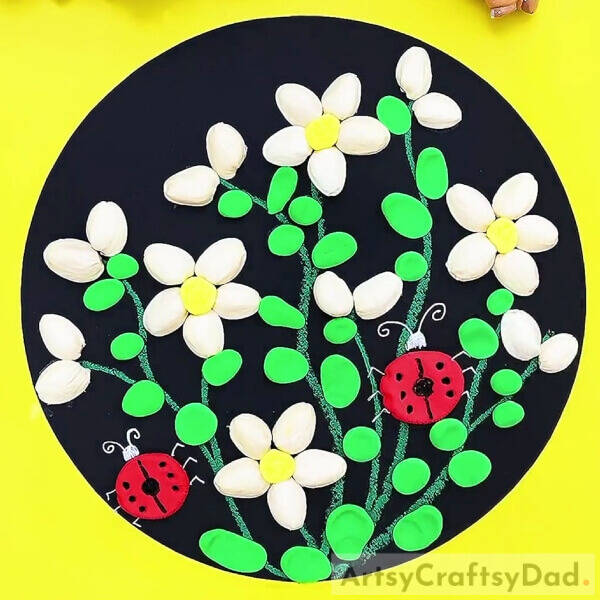
For the last step, make another ladybug on the left corner and also make their features over the base using a white ink pen. Make the head with 2 curled antennas also, the 3 legs on both sides as shown in the image.
Voila! You have finally completed making your lily garden! It looks so eye-catching!
You have learned so much through this craft! Show it off to everyone and let them admire you and yor creation! You deserve it! To make it more fascinating, you can customize it! Customization totally depends upon your creativity and imagination! You can add designs to your lilies using markers or colors, you can carve the veins on the leaves using clay-making tools, or anything! Make it as unique as you are!
Hope you liked the article and the description in it! You can give your feedback in the comment section below! We would love to hear from you!
Thank you for visiting our website!
You May Also Like:
- Clay-Paper Sunflower Garden Craft Tutorial
- Clay Chicks In Garden Craft Tutorial
- How to make polymer clay calla lily necklace
- How to make coconut shell showpiece
- Clay Heart Leaf Tree Craft Tutorial For Kids


